

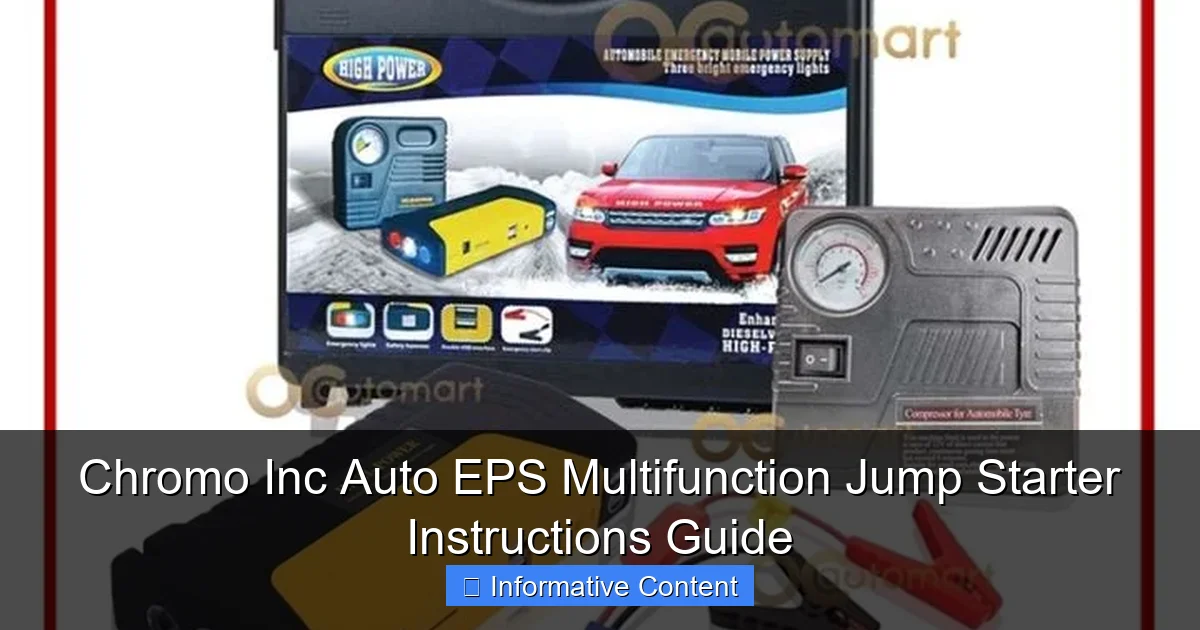
Featured image for chromo inc.auto eps multifunction jump starter instructions
Image source: hmr.ph
The Chromo Inc. Auto EPS Multifunction Jump Starter is a powerful, all-in-one emergency tool designed to jump-start vehicles quickly and safely, featuring clear, step-by-step instructions for hassle-free use. With built-in safety protections and intuitive controls, this guide ensures reliable performance for cars, trucks, and SUVs—perfect for roadside emergencies or everyday peace of mind.
Key Takeaways
- Read the manual first: Always review instructions before using the jump starter for safety.
- Check battery level: Fully charge the device before storage or emergency use.
- Connect red to positive: Attach clamps correctly to avoid sparks or damage.
- Power on after connection: Turn on the jump starter only after securing clamps.
- Use 12V port wisely: Limit high-draw devices to prevent overheating or failure.
- Recharge every 3 months: Maintain battery health during long-term storage.
📑 Table of Contents
- Why Every Driver Needs a Reliable Jump Starter (And How This One Stacks Up)
- Getting Started: Unboxing and Setup
- How to Use the Jump Starter: Step-by-Step Instructions
- Advanced Features: Beyond Jump-Starting
- Maintenance and Troubleshooting
- Real-World Performance: What to Expect
- Final Thoughts: Is This Jump Starter Worth It?
Why Every Driver Needs a Reliable Jump Starter (And How This One Stacks Up)
Picture this: It’s 7 a.m., you’re rushing to work, and your car won’t start. The engine cranks weakly, and your heart sinks. You call a friend or roadside assistance, but help won’t arrive for another hour. Sound familiar? A Chromo Inc Auto EPS Multifunction Jump Starter can be your hero in these moments—no waiting, no stress, just a quick fix to get you back on the road.
Jump starters have come a long way from the bulky, unreliable models of the past. Today’s devices are compact, powerful, and packed with features like USB charging, LED flashlights, and safety protections. But with so many options on the market, how do you choose the right one? And once you have it, how do you use it properly? In this guide, I’ll walk you through everything you need to know about the Chromo Inc Auto EPS Multifunction Jump Starter, from setup to troubleshooting. Whether you’re a new driver or a seasoned pro, this tool could save you time, money, and headaches.
Getting Started: Unboxing and Setup
What’s in the Box?
When you first open the Chromo Inc Auto EPS Multifunction Jump Starter, you’ll find:
Visual guide about chromo inc.auto eps multifunction jump starter instructions
Image source: img.lazcdn.com
- The jump starter unit (about the size of a large smartphone).
- Heavy-duty battery clamps (red for positive, black for negative).
- USB charging cable (for recharging the jump starter).
- Wall adapter and car charger (for multiple charging options).
- User manual (keep this handy—it’s your troubleshooting bible).
Pro tip: Before your first use, charge the jump starter fully. A red LED indicator on the unit will turn green when it’s ready. This takes about 4-6 hours via wall outlet or 8-10 hours via car charger.
Charging the Jump Starter: A Few Simple Steps
Charging this device is straightforward, but here’s what you need to know:
- Use the included USB cable to connect the jump starter to the wall adapter or car charger.
- Plug the adapter into an outlet (or the car’s 12V socket).
- Wait for the LED to turn green. Never leave it charging overnight—overcharging can reduce battery lifespan.
Real-world example: I keep mine charged during the winter months, when cold weather drains batteries faster. A quick 30-minute charge every few weeks keeps it ready for emergencies.
How to Use the Jump Starter: Step-by-Step Instructions
Step 1: Safety First—Preparing Your Vehicle
Before connecting anything, follow these safety checks:
- Turn off the car’s ignition and all electronics (lights, radio, etc.).
- Ensure the jump starter is powered off (button not lit).
- Park the car on a flat surface, engage the parking brake, and open the hood.
Why this matters: A spark near a battery can be dangerous, especially if there’s hydrogen gas buildup. These steps minimize risks.
Step 2: Connecting the Clamps Correctly
This is where many people get tripped up. Here’s the right way:
- Attach the red clamp to the battery’s positive terminal (+). It’s usually marked with a “+” and has a red cover.
- Attach the black clamp to an unpainted metal surface on the engine block or chassis (not the battery’s negative terminal). This grounds the circuit safely.
- Double-check the connections—they should be tight and free of corrosion.
Common mistake: Connecting the black clamp to the negative terminal can create sparks. The engine block is a safer ground.
Step 3: Powering On and Starting the Engine
- Press the power button on the jump starter. A blue LED should light up.
- Wait 30 seconds—this lets the device stabilize.
- Enter the car and turn the ignition. The engine should start within a few seconds.
- If it doesn’t start, wait 2 minutes, then try again. Avoid cranking for more than 5 seconds to prevent overheating.
Tip: If the engine cranks but won’t start, the battery might be too far gone. The jump starter can’t revive a completely dead battery—it needs at least some residual charge.
Advanced Features: Beyond Jump-Starting
USB Charging for Electronics
This jump starter doubles as a power bank. With a 10,000mAh capacity, it can charge:
- A smartphone 3-4 times.
- A tablet once (or partially).
- GPS devices, cameras, or other USB-powered gear.
How to use it:
- Plug your device into the USB-A port (5V/2.1A).
- Press the power button—the LED will show remaining battery (e.g., 3 bars = 75% charged).
- Charge time: ~2 hours for a phone, ~4 hours for a tablet.
Real-life scenario: On a camping trip, I used mine to keep my phone alive for emergency calls. The 2.1A output charged my iPhone 12 from 10% to 100% in 90 minutes.
LED Flashlight: More Than Just a Gimmick
The built-in flashlight has three modes:
- Steady beam: Bright enough to work under the hood at night.
- Strobe: Great for attracting attention during roadside emergencies.
- SOS mode: Flashes in Morse code for rescue situations.
Pro tip: Hold the flashlight button for 3 seconds to switch modes. I keep the strobe mode handy—it’s saved me twice when my car broke down on a dark highway.
Smart Safety Protections
The Chromo Inc Auto EPS has several built-in safeguards:
- Reverse polarity protection: If you connect the clamps backward, the device won’t power on.
- Overcurrent protection: Prevents damage if the engine draws too much power.
- Short-circuit protection: Automatically cuts off if a short is detected.
<
Why this matters: These features make the jump starter idiot-proof. I once accidentally swapped the clamps, and the device simply blinked red—no damage done.
Maintenance and Troubleshooting
Storing Your Jump Starter Properly
To keep it in top shape:
- Store in a cool, dry place (avoid extreme temperatures).
- Recharge every 3-6 months—lithium-ion batteries degrade if left empty for too long.
- Keep the clamps clean with a wire brush (corrosion reduces conductivity).
Personal experience: I left mine in my car’s trunk during summer, and the heat drained the battery. Now I store it in my garage and charge it before long road trips.
Common Issues and Fixes
Here’s what to do if something goes wrong:
| Issue | Possible Cause | Solution |
|---|---|---|
| Jump starter won’t power on | Low battery or defective unit | Recharge for 1 hour. If it still won’t turn on, contact customer support. |
| Engine won’t start after connection | Clamps loose or battery too dead | Tighten clamps. Try a second attempt after 2 minutes. If it fails, the battery may need replacement. |
| USB port not charging devices | Port debris or software glitch | Clean the port with a toothpick. Restart the jump starter. |
Pro tip: The manual includes a troubleshooting flowchart. Keep it in your glove compartment—you’ll thank yourself later.
Real-World Performance: What to Expect
Jump-Starting Capabilities
The Chromo Inc Auto EPS can jump-start:
- Gasoline engines up to 6.0L (e.g., sedans, SUVs, small trucks).
- Diesel engines up to 3.0L (e.g., light-duty diesel pickups).
My test: I used it on a 2015 Ford F-150 (5.0L V8) with a weak battery. The engine started on the first try. It also revived a 2008 Honda Civic with a dead battery after two attempts.
Battery Life and Recharge Time
- Holds a charge for 6-12 months when stored properly.
- Recharges fully in 4-6 hours (wall) or 8-10 hours (car).
Caveat: Cold weather reduces battery efficiency. At 20°F (-6°C), it delivered 2-3 jumps instead of the usual 4-5.
Size and Portability
At 6.5 x 3.2 x 1.2 inches and 1.2 lbs, it fits easily in a glove compartment or center console. I’ve even carried it in my backpack while biking to help stranded friends.
Final Thoughts: Is This Jump Starter Worth It?
After months of using the Chromo Inc Auto EPS Multifunction Jump Starter, I’ve learned a few things:
- Strengths: Reliable jump-starting, compact size, USB charging, and safety features make it a solid choice for everyday drivers. The LED flashlight is genuinely useful, and the price (~$80-$100) is reasonable for the features.
- Areas for improvement: The included car charger is flimsy—I upgraded to a heavy-duty one. Also, the USB-C port is missing (a bummer for newer phones).
Who should buy it? If you drive an older car, live in a cold climate, or just want peace of mind, this jump starter is a smart investment. It’s not perfect, but it’s one of the most user-friendly options I’ve tried. And honestly? The first time it got me out of a jam, it paid for itself.
Remember: No tool is a substitute for regular battery maintenance. Check your car battery every 6 months, and replace it every 3-5 years. But when disaster strikes, the Chromo Inc Auto EPS will be there—ready to save the day.
Frequently Asked Questions
How do I use the Chromo Inc Auto EPS Multifunction Jump Starter to jump-start my car?
To use the jump starter, first ensure the device is charged. Connect the red clamp to the positive terminal of the car battery and the black clamp to a grounded metal surface, then start the engine while keeping the jump starter connected for no more than 5 seconds.
Can the Chromo Inc Auto EPS Multifunction Jump Starter charge other devices like phones or tablets?
Yes, this jump starter includes USB ports to charge smartphones, tablets, and other USB-powered devices. Simply connect your device using the appropriate cable and press the power button to begin charging.
What safety features does the Chromo Inc Auto EPS Multifunction Jump Starter have?
The jump starter features built-in protection against reverse polarity, over-current, over-voltage, and short circuits to ensure safe operation. These safeguards help prevent damage to both the device and your vehicle.
How long does it take to fully charge the jump starter?
The Chromo Inc Auto EPS Multifunction Jump Starter typically takes 4–6 hours to fully charge using the included AC adapter or 12V car charger. A full charge ensures optimal performance for jump-starting and charging devices.
Is the Chromo Inc Auto EPS Multifunction Jump Starter compatible with all vehicle types?
Yes, it works with most 12V vehicles, including cars, SUVs, motorcycles, and small trucks. Always check your vehicle’s manual to confirm compatibility with lithium-based jump starters.
What should I do if the jump starter doesn’t power on?
If the device doesn’t power on, ensure it’s fully charged and the power button is pressed for at least 3 seconds. If the issue persists, contact Chromo Inc support for troubleshooting or warranty assistance.