
Featured image for bestek jump starter instructions
Image source: s19528.pcdn.co
Master your BESTEK jump starter with this clear, step-by-step guide designed to get your vehicle running safely and efficiently. From proper battery connection to troubleshooting common issues, follow these expert instructions to ensure reliable performance every time.
Key Takeaways
- Always check battery level before use to ensure sufficient charge for jump starting.
- Connect clamps properly: red to positive (+), black to negative (-) terminals.
- Turn on the jump starter only after clamps are securely attached.
- Wait 30 seconds after connection before attempting to start the vehicle.
- Disconnect immediately once the engine starts to prevent overheating.
- Recharge after every use to maintain peak performance and battery life.
- Store in a cool, dry place to avoid damage and ensure longevity.
📑 Table of Contents
- Why Jump Starters Are a Game-Changer for Every Driver
- Understanding Your Bestek Jump Starter: What’s in the Box?
- Step-by-Step Guide: How to Use Your Bestek Jump Starter
- Advanced Tips: Maximizing Your Jump Starter’s Potential
- Troubleshooting: What to Do When Things Go Wrong
- Comparison: Bestek vs. Other Jump Starter Brands (Data Table)
- Final Thoughts: Confidence Comes from Preparation
Why Jump Starters Are a Game-Changer for Every Driver
Let’s be honest—few things are as frustrating as turning the key in your car’s ignition and hearing nothing but a faint click. You’re late for work, the battery’s dead, and your jumper cables are buried under a pile of winter gear in the trunk. That’s where a Bestek jump starter comes in. I remember the first time I used mine. It was a cold December morning, my car wouldn’t start, and I was about to call for roadside assistance when I remembered the compact device sitting in my glovebox. Within two minutes, my car roared to life. No waiting. No hassle. Just pure relief.
Jump starters like Bestek’s have evolved from bulky, intimidating devices into sleek, user-friendly tools that fit in your glove compartment. They’re not just for emergencies, either. Whether you’re a daily commuter, a road-tripper, or someone who just wants peace of mind, knowing how to use your jump starter properly can save you time, money, and stress. But here’s the catch: even the best tool is useless if you don’t know how to use it correctly. That’s why this guide exists. We’ll walk through Bestek jump starter instructions step by step, covering everything from setup to troubleshooting—so you can jump-start your car confidently, safely, and without second-guessing.
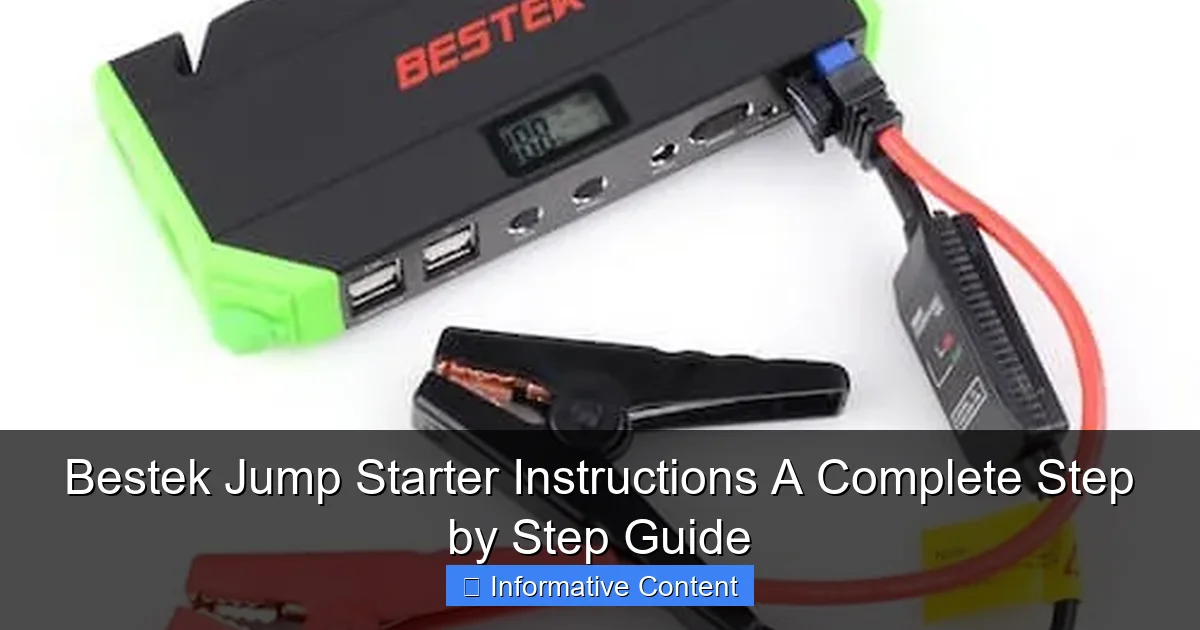
Understanding Your Bestek Jump Starter: What’s in the Box?
Before you even think about reviving a dead battery, it’s important to get familiar with what you’re working with. Not all Bestek jump starters are the same, but most models (like the Bestek 1200A or Bestek 2000A) come with a similar set of components. Knowing what each part does will help you avoid mistakes and make the process smoother.

Visual guide about bestek jump starter instructions
Image source: milesperhr.com
Key Components of a Bestek Jump Starter
- Jump Starter Unit: This is the main powerhouse—a lithium-ion battery pack with built-in safety features like reverse polarity protection and overload protection.
- Smart Jumper Cables: These are the clamps you attach to your car’s battery terminals. Unlike traditional cables, Bestek’s often come with “smart” features like LED indicators that tell you if you’ve connected them correctly.
- USB Charging Cables: Used to recharge your jump starter via wall outlet, car adapter, or USB port.
- Wall and Car Charger: Most kits include both a standard AC charger and a 12V car charger for on-the-go recharging.
- User Manual: Don’t skip this! It contains model-specific details, safety warnings, and troubleshooting tips.
- Storage Case or Pouch: Keeps everything organized and protected.
When I first unboxed my Bestek 1200A, I was surprised by how compact it was. It fit in my palm and weighed less than a laptop. But don’t let its size fool you—this little device packs enough power to jump-start a 7.0L gas or 5.5L diesel engine multiple times on a single charge. The smart clamps were a game-changer. One had a green light that lit up when the connection was correct, and a red light (with a beep) if I accidentally reversed the polarity. That feature alone gave me confidence I wouldn’t fry my car’s electrical system.
Check the Battery Level Before You Need It
Here’s a pro tip: always check your jump starter’s charge level before you store it. I learned this the hard way. I kept mine in the glovebox for six months without charging, and when I needed it most, it was dead. Most Bestek models have an LED power indicator—press the button, and it shows 1–4 lights depending on charge (4 = full). If it’s below two bars, plug it in. It usually takes 3–5 hours to fully charge via wall outlet, or 6–8 hours via USB.
Know Your Vehicle’s Battery Type
Bestek jump starters are designed for 12V lead-acid batteries, which are standard in most cars, trucks, and SUVs. But if you drive a hybrid, electric vehicle, or a high-performance car with an AGM or lithium battery, double-check compatibility. Some models may require a higher cranking current or special settings. When in doubt, consult your vehicle manual or Bestek’s website for compatibility charts.
Step-by-Step Guide: How to Use Your Bestek Jump Starter
Now that you know what’s in the box, let’s get into the meat of the matter: Bestek jump starter instructions for actually jump-starting your car. I’ll walk you through each step with real-world tips to avoid common mistakes.
Step 1: Prepare the Jump Starter
- Ensure your Bestek unit is charged to at least 50%. A full charge is ideal, but 50% is usually enough for one jump.
- Turn off the jump starter if it has a power switch (some models power on automatically when clamps are attached).
- Uncoil the jumper cables completely to avoid resistance or overheating.
Tip: I keep a small microfiber cloth in my jump starter kit to wipe down the clamps and battery terminals—dirt and corrosion can interfere with the connection.
Step 2: Park Safely and Turn Off Everything
- Park on a flat surface, engage the parking brake, and turn off the engine, headlights, radio, and any other electronics.
- If possible, open the hood and locate the battery. In some cars (like older BMWs), the battery is in the trunk or under the rear seat—check your manual.
Real Talk: One time, I tried to jump-start my car with the headlights on. The jump starter struggled and gave a low-power warning. Lesson learned: always turn off everything before jumping.
Step 3: Connect the Jumper Cables Correctly
This is the most critical step. Follow this order to avoid sparks, damage, or injury:
- Red Clamp to Positive (+) Terminal: The positive terminal is usually marked with a “+” sign and is larger than the negative. Attach the red clamp firmly.
- Black Clamp to Ground: Connect the black clamp to an unpainted metal surface on the engine block or a designated grounding point (not the negative battery terminal!). This reduces the risk of sparks near the battery.
- Wait for the Green Light: On smart models, a green LED will light up on the clamp or unit, indicating a correct connection. If you see a red light or hear a beep, disconnect and check the polarity.
Pro Tip: If your car’s battery is in the trunk, look for a jump-starting terminal under the hood (common in European cars). Use that instead of the battery itself.
Step 4: Power On and Start the Engine
- Turn on the jump starter (if required). Some models have a “Start” button—press it.
- Wait 1–3 minutes for the jump starter to deliver power to the battery.
- Try starting your car. If it doesn’t start on the first try, wait 30 seconds and try again. Most Bestek units can handle 3–5 attempts in quick succession.
Example: My neighbor’s truck had a completely dead battery. We used the Bestek 2000A, waited two minutes, and it started on the second try. The engine cranked slower than usual, but it worked.
Step 5: Disconnect in Reverse Order
Once the engine is running, disconnect the clamps in this order:
- Remove the black clamp from the ground.
- Remove the red clamp from the positive terminal.
- Coil the cables and store the jump starter.
Important: Never let the clamps touch each other while connected to the battery—this can cause a short circuit.
Advanced Tips: Maximizing Your Jump Starter’s Potential
Your Bestek jump starter isn’t just a one-trick pony. With the right knowledge, you can use it for a lot more than just jump-starting. Let’s explore some advanced features and best practices.
Use It as a Power Bank
Most Bestek models have USB ports (usually 5V/2.4A) to charge phones, tablets, or GPS devices. I’ve used mine to charge my phone during long road trips when the car’s USB port was broken. Just plug in your cable, and it delivers steady power—perfect for emergencies.
Tip: The jump starter’s battery drains faster when powering devices, so don’t rely on it for long-term charging. Use it for urgent top-offs.
Jump-Start Diesel Engines
Some Bestek models (like the 2000A) are rated for diesel engines up to 5.5L. Diesel engines require more cranking power, so:
- Make sure the jump starter is fully charged.
- Wait 2–3 minutes after connecting before starting.
- If it fails on the first try, wait 30 seconds and try again—diesel engines can be stubborn.
Safety First: Avoiding Common Hazards
- Never jump-start a damaged or leaking battery. It could explode. Replace it instead.
- Keep the jump starter away from water or moisture. Even though it’s portable, it’s not waterproof.
- Don’t leave it connected to the battery after the car starts. Disconnect immediately to avoid overcharging.
- Store it in a cool, dry place. Extreme heat or cold can reduce battery life.
Anecdote: A friend left his jump starter in the car during a heatwave. The battery swelled and wouldn’t hold a charge. Now he keeps it in the house when not in use.
Extend Battery Life with Proper Maintenance
- Recharge your jump starter every 3–6 months, even if you don’t use it.
- Avoid fully draining the battery—lithium-ion cells last longer with partial discharges.
- Clean the clamps regularly with a dry cloth to prevent corrosion.
Troubleshooting: What to Do When Things Go Wrong
Even the best devices can have issues. Here’s how to diagnose and fix common problems with your Bestek jump starter.
Jump Starter Won’t Turn On
- Check the charge: If all LEDs are off, the battery may be too low. Plug it in for 10 minutes and try again.
- Inspect the power button: Some models have a “hold” function—press and hold for 3 seconds.
- Reset the unit: Unplug it, wait 30 seconds, then plug it back in.
Car Doesn’t Start After Connection
- Verify the clamps are secure: Loose connections can prevent power transfer.
- Check the ground connection: A poor ground can cause the jump starter to shut off.
- Try a different ground point: Sometimes the engine block has paint or rust. Scrape a small area with the clamp.
- Ensure the car’s battery isn’t completely dead: A battery with zero voltage may not respond. In this case, you may need a battery replacement.
Jump Starter Overheats
If the unit gets hot during use:
- Disconnect immediately.
- Let it cool for 10–15 minutes.
- Check for obstructions in the vents (dust or debris).
- Ensure you’re not jump-starting a battery with a short circuit.
LED Lights Not Working
- Clean the clamp contacts with a cotton swab and isopropyl alcohol.
- Update the firmware (if your model supports it—check Bestek’s website).
- Contact customer support if the issue persists.
Comparison: Bestek vs. Other Jump Starter Brands (Data Table)
To give you a clear picture, here’s a comparison of Bestek jump starters with two popular competitors. This table highlights key features, performance, and value.
| Feature | Bestek 1200A | NOCO Boost Plus GB40 | GOOLOO GP4000 |
|---|---|---|---|
| Peak Amps | 1200A | 1000A | 4000A |
| Jumps per Charge | Up to 20 (4.0L gas) | Up to 20 (4.0L gas) | Up to 30 (7.0L gas) |
| Smart Clamps | Yes (LED indicators) | Yes (spark-proof) | Yes (LCD display) |
| USB Ports | 2 (5V/2.4A) | 1 (5V/2.1A) | 2 (5V/3.4A) |
| Weight | 1.2 lbs | 1.1 lbs | 2.4 lbs |
| Price (USD) | $89.99 | $99.99 | $129.99 |
| Warranty | 1 year | 1 year | 18 months |
As you can see, Bestek offers a solid balance of power, portability, and price. While the GOOLOO GP4000 has higher peak amps, it’s heavier and more expensive. The NOCO GB40 is reliable but lacks the dual USB ports of Bestek models. For most drivers, the Bestek 1200A is the sweet spot.
Final Thoughts: Confidence Comes from Preparation
Having a Bestek jump starter in your car is like carrying a safety net. But as I’ve learned from experience, the real value isn’t just in the device—it’s in knowing how to use it. Whether you’re facing a dead battery in a parking lot, helping a friend on the side of the road, or just want to avoid the stress of being stranded, following these Bestek jump starter instructions will give you the confidence to handle the situation like a pro.
Remember: preparation is key. Charge your jump starter regularly, keep it accessible, and practice the steps at home so you’re not fumbling in the dark when you really need it. And if you’re ever unsure—don’t guess. Refer to the manual, check the LED indicators, and prioritize safety over speed.
At the end of the day, a jump starter is more than a tool. It’s peace of mind. It’s knowing that no matter what the road throws at you, you’ve got the power to get moving again. So keep your Bestek charged, your clamps clean, and your knowledge sharp. Because when your car won’t start, you won’t be left waiting—you’ll be the one helping others.
Frequently Asked Questions
How do I use the Bestek jump starter for the first time?
Before using your Bestek jump starter, fully charge it using the included cable. Connect the clamps to the battery terminals (red to positive, black to negative) and turn on the device to deliver a jump start.
Can I use the Bestek jump starter on a completely dead battery?
Yes, the Bestek jump starter is designed to revive deeply discharged batteries. Ensure the clamps are securely connected and wait up to 30 seconds for the battery to gain enough charge before attempting to start the engine.
What safety features does the Bestek jump starter have?
The Bestek jump starter includes reverse polarity, overcurrent, and short-circuit protection to prevent damage. These features make it safe to use even for beginners.
How long does it take to charge the Bestek jump starter fully?
Charging time varies but typically takes 4–6 hours using a standard wall outlet. The LED indicator will turn solid green when the Bestek jump starter is fully charged and ready for use.
Can I use the Bestek jump starter while it’s charging?
No, for safety reasons, the device disables jump-starting functionality while charging. Always wait until it’s fully charged to use the jump-start feature.
What other devices can I power with my Bestek jump starter?
Besides jump-starting vehicles, the Bestek jump starter includes USB ports and a 12V DC outlet to charge phones, tablets, or small electronics, making it a versatile emergency power source.