
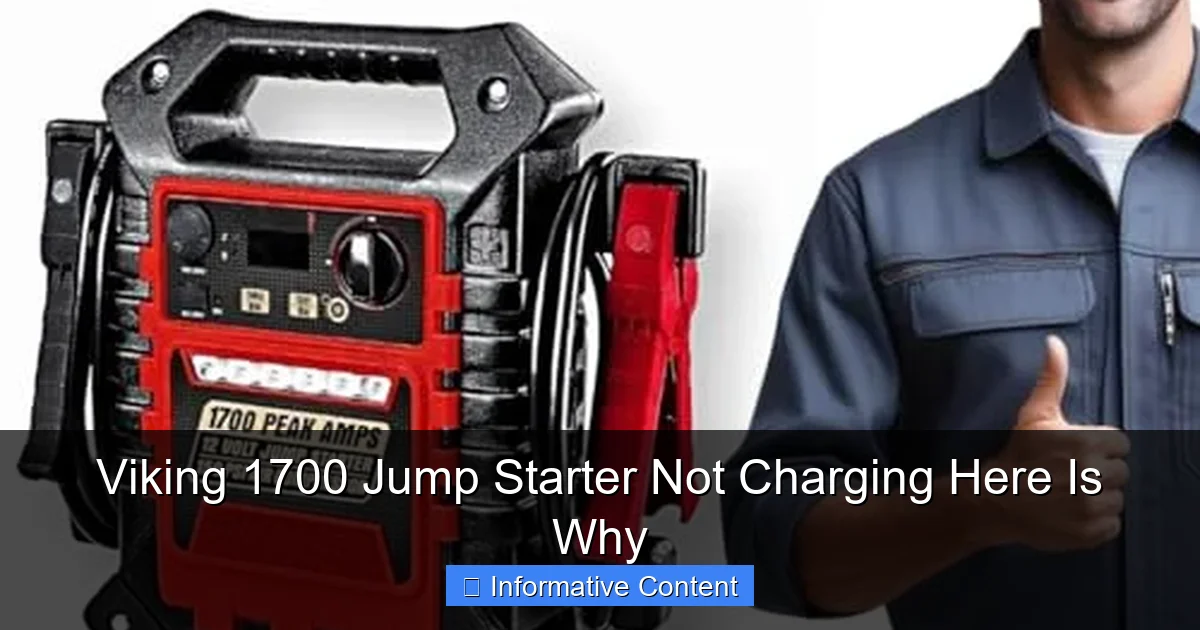
Featured image for viking 1700 jump starter not charging
Image source: m.media-amazon.com
If your Viking 1700 jump starter isn’t charging, the issue is often a faulty power source, damaged charging cable, or depleted internal battery. Check the outlet, inspect the cable for frays, and ensure the unit has residual charge—many users overlook these simple fixes. Persistent problems may indicate a deeper internal fault requiring professional repair or replacement.
Key Takeaways
- Check the power source: Ensure the outlet or charger is functional before troubleshooting further.
- Inspect charging cables: Look for frays, bends, or loose connections that disrupt charging.
- Reset the device: A simple reset can resolve many charging-related malfunctions.
- Verify battery health: A degraded battery may need replacement to hold a charge.
- Follow the manual: Always adhere to the manufacturer’s charging guidelines and safety warnings.
📑 Table of Contents
- Viking 1700 Jump Starter Not Charging? Here’s Why
- Understanding How the Viking 1700 Jump Starter Works
- Common Reasons Your Viking 1700 Isn’t Charging
- Step-by-Step Troubleshooting Guide
- Prevention Tips to Avoid Future Charging Issues
- When to Contact Viking Support or Consider a Replacement
- Real User Experiences: What Others Have Learned
- Summary Table: Viking 1700 Charging Troubleshooting
- Final Thoughts: Don’t Give Up on Your Viking 1700
Viking 1700 Jump Starter Not Charging? Here’s Why
Picture this: You’re running late for work, you hop into your car, turn the key—and nothing. The engine doesn’t even sputter. Your heart sinks. You remember you have that trusty Viking 1700 jump starter in the trunk, the one you bought after last winter’s battery disaster. You pull it out, press the power button… and it’s dead. Not just the car battery—your jump starter won’t charge either.
Frustrating, right? You’re not alone. Many Viking 1700 owners have faced this exact moment of panic. Whether you’re stranded in a parking lot, stuck in your driveway, or preparing for a road trip, a jump starter that won’t charge can feel like a betrayal. But before you toss it in the trash or blame the product, let’s take a deep breath. Most of the time, the issue isn’t with the jump starter itself—it’s something simple, fixable, and often overlooked.
In this guide, we’ll walk you through the most common reasons your Viking 1700 jump starter isn’t charging, how to troubleshoot them step by step, and what you can do to prevent it from happening again. Whether you’re a first-time user or a seasoned road warrior, this post will help you get back on the road—and keep your jump starter ready when you need it most.
Understanding How the Viking 1700 Jump Starter Works
Before we dive into why your Viking 1700 isn’t charging, it helps to understand how it’s supposed to work. Think of your jump starter like a portable power bank—but way more powerful. It stores electrical energy in its internal lithium-ion battery, which you can then use to jump-start a dead car battery, charge your phone, or power small devices via USB ports.
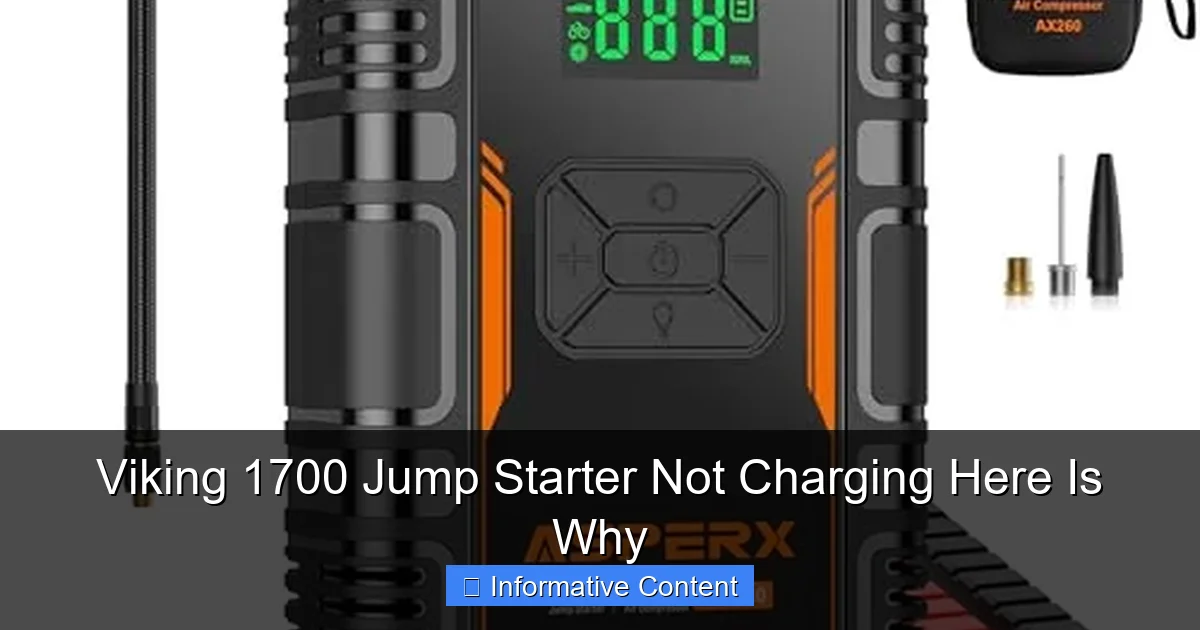
Visual guide about viking 1700 jump starter not charging
Image source: m.media-amazon.com
Key Components of the Viking 1700
The Viking 1700 is designed to deliver up to 1700 peak amps, making it capable of jump-starting most cars, trucks, SUVs, and even small boats. Inside, it has several key parts:
- Lithium-ion battery: Stores the power. This is the heart of the device.
- Charging port: Usually a DC input or USB-C port where you plug in the charger.
- LED indicators: Show charging status—typically blinking or solid lights to indicate progress.
- Protection circuits: Prevent overcharging, short circuits, and overheating.
- Jump-start clamps: Heavy-duty cables with red and black clamps for connecting to your car battery.
Normal Charging Behavior
When you plug in the Viking 1700 to charge, here’s what should happen:
- The LED lights should turn on—often blinking or showing a specific color (like red or blue).
- Over time, the lights change (e.g., from red to green) to indicate the battery is charging and eventually fully charged.
- The entire charging process usually takes 3 to 6 hours, depending on the power source and battery level.
If none of this happens—no lights, no change in indicator, no response at all—then something is wrong. But don’t panic. Most issues are fixable with a little troubleshooting.
Common Reasons Your Viking 1700 Isn’t Charging
Now that you know how the Viking 1700 is supposed to behave, let’s look at the most common reasons it might not be charging. These aren’t defects—they’re user-related or environmental factors that can be resolved with a few simple checks.
1. Faulty or Incompatible Charger
This is the number one culprit. You might be using the wrong charger, a damaged cable, or a low-quality replacement.
The Viking 1700 typically comes with a dedicated DC charger (often 12V/2A or similar). If you’ve lost it and are using a random USB cable or a phone charger, it likely won’t deliver enough power to charge the jump starter properly.
Example: Sarah tried charging her Viking 1700 with a USB-C cable from her laptop. The LED blinked once and then went out. She assumed the unit was broken—until she dug out the original charger and it started charging normally.
Tip: Always use the charger that came with your Viking 1700. If you’ve lost it, check the manual or contact Viking support for the correct replacement specs.
2. Dirty or Loose Charging Port
Over time, dust, dirt, or moisture can build up in the charging port. Even a small amount of debris can prevent a solid connection.
Also, if the port is slightly bent or the internal contacts are loose, the charger might not make proper contact—even if it looks plugged in.
How to check: Unplug the charger and inspect the port. Use a flashlight to look inside. If you see dust or lint, gently clean it with a dry toothbrush or compressed air. Avoid using water or metal objects.
3. Dead or Deeply Discharged Battery
Lithium-ion batteries don’t like being completely drained. If your Viking 1700 has been sitting unused for months—or if you used it to jump-start a car multiple times without recharging—the battery might have dropped to a critically low level.
At this point, the internal protection circuit may shut down the unit to prevent damage. It won’t respond to charging until the battery is “revived.”
Signs of a deeply discharged battery:
- No LED lights when you press the power button.
- Charger plugged in, but no response after 30 minutes.
- Unit feels unusually light or warm (rare, but possible).
4. Faulty Power Source
Even if your charger is good, the outlet or USB port you’re using might not be delivering power.
Try plugging the charger into a different wall outlet. If you’re using a car USB port or a power strip, test with a direct wall outlet instead. Some car USB ports don’t provide enough current for jump starters.
Pro tip: Use a multimeter to check if the outlet is delivering the expected voltage (usually 110–120V in the U.S.). If you don’t have one, try charging another device in the same outlet to confirm it’s working.
5. Overheating or Thermal Protection
The Viking 1700 has built-in safety features. If the internal temperature gets too high—either from prolonged use or charging in a hot environment—the unit may shut down to prevent damage.
This is especially common if you’ve just used it to jump-start a car and immediately tried to recharge it.
What to do: Let the unit cool down for 30–60 minutes in a shaded, cool area. Then try charging again. Avoid leaving it in direct sunlight or inside a hot car.
Step-by-Step Troubleshooting Guide
Now that you know the common causes, let’s walk through a practical troubleshooting process. Follow these steps in order—they’re designed to be simple, safe, and effective.
Step 1: Check the Charger and Cable
Start with the basics. Is your charger working?
- Inspect the charger for visible damage—frayed wires, bent pins, or burn marks.
- Try using the charger with another device (if compatible) to see if it delivers power.
- If you have a spare charger with the same specs, test it with your Viking 1700.
Example: Mark noticed his charger’s LED wasn’t lighting up when plugged in. He swapped it with a friend’s identical charger—and his Viking 1700 started charging immediately.
Step 2: Clean the Charging Port
Turn off the unit and unplug everything. Use a dry, soft brush (like an old toothbrush) to gently remove dust from the charging port. You can also use a can of compressed air—just don’t shake it upside down.
Avoid using water, alcohol, or metal tools. These can damage the internal components or cause short circuits.
Step 3: Test a Different Power Source
Plug the charger into a different wall outlet—preferably one you know works (like the one your phone charges from). Avoid power strips, extension cords, or car USB ports for this test.
If the Viking 1700 starts charging, the original outlet was the problem.
Step 4: Try a “Battery Wake-Up” Charge
If the battery is deeply discharged, it may need a slow, steady charge to “wake up.”
Plug in the charger and leave it connected for at least 6–8 hours—even if there’s no immediate response. Sometimes, the protection circuit needs time to reset.
Note: Don’t leave it unattended for too long. Check every few hours to see if the LED indicators come on.
Step 5: Check for Physical Damage
Inspect the entire unit for signs of damage:
- Cracks or dents on the casing.
- Loose or wobbly clamps.
- Swollen or bulging battery (a serious safety issue—stop using it immediately).
If you see any of these, especially a swollen battery, do not attempt to charge it. Contact Viking support or dispose of it safely at an electronics recycling center.
Step 6: Reset the Unit (If Applicable)
Some jump starters have a reset button or a specific button combination to restart the system. Check your user manual for instructions.
For the Viking 1700, there’s no official reset button, but you can try:
- Press and hold the power button for 10–15 seconds.
- Unplug the charger, wait 30 seconds, then plug it back in.
This can sometimes reset the internal circuitry.
Prevention Tips to Avoid Future Charging Issues
Now that you’ve (hopefully) fixed the problem, let’s talk about how to keep your Viking 1700 in top shape. A little maintenance goes a long way.
1. Charge It Regularly
Even if you don’t use your jump starter, lithium-ion batteries lose charge over time. Aim to recharge your Viking 1700 every 3–6 months.
Why? Letting it sit fully discharged for too long can permanently damage the battery.
2. Store It Properly
Keep your jump starter in a cool, dry place—ideally between 50°F and 77°F (10°C to 25°C). Avoid extreme heat or cold.
Don’t store it in your car trunk during summer. Temperatures can exceed 140°F (60°C), which is harmful to lithium batteries.
3. Use the Right Charger
Always use the original charger or a certified replacement. Avoid cheap knockoffs—they may not meet safety standards and can damage your device.
Look for chargers with the same voltage and current rating (e.g., 12V/2A). Check the label on your original charger for specs.
4. Keep It Clean
Wipe down the exterior with a dry cloth every few months. Clean the charging port gently to prevent dust buildup.
If you’ve used it in wet or muddy conditions, dry it thoroughly before storing.
5. Monitor the LED Indicators
Get familiar with what the lights mean. For example:
- Red blinking = charging in progress.
- Solid green = fully charged.
- No lights = possible fault or deeply discharged battery.
If the lights behave unusually—like flashing rapidly or changing colors randomly—it could signal a problem.
When to Contact Viking Support or Consider a Replacement
Despite your best efforts, sometimes the issue isn’t fixable at home. Here’s when it’s time to reach out for help.
Signs You Need Professional Help
- The unit still won’t charge after 24 hours of troubleshooting.
- You notice a burning smell, smoke, or excessive heat.
- The battery is swollen or leaking.
- The clamps are damaged or not making proper contact.
- The LED indicators are completely unresponsive.
In these cases, stop using the jump starter immediately. Continuing to charge a faulty unit can be dangerous.
How to Contact Viking Support
Viking offers customer support through their website or phone. Have your model number (Viking 1700), purchase date, and serial number ready.
Many units come with a 1–2 year warranty. If your jump starter is still under warranty and the issue isn’t due to misuse, you may be eligible for a repair or replacement.
When to Replace Instead of Repair
If your Viking 1700 is more than 3–4 years old and has seen heavy use, it may be nearing the end of its lifespan. Lithium-ion batteries degrade over time, even with proper care.
Consider upgrading to a newer model with better safety features, faster charging, or higher capacity.
Real User Experiences: What Others Have Learned
To give you a fuller picture, here’s what real Viking 1700 users have shared about charging issues—and how they solved them.
Case Study 1: The Forgotten Charger
“I thought my jump starter was dead. I tried three different USB cables, but nothing worked. Then I found the original charger in a drawer—and it charged in 4 hours. Lesson learned: don’t assume any charger will work.” – Lisa, Texas
Case Study 2: The Deep Discharge
“I used my Viking 1700 to jump-start my truck three times in one week. Then it wouldn’t charge. I left it plugged in overnight, and by morning, the green light was on. It just needed time to recover.” – James, Colorado
Case Study 3: The Dusty Port
“I cleaned the charging port with a toothbrush, and it started working again. I had no idea dust could cause such a big problem. Now I clean it every few months.” – Maria, Florida
These stories show that most charging issues are preventable—and fixable—with a little attention.
Summary Table: Viking 1700 Charging Troubleshooting
| Issue | Possible Cause | Solution |
|---|---|---|
| No LED lights when charging | Dead battery, faulty charger, or loose connection | Try original charger, clean port, leave plugged in for 6+ hours |
| Charger not working | Damaged cable or wrong charger | Test with another charger or outlet |
| Unit gets hot during charging | Overheating or short circuit | Unplug immediately, let cool, check for damage |
| LED blinks but doesn’t charge | Weak power source or deeply discharged battery | Use wall outlet, try “wake-up” charge |
| Swollen battery | Battery failure | Stop using, contact support, recycle safely |
Final Thoughts: Don’t Give Up on Your Viking 1700
Finding your Viking 1700 jump starter not charging can be frustrating—but it’s rarely the end of the road. In most cases, the issue comes down to a simple fix: the wrong charger, a dirty port, or a deeply discharged battery. With the right troubleshooting steps, you can often revive your device and get back to peace of mind on the road.
Remember, your jump starter is a tool—and like any tool, it needs care and attention. Charge it regularly, store it properly, and use the right equipment. And if all else fails, don’t hesitate to reach out to Viking support. They’re there to help.
So the next time you’re staring at a dead car and a silent jump starter, take a breath. Check the charger. Clean the port. Give it time. More often than not, your Viking 1700 will be ready when you need it most.
Stay charged, stay safe, and keep rolling.
Frequently Asked Questions
Why is my Viking 1700 jump starter not charging?
This issue is often caused by a faulty power source, damaged charging cable, or internal battery problems. Ensure you’re using the original charger and try a different outlet to rule out power supply issues.
How do I fix a Viking 1700 jump starter that won’t charge?
First, clean the charging port and check the cable for visible damage. If the problem persists, perform a reset by holding the power button for 10 seconds or contact Viking support for a potential battery replacement.
Can a dead internal battery cause the “Viking 1700 jump starter not charging” issue?
Yes, if the internal lithium battery is deeply discharged or degraded, the device may not accept a charge. Try jump-starting the unit using another power source or replace the battery if it’s no longer under warranty.
Does overcharging damage the Viking 1700 jump starter?
Overcharging can degrade the battery over time, especially if left plugged in for days. Always disconnect the charger once the battery reaches 100% to prolong lifespan and avoid charging issues.
What does the flashing light mean when my Viking 1700 won’t charge?
A flashing LED usually indicates a connection problem, low voltage, or battery error. Try reseating the charging cable or using a different adapter to resolve the issue.
Is there a reset button on the Viking 1700 jump starter?
The Viking 1700 doesn’t have a dedicated reset button, but you can reset it by holding the power button for 10–15 seconds. This may resolve minor software glitches preventing the device from charging.