
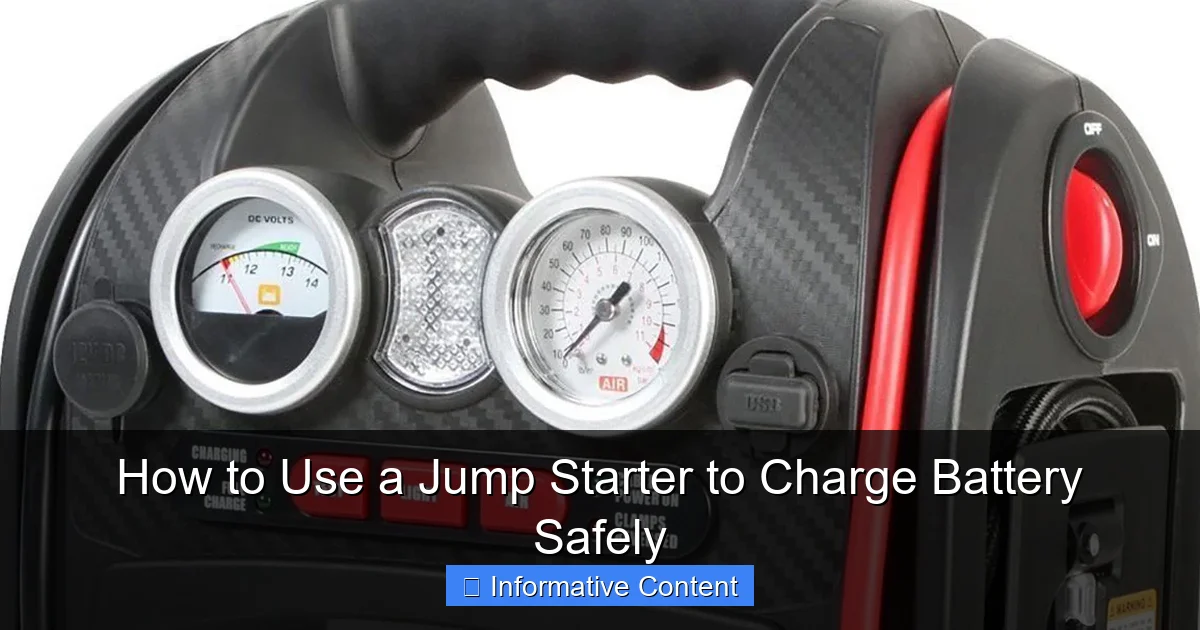
Featured image for using a jump starter to charge battery
Image source: reviewerst.com
Always connect the jump starter to the battery before turning it on to prevent sparks and ensure a safe charging process. Match the polarity correctly—red to positive (+), black to negative (−)—and follow the device’s instructions for optimal results. This simple, step-by-step approach protects both you and your vehicle’s electrical system.
Key Takeaways
- Always check voltage compatibility before connecting the jump starter to avoid damage.
- Connect clamps correctly: red to positive, black to negative or ground.
- Power on the jump starter only after secure connections are made.
- Monitor charging time to prevent overcharging and battery damage.
- Use safety gear like gloves and goggles for protection.
- Store properly in a cool, dry place after use.
📑 Table of Contents
- How to Use a Jump Starter to Charge Battery Safely
- Understanding How Jump Starters Work
- Choosing the Right Jump Starter for Your Needs
- Step-by-Step Guide: How to Use a Jump Starter to Charge Battery
- Safety Tips and Common Mistakes to Avoid
- Maintaining Your Jump Starter for Long-Term Reliability
- Real-World Example: A Jump Starter Saves the Day
- Final Thoughts: Be Prepared, Stay Safe
How to Use a Jump Starter to Charge Battery Safely
Picture this: It’s a cold winter morning, you’re running late for work, and you turn the key in your car—only to hear a weak, clicking sound. Your battery is dead. Again. You’ve got jumper cables, but no friendly neighbor nearby to help. Or maybe you’re on a remote road trip, miles from the nearest gas station. In moments like these, a portable jump starter can feel like a lifeline.
But here’s the thing: while jump starters are incredibly useful, they’re not just “plug-and-play” devices. Using one incorrectly can damage your car’s electrical system, ruin the jump starter itself, or even put you at risk of injury. That’s why knowing how to use a jump starter to charge battery safely is essential—not just for convenience, but for your safety and the longevity of your vehicle.
In this guide, I’ll walk you through everything you need to know about using a jump starter the right way. Whether you’re a seasoned driver or someone who’s never popped the hood before, I’ll break it down in simple, practical steps. We’ll cover how jump starters work, what to look for when buying one, step-by-step instructions, safety tips, and even how to maintain your device so it’s ready when you need it most. By the end, you’ll feel confident—not confused—about using this handy tool.
Understanding How Jump Starters Work
Before we dive into the “how-to,” let’s take a moment to understand what a jump starter actually does. Think of it as a portable battery pack—like a giant power bank for your car. Unlike traditional jumper cables that rely on another vehicle’s battery, a jump starter stores its own charge and delivers a burst of power directly to your dead battery to get your engine running.
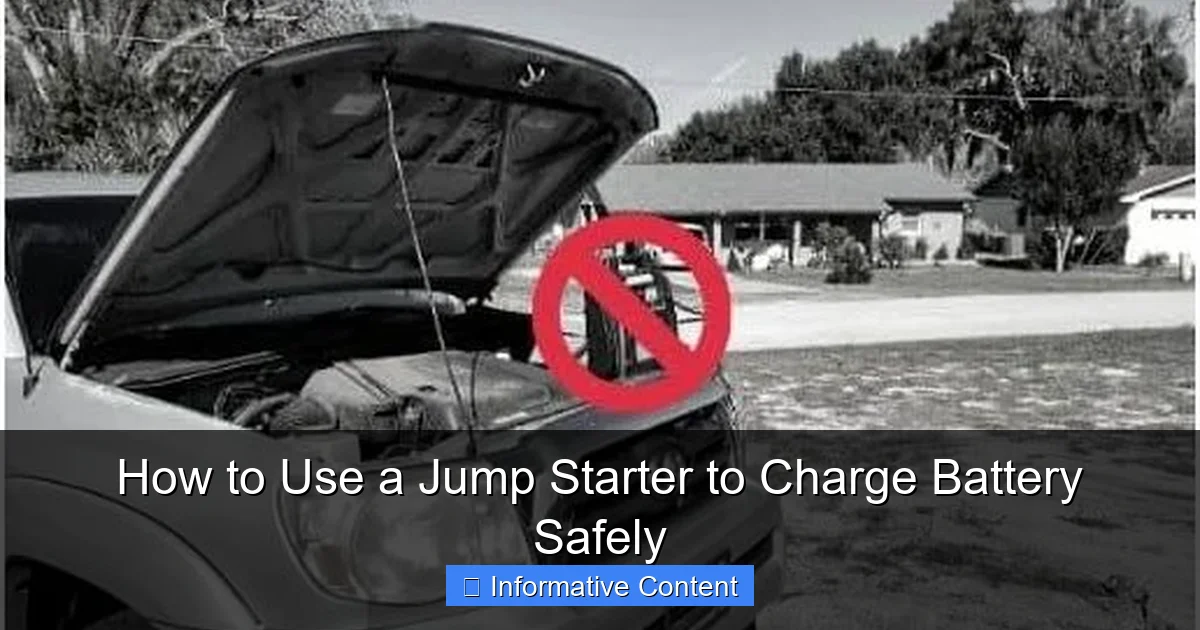
Visual guide about using a jump starter to charge battery
Image source: roadwayready.com
What’s Inside a Jump Starter?
Most modern jump starters contain lithium-ion or lithium-polymer batteries, similar to what’s in your smartphone or laptop—but much more powerful. These batteries are designed to deliver high current (measured in amps) for a short time, which is exactly what’s needed to crank a car engine. Many also come with built-in safety features like reverse polarity protection, overload protection, and short-circuit prevention.
For example, a typical jump starter might have a capacity of 10,000 to 20,000 milliampere-hours (mAh) and be able to deliver 400 to 1000 peak amps. That’s enough to jump-start most cars, SUVs, and even small trucks. Some high-end models can even handle diesel engines, which require more power to start.
Jump Starter vs. Traditional Jumper Cables
Let’s compare the two options:
- Jumper Cables: Require another vehicle, depend on that vehicle’s battery being functional, and involve connecting cables between two cars. Risk of incorrect connection (red to black, etc.) is higher.
- Portable Jump Starter: Self-contained, no second vehicle needed, often includes safety features, and can double as a USB power bank for charging phones or tablets.
The big advantage of a jump starter? Independence. You’re not at the mercy of finding another driver or hoping their battery is strong enough. Plus, many jump starters come with LED flashlights, USB ports, and even air compressors—making them multi-tools for roadside emergencies.
Can a Jump Starger Actually “Charge” a Battery?
This is a common point of confusion. A jump starter doesn’t “charge” your car battery in the way a battery charger does. Instead, it provides a quick burst of power to get your engine started. Once the engine is running, your car’s alternator takes over and recharges the battery naturally as you drive.
So, if your battery is completely dead due to leaving the lights on overnight, a jump starter can get you going. But if the battery is old, damaged, or no longer holds a charge, a jump start might only work temporarily—or not at all. In those cases, you’ll need a proper battery replacement.
Think of it this way: a jump starter is like giving someone CPR—it gets the heart (engine) pumping again, but it doesn’t fix the underlying health issue. For long-term battery health, regular maintenance and timely replacements are key.
Choosing the Right Jump Starter for Your Needs
Not all jump starters are created equal. Picking the right one can mean the difference between a quick fix and a frustrating failure. Here’s what to consider before you buy.
Engine Size and Power Requirements
The first thing to check is your vehicle’s engine size. Most jump starters list the types of engines they can handle. As a general rule:
- Compact cars (4-cylinder): 400–600 peak amps
- Mid-size cars and SUVs (6-cylinder): 600–1000 peak amps
- Large trucks and diesel engines: 1000+ peak amps
For example, if you drive a Honda Civic, a 500-amp jump starter should be sufficient. But if you own a Ford F-150 with a V8, you’ll want something closer to 1000 amps or more. Always check the manufacturer’s recommendations for your specific vehicle.
Battery Capacity and Type
Look for a jump starter with a lithium battery—they’re lighter, charge faster, and hold their charge longer than older lead-acid models. A capacity of 10,000 mAh is usually enough for 3–5 jump starts on a single charge, depending on the vehicle.
Also, consider how long the jump starter holds its charge. Some models can sit unused for 6–12 months and still work when needed. Others may lose power after a few months, so check the specs or user reviews.
Safety Features to Look For
Safety should be a top priority. Avoid cheap, no-name brands that skip essential protections. Here are the key features to look for:
- Reverse Polarity Protection: Prevents damage if you accidentally connect the clamps wrong.
- Overcurrent and Overvoltage Protection: Stops the device from sending too much power.
- Spark-Proof Clamps: Reduces the risk of sparks near the battery.
- Short-Circuit Protection: Automatically shuts off if a short is detected.
Many reputable brands like NOCO, GOOLOO, and DBPOWER include these features standard. Reading customer reviews can also give you insight into real-world reliability.
Additional Features That Add Value
While the main job is jumping your car, extra features can make a big difference:
- USB Ports: Charge your phone, GPS, or tablet while on the go.
- LED Flashlight: Built-in lights with SOS or strobe modes are great for nighttime emergencies.
- Air Compressor: Some models include a mini pump for inflating tires.
- Digital Display: Shows battery level, voltage, and error codes.
For instance, I once used my jump starter’s flashlight to signal for help after a flat tire on a dark highway. It wasn’t the main reason I bought it, but it definitely came in handy.
Step-by-Step Guide: How to Use a Jump Starter to Charge Battery
Now that you’ve got the right tool, let’s walk through the process. I’ll keep it simple and safe—no technical jargon, just clear steps you can follow even if you’ve never done this before.
Step 1: Prepare Your Vehicle and Jump Starter
First, make sure both your car and the jump starter are turned off. Park your vehicle on a flat, stable surface and engage the parking brake. Turn off all lights, the radio, and any other electrical accessories.
Next, locate your car’s battery. It’s usually under the hood, but in some models (like certain Honda or BMW vehicles), it might be in the trunk or under a seat. Check your owner’s manual if you’re unsure.
Remove the jump starter from its case and make sure it’s fully charged. Most models have an indicator light—green means ready, red means it needs charging. If it’s low, plug it into a wall outlet or your car’s USB port (if it supports pass-through charging) for a few hours before use.
Step 2: Identify the Battery Terminals
Your car battery has two terminals:
- Positive (+): Usually marked with a red cover or a “+” symbol.
- Negative (-): Usually marked with a black cover or a “-” symbol.
Never assume—always double-check. Connecting the clamps to the wrong terminals can cause sparks, damage electronics, or even start a fire.
Step 3: Connect the Jump Starter Clamps
Here’s the correct order:
- Attach the red (positive) clamp to the positive terminal of your dead battery.
- Attach the black (negative) clamp to an unpainted metal surface on the engine block or chassis—not the negative terminal. This reduces the risk of sparking near the battery, where flammable gases may be present.
For example, I usually clamp the black cable to a bolt on the engine block or the strut tower. Avoid plastic, rubber, or painted surfaces—they won’t conduct electricity properly.
Step 4: Power On the Jump Starter
Once the clamps are securely connected, turn on the jump starter. Some models have a button you press; others automatically detect the connection. Wait a few seconds—many devices have a built-in delay to ensure safe power delivery.
You should see indicator lights or a display showing that power is being sent to the battery. If nothing happens, double-check your connections and make sure the jump starter is charged.
Step 5: Start Your Engine
Now, try starting your car. Turn the key or press the start button as you normally would. If the engine doesn’t start immediately, wait about 30 seconds and try again. Most jump starters can deliver multiple attempts, but avoid cranking for more than 10 seconds at a time to prevent overheating.
If the engine starts, great! Leave it running for at least 15–20 minutes to allow the alternator to recharge the battery. If it doesn’t start after 2–3 attempts, there may be a deeper issue—like a faulty battery, alternator, or starter motor.
Step 6: Disconnect and Store Safely
Once your engine is running, it’s time to disconnect—but in the reverse order:
- Turn off the jump starter.
- Remove the black (negative) clamp first.
- Remove the red (positive) clamp next.
Store the jump starter in a cool, dry place. If it has a rechargeable battery, top it off every 3–6 months to keep it ready for emergencies.
Safety Tips and Common Mistakes to Avoid
Even with the best tools, mistakes can happen. Let’s go over some key safety tips and pitfalls to avoid when using a jump starter.
Never Connect Clamps to the Wrong Terminals
This is the #1 mistake people make. Reversing the polarity—connecting red to negative and black to positive—can cause sparks, damage your car’s computer, or even make the jump starter explode. Always double-check before connecting.
If you’re unsure, look for color coding: red clamp to red terminal, black clamp to metal ground. Some jump starters have audible alarms or lights that warn you of incorrect connections.
Avoid Sparks Near the Battery
Car batteries can release hydrogen gas, which is highly flammable. That’s why you should never connect the negative clamp directly to the negative terminal. Instead, use a grounded metal part of the engine. This minimizes the chance of a spark igniting the gas.
I learned this the hard way once—I connected the black clamp to the negative terminal, and a small spark flew. It didn’t cause damage, but it scared me enough to always use the engine block from then on.
Don’t Use a Damaged or Low-Charge Jump Starter
Using a jump starter with a low battery or physical damage (like cracked casing or frayed wires) is risky. It might not deliver enough power, or it could overheat and fail. Always inspect your device before use and recharge it regularly.
If your jump starter feels hot during use, turn it off immediately and let it cool down. Overheating can reduce its lifespan or cause safety hazards.
Don’t Leave the Jump Starter Connected After Starting
Once your engine is running, disconnect the jump starter right away. Leaving it connected can cause voltage spikes that damage your car’s electrical system or the jump starter itself.
Also, never try to jump-start a frozen battery. If the battery is cracked or swollen, do not attempt to jump it—this can lead to leakage or explosion. Replace it instead.
Keep It Away from Children and Pets
Jump starters contain powerful batteries and high-current circuits. Store them out of reach of kids and pets. If you have curious children, consider keeping the jump starter in a locked glove compartment or trunk storage box.
Maintaining Your Jump Starter for Long-Term Reliability
A jump starter is only as good as its last charge. With proper care, it can last for years and be ready whenever you need it. Here’s how to keep it in top shape.
Charge It Regularly
Even if you don’t use it, recharge your jump starter every 3–6 months. Lithium batteries slowly lose charge over time, and a dead jump starter is useless in an emergency.
Some models have a “maintenance mode” that keeps the battery at an optimal level. If yours doesn’t, just plug it in for a few hours every few months.
Store It Properly
Keep your jump starter in a cool, dry place—not in your car’s glove box on a hot summer day. Extreme heat can degrade the battery, while cold can reduce its performance.
Avoid storing it in direct sunlight or near heaters. A garage shelf or closet is ideal.
Inspect Before Each Use
Before you need it in an emergency, take 30 seconds to check:
- Are the clamps clean and free of corrosion?
- Is the casing intact with no cracks or leaks?
- Does the power indicator show a full charge?
If anything looks off, don’t use it. Replace it or have it inspected.
Clean the Clamps
Over time, the metal clamps can accumulate dirt or oxidation, which reduces conductivity. Wipe them with a clean, dry cloth. For stubborn grime, use a bit of rubbing alcohol on a cotton swab.
Never use water or abrasive cleaners—they can damage the contacts.
Real-World Example: A Jump Starter Saves the Day
Let me share a quick story. Last winter, I was driving through the mountains when my car suddenly died on a remote stretch of road. No cell service, no other cars in sight. I popped the hood and saw the battery was completely dead—probably from the cold.
I grabbed my NOCO Boost Plus GB40 from the trunk. It was fully charged, so I connected the red clamp to the positive terminal and the black clamp to a bolt on the engine block. Powered it on, waited a few seconds, and turned the key. The engine roared to life on the first try.
I drove for 20 minutes to let the alternator recharge the battery, then stopped at a gas station to have it tested. The mechanic said the battery was old and needed replacing, but the jump starter got me out of a tough spot.
That experience reminded me why it’s so important to keep a jump starter in your car—and to know how to use it properly. It’s not just about convenience; it’s about peace of mind.
Final Thoughts: Be Prepared, Stay Safe
Using a jump starter to charge battery safely isn’t complicated, but it does require attention to detail. From choosing the right model to following the correct connection steps, every part of the process matters. A little knowledge goes a long way in preventing accidents and keeping you moving when your car won’t start.
Remember: a jump starter is a tool, not a miracle worker. It can’t fix a bad battery or a faulty alternator. But when used correctly, it’s one of the most reliable ways to get back on the road without waiting for help.
So, take a few minutes today to check your jump starter. Make sure it’s charged, the clamps are clean, and you know how to use it. Keep it in your car, and you’ll never have to worry about being stranded again. Because when it comes to car emergencies, being prepared isn’t just smart—it’s essential.
| Feature | Why It Matters | Recommended Spec |
|---|---|---|
| Peak Amps | Determines if it can start your engine | 400–1000+ (based on vehicle size) |
| Battery Type | Affects weight, lifespan, and performance | Lithium-ion or lithium-polymer |
| Safety Protections | Prevents damage and injury | Reverse polarity, spark-proof, overload protection |
| Capacity (mAh) | How many jumps per charge | 10,000–20,000 mAh |
| Additional Features | Adds convenience and utility | USB ports, LED light, air compressor |
Stay safe, stay charged, and drive with confidence.
Frequently Asked Questions
Can I use a jump starter to charge a completely dead battery?
Yes, most modern jump starters can revive a completely dead battery by delivering a high burst of current. However, if the battery is old or damaged, repeated jump-starting may be necessary, and replacement should be considered.
How do I safely use a jump starter to charge my car battery?
First, turn off the vehicle and connect the jump starter’s red (positive) clamp to the battery’s positive terminal and the black (negative) clamp to a grounded metal surface. Follow the device’s instructions to power it on and start the engine—never reverse the clamps to avoid sparks or damage.
How long does it take for a jump starter to charge a battery enough to start the car?
Typically, 10–30 seconds of connection is sufficient for the jump starter to charge the battery enough to crank the engine. Some advanced models may require a few minutes of “pre-charge” time—check your jump starter’s manual for specifics.
Can a jump starter damage my car’s electrical system when charging a battery?
Quality jump starters with safety features (e.g., reverse polarity and overload protection) won’t damage your system. Always verify your connections and avoid using damaged or uncertified jump starters to minimize risks.
Is it better to use a jump starter or a traditional battery charger to charge a battery?
Jump starters are ideal for emergencies due to their portability and speed, but traditional chargers provide a slower, fuller charge. For long-term battery health, use a dedicated charger after jump-starting to replenish the charge.
How often can I use a jump starter to charge the same battery?
While jump starters can be used multiple times, frequent reliance on them may indicate a failing battery or charging system issue. Limit repeated use to avoid overheating the jump starter or straining the battery further.