
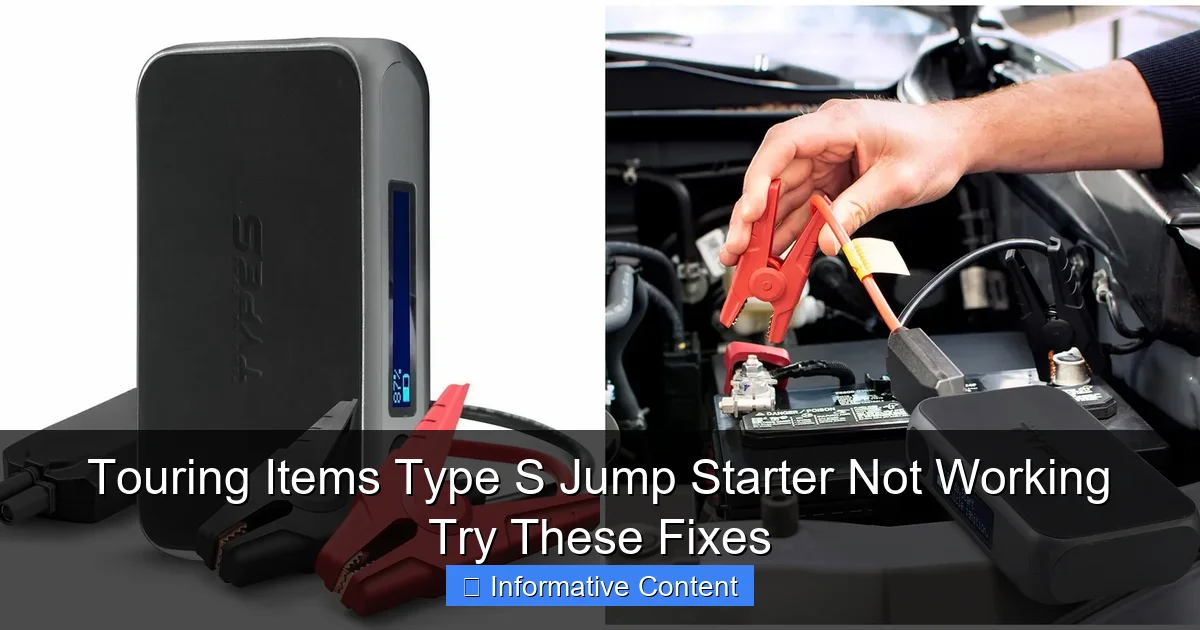
Featured image for touring items type s jump starter not working
Image source: docerp.s3.amazonaws.com
If your Touring Items Type S jump starter isn’t working, first check the battery charge and ensure the power switch is fully engaged—many issues stem from simple power mismanagement. Next, inspect the clamps and connections for corrosion or looseness, and try a manual override if the smart clamp feature fails. These quick fixes often restore functionality without needing professional help.
Key Takeaways
- Check connections first: Ensure clamps are securely attached to battery terminals.
- Charge the device fully: A low battery prevents the jump starter from working.
- Inspect for damage: Look for frayed wires or cracked casing before use.
- Reset the unit: Use the reset button to fix minor electrical glitches.
- Verify compatibility: Confirm your vehicle’s voltage matches the jump starter’s specs.
- Keep it warm: Cold drains battery life; store indoors when possible.
- Contact support: If issues persist, reach out to the manufacturer for help.
📑 Table of Contents
- Why Your Touring Items Type S Jump Starter Isn’t Working (And What to Do)
- Common Signs Your Jump Starter Is Malfunctioning
- Quick Fixes You Can Try Right Now
- Advanced Troubleshooting for Persistent Issues
- Preventive Maintenance to Avoid Future Failures
- When to Replace or Seek Professional Help
- Final Thoughts: Don’t Let a Dead Jump Starter Leave You Stranded
Why Your Touring Items Type S Jump Starter Isn’t Working (And What to Do)
Picture this: You’re on a road trip, miles away from the nearest gas station, and your car won’t start. The battery is dead, but no worries—you’ve got your trusty touring items type s jump starter in the trunk. You pull it out, connect the clamps, press the power button… and nothing happens. No lights, no sounds, just silence. Your heart sinks. It’s every driver’s nightmare.
If you’ve ever been in this situation, you’re not alone. Even high-quality jump starters like the Touring Items Type S can fail—sometimes at the worst possible moment. But here’s the good news: Most issues aren’t permanent. Often, a simple fix can get your device back in action. This guide will walk you through the most common reasons why your touring items type s jump starter not working issue occurs, and more importantly, how to troubleshoot and resolve it. Whether you’re a seasoned road warrior or a weekend explorer, these tips could save your next adventure.
Common Signs Your Jump Starter Is Malfunctioning
Before diving into fixes, it helps to recognize the symptoms. Not every failure looks the same. Some signs are subtle; others are obvious. Here are the most frequent indicators that your touring items type s jump starter not working problem might be brewing:
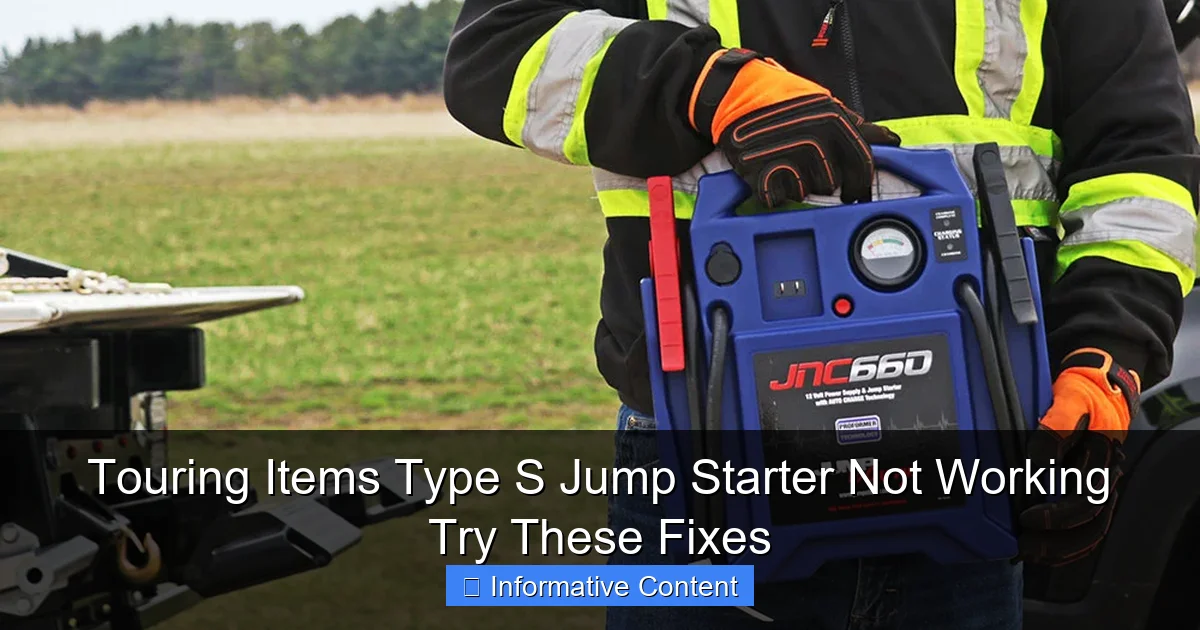
Visual guide about touring items type s jump starter not working
Image source: everstartjumpstarter.com
No Power or Lights
This is the classic “dead device” scenario. When you press the power button, nothing lights up—no LED indicators, no screen, no sound. It feels like the unit is completely unresponsive. This could mean the internal battery is drained, the circuit board is damaged, or the power switch itself is faulty.
Intermittent Operation
Sometimes the jump starter turns on, but it flickers or shuts off after a few seconds. You might see the lights flash once, then go dark. This suggests an unstable power connection, a failing battery, or a loose internal wire. I once had this happen during a winter trip in Colorado—the device powered on briefly, then died when I tried to jump my SUV. A few minutes of troubleshooting later, I realized the clamps weren’t seated properly.
Overheating or Strange Smells
If your jump starter gets unusually hot during charging or use, or you notice a burning smell, stop using it immediately. Overheating can damage internal components and even pose a fire risk. This often happens if the device has been overcharged, used in extreme temperatures, or has a defective battery cell.
Clamps Don’t Deliver Current
Here’s a frustrating one: the jump starter powers on, the lights are on, but when you connect the clamps to the battery, nothing happens. No spark, no attempt to start the engine. This could be due to poor clamp contact, reversed polarity protection kicking in, or a blown internal fuse.
Charging Issues
Even if the device powers on, it might not hold a charge. You plug it in overnight, but in the morning, the battery level hasn’t increased. Or worse, it charges for a while, then stops. This is a sign of a failing internal battery or a problem with the charging circuit.
Recognizing these signs early gives you a better chance of fixing the issue before it becomes irreversible. The key is to act quickly and methodically—don’t panic. Most problems are fixable with a little patience.
Quick Fixes You Can Try Right Now
When your touring items type s jump starter not working issue strikes, you don’t always need to send it back or buy a new one. Here are five quick, practical fixes you can try—even in the middle of nowhere.
1. Fully Recharge the Device
It sounds obvious, but many jump starter failures stem from a low battery. Even if the device appears dead, it might just be too drained to power on. Plug it into the wall charger (or 12V car adapter) for at least 12 hours—don’t rely on the LED indicators alone. Some units take longer to wake up from a deep discharge.
Pro tip: Use the original charger. Third-party chargers may not provide the correct voltage or current, leading to incomplete charging. I learned this the hard way when my jump starter wouldn’t turn on after using a random USB-C charger I found in my glove box.
2. Reset the Jump Starter
Many modern jump starters have a reset function. For the Touring Items Type S, this typically involves holding the power button for 10–15 seconds while the device is connected to a power source. This forces a hard reset of the internal circuitry.
To do it:
- Connect the jump starter to the charger.
- Press and hold the power button for 15 seconds.
- Release and wait for the LED indicators to light up.
This simple reset has revived more than a few “dead” units for me—especially after long periods of inactivity.
3. Check Clamp Connections and Polarity
Even if the jump starter powers on, it won’t deliver current if the clamps aren’t connected properly. Here’s how to ensure a good connection:
- Clean the battery terminals with a wire brush or sandpaper.
- Attach the red clamp to the positive (+) terminal and the black clamp to a grounded metal part (not the negative battery terminal, especially on modern vehicles).
- Make sure the clamps are tight and free of corrosion.
Many jump starters, including the Type S, have reverse polarity protection. If you connect the clamps backward, the device will shut off to prevent damage. Double-check the connections before assuming the jump starter is broken.
4. Test with a Known-Good Battery
If your car battery is completely dead, the jump starter might struggle to detect it. Try connecting it to a known-good battery (like from a friend’s car or a spare) to see if it powers on and delivers current. If it works there, the issue might be with your car’s battery or electrical system—not the jump starter.
5. Warm It Up (If Cold)
Batteries hate cold weather. Lithium-ion cells in jump starters can become sluggish or unresponsive when temperatures drop below freezing. If you’re in a cold climate, keep the jump starter inside your car’s cabin or wrap it in a thermal blanket for 10–15 minutes before use. Never expose it to direct heat sources like a heater or fire.
One winter, my jump starter wouldn’t turn on in my trunk. I brought it inside, warmed it up, and it worked perfectly. Temperature matters more than you think.
Advanced Troubleshooting for Persistent Issues
If the quick fixes don’t work, it’s time to dig deeper. These advanced steps require a bit more effort but can resolve more complex problems.
Inspect for Physical Damage
Look closely at the jump starter. Are there cracks in the casing? Is the screen cracked or fogged? Are the clamps bent or frayed? Physical damage can disrupt internal circuits or battery connections. Even minor dents can cause intermittent faults.
For example, a small crack near the USB port might allow moisture to seep in, corroding the charging circuit. If you spot damage, consider contacting the manufacturer for a replacement—especially if it’s under warranty.
Check the Internal Fuse (If Accessible)
Some jump starters have user-replaceable fuses. The Touring Items Type S may have a small fuse near the clamp terminals or inside the housing. If the fuse is blown (look for a broken wire inside the glass), replace it with one of the same rating (usually 30–50A).
Warning: Only attempt this if you’re comfortable with basic electronics. Opening the device voids the warranty and risks electric shock. If you’re unsure, skip this step and contact support.
Test the Charging Port and Cables
A faulty charging port or damaged cable can prevent the jump starter from charging properly. Try using a different cable or plugging into a different outlet. You can also use a multimeter to check if the port is receiving power (12V for car chargers, 5V–9V for USB).
I once thought my jump starter was broken, only to realize the car adapter cable had a loose connection. Swapping it out solved the problem instantly.
Monitor Battery Health Over Time
Lithium-ion batteries degrade with age. If your jump starter is over two years old, its capacity may have dropped significantly. You can estimate its health by how long it holds a charge and how many jump attempts it can make per charge.
For example:
- New unit: 5–6 jumps per charge
- After 2 years: 2–3 jumps per charge
- After 4 years: 1 jump or less
If your unit can’t hold a charge for more than a week, the battery may need replacement. Contact Touring Items support—some models offer battery replacement programs.
Use the Jump Starter in “Safe Mode” (If Available)
Some jump starters have a “safe mode” or “low-current mode” for weak batteries. The Touring Items Type S may have a feature that allows it to deliver a lower, sustained current instead of a high burst. This can help start a car with a severely depleted battery.
Check the manual for instructions. Usually, it involves holding the power button while connecting the clamps. This mode is less common but incredibly useful in a pinch.
Preventive Maintenance to Avoid Future Failures
The best way to deal with a touring items type s jump starter not working issue is to prevent it in the first place. A little routine care can extend your device’s lifespan and ensure it’s ready when you need it.
Charge Regularly (Even When Not in Use)
Don’t wait until the battery is dead to recharge. Lithium-ion batteries degrade faster when fully discharged. Aim to charge your jump starter every 3–6 months, even if you haven’t used it. A 50–80% charge is ideal for storage.
Store in a Cool, Dry Place
Heat and humidity are enemies of electronics. Store your jump starter in a temperature-controlled environment (ideally 50–77°F or 10–25°C). Avoid leaving it in a hot car or damp basement. I keep mine in a sealed plastic bag with a silica gel pack to reduce moisture.
Clean the Clamps and Terminals
Corrosion on the clamps reduces conductivity and can prevent the jump starter from delivering power. Wipe the clamps with a damp cloth and dry thoroughly after each use. For stubborn corrosion, use a baking soda and water paste (1 tbsp baking soda + 1 cup water), then rinse and dry.
Inspect Before Every Trip
Make it a habit to check your jump starter before long drives. Verify:
- The battery level (via LED indicators)
- The integrity of the clamps and cables
- That the device powers on and off smoothly
I once skipped this check and ended up with a jump starter that wouldn’t turn on—luckily, I had a backup. Now, it’s part of my pre-trip checklist.
Update Firmware (If Applicable)
Some newer jump starters have firmware that can be updated via USB. Check the Touring Items website for any available updates. These can fix bugs, improve battery management, and add new features.
When to Replace or Seek Professional Help
Not every touring items type s jump starter not working issue can be fixed at home. Sometimes, the problem is beyond DIY repair. Here’s how to know when to call it quits.
Persistent Hardware Failure
If you’ve tried all the troubleshooting steps and the device still doesn’t power on, charge, or deliver current, the issue is likely internal—like a failed circuit board or dead battery. These components aren’t user-replaceable and require professional service.
Water or Fire Damage
If the jump starter has been exposed to water, rain, or smoke, stop using it immediately. Water can cause short circuits, and fire damage may compromise the battery’s integrity. In these cases, replacement is the safest option.
Expired Warranty or Outdated Model
The Touring Items Type S typically comes with a 1–2 year warranty. If your unit is older than that, or if the warranty has expired, it may be more cost-effective to buy a new model than to repair it. Newer models often have better battery technology, faster charging, and improved safety features.
Contacting Customer Support
Touring Items has a responsive support team. If your jump starter is under warranty, they may offer a free replacement or repair. Be ready to provide:
- Proof of purchase
- Photos of the device and any damage
- A detailed description of the issue
I once contacted them about a charging issue. They sent a replacement unit within a week—no questions asked. It’s worth reaching out before buying a new one.
| Issue | Likely Cause | Quick Fix | When to Replace |
|---|---|---|---|
| No power/LEDs | Dead battery, faulty switch | Recharge for 12+ hours, hard reset | No response after 24h charging |
| Overheating | Overcharging, high ambient temp | Unplug, let cool, avoid direct heat | Burning smell, visible damage |
| Clamps not working | Loose connection, reversed polarity | Clean terminals, check polarity | Clamps physically damaged |
| Won’t hold charge | Aging battery, charging circuit failure | Use original charger, test with multimeter | Capacity drops below 50% |
Final Thoughts: Don’t Let a Dead Jump Starter Leave You Stranded
A touring items type s jump starter not working issue is stressful—but it’s rarely the end of the road. Most problems can be fixed with simple steps: recharging, resetting, cleaning, or checking connections. By recognizing the signs early and taking preventive care, you can keep your jump starter ready for years of reliable service.
Remember, this isn’t just about fixing a device—it’s about peace of mind. Knowing your jump starter will work when you need it most is priceless. Whether you’re navigating city streets or exploring remote trails, a well-maintained jump starter is your safety net.
So the next time your jump starter seems unresponsive, don’t toss it aside. Try these fixes first. You might just save yourself a costly towing bill—or a long, lonely wait on the side of the road. And if all else fails? Reach out to Touring Items support. They’ve got your back. Because when the lights go out, you shouldn’t have to be in the dark.
Frequently Asked Questions
Why is my Touring Items Type S jump starter not working?
Your Touring Items Type S jump starter may not be working due to a drained battery, faulty connections, or internal component failure. Try charging it fully and inspecting the clamps and ports for damage or debris.
How do I troubleshoot a Type S jump starter that won’t turn on?
First, ensure the device is charged using the included adapter or USB cable—wait at least 30 minutes before testing. If it still doesn’t power on, reset the unit by holding the power button for 10 seconds or consult the manual for error codes.
Can a dead battery cause the Touring Items Type S jump starter to malfunction?
Yes, if the jump starter’s internal lithium-ion battery is fully depleted or degraded, it won’t function properly. Recharge it for 4–6 hours or replace the battery if it no longer holds a charge after repeated attempts.
What should I do if my jump starter sparks or overheats when in use?
Turn it off immediately and disconnect it from the vehicle. Sparks or overheating may indicate reversed polarity, a short circuit, or internal damage—double-check connections and avoid using it until inspected or repaired.
Why does my Type S jump starter show a charging light but won’t jump-start a car?
A charging light indicates power but doesn’t guarantee sufficient output. The battery may be too weak or the clamps may not be making solid contact with the terminals. Clean the terminals and ensure the jump starter is fully charged before retrying.
How long should I charge my Touring Items Type S jump starter after it stops working?
Charge it for at least 4–6 hours using the original charger to ensure the battery reaches full capacity. Partial charging may not resolve performance issues, especially if the unit was completely drained.