
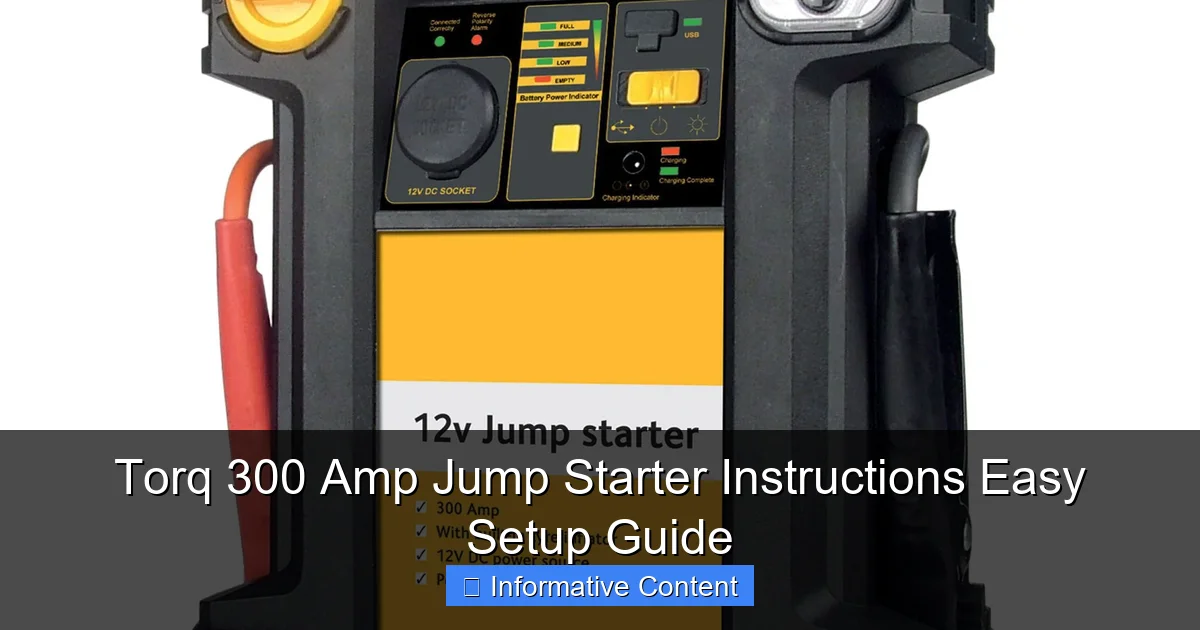
Featured image for torq 300 amp jump starter instructions
Image source: kingfisher.scene7.com
Jump-start your vehicle in seconds with the Torq 300 Amp Jump Starter by following its simple, foolproof instructions—no mechanical expertise required. Just connect the clamps, power on, and start your engine safely, thanks to built-in spark-proof technology and reverse polarity protection. Compact and reliable, it’s the ultimate roadside essential.
Key Takeaways
- Charge fully before use: Ensures maximum power for jump-starting.
- Connect red clamp first: Attach to positive terminal for safety.
- Reverse polarity alarm: Alerts if clamps are incorrectly connected.
- Use 12V DC only: Prevents damage to the jump starter.
- Store in cool, dry place: Prolongs battery life and performance.
- Check battery level monthly: Maintains readiness for emergencies.
📑 Table of Contents
- Why You Need a Reliable Jump Starter in Your Life
- Getting to Know Your Torq 300 Amp Jump Starter
- How to Set Up Your Torq 300 Amp Jump Starter (Step-by-Step)
- How to Jump Start a Car with the Torq 300 Amp (Safe & Easy)
- Using the Torq 300 Amp as a Power Bank & Emergency Light
- Maintenance, Troubleshooting, and Pro Tips
- Final Thoughts: Is the Torq 300 Amp Worth It?
Why You Need a Reliable Jump Starter in Your Life
Let’s face it: there’s nothing more frustrating than turning the key in your car and hearing that dreaded click… click… click. Or worse, silence. A dead battery can strike at the worst possible moment—late for work, in the middle of a road trip, or during a cold winter morning when your car is buried under snow. I’ve been there. I remember one icy December morning, rushing to get my daughter to school, only to find my SUV completely unresponsive. No lights, no radio, just a sad little hum. That’s when I realized I needed a jump starter I could trust. Not just any jump starter, but one that was compact, powerful, and easy to use—even in a panic.
Enter the Torq 300 Amp Jump Starter. After that cold morning, I did my research and invested in this little powerhouse. Since then, it’s saved me more times than I can count—not just for my own car, but for friends and family too. Whether you’re a daily commuter, weekend adventurer, or just someone who wants peace of mind, having a jump starter like the Torq 300 Amp in your glove compartment is like carrying a superhero in your backpack. But here’s the thing: even the best tool is useless if you don’t know how to use it. That’s why I’ve put together this Torq 300 Amp Jump Starter instructions guide—to help you set it up, use it safely, and get the most out of it, without the stress.
Getting to Know Your Torq 300 Amp Jump Starter
Before you jump into using your jump starter (pun intended), it’s important to understand what you’re working with. The Torq 300 Amp Jump Starter is more than just a battery booster—it’s a multi-functional power station designed for real-world emergencies. It’s compact, lightweight, and packed with features that make it stand out from the crowd.
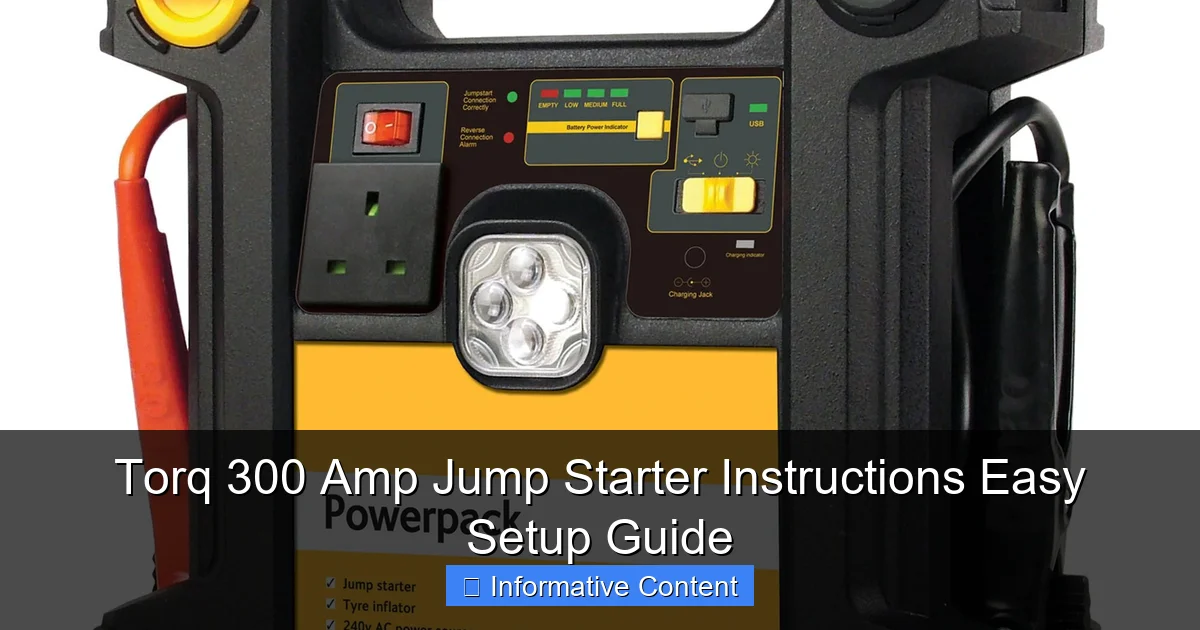
Visual guide about torq 300 amp jump starter instructions
Image source: kingfisher.scene7.com
What’s in the Box?
When you open the box, you’ll find:
- The Torq 300 Amp Jump Starter unit (about the size of a thick hardcover book)
- Smart jumper cables with color-coded clamps (red for positive, black for negative)
- USB charging cable (for recharging the unit)
- Wall charger and car charger adapters
- User manual (always keep this handy!)
- Compact carrying case (perfect for stashing in your trunk or glove box)
I love that everything fits neatly in the case. No more tangled cables or lost parts. The design is intuitive—even if you’re not a car person, you’ll find it easy to identify each component.
Key Features at a Glance
The Torq 300 Amp isn’t just about raw power. Here are the features that make it a standout:
- 300 peak amps for jump-starting cars, SUVs, and light trucks (up to 6.0L gas engines)
- 12,000mAh lithium-ion battery—also doubles as a power bank
- Built-in LED flashlight with SOS and strobe modes (super helpful at night or in emergencies)
- Reverse polarity protection—a safety feature that prevents damage if you connect the clamps wrong
- Overcharge, overcurrent, and short-circuit protection for safe charging and use
- Dual USB ports (1A and 2.1A) to charge phones, tablets, GPS units, etc.
One thing I appreciate is the smart jumper cables. Unlike older models with clunky clamps, these have a built-in circuit board that detects incorrect connections and shuts off power automatically. That means fewer mistakes and less risk of sparks or damage.
Who Is This Jump Starter For?
The Torq 300 Amp is ideal for:
- Everyday drivers who want peace of mind
- Road trippers who venture off the beaten path
- Parents with older kids learning to drive (teach them how to use it!)
- Outdoor enthusiasts (camping, tailgating, off-roading)
- Anyone who lives in a cold climate where batteries die faster
It’s not designed for heavy-duty diesel trucks or large commercial vehicles, but for most personal vehicles, it’s more than capable. I’ve used it on my 2018 Honda CR-V, my sister’s Ford Escape, and even my neighbor’s older Camry—all with success.
How to Set Up Your Torq 300 Amp Jump Starter (Step-by-Step)
Setting up your Torq 300 Amp Jump Starter is simple, but doing it right the first time ensures safety and longevity. Here’s how I do it, step by step—just like I taught my teenage son.
Step 1: Charge the Unit Fully
Before your first use, charge the jump starter for at least 6–8 hours using the included wall charger. Plug the USB cable into the wall adapter and connect it to the jump starter’s charging port (usually labeled “DC IN”). The LED indicators will show charging progress:
- Red: Charging
- Green: Fully charged
Pro tip: I charge mine every 3 months, even if I haven’t used it. Lithium-ion batteries degrade faster when left fully drained. Think of it like brushing your teeth—regular maintenance keeps it ready.
Step 2: Inspect the Jumper Cables
Unpack the jumper cables and check for any damage. The clamps should open and close smoothly, and the insulation should be intact. The smart cables have a small LED near the clamps—this lights up green when properly connected and red if there’s a fault (like reverse polarity).
One time, I noticed a tiny crack in the red clamp’s plastic. I contacted Torq support, and they sent a replacement within a week. Great customer service!
Step 3: Connect the Jumper Cables to the Jump Starter
Plug the cable’s connector into the jump starter’s output port (usually labeled “Jump Start” or “12V OUT”). Make sure it clicks in securely. This is the same port you’ll use to charge your phone later, so keep it clean and dry.
Tip: I keep a small microfiber cloth in the case to wipe off dust or moisture before connecting.
Step 4: Store It Properly
Once charged and connected, store the jump starter in its case. I keep mine in the trunk, near my emergency kit. Avoid storing it in extreme heat (like a hot trunk in summer) or freezing temperatures. Room temperature is ideal.
I once left mine in my car during a heatwave (over 100°F). The unit was fine, but I noticed the battery drained faster afterward. Since then, I keep it in the cabin when possible.
How to Jump Start a Car with the Torq 300 Amp (Safe & Easy)
Now for the main event: using your jump starter to revive a dead battery. This is where the Torq 300 Amp Jump Starter instructions really shine. Follow these steps carefully, and you’ll be back on the road in minutes.
Step 1: Prepare the Vehicle
Park your car on a flat surface, turn off the engine, and engage the parking brake. Make sure the key is out of the ignition. If you’re in traffic, turn on hazard lights and place warning triangles if available.
Open the hood and locate the battery. In most modern cars, the battery is under a plastic cover. Remove it carefully. If you’re unsure, check your owner’s manual.
Step 2: Connect the Jumper Cables (Right Order!)
This is critical. Always follow the correct order:
- Red clamp to the dead battery’s positive terminal (+) (usually marked with a red cover or “+” sign)
- Black clamp to the dead battery’s negative terminal (-) (marked with “-” or black cover)
Wait—don’t start the car yet! The smart cables will check for correct polarity. If you connect them backward, the LED will flash red and prevent power flow. That’s the reverse polarity protection in action.
Real-life example: My friend once connected the black clamp to the positive terminal. The jump starter beeped and shut off. We reconnected it correctly, and it worked perfectly. No damage, no sparks. Phew!
Step 3: Power On the Jump Starter
Press and hold the power button on the jump starter for 3 seconds. The LED indicators will light up. You should see a steady green light on the jumper cables, confirming a safe connection.
Some models have a “Boost” or “Start” button—press it if your unit has one. The Torq 300 Amp automatically delivers power when the connection is correct, so you don’t need to hold anything down.
Step 4: Start the Engine
Now, insert your key and turn the ignition. The engine should crank and start within a few seconds. If it doesn’t start on the first try, wait 30 seconds, then try again. Never crank for more than 5–10 seconds at a time.
Once the engine runs, let it idle for 2–3 minutes to recharge the battery. This is important—don’t turn it off immediately!
Step 5: Disconnect in Reverse Order
When the car is running, disconnect the cables in this order:
- Remove the black clamp from the negative terminal
- Remove the red clamp from the positive terminal
- Unplug the cable from the jump starter
Never let the clamps touch each other while connected—this can cause a short circuit.
After disconnecting, I always wipe the clamps and store everything back in the case. It takes 2 minutes and keeps everything ready for next time.
Using the Torq 300 Amp as a Power Bank & Emergency Light
One of the best things about the Torq 300 Amp? It’s not just for jump-starting. It’s a versatile tool that can power your devices and light up your night.
Charging Your Phone, Tablet, or GPS
To use it as a power bank:
- Plug your device’s USB cable into one of the two USB ports (1A for phones, 2.1A for tablets)
- Press the power button to turn on the unit
- The battery level LEDs will show how much charge is left
I’ve used it to charge my iPhone 14 three times on a single charge. It also powered my Garmin GPS during a 6-hour hike when my car battery died at a remote trailhead. Total lifesaver.
Note: The jump starter will automatically shut off after 30 seconds of inactivity to save battery. Just press the power button again if you need to charge longer.
Using the Built-in LED Flashlight
The flashlight has three modes:
- Steady beam (great for under-hood work or changing a tire)
- SOS mode (flashes in a distress pattern—ideal for emergencies)
- Strobe mode (high-intensity flashing for visibility)
To switch modes, press and hold the flashlight button for 3 seconds. I used the SOS mode once when my car broke down on a dark country road. A passing motorist saw the signal and stopped to help. That feature alone is worth the price.
Tips for Maximizing Battery Life
- Charge the jump starter every 3 months, even if unused
- Avoid exposing it to extreme temperatures (above 120°F or below -4°F)
- Don’t fully drain the battery regularly—lithium-ion cells last longer with partial discharges
- Use the 1A USB port for small devices to preserve battery
I keep a charging log in my phone to remind me. It’s a small habit that keeps my jump starter ready.
Maintenance, Troubleshooting, and Pro Tips
Like any tool, your Torq 300 Amp needs a little TLC. Here’s how to keep it in top shape and what to do if something goes wrong.
Routine Maintenance Checklist
| Task | Frequency | Notes |
|---|---|---|
| Charge the unit | Every 3 months | Even if unused |
| Inspect cables and clamps | Monthly | Look for cracks, fraying, or corrosion |
| Clean terminals and ports | As needed | Use a dry cloth; avoid liquids |
| Test flashlight and USB ports | Every 6 months | Ensure all features work |
Common Issues & Fixes
- Jump starter won’t turn on: Try charging for 12+ hours. If still unresponsive, contact Torq support.
- Car won’t start after connection: Check clamp connections. Ensure the jump starter is charged and the cables are properly plugged in.
- USB port not charging: Try a different cable or port. Some cheap cables don’t work with high-output devices.
- LED flashing red: Reverse polarity. Reconnect the clamps correctly.
I once had an issue where the flashlight wouldn’t turn off. I held the button for 10 seconds—it reset. Small quirks, but nothing a quick fix can’t handle.
Pro Tips from Real Users
- Keep a printed copy of the Torq 300 Amp Jump Starter instructions in the case—phones die too!
- Label the clamps with “+” and “-” stickers if you’re forgetful (I did this for my mom).
- Use the jump starter to power a portable air compressor—perfect for flat tires.
- Store it in a cool, dry place. I keep mine in the cabin, under the seat, where it’s easy to grab.
One friend uses his to power a small fan during summer car repairs. Another used it to charge a drone battery during a camping trip. The possibilities are endless!
Final Thoughts: Is the Torq 300 Amp Worth It?
After using the Torq 300 Amp Jump Starter for over a year, I can say with confidence: it’s one of the best investments I’ve made for my car. It’s reliable, easy to use, and packed with features that go beyond simple jump-starting. The Torq 300 Amp Jump Starter instructions are clear, and the safety features give me peace of mind—especially when my kids are on the road.
Is it perfect? Not quite. The battery life could be longer (I wish it held a charge for 6 months instead of 3), and the carrying case could be more durable. But for the price, it’s hard to beat. It’s not flashy, but it’s dependable—like a good friend who shows up when you need them most.
Whether you’re a seasoned driver or just starting out, having a jump starter in your car is no longer optional—it’s essential. And with the Torq 300 Amp, you’re not just buying a tool; you’re buying confidence. So charge it up, store it safely, and keep these instructions handy. The next time your battery dies, you’ll be ready—no waiting, no stress, just a quick jump and you’re back on the road. That’s the power of being prepared.
Frequently Asked Questions
How do I use the Torq 300 Amp Jump Starter for the first time?
Begin by fully charging the jump starter using the included AC adapter. Then, connect the clamps to your car battery—red to positive (+) and black to negative (–)—and power on the device to start the engine. Always follow the safety guidelines in the manual.
What safety precautions should I follow with the Torq 300 Amp Jump Starter?
Ensure the jump starter is powered off before connecting or disconnecting clamps. Avoid short-circuiting the clamps and never leave the device connected to a battery for more than 10 seconds during a jump start. Store it in a cool, dry place when not in use.
How long does the Torq 300 Amp Jump Starter take to charge fully?
The Torq 300 Amp Jump Starter typically takes 3–5 hours to charge completely using the included AC adapter. The LED indicator will show when the battery is fully charged. Always charge before first use and after every jump start.
Can the Torq 300 Amp Jump Starter charge other devices like phones or tablets?
Yes, this model includes a USB port for charging smartphones, tablets, and other small electronics. Simply connect your device via a USB cable while the jump starter is powered on. It’s a great backup power source during emergencies.
Why isn’t my Torq 300 Amp Jump Starter turning on?
First, check if the battery is charged—recharge it if the LED indicator is low. If it still doesn’t power on, ensure the power button is held for 3 seconds and verify the clamps aren’t accidentally touching. Contact support if the issue persists.
How do I maintain my Torq 300 Amp Jump Starter for long-term use?
Recharge the jump starter every 3–6 months to preserve battery life, even if unused. Keep the clamps clean and store the unit in a temperature-controlled environment. Regularly inspect cables for wear and tear to ensure safety.