
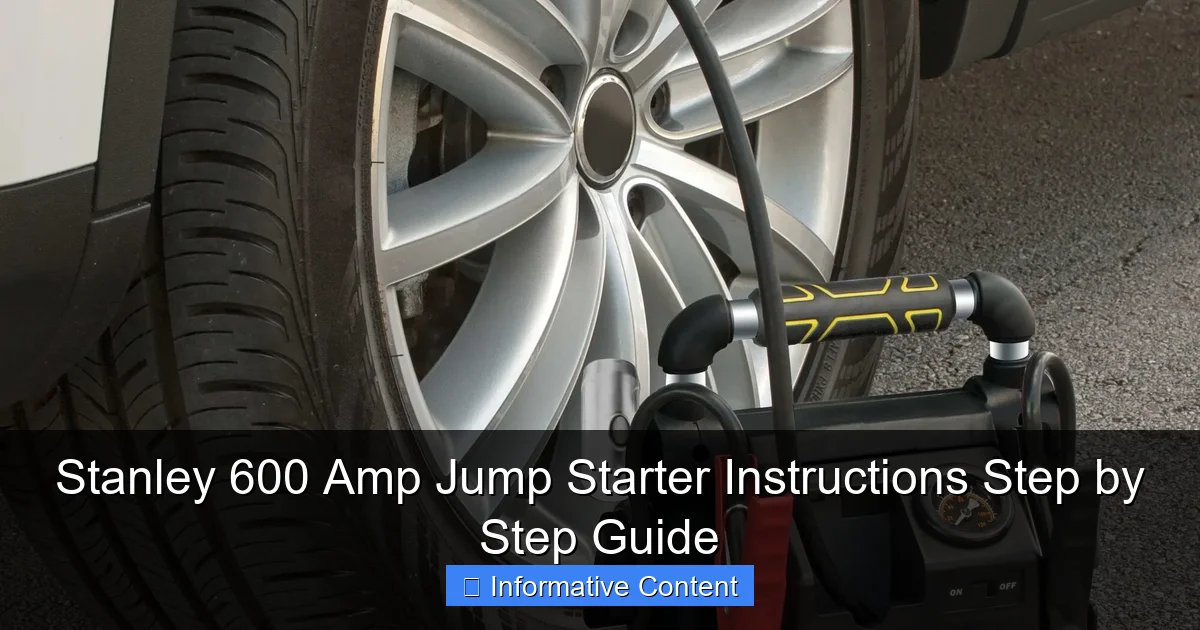
Featured image for stanley 600 amp jump starter instructions
Image source: i0.wp.com
Master your Stanley 600 Amp Jump Starter with this simple, step-by-step guide designed to get your vehicle running safely and efficiently. Follow clear instructions for proper connections, safety checks, and troubleshooting to avoid damage and ensure reliable performance every time.
Key Takeaways
- Read the manual first: Always review safety warnings and instructions before using the Stanley 600 Amp Jump Starter.
- Check battery level: Ensure the unit is fully charged prior to jump starting any vehicle.
- Connect red clamp first: Attach positive (red) clamp to battery’s positive terminal to avoid sparks.
- Use reverse polarity alarm: Heed alerts to prevent incorrect cable connections and damage.
- Power on after connection: Turn on the jump starter only after clamps are securely attached.
- Disconnect in reverse order: Remove black clamp first, then red, after engine starts.
📑 Table of Contents
- Why You Need a Reliable Jump Starter in Your Trunk
- What Is the Stanley 600 Amp Jump Starter and How Does It Work?
- How to Set Up and Charge Your Stanley 600 Amp Jump Starter
- Step-by-Step Instructions to Jump-Start Your Car
- Using the Stanley 600 Amp Jump Starter as a Power Bank
- Maintenance, Storage, and Troubleshooting
- Final Thoughts: Be Prepared, Not Panicked
Why You Need a Reliable Jump Starter in Your Trunk
Imagine this: you’re rushing to an important meeting, your car battery dies, and there’s no one around to help. Or maybe you’re on a road trip in the middle of nowhere, and your headlights flicker out as the engine sputters to a stop. These aren’t just frustrating—they’re downright stressful. That’s exactly why I keep the Stanley 600 amp jump starter in my trunk. It’s like having a roadside mechanic in a compact, portable box. No more waiting for a stranger with jumper cables or shelling out for a tow truck. Just pull it out, connect the clamps, and—boom—you’re back on the road.
But here’s the thing: even the best tools are useless if you don’t know how to use them. I’ve seen people panic when their battery dies because they don’t know the right steps. That’s why I’m sharing this Stanley 600 amp jump starter instructions step-by-step guide. Whether you’re a seasoned driver or a new car owner, this guide will walk you through every detail—from setup to troubleshooting. Think of it as your personal cheat sheet for staying prepared, safe, and stress-free during a dead battery emergency.
What Is the Stanley 600 Amp Jump Starter and How Does It Work?
Understanding the Basics
The Stanley 600 amp jump starter is a portable power bank designed to jump-start your vehicle when the battery is dead. Unlike traditional jumper cables that require another vehicle, this device stores electrical power internally. It’s equipped with a lithium-ion battery, heavy-duty clamps, and built-in safety features. With 600 peak amps, it can handle most 12V vehicles—sedans, SUVs, trucks, and even some small boats. Plus, it doubles as a power bank for your phone, tablet, or other USB devices.
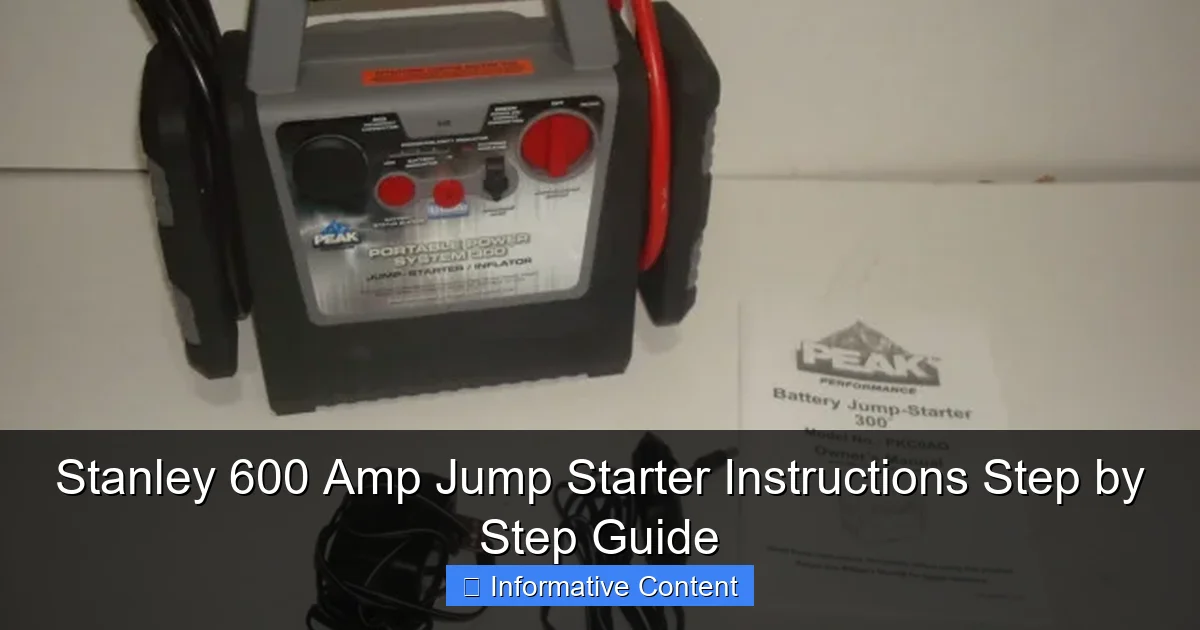
Visual guide about stanley 600 amp jump starter instructions
Image source: host.jwcinc.net
What makes it stand out? It’s compact, lightweight (around 12 pounds), and doesn’t need to be charged constantly. Most models hold a charge for up to 12 months when stored properly. That means you can tuck it in your trunk and forget about it—until you need it. And when you do, it’s ready to go.
Key Features and Specifications
Let’s break down what you’re getting with this jump starter:
- 600 peak amps – Enough power for most gasoline engines up to 6.0L and diesel engines up to 3.0L
- 12V DC outlet – Powers car accessories like air compressors or coolers
- Dual USB ports – Charges phones, GPS units, or dash cams (5V/2.1A and 5V/1A)
- LED flashlight – Bright, long-lasting light with strobe and SOS modes
- Reverse polarity protection – Prevents damage if clamps are connected backward
- Overload and short-circuit protection – Keeps you and your vehicle safe
- Built-in battery status indicator – Shows remaining charge at a glance
I remember the first time I used mine. I was at a gas station late at night, and my car wouldn’t start. Instead of flagging down a stranger, I pulled out the Stanley, connected the clamps, and started the engine in under two minutes. The guy at the pump was impressed—and I felt like a genius.
How It Compares to Other Jump Starters
Compared to cheaper models, the Stanley 600 amp offers a sweet spot between power, price, and reliability. It’s not the most powerful (some go up to 2000 amps), but it’s more than enough for everyday use. And unlike older lead-acid jump starters, it’s lightweight and doesn’t degrade as quickly when not in use. Plus, the safety features are a game-changer. I’ve accidentally swapped the clamps before—no sparks, no damage, just a quiet “error” beep. That peace of mind is worth its weight in gold.
How to Set Up and Charge Your Stanley 600 Amp Jump Starter
Unboxing and First-Time Setup
When you first open the box, you’ll find the jump starter, heavy-duty clamps (red and black), a wall charger, a car charger, and a user manual. Take a moment to inspect everything. Make sure the clamps are securely attached and the device isn’t damaged.
Before your first use, charge the unit fully. This is critical. A partially charged jump starter might not have enough power to start your engine. Plug the wall charger into a standard outlet and connect it to the jump starter’s charging port (usually labeled “DC IN”). A red light will indicate charging. When it turns green, you’re good to go—usually takes 3–4 hours.
Charging Tips for Long-Term Use
Here’s what I’ve learned from using mine for over a year:
- Charge after every use – Even if you only used 10% of the power, top it off. This keeps the battery healthy.
- Store at 50% charge if not using for months – Lithium-ion batteries degrade faster when fully charged or completely drained. If you’re storing it for winter, charge it to 50%, then top it off before use.
- Use the car charger on road trips – Plug it into your cigarette lighter to keep it charged while driving. Just make sure your car is running—don’t drain the main battery!
- Charge in a cool, dry place – Avoid leaving it in a hot car or near moisture. Heat kills battery life.
One winter, I left mine in my car for three months without charging. When I finally used it, it worked—but took longer to start the engine. Lesson learned: even if it holds a charge, it’s best to check it every few months.
Checking Battery Status and Troubleshooting Charging Issues
The jump starter has a simple LED indicator. Press the “Test” button, and the lights show the charge level:
- 4 lights = 75–100%
- 3 lights = 50–75%
- 2 lights = 25–50%
- 1 light = 10–25% (time to recharge)
If the red charging light doesn’t turn on:
- Try a different outlet
- Inspect the charging port for debris
- Test the charger with another device (if possible)
Pro tip: Keep a small flashlight nearby when checking the status at night. The LEDs are bright, but not always visible in direct sunlight.
Step-by-Step Instructions to Jump-Start Your Car
Pre-Jump Safety Checks
Before connecting anything, do these checks:
- Turn off the engine and all accessories – Lights, radio, AC—everything.
- Set the parking brake – Prevents the car from rolling.
- Check for visible damage – Look for cracked battery cases, leaking acid, or corroded terminals. If you see any, don’t jump-start—call a mechanic.
- Ensure the jump starter is charged – At least 3–4 LED lights.
I once tried to jump-start a car with a leaking battery. Sparks flew, and the smell was awful. Not worth the risk. Safety first!
Connecting the Clamps: The Right Way
Follow these steps carefully:
- Connect the red (positive) clamp to the battery’s positive terminal – It’s marked with a “+” and usually red. Wiggle it until it’s snug.
- Connect the black (negative) clamp to a grounded metal surface – Not the negative terminal! Instead, attach it to an unpainted metal part of the engine block or chassis. A bolt or bracket works well. This prevents sparks near the battery.
- Double-check the connections – Red to positive, black to ground. The jump starter will beep or flash if reversed.
Example: On my Honda Civic, I connect the red clamp to the positive terminal, then the black clamp to a bolt near the air filter housing. It’s clean, metal, and away from moving parts.
Starting the Engine and Disconnecting Safely
Now the moment of truth:
- Turn the jump starter on – Press the power button. You’ll hear a beep.
- Start the engine – Turn the key. If it doesn’t start in 5–10 seconds, wait 30 seconds before trying again. Overheating the jump starter can damage it.
- Once the engine runs, disconnect in reverse order:
- Remove the black clamp first
- Then the red clamp
- Turn off the jump starter
After disconnecting, let your car run for 15–20 minutes to recharge the battery. Or drive it—idling isn’t enough to fully recharge.
What to Do If the Car Doesn’t Start
Don’t panic. Try these fixes:
- Check the connections – Loose clamps are the #1 cause of failure. Reattach firmly.
- Wait and retry – Sometimes the battery needs a few minutes to accept a charge.
- Try a different grounding point – A rusty or painted surface won’t conduct well.
- Ensure the jump starter is charged – Recharge and try again.
If it still doesn’t work, the battery might be completely dead or there’s an electrical issue. Call for help.
Using the Stanley 600 Amp Jump Starter as a Power Bank
Charging USB Devices
The dual USB ports are a lifesaver. I’ve used mine to charge my phone during long drives, power a portable fan at a campsite, and even run a Bluetooth speaker. Here’s how:
- Turn on the jump starter – Press the power button.
- Plug in your device – Use the 2.1A port for tablets or fast charging. Use the 1A port for phones to avoid overloading.
- Monitor the battery – Charging a phone might use 10–20% of the jump starter’s power. Keep an eye on the LED indicator.
Pro tip: Charge your phone while the car is running. This saves the jump starter’s battery for emergencies.
Powering 12V Accessories
The 12V outlet can run car coolers, air pumps, or even a mini fridge. Just plug in a standard 12V accessory (rated up to 120W). I used mine to inflate a flat tire once—saved me a $50 tow!
Caution: Don’t leave high-draw accessories plugged in for hours. The jump starter isn’t designed for constant use like a regular power outlet.
Using the LED Flashlight
The flashlight has three modes: steady, strobe, and SOS. Press the flashlight button to cycle through. I keep it on strobe when changing a tire at night—it’s way brighter than my phone’s light.
Maintenance, Storage, and Troubleshooting
Cleaning and Storing Your Jump Starter
After each use, wipe the clamps and body with a dry cloth. For stubborn dirt, use a damp cloth (not soaked). Never submerge it in water.
Store it in a cool, dry place. I keep mine in a small trunk organizer with my emergency kit. Avoid extreme temperatures—don’t leave it in a hot car in summer or a freezing garage in winter.
Common Issues and Fixes
Here’s a quick reference table for common problems:
| Issue | Cause | Solution |
|---|---|---|
| No power when turning on | Dead battery | Recharge fully |
| Clamps spark when connected | Reverse polarity or loose connection | Disconnect, check polarity, reconnect firmly |
| USB port not working | Low battery or faulty port | Recharge or contact Stanley support |
| Flashlight not working | LED burned out | Replace unit or use phone light |
When to Replace or Upgrade
With proper care, the Stanley 600 amp should last 3–5 years. But if you notice:
- It won’t hold a charge
- It takes longer to start engines
- It overheats during use
It’s time to replace it. Consider upgrading to a higher-amp model if you drive a diesel truck or frequently use power-hungry accessories.
Final Thoughts: Be Prepared, Not Panicked
Having the Stanley 600 amp jump starter instructions memorized won’t just save you time—it could save your day. I’ve used mine in rain, snow, and scorching heat, and it’s never let me down. But remember: it’s a tool, not a magic wand. Treat it with care, keep it charged, and practice the steps before you need them.
The best part? You’re not just buying a jump starter—you’re buying peace of mind. No more awkward calls for help, no more waiting in the cold. Just pull out your Stanley, follow the steps, and get moving. And hey, if you ever help someone else jump their car, you’ll feel like a hero. That’s the real power of being prepared.
So keep this guide handy. Tape it to the inside of your trunk or save it on your phone. Because when your battery dies at the worst possible time, you’ll be ready—not scared.
Frequently Asked Questions
How do I use the Stanley 600 Amp Jump Starter for the first time?
Before using your Stanley 600 Amp Jump Starter, fully charge it using the included AC adapter. Connect the clamps to the corresponding battery terminals (red to positive, black to negative), then turn on the unit and start your vehicle.
What should I do if the Stanley 600 Amp Jump Starter doesn’t power on?
Ensure the unit is fully charged and check the power switch is set to “On.” If it still doesn’t work, inspect the internal battery or contact Stanley customer support for troubleshooting.
Can I leave the Stanley 600 Amp Jump Starter plugged in overnight?
Yes, the Stanley 600 Amp Jump Starter features overcharge protection, so leaving it plugged in overnight is safe. However, it’s recommended to unplug once fully charged to prolong battery life.
How do I safely connect the jump starter to my car battery?
Always connect the red clamp to the positive (+) terminal and the black clamp to the negative (-) terminal or an unpainted metal surface. Avoid touching the clamps together during use.
Does the Stanley 600 Amp Jump Starter work on diesel engines?
Yes, the Stanley 600 Amp Jump Starter is suitable for most 12V diesel and gasoline engines, but verify your engine’s cold-cranking amp (CCA) requirements to ensure compatibility.
How long does the Stanley 600 Amp Jump Starter hold its charge?
The Stanley 600 Amp Jump Starter typically holds a charge for 3–6 months when unused. Recharge it every 3 months to maintain optimal performance and battery health.