
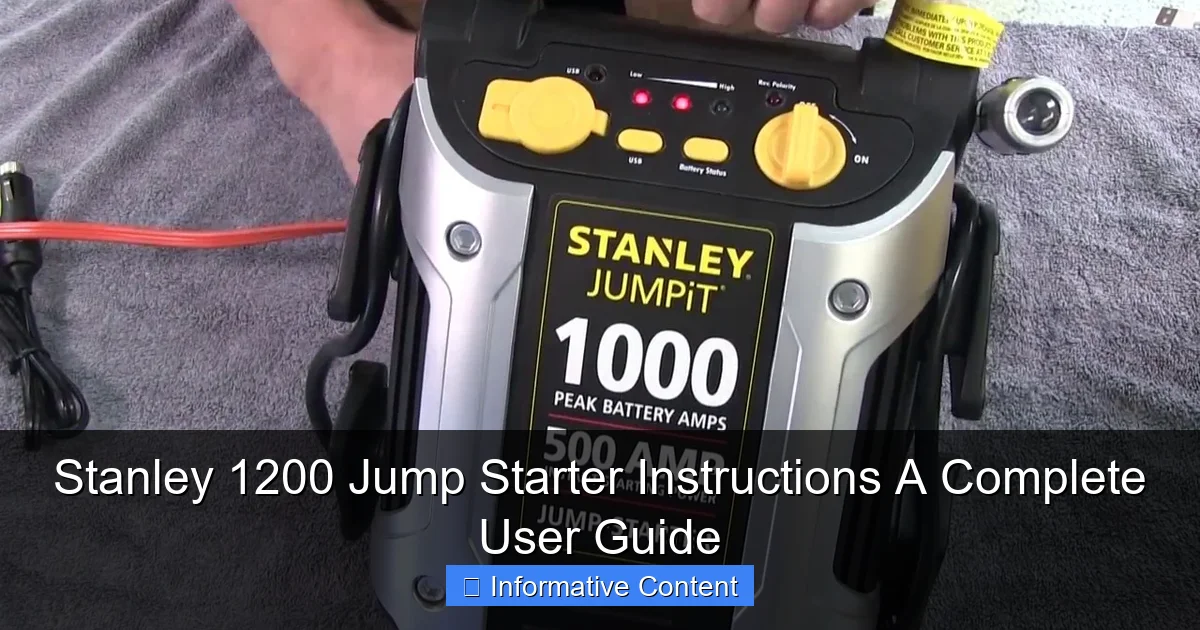
Featured image for stanley 1200 jump starter instructions
Image source: i.ytimg.com
Master your Stanley 1200 jump starter with these simple, step-by-step instructions to safely jump dead batteries, charge devices, and maximize performance. From connecting clamps correctly to using the built-in air compressor and USB ports, this guide ensures you get the most out of your portable power station—every time.
Key Takeaways
- Always charge fully before first use to maximize performance and battery life.
- Connect red clamp first to positive terminal, then black to ground.
- Wait 30 seconds after connecting before attempting to jump start.
- Turn off all accessories in the vehicle to prevent power surges.
- Recharge every 3 months to maintain optimal battery health when stored.
- Use safety goggles and gloves to protect during jump starting process.
- Check LED indicators to confirm proper charge and connection status.
📑 Table of Contents
- Why You Need a Reliable Jump Starter (And Why the Stanley 1200 Might Be It)
- Unboxing and Initial Setup: Getting Started the Right Way
- How to Use the Stanley 1200 Jump Starter: Step-by-Step Instructions
- Additional Features and How to Use Them
- Safety Features and Best Practices
- Maintenance, Storage, and Troubleshooting
- Final Thoughts: Is the Stanley 1200 Worth It?
Why You Need a Reliable Jump Starter (And Why the Stanley 1200 Might Be It)
We’ve all been there—rushing to get somewhere important, maybe a job interview, a family event, or just a long drive, only to turn the key and hear that dreaded click. Your car won’t start. It’s a frustrating, sometimes panic-inducing moment, especially if you’re alone or in a remote area. That’s where a portable jump starter comes in. Forget relying on the kindness of strangers or waiting for roadside assistance. A jump starter puts the power back in your hands, literally and figuratively.
Among the many options on the market, the Stanley 1200 Jump Starter stands out for its balance of power, portability, and user-friendly features. It’s not just a battery booster; it’s a multi-tool that can charge your devices, light up dark spaces, and even help you in emergencies. But like any tool, its effectiveness depends on how well you understand it. That’s why this guide exists—to walk you through everything you need to know about the Stanley 1200 Jump Starter instructions, from setup to troubleshooting. Whether you’re a seasoned car owner or a new driver, this guide will help you use your Stanley 1200 safely, efficiently, and with confidence.
Unboxing and Initial Setup: Getting Started the Right Way
When you first open the box of your Stanley 1200, you’ll find a few key components: the jump starter unit, a set of smart battery clamps, a wall charger, a car charger, and a user manual. It might feel overwhelming at first, but the setup is straightforward—if you follow a few simple steps. Let’s break it down.
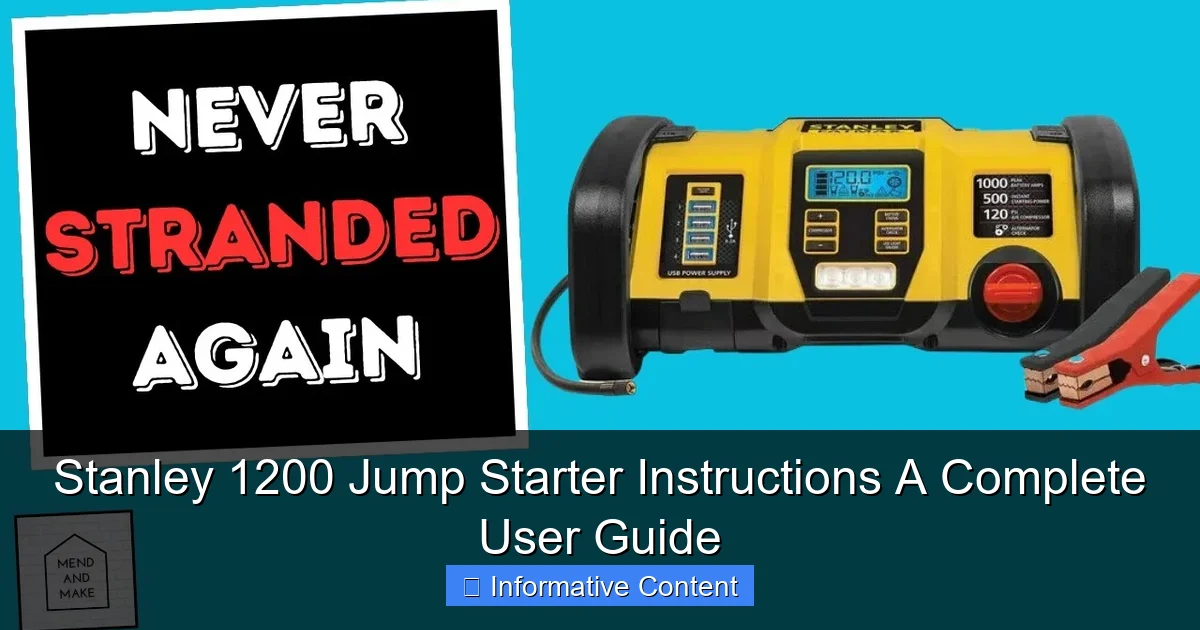
Visual guide about stanley 1200 jump starter instructions
Image source: i.ytimg.com
What’s in the Box?
- Stanley 1200 Jump Starter unit – The main device with a built-in 12V battery, LED light, and USB ports.
- Smart battery clamps – Heavy-duty, color-coded (red/black) clamps with reverse polarity protection.
- Wall charger (120V AC) – For charging the jump starter at home.
- Car charger (12V DC) – For charging on the go using your vehicle’s cigarette lighter.
- User manual – A detailed guide with safety warnings and operational instructions.
- Storage bag – Keeps everything organized and protected.
Before you even think about jump-starting a car, charge the Stanley 1200 fully. This is crucial. A partially charged unit might not deliver enough power to start a dead battery, especially in cold weather. Plug the wall charger into a standard outlet and connect it to the input port on the side of the unit. A red LED will light up, indicating charging. When it turns green, you’re good to go. This usually takes about 3–5 hours, depending on the initial charge level.
Charging Tips for Longevity
- Charge after every use, even if you only used 20% of the battery. Lithium-ion batteries perform best when kept between 20% and 80%.
- Don’t leave it plugged in indefinitely. Once fully charged, unplug it. Overcharging can degrade the battery over time.
- Use the included chargers only. Third-party chargers may not deliver the correct voltage or current, risking damage.
- Store in a cool, dry place. Extreme heat or cold can reduce battery life.
One thing I learned the hard way: always keep your Stanley 1200 charged, even if you don’t plan to use it. I once let it sit in my trunk for three months, and when I needed it, it wouldn’t hold a charge. A quick recharge fixed it, but it taught me a lesson—treat it like a flashlight you hope you never need but must always be ready.
How to Use the Stanley 1200 Jump Starter: Step-by-Step Instructions
Now that your Stanley 1200 is charged and ready, let’s walk through the actual jump-starting process. This is where the Stanley 1200 Jump Starter instructions really shine—because they’re designed with safety and simplicity in mind. But even with smart features, you need to follow the steps carefully to avoid damage to your vehicle or the unit.
Step 1: Prepare the Vehicle
First, turn off the car’s ignition and remove the key. Engage the parking brake and make sure the vehicle is in “Park” (for automatics) or “Neutral” (for manuals). This ensures the car won’t roll during the jump.
Open the hood and locate the battery. Clean any corrosion or debris from the battery terminals using a wire brush or a damp cloth. This improves conductivity and reduces the risk of sparks. If the battery is frozen or leaking, do not attempt to jump-start. Call a mechanic instead.
Step 2: Connect the Clamps (Red First!)
Take the smart clamps and connect them to the Stanley 1200 unit. The clamps have a built-in safety feature: if you connect them incorrectly, the unit won’t activate. But it’s still best to follow the correct order:
- Connect the red (positive) clamp to the positive terminal (+) on the car battery. It’s usually marked with a “+” sign and may have a red cover.
- Connect the black (negative) clamp to the negative terminal (−) on the battery. If the terminal is corroded or hard to reach, attach it to a solid, unpainted metal surface on the engine block—this acts as a ground.
Here’s a pro tip: avoid connecting the black clamp directly to the negative terminal if it’s near the battery. Instead, use a grounding point. This reduces the chance of sparks igniting hydrogen gas that batteries sometimes emit, especially when charging.
Step 3: Activate the Jump Starter
Once the clamps are securely connected, press the Power Button on the Stanley 1200. A green LED will light up, indicating the unit is active and ready. If you see a red or yellow light, double-check the connections—the unit might detect reverse polarity or a poor connection.
Wait about 30 seconds to 1 minute. This allows the jump starter to stabilize and deliver a steady current. During this time, the unit’s internal battery is preparing to send power to your car’s dead battery.
Step 4: Start the Engine
Now, get into the car and turn the ignition. The engine should crank and start within a few seconds. If it doesn’t start on the first try, wait 30 seconds before trying again. Never crank for more than 5–7 seconds continuously. Over-crank can overheat the starter motor.
If the engine starts, great! Now, disconnect the clamps in the reverse order:
- Remove the black clamp first.
- Then remove the red clamp.
- Store the clamps in the included bag to prevent accidental shorting.
Leave the engine running for at least 15–20 minutes to recharge the car’s battery. If possible, take a short drive to ensure the alternator is working properly.
What If It Doesn’t Start?
Sometimes, the battery is too far gone, or the issue isn’t the battery at all (e.g., a bad starter, fuel pump, or alternator). If the Stanley 1200 doesn’t start the car after three attempts:
- Check all connections again.
- Ensure the Stanley 1200 is fully charged.
- Try a different grounding point.
- If it still fails, the car may need professional attention.
One winter morning, my neighbor used the Stanley 1200 on his SUV, and it wouldn’t start. We later found out the battery was completely dead and needed replacement. The jump starter did its job—it just couldn’t resurrect a battery that was beyond saving. That’s a limitation of any jump starter, not a flaw in the Stanley 1200.
Additional Features and How to Use Them
The Stanley 1200 isn’t just a one-trick pony. It comes with several handy features that make it a true emergency tool. Let’s explore them and how to use them effectively.
USB Charging Ports (5V/2.1A and 5V/1A)
Got a dead phone or tablet? The Stanley 1200 has two USB ports to charge your devices on the go. The 2.1A port is great for fast-charging phones, while the 1A port is better for slower devices like Bluetooth earbuds or GPS units.
To use:
- Plug your device’s charging cable into one of the USB ports.
- Press the USB Button on the unit. A blue LED will light up, indicating charging has started.
- The unit will automatically shut off when the device is fully charged or disconnected.
Pro tip: Use the 2.1A port for your phone and the 1A for your smartwatch. This balances the load and prevents overheating.
Built-in LED Flashlight
The Stanley 1200 features a powerful LED flashlight with three modes: high, low, and SOS (strobe). This is incredibly useful during nighttime jump-starts, roadside repairs, or power outages.
To use:
- Press the Flashlight Button once for high beam.
- Press again for low beam.
- Press a third time for SOS mode (flashing pattern).
- Press a fourth time to turn it off.
I once used the SOS mode when my car broke down on a dark highway. The flashing light caught the attention of a passing truck driver who stopped to help. It’s a small feature, but it could be a lifesaver.
Air Compressor (Optional on Some Models)
Some versions of the Stanley 1200 include a built-in air compressor for inflating tires, sports equipment, or air mattresses. If your model has this, here’s how to use it:
- Attach the included air hose to the compressor outlet.
- Connect the hose to the tire valve or object you’re inflating.
- Press the Compressor Button. The unit will start inflating.
- Monitor the pressure with the built-in gauge and stop when you reach the desired PSI.
Note: The compressor is not as powerful as a dedicated air pump. It’s best for topping off tires, not filling flat ones from zero. Also, it drains the battery faster, so use it sparingly.
Safety Features and Best Practices
Safety is paramount when dealing with car batteries and high-current devices. The Stanley 1200 includes several built-in protections, but you still need to follow best practices to avoid accidents.
Smart Clamp Protection
The most important safety feature is the reverse polarity protection. If you accidentally connect the clamps backward (red to negative, black to positive), the Stanley 1200 won’t activate. A red LED will flash, and a warning buzzer will sound. This prevents sparks, damage to electronics, or even explosions.
However, don’t rely solely on this feature. Always double-check the clamps before pressing the power button. A simple mistake can still cause issues if the unit fails to detect the error.
Over-Current and Short-Circuit Protection
The unit automatically shuts down if it detects excessive current draw or a short circuit. This protects both the jump starter and your car’s electrical system. If this happens:
- Disconnect the clamps.
- Wait 30 seconds.
- Reconnect properly and try again.
Thermal and Overload Protection
The Stanley 1200 monitors its internal temperature and battery load. If it gets too hot or is overloaded, it will shut down temporarily. Let it cool for 10–15 minutes before reusing.
General Safety Tips
- Never use the jump starter near water or in heavy rain. Water and electricity don’t mix.
- Keep the unit away from children and pets. The clamps can deliver a strong shock if shorted.
- Don’t attempt to jump-start a damaged or leaking battery. This can be dangerous.
- Store the clamps in the bag when not in use. Loose clamps can short out if they touch metal.
- Check the unit’s charge level regularly. A low battery won’t deliver enough power.
I once left my Stanley 1200 in my trunk during a heatwave. The internal temperature got so high that it automatically shut down when I tried to use it. After cooling it in the AC for an hour, it worked perfectly. Lesson learned: protect it from extreme conditions.
Maintenance, Storage, and Troubleshooting
Like any tool, the Stanley 1200 needs proper care to last. Here’s how to maintain it and what to do when things go wrong.
Regular Maintenance
- Charge every 3 months, even if you don’t use it. Lithium batteries degrade if left fully discharged.
- Clean the clamps and ports with a dry cloth to prevent corrosion.
- Inspect the cables for fraying or damage. Replace the clamps if they’re worn.
Optimal Storage Conditions
Store the Stanley 1200 in a cool, dry place, ideally between 50°F and 77°F (10°C–25°C). Avoid direct sunlight, humidity, and extreme temperatures. The trunk is okay, but not ideal in summer or winter.
Common Issues and Fixes
| Issue | Possible Cause | Solution |
|---|---|---|
| Unit won’t turn on | Dead battery or faulty power button | Charge the unit for 3–5 hours. If it still won’t turn on, contact Stanley support. |
| Red LED flashes when connecting clamps | Reverse polarity or poor connection | Disconnect and reconnect clamps correctly. Ensure clean terminals. |
| USB port not charging | Faulty cable or port | Try a different cable or device. Clean the port with compressed air. |
| Flashlight won’t turn on | Low battery or button malfunction | Charge the unit. Press and hold the flashlight button for 3 seconds. |
| Unit shuts down during jump | Overload or high temperature | Let it cool. Try again with shorter cranking intervals. |
When to Contact Customer Support
If the unit still doesn’t work after troubleshooting, or if you notice physical damage (cracks, swelling, burnt smell), stop using it and contact Stanley’s customer service. They offer a 1-year limited warranty and are generally responsive to issues.
Final Thoughts: Is the Stanley 1200 Worth It?
After using the Stanley 1200 for over a year—through cold winters, long road trips, and a few roadside emergencies—I can confidently say it’s one of the most reliable portable jump starters I’ve tried. The Stanley 1200 Jump Starter instructions are clear, the safety features are robust, and the added tools (USB ports, flashlight) make it a true multi-purpose emergency kit.
It’s not perfect. The battery life could be longer, and the air compressor (if included) is more of a convenience than a necessity. But for the price, it delivers excellent value. It’s saved me from being stranded more than once, and the peace of mind it provides is priceless.
Whether you’re a daily commuter, a weekend road-tripper, or just someone who wants to be prepared, the Stanley 1200 is a smart investment. Follow the instructions, take care of it, and it will take care of you. And remember: a jump starter isn’t just a tool—it’s a lifeline when you need it most.
Frequently Asked Questions
How do I use the Stanley 1200 Jump Starter to jump-start my car?
To use the Stanley 1200 Jump Starter, first ensure the device is charged. Connect the red clamp to the positive (+) terminal of the car battery and the black clamp to a grounded metal surface, then start the vehicle. Always follow the safety instructions in the manual to avoid sparks or damage.
How long does it take to fully charge the Stanley 1200 Jump Starter?
The Stanley 1200 Jump Starter typically takes 24-30 hours to fully charge using the included AC charger. A red indicator light will turn green when charging is complete. For best results, charge the unit before first use and after every jump-start.
Can the Stanley 1200 Jump Starter charge phones or other electronics?
Yes, the Stanley 1200 Jump Starter includes a 12V/10A outlet and a USB port to charge devices like phones, tablets, or GPS units. Make sure the jump starter is powered on and the engine is off to avoid draining the car battery.
What should I do if the Stanley 1200 Jump Starter doesn’t turn on?
If your Stanley 1200 Jump Starter doesn’t power on, ensure it’s fully charged and the power switch is set to “On.” If the issue persists, check for loose connections or contact Stanley customer support for troubleshooting assistance.
How often should I recharge my Stanley 1200 Jump Starter when not in use?
To maintain battery health, recharge the Stanley 1200 Jump Starter every 3-6 months if unused. Storing it in a cool, dry place and keeping it charged between 50%-80% helps prolong its lifespan.
Are there safety precautions I should follow with the Stanley 1200 Jump Starter instructions?
Always follow the Stanley 1200 Jump Starter instructions to avoid sparks or short circuits. Never reverse the clamps, use the unit in wet conditions, or attempt to jump-start a damaged battery. Keep the device out of reach of children.