
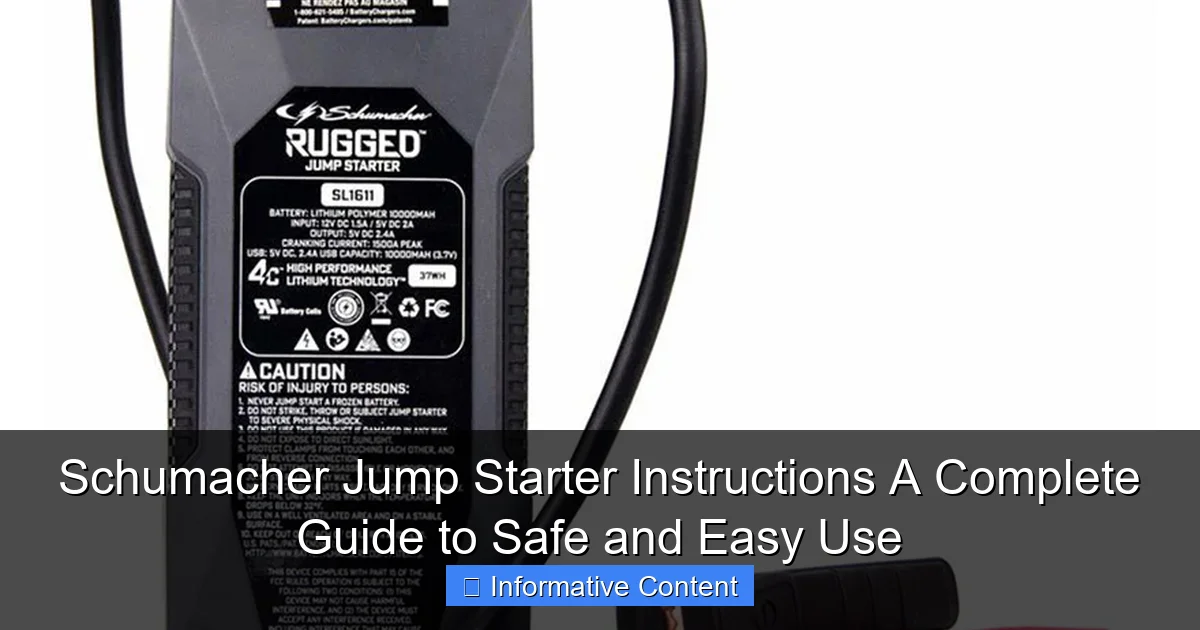
Featured image for schumacher jump starter instructions
Image source: skywalker.com
Master your Schumacher jump starter safely and efficiently with our clear, step-by-step instructions designed for both beginners and experienced users. From proper cable connections to troubleshooting tips, this guide ensures reliable vehicle starts without risk of damage or injury—maximizing performance every time.
Key Takeaways
- Always read the manual: Understand Schumacher jump starter instructions before first use.
- Check battery levels: Ensure both vehicles have sufficient charge before connecting.
- Connect cables properly: Red to positive, black to negative, avoid reversed polarity.
- Start the donor vehicle: Let it run for 3–5 minutes before attempting jump.
- Disconnect safely: Remove clamps in reverse order to prevent sparking.
- Store correctly: Keep in a dry, cool place to prolong battery life.
📑 Table of Contents
- Why Every Driver Should Know How to Use a Schumacher Jump Starter
- Understanding Your Schumacher Jump Starter: Models and Features
- Preparing for a Jump Start: Safety First and Foremost
- Step-by-Step Schumacher Jump Starter Instructions
- Troubleshooting Common Issues (And How to Fix Them)
- Maintenance and Long-Term Care for Your Schumacher Jump Starter
- Final Thoughts: Your Jump Starter Is Only as Good as Your Knowledge
Why Every Driver Should Know How to Use a Schumacher Jump Starter
Let’s face it—no one plans for a dead battery. You’re late for work, the kids need to get to school, or you’re about to leave for a weekend trip, and suddenly your car won’t start. The headlights are dim, the engine clicks but doesn’t turn over, and your heart sinks. That’s when a reliable Schumacher jump starter can be a total game-changer. I’ve been in that exact spot more times than I’d like to admit, and having a Schumacher unit in my trunk has saved me from calling roadside assistance more than once.
Schumacher Electric Corporation has been a trusted name in automotive power solutions for decades. Their jump starters are known for their durability, user-friendly design, and safety features. But here’s the catch: even the best tool is useless if you don’t know how to use it properly. That’s why I’m writing this complete guide to Schumacher jump starter instructions. Whether you’re a first-time user or just need a refresher, I’ll walk you through everything—from setup and safety to troubleshooting and maintenance. Think of this as the manual you wish came in the box, but with real-life tips from someone who’s actually used these devices.
Understanding Your Schumacher Jump Starter: Models and Features
Before diving into the instructions, it helps to know what you’re working with. Schumacher offers a wide range of jump starters, from compact 12V models perfect for small cars to heavy-duty units capable of starting large trucks and SUVs. The key is matching the right model to your vehicle’s needs.
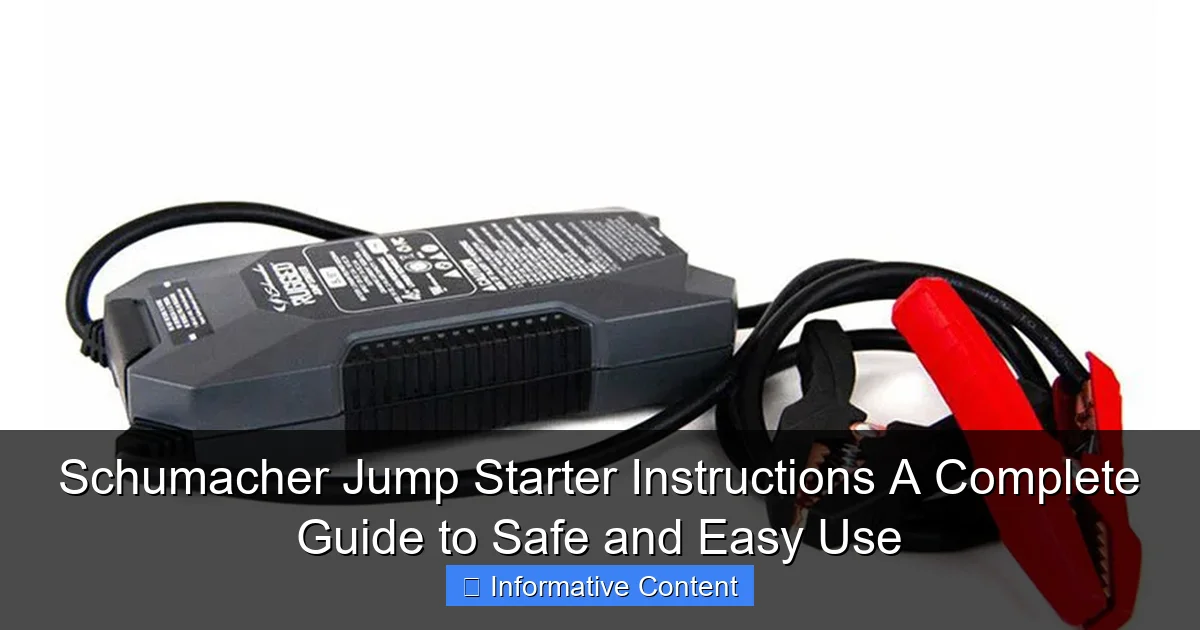
Visual guide about schumacher jump starter instructions
Image source: skywalker.com
Popular Schumacher Jump Starter Models
- Schumacher DSR137 (1200 Peak Amps): Great for everyday sedans and crossovers. Includes USB ports and LED work light.
- Schumacher SL1316 (2000 Peak Amps): Handles larger engines like V6s and V8s. Features a built-in air compressor—ideal for emergencies.
- Schumacher SC1281 (1500 Peak Amps): A mid-range option with smart clamp technology that prevents reverse polarity.
- Schumacher SJ1327 (2500 Peak Amps): A powerhouse for trucks, RVs, and commercial vehicles.
Most Schumacher jump starters come with lithium-ion batteries, which are lighter and hold a charge longer than traditional lead-acid models. They also include safety features like spark-proof clamps, overcharge protection, and automatic shutoff. But don’t assume all models work the same—always check your specific unit’s manual. For example, the Schumacher SC1281 has a “Smart Start” mode that detects voltage and adjusts output, while older models may require manual voltage selection.
Key Features That Make Schumacher Stand Out
- Reverse Polarity Protection: Alerts you (and stops the process) if you connect the clamps backward. I can’t tell you how many times this saved me from a costly mistake.
- LED Flashlight & USB Charging: The built-in light is surprisingly bright—great for nighttime emergencies. I once used mine to change a flat tire in a dark parking lot.
- Low-Voltage Start Mode: Some models can jump-start a battery as low as 1.5 volts. This is a lifesaver when the battery is completely dead.
- Portable Design: Most units weigh under 10 lbs and fit neatly in your trunk or under a seat.
Pro Tip: If you drive a diesel vehicle or a large SUV, go for at least 1500 peak amps. Smaller cars can usually get by with 1000–1200 amps. Check your owner’s manual for the recommended cold-cranking amps (CCA) of your battery—this will guide your choice.
Preparing for a Jump Start: Safety First and Foremost
Jumping a car isn’t rocket science, but it’s not without risks. A dead battery can release hydrogen gas, and sparks near it could cause an explosion. That’s why safety should be your top priority. I learned this the hard way when I once connected the clamps too quickly and saw a small spark near the battery—luckily, nothing happened, but it scared me enough to double-check every step from then on.
Essential Safety Precautions
- Park on a Flat, Dry Surface: Never attempt a jump start on a slope or in wet conditions. Water conducts electricity, and that’s a recipe for disaster.
- Turn Off All Electronics: Shut down the car’s ignition, lights, radio, and phone chargers. This reduces the load on the battery and prevents surges.
- Wear Protective Gear: Safety glasses and gloves aren’t overkill. Battery acid is corrosive, and sparks can fly.
- Keep Flammable Materials Away: No gas cans, rags, or paper near the engine bay. I once saw a friend’s garage catch fire because a spark landed on an oily rag.
- Check for Battery Damage: If the battery is cracked, leaking, or swollen, do not jump it. Replace it immediately. Jumping a damaged battery is extremely dangerous.
Setting Up Your Schumacher Jump Starter
Now that you’re safe and ready, let’s get your Schumacher unit prepped:
- Charge the Jump Starter: Even if it says “ready to use,” charge it fully first. A 20% charge might not have enough power. I always charge mine overnight before a long trip.
- Inspect the Clamps and Cables: Look for frayed wires, corrosion, or loose connections. Clean the clamps with a wire brush if needed.
- Turn Off the Jump Starter: Most Schumacher models have a power button. Make sure it’s off before connecting to the car.
- Locate the Battery: In most cars, it’s under the hood. But some (like certain BMWs or Mercedes) have it in the trunk or under a seat. Refer to your owner’s manual.
- Identify Positive (+) and Negative (-) Terminals: The positive terminal usually has a red cover or a “+” sign. The negative is black or marked “-”. If the terminals are corroded, clean them with a baking soda and water solution (1 tbsp baking soda + 1 cup water).
Real-Life Example: My neighbor once tried to jump-start his car but couldn’t find the battery—it was under the rear seat! After 20 minutes of frustration, he called me. We used the Schumacher’s long cables to reach it. Moral: Always know where your battery is before you need it.
Step-by-Step Schumacher Jump Starter Instructions
Here’s where the rubber meets the road. Follow these steps exactly, and you’ll have your car running in minutes. I’ve used this process on everything from my old Honda Civic to my friend’s F-150.
Step 1: Connect the Clamps in the Right Order
This is critical. The correct order prevents sparks and protects both the jump starter and your car’s electrical system:
- Red Clamp to Dead Battery’s Positive (+) Terminal: Attach it firmly. You should hear a click.
- Black Clamp to Good Battery’s Negative (-) Terminal (if using another car) OR to an unpainted metal surface on the dead car’s engine block (if using just the Schumacher). I use a bolt on the engine bracket—it’s far from the battery and reduces spark risk.
Pro Tip: If you’re using the Schumacher alone (no second car), the black clamp goes to a grounded metal part on the dead car’s engine. Avoid the battery’s negative terminal if possible. Why? It reduces the chance of igniting hydrogen gas.
Step 2: Turn On the Schumacher Jump Starter
Press the power button. Most models have an LED screen showing battery level, voltage, and status. Wait for the “Ready” or “Go” signal. If you see a warning light (like a reverse polarity alert), double-check your connections.
Step 3: Start the Engine
Turn the ignition key to “Start.” If the engine doesn’t turn over, wait 10–15 seconds and try again. Do not crank continuously for more than 3–5 seconds. This overheats the starter motor. Wait 30 seconds between attempts.
If the engine starts:
- Let it run for 1–2 minutes to recharge the battery.
- Keep the Schumacher connected during this time.
If it doesn’t start after 3 attempts:
- Wait 2 minutes to let the jump starter cool down.
- Try again. If still no luck, the battery may be too far gone, or there’s another issue (like a bad starter).
Step 4: Disconnect the Clamps (Reverse Order!)
Once the engine is running, disconnect in this order:
- Black Clamp from the Ground Point (or the good car’s negative terminal).
- Red Clamp from the Dead Battery’s Positive Terminal.
- Turn Off the Schumacher: Press the power button.
Why Reverse Order? Removing the negative clamp first breaks the circuit safely. If you remove the positive first, a spark could jump from the clamp to the battery, creating a risk of explosion.
Step 5: Recharge the Jump Starter
Even if you used it for just a few seconds, recharge it as soon as possible. A fully charged Schumacher can hold its charge for months, but repeated partial discharges reduce battery life. I use the included wall charger and plug it in overnight.
Troubleshooting Common Issues (And How to Fix Them)
Even with perfect instructions, things can go wrong. Here’s how to handle the most common Schumacher jump starter problems—based on my own mishaps and fixes.
Issue 1: Jump Starter Won’t Power On
- Check the Charge: Use the LED indicators or a multimeter. If the battery is below 20%, charge it fully.
- Inspect the Power Button: Sometimes it gets stuck. Press it firmly or try wiggling it.
- Reset the Unit: Unplug it from any charger, wait 30 seconds, then plug it back in. This fixes glitches in some models.
My Story: My Schumacher once wouldn’t turn on during a winter storm. I panicked, but then realized the battery was frozen (it was -10°F!). I brought it inside, let it warm up, and it worked perfectly.
Issue 2: Clamps Get Hot or Spark Excessively
- Clean the Terminals: Corrosion increases resistance, causing heat. Use a wire brush or baking soda paste.
- Check Clamp Tightness: Loose connections create sparks. Ensure they’re clamped firmly.
- Use Thicker Cables: If your unit has replaceable cables, upgrade to 4-gauge for heavy-duty use.
Issue 3: Engine Cranks but Won’t Start
- Battery Too Weak: The jump starter might not have enough power. Try charging it fully and using “Low-Voltage Start” mode (if available).
- Fuel or Ignition Problem: A jump starter only helps with a dead battery. If the engine cranks but doesn’t fire, check fuel levels or spark plugs.
- Parasitic Drain: A bad alternator or electrical component might be draining the battery. Test the alternator with a multimeter (should read 13.5–14.5V when running).
Issue 4: Reverse Polarity Alert
- Double-Check Connections: Red to positive, black to negative/ground.
- Reset the System: Disconnect the clamps, wait 10 seconds, then reconnect in the correct order.
- Check for Damaged Clamps: If the red clamp is cracked or the black clamp’s wire is exposed, replace it.
Pro Tip: If the alert keeps going off, the jump starter’s safety circuit might be faulty. Contact Schumacher support—they often replace units under warranty.
Maintenance and Long-Term Care for Your Schumacher Jump Starter
A jump starter is a long-term investment. With proper care, it can last 5–7 years. I’ve had mine for six years and still use it regularly. Here’s how to keep yours in top shape.
Charging and Storage
- Charge Every 3–6 Months: Even if not used. Lithium batteries degrade when stored at low charge.
- Store in a Cool, Dry Place: Avoid temperatures below 32°F or above 100°F. I keep mine in a trunk-mounted case.
- Use the Right Charger: Only use the Schumacher charger. Third-party chargers can damage the battery.
Cleaning and Inspection
- Wipe with a Dry Cloth: Remove dust and dirt monthly. For stubborn grime, use a mild soap solution—but never submerge the unit.
- Check Cables and Clamps: Look for wear, corrosion, or fraying. Replace damaged parts immediately.
- Test Monthly: Turn it on and let it run for 10 seconds. This keeps the battery active and ensures it’s ready when needed.
When to Replace Your Jump Starter
- Battery Won’t Hold Charge: If it dies within days of a full charge, the battery is failing.
- Cracked Housing or Damaged Cables: Safety first—replace it.
- Age Over 5 Years: Even with perfect care, lithium batteries degrade over time.
Data Table: Schumacher Jump Starter Maintenance Schedule
| Maintenance Task | Frequency | Notes |
|---|---|---|
| Full Charge | Every 3–6 months | Use original charger only |
| Visual Inspection | Monthly | Check for cracks, fraying, or corrosion |
| Functional Test | Monthly | Power on for 10 seconds |
| Cleaning | Every 3 months | Wipe with dry cloth; mild soap for grime |
| Professional Check | Every 2 years | Have a technician test internal battery |
Final Thoughts: Your Jump Starter Is Only as Good as Your Knowledge
Let me leave you with this: a Schumacher jump starter isn’t just a gadget—it’s peace of mind. I’ve used mine in blizzards, on remote highways, and even to help stranded strangers. But it’s only useful if you know how to use it safely and effectively. By following these Schumacher jump starter instructions, you’re not just avoiding a tow truck; you’re gaining independence.
Remember, every jump start is a learning experience. If something doesn’t go as planned, don’t panic. Troubleshoot calmly, refer back to this guide, and keep your unit well-maintained. And here’s a final tip: keep the manual in the case with your jump starter. I’ve lost mine twice and had to rely on memory—not ideal in a crisis.
So charge that unit, store it where you can reach it, and drive with confidence. Because when your battery dies at the worst possible moment, you’ll be the one who knows exactly what to do. Safe travels!
Frequently Asked Questions
How do I use a Schumacher jump starter for the first time?
To use your Schumacher jump starter, first ensure it’s fully charged. Connect the clamps to the battery terminals (red to positive, black to negative), then turn on the unit and start the vehicle. Always follow the Schumacher jump starter instructions included in the manual for model-specific steps.
What safety precautions should I take when using a Schumacher jump starter?
Always wear safety goggles and avoid touching metal surfaces during use. Keep the jump starter away from water, and never connect the clamps with reversed polarity, as this can damage the unit or battery.
How do I charge my Schumacher jump starter?
Plug the included AC adapter into a wall outlet and connect it to the charging port on the unit. A full charge typically takes 4–6 hours; refer to your Schumacher jump starter instructions for exact charging times based on your model.
Why won’t my Schumacher jump starter turn on?
Check if the battery is depleted and recharge it fully. If the issue persists, inspect the power switch and internal fuse—consult the manual or contact Schumacher support for troubleshooting.
Can I use a Schumacher jump starter on a lithium-ion battery?
Most Schumacher models are designed for lead-acid batteries, but some newer units support lithium-ion. Verify compatibility in your product’s manual before use to avoid damage.
How long does a Schumacher jump starter hold its charge?
A fully charged unit typically retains power for 3–6 months, but frequent use or extreme temperatures can reduce this. Recharge the jump starter every few months for optimal performance.