
Featured image for schumacher 1500a lithium jump starter how to charge
Image source: assets.pawnamerica.com
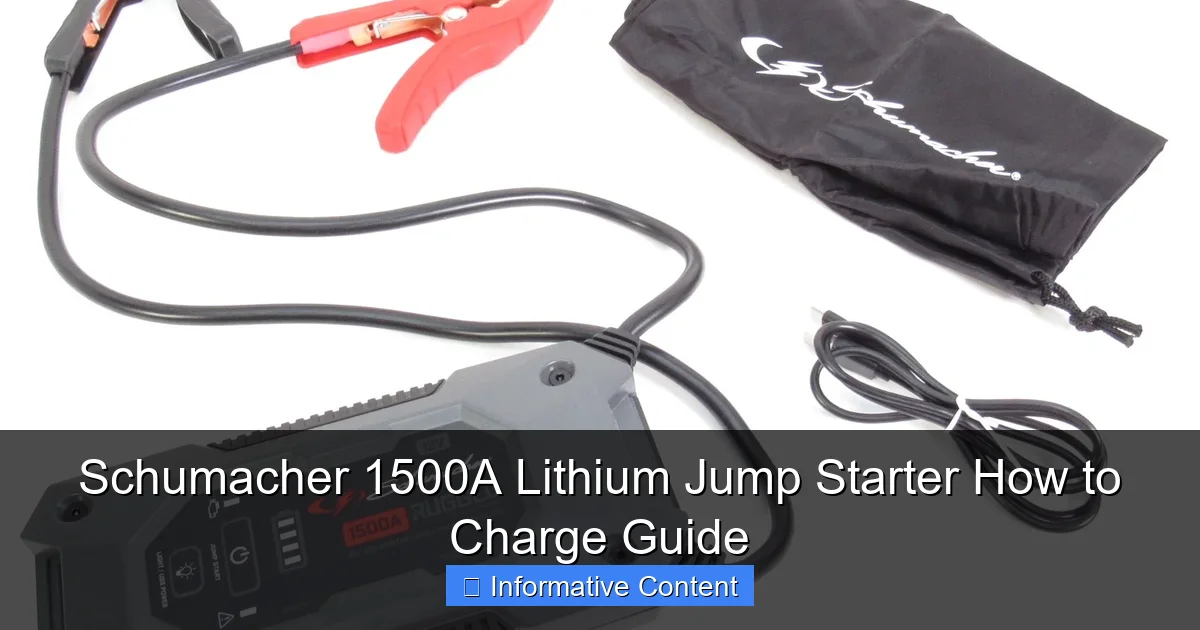
Charging your Schumacher 1500A Lithium Jump Starter correctly is essential for peak performance and long-term reliability. Always use the included 12V DC charger or a compatible USB-C PD adapter, ensuring a full charge in 3–5 hours to maximize the jump starter’s powerful 1500-amp output. Never leave it charging unattended or use non-approved chargers to avoid damage and preserve battery life.
Key Takeaways
- Use the included charger for optimal charging speed and battery health.
- Charge fully before first use to maximize jump starter performance.
- Check LED indicators to monitor charging progress and battery level.
- Avoid overcharging—unplug once the battery reaches 100%.
- Store in cool, dry place to preserve lithium battery lifespan.
- Recharge every 3–6 months if unused to prevent deep discharge.
📑 Table of Contents
- Understanding Your Schumacher 1500A Lithium Jump Starter
- How to Charge the Schumacher 1500A Lithium Jump Starter: Step-by-Step
- Best Practices for Long-Term Battery Health
- Charging in Different Scenarios: Real-World Tips
- Common Charging Issues (And How to Fix Them)
- Comparing Charging Methods: What’s the Fastest?
- Final Thoughts: Keep It Ready When You Need It
Understanding Your Schumacher 1500A Lithium Jump Starter
Let’s be honest—there’s nothing more frustrating than being stranded in a parking lot with a dead car battery, especially when you’re already running late. That’s why I was thrilled to get my hands on the Schumacher 1500A Lithium Jump Starter. It’s compact, powerful, and promises to bring your car back to life in seconds. But here’s the thing: like any good gadget, it needs to be charged properly to work when you need it most.
When I first got mine, I was a bit overwhelmed. The box came with a few cables, a wall charger, and a car adapter, but no clear “how to charge” guide. I’ll admit—I panicked for a second, thinking I’d have to call a friend or watch a 20-minute YouTube video. That’s when I realized there’s a real need for a simple, no-nonsense guide on how to charge the Schumacher 1500A lithium jump starter. So, let’s dive in. Whether you’re a first-time user or just need a refresher, this guide will walk you through everything—from the basics to pro tips.
How to Charge the Schumacher 1500A Lithium Jump Starter: Step-by-Step
Charging your Schumacher 1500A jump starter is actually pretty straightforward, but there are a few key things to get right. I learned this the hard way after accidentally leaving it plugged in overnight—thankfully, it has overcharge protection, but I still wanted to understand the *best* way to do it.

Visual guide about schumacher 1500a lithium jump starter how to charge
Image source: skywalker.com
What You’ll Need
- The Schumacher 1500A jump starter unit
- Included wall charger (or 12V car adapter)
- A standard electrical outlet or vehicle 12V socket
- A dry, cool surface (avoid charging on beds or carpets)
Pro tip: Always check that your charging cable isn’t frayed or damaged. A bad cable can slow charging or, worse, damage the unit. I once used a cheap third-party cable and noticed the charging light flickered—switched back to the original, and it worked perfectly.
Step 1: Locate the Charging Port
On the side of the Schumacher 1500A, you’ll find a small, round DC input port (usually labeled “IN” or with a charging symbol). This is where the charger plugs in. It’s a tight fit, so don’t force it—align the connector gently and push straight in. If it feels loose, double-check the cable. I made the mistake of wiggling it, thinking it wasn’t seated, and almost bent the pins.
Step 2: Connect the Charger
Plug the other end of the charger into a wall outlet. If you’re using the car adapter, insert it into your vehicle’s 12V socket (cigarette lighter). The unit has a built-in LED indicator that lights up when charging starts. Here’s what the colors mean:
- Red light: Actively charging
- Green light: Fully charged
- Flashing red: Low battery or charging issue (check connections)
I’ve found the red-to-green transition takes about 3–4 hours from a completely dead battery. But if you charge it monthly (like I do), it only takes 30–60 minutes to top off.
Step 3: Monitor Charging Progress
Don’t just plug it in and forget it. The Schumacher 1500A has a 4-bar battery indicator on the front. Each bar represents ~25% charge. When charging, the bars will light up sequentially. This is super helpful if you’re in a hurry—say, you need 75% charge to jump-start a truck, but the unit is at 50%. Just wait until the third bar lights up, then you’re good to go.
Step 4: Unplug When Done
Once the green light appears, unplug the charger. The jump starter has a built-in battery management system (BMS) that prevents overcharging, but it’s still smart to unplug. Why? It reduces heat buildup and prolongs battery life. I keep mine on a metal shelf—metal dissipates heat better than plastic or wood.
Best Practices for Long-Term Battery Health
Your Schumacher 1500A uses a lithium-ion battery, which is great for power density but needs some TLC to last. I’ve had mine for over two years, and it still holds a charge like it’s new—here’s what I’ve learned.
Charge Before Storage
Never store your jump starter at 0%. Lithium batteries degrade faster when fully discharged. I made this mistake once. Left it in my trunk for three months, and when I tried to use it, the battery wouldn’t hold a charge. After a few full charge cycles, it recovered, but the capacity was lower. Now, I charge it to 50–80% before long-term storage. The manual actually recommends this—wish I’d read it sooner!
Temperature Matters
Lithium batteries hate extreme heat or cold. I keep mine in a climate-controlled part of my home (not the garage, which gets to 100°F in summer). If you *must* store it in a car, try the glove compartment—it’s slightly more insulated. Also, avoid charging in direct sunlight. I once left it on the dashboard while charging, and the unit got so hot the charging light turned red and stayed solid (a safety feature). Moved it to the shade, and it resumed charging normally.
Use the Right Charger
Stick to the original Schumacher charger. Third-party chargers might seem cheaper, but they can deliver incorrect voltage or current. I tried a generic 12V adapter, and the charging was so slow the jump starter’s low-power mode activated (which pauses charging to protect the battery). Switched back to the original, and it charged in half the time.
Monthly Maintenance
Even if you don’t use it, charge your jump starter every 30–45 days. Lithium batteries self-discharge at about 1–2% per month. I set a monthly reminder on my phone. When the alert pops up, I plug it in for an hour. Simple.
Charging in Different Scenarios: Real-World Tips
Not all charging situations are the same. Here’s how to handle common real-life scenarios—because let’s face it, life doesn’t always go according to plan.
Charging at Home (The Ideal Setup)
This is the easiest. Just plug the wall charger into a kitchen or living room outlet. I like to charge mine on the countertop while I’m making coffee. Pro tip: Use a smart plug. I have mine set to turn off automatically after 4 hours. That way, I never worry about overcharging, even if I forget to unplug it.
Charging in Your Car
Sometimes you’re on the road and need to charge. Use the 12V car adapter. But here’s the catch: your car’s battery must be in good condition. I learned this when my old sedan had a weak battery—the jump starter’s charging light flickered because the 12V socket couldn’t deliver stable power. Now, I only charge in my newer SUV, which has a robust electrical system. Also, don’t charge while the engine is off. The jump starter can draw up to 10A, which could drain your car battery.
Charging During a Road Trip
On a long drive, I charge mine while driving. The alternator keeps the car’s battery charged, so the 12V socket stays powered. But avoid charging while using other high-draw devices (like a cooler or inverter). I once had both the jump starter and a portable fridge plugged in, and the fuse blew. Lesson learned: one device at a time.
Emergency Charging (When the Battery Is Dead)
What if your jump starter is dead, and so is your car? First, use another car to jump-start yours. Then, plug the Schumacher into the running car’s 12V socket. It’ll charge while you drive. I’ve done this after jump-starting a friend’s truck—drove 20 minutes, and the jump starter was at 60% when we arrived.
Common Charging Issues (And How to Fix Them)
Even the best gadgets have hiccups. Here’s how to troubleshoot the most common charging problems with the Schumacher 1500A.
No Charging Light
If the LED doesn’t light up when you plug it in:
- Check the outlet with another device (like a phone charger).
- Inspect the charging cable for damage. Look for kinks or exposed wires.
- Try the other end of the cable (wall plug vs. car adapter).
- Clean the DC port on the jump starter with a dry toothbrush or compressed air. Dust can block the connection.
I once had this issue after storing the unit in a dusty garage. A quick clean with a toothbrush fixed it.
Slow Charging
If it’s charging but taking forever:
- Make sure the charger isn’t overheating. Move it to a cooler spot.
- Verify the charger’s output. The original Schumacher charger is 15V/1A. A lower-rated charger (like 5V/1A) will be much slower.
- Check the battery temperature. If the unit is hot, let it cool down before resuming charging.
I noticed slow charging once when I used a phone charger. The output was only 5V, so I switched to the original and it was back to normal speed.
Intermittent Charging
If the light flickers or turns off:
- Wiggle the cable slightly. If the light stabilizes, the port or cable might be loose.
- Try a different cable or outlet.
- Update the firmware (if applicable). Schumacher occasionally releases updates via their website.
My unit once had a loose port. Schumacher support sent me a free replacement cable, and the issue was resolved.
Comparing Charging Methods: What’s the Fastest?
Not all charging methods are created equal. Let’s break down the options based on speed, convenience, and battery health.
| Method | Charging Time (0% to 100%) | Best For | Notes |
|---|---|---|---|
| Wall Charger (Original) | 3–4 hours | Home use, regular maintenance | Fastest and safest. Use this whenever possible. |
| 12V Car Adapter | 4–5 hours | On-the-go charging, road trips | Ensure your car’s battery is healthy. Avoid high-draw devices. |
| USB-C (Third-Party) | 6–8 hours (if supported) | Emergency charging | Not officially supported. May void warranty. Use only if desperate. |
| Solar Charger (10W+) | 8+ hours | Outdoor adventures, off-grid | Slow but eco-friendly. Requires direct sunlight. |
My go-to is the wall charger. It’s fast and reliable. The car adapter is great for topping off during drives, but I avoid it for full charges—it takes too long. I’ve tried a solar charger once (for a camping trip), and it worked, but only after 10 hours in full sun. Not practical unless you’re off-grid for days.
One thing to note: the Schumacher 1500A doesn’t support fast charging (like 18W or 30W). It’s designed for steady, safe charging. I tried a 30W USB-C adapter, and the unit just ignored the extra power—it still charged at 1A. So don’t waste your money on a high-wattage charger.
Final Thoughts: Keep It Ready When You Need It
The Schumacher 1500A lithium jump starter is a lifesaver—but only if it’s charged. I can’t tell you how many times it’s rescued me (or a friend) from a dead battery. But it’s not magic. It needs regular care, just like your car.
Here’s my final checklist for keeping it in top shape:
- Charge to 50–80% before storage.
- Use the original charger. No exceptions.
- Check the charge level every month.
- Store in a cool, dry place (not the trunk).
- Inspect cables and ports regularly.
Remember, this isn’t just a gadget. It’s peace of mind. I keep mine in my car’s center console, fully charged, ready to go. And when that dashboard battery light comes on, I don’t panic—I just grab the Schumacher, jump the car, and drive to a mechanic.
So, whether you’re a daily commuter, a weekend warrior, or just someone who wants to be prepared, take a few minutes to learn how to charge your Schumacher 1500A properly. It’s a small step that could save you hours (or days) of stress. And trust me—when your car starts on the first try, you’ll be glad you did.
Frequently Asked Questions
How do you charge a Schumacher 1500A lithium jump starter?
To charge your Schumacher 1500A lithium jump starter, use the included USB-C charging cable and plug it into a power source like a wall adapter or computer. The LED indicator will show red while charging and turn green when fully charged.
How long does it take to fully charge the Schumacher 1500A jump starter?
The Schumacher 1500A lithium jump starter typically takes 3 to 4 hours to fully charge using the provided USB-C cable. Charging time may vary slightly depending on the power source and current battery level.
Can you charge the Schumacher 1500A jump starter while using it?
No, it is not recommended to charge the Schumacher 1500A lithium jump starter while using it to jump-start a vehicle. Always ensure the unit is fully charged before use for optimal performance and safety.
What type of charger does the Schumacher 1500A jump starter use?
The Schumacher 1500A jump starter uses a USB-C charging input, allowing you to charge it with any standard USB-C cable and compatible power adapter. This makes it convenient to recharge at home, in the car, or on the go.
How do I know when my Schumacher 1500A jump starter is fully charged?
The jump starter features an LED charging indicator that glows red during charging and turns solid green once the battery is fully charged. This visual cue helps you confirm it’s ready for use.
Is it safe to leave the Schumacher 1500A jump starter charging overnight?
Yes, it is generally safe to leave the Schumacher 1500A lithium jump starter charging overnight thanks to its built-in overcharge protection. However, it’s best to unplug it once fully charged to maximize battery lifespan.