
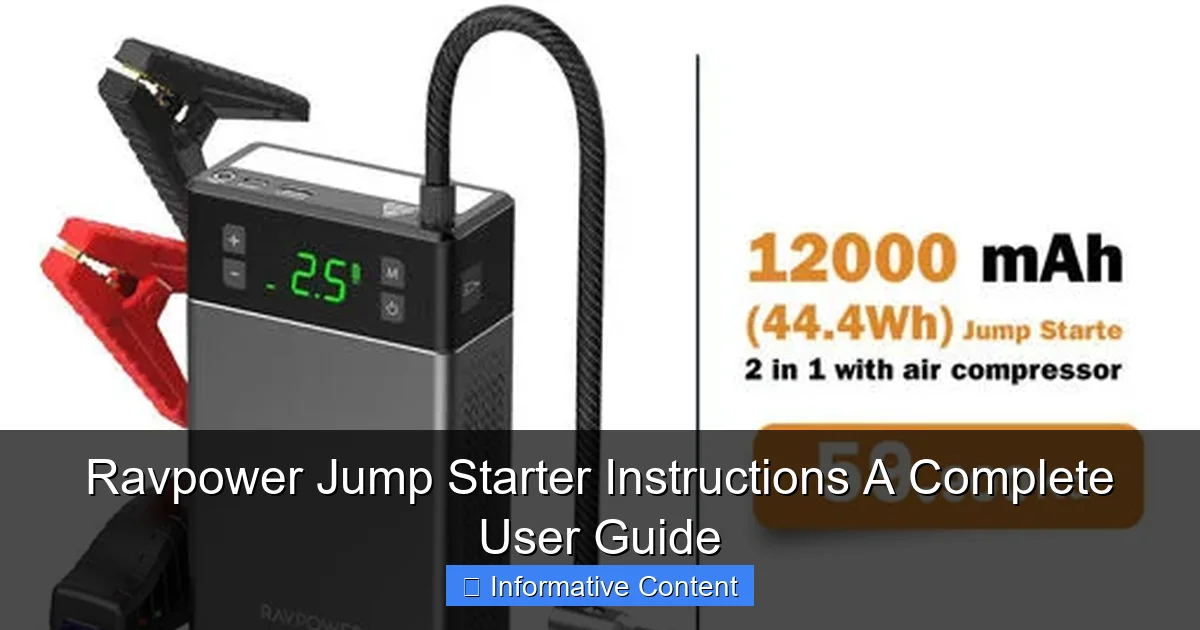
Featured image for ravpower jump starter instructions
Image source: durratna.com
Master your Ravpower jump starter with this clear, step-by-step guide designed to get your vehicle running fast and safely. From proper cable connections to built-in safety features, follow these essential instructions to avoid damage and ensure reliable performance every time.
Key Takeaways
- Always charge fully before first use to maximize jump starter lifespan.
- Connect red clamp first to positive battery terminal for safety.
- Check compatibility with your vehicle’s voltage (12V/24V) before starting.
- Use eco mode to conserve power during short jumps or low usage.
- Store in dry, cool place to prevent damage and ensure reliability.
- Test monthly to confirm functionality and avoid unexpected failures.
📑 Table of Contents
- Why Every Driver Needs a Reliable Jump Starter
- Understanding Your Ravpower Jump Starter: What’s in the Box?
- Step-by-Step Ravpower Jump Starter Instructions
- Charging Your Ravpower Jump Starter: Dos and Don’ts
- Troubleshooting Common Issues and Safety Tips
- Maximizing Your Jump Starter’s Lifespan and Performance
- Final Thoughts: Your Ravpower Jump Starter Is More Than a Tool
Why Every Driver Needs a Reliable Jump Starter
Picture this: It’s a cold winter morning, and you’re running late for work. You hop into your car, turn the key, and… nothing. Just a series of clicks and silence. Your battery is dead, and you’re stranded. If you’ve been there, you know the frustration. Now, imagine having a ravpower jump starter in your trunk. Within minutes, you’re back on the road—no waiting for help or paying for a tow. That’s the peace of mind a portable jump starter brings.
But here’s the thing: owning a jump starter isn’t enough. You need to know how to use it safely and effectively. The ravpower jump starter instructions aren’t just a manual—they’re your roadmap to avoiding common mistakes, extending your device’s life, and staying safe in emergencies. Whether you’re a first-time user or a seasoned driver, this guide will walk you through everything you need to know, from setup to troubleshooting. Let’s dive in!
Understanding Your Ravpower Jump Starter: What’s in the Box?
Before you jump into using your new gadget, take a moment to unpack it. Most Ravpower jump starters come with a few key components. Knowing what each part does will make the setup process smoother and help you troubleshoot later if needed.
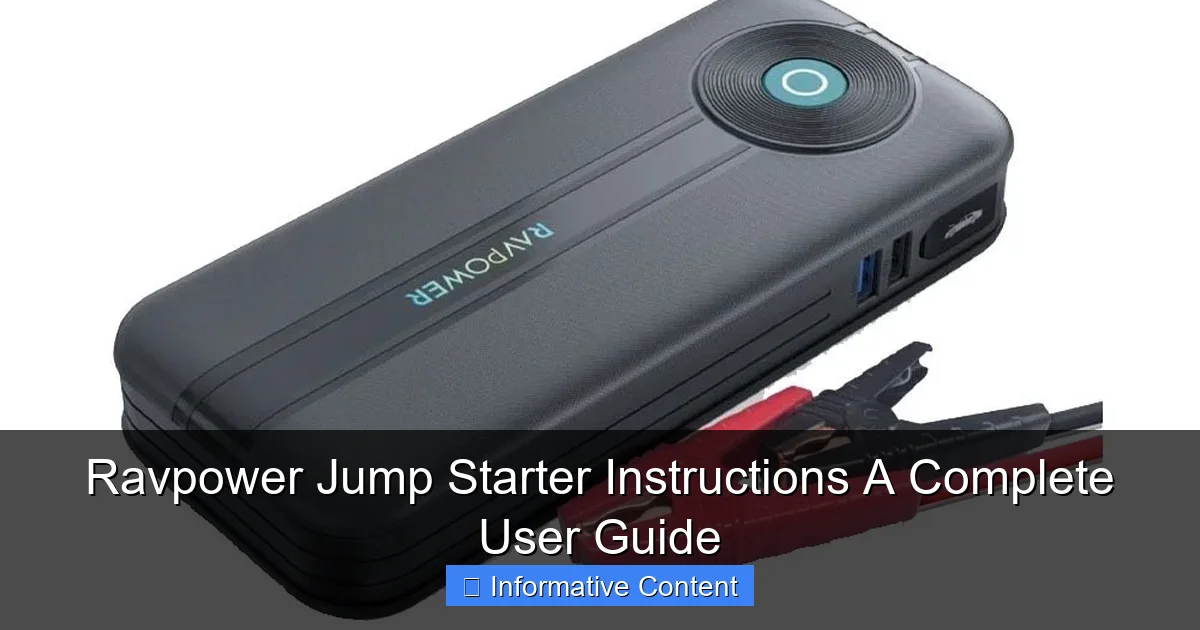
Visual guide about ravpower jump starter instructions
Image source: hitel.ir
Unboxing the Device
- The Jump Starter Unit: This is the heart of the device. It’s compact but packs a powerful lithium-ion battery. Most models (like the RP-PB058 or RP-PB122) offer 12,000mAh to 20,000mAh capacity, enough to jump-start a car multiple times.
- Smart Jumper Cables: Unlike traditional jumper cables, these are “smart.” They have built-in protection against reverse polarity, short circuits, and overvoltage. Look for the red (positive) and black (negative) clamps—they’re color-coded for safety.
- Charging Cable and Adapter: You’ll get a USB-C or Micro-USB cable and a wall adapter. Some models include a car charger too.
- User Manual: Don’t toss this aside! It’s your quick-reference guide for troubleshooting and maintenance.
- Carrying Case (Optional): Higher-end models often come with a durable case to protect the device.
Key Features to Know
Ravpower jump starters aren’t just for jump-starting. They’re multi-functional tools. Here’s what else they can do:
- USB Charging Ports: Use these to charge your phone, tablet, or other USB-powered devices. Some models have both USB-A and USB-C ports for faster charging.
- LED Flashlight: Handy for nighttime emergencies. Most have multiple modes (steady, strobe, SOS).
- LCD Battery Indicator: A small screen shows the remaining battery percentage. This helps you know when it’s time to recharge.
- Jump Start Button: A dedicated button to activate the jump-start function. It’s often labeled “Start” or has a car icon.
Pro Tip: If you’re unsure about a feature, check the model number on the back of your device. Ravpower’s website has detailed specs for each model. For example, the RP-PB122 has a 15,000mAh battery and supports 12V vehicles up to 6.0L gasoline engines.
Step-by-Step Ravpower Jump Starter Instructions
Using a jump starter might seem intimidating, but it’s simpler than you think. Follow these steps, and you’ll be back on the road in no time. Always read the ravpower jump starter instructions for your specific model first—some steps vary slightly.
Step 1: Prepare the Jump Starter
- Check the Battery Level: Press the power button (usually on the side or front). The LCD screen should show the battery percentage. If it’s below 50%, charge it before use.
- Turn On the Device: Hold the power button for 3 seconds until the screen lights up. You’ll see the battery level and other indicators.
Example: I once tried to jump-start my car with a 30% battery. It worked, but the jump starter shut off mid-process. Now, I always charge it to 100% before an emergency.
Step 2: Connect the Jumper Cables
This is the most critical step. Safety first!
- Turn Off the Car: Make sure the ignition is off. Remove the keys if possible.
- Locate the Battery: Pop the hood and find the battery. Look for the positive (+) and negative (-) terminals. If they’re covered in corrosion, clean them with a wire brush.
- Connect the Red Clamp: Attach the red clamp to the positive terminal. You’ll hear a click when it’s secure.
- Connect the Black Clamp: Attach the black clamp to a grounded metal part—not the negative terminal. I use an unpainted bolt on the engine block. Never connect it to the battery’s negative terminal. This reduces the risk of sparks near the battery.
Why This Matters: Connecting the black clamp to the negative terminal can cause a spark. If hydrogen gas is present (common with old batteries), it could lead to an explosion. Safety first!
Step 3: Activate the Jump Start Function
- Press the Jump Start Button: Look for a button labeled “Start” or with a car icon. Press it once. The device will beep and show a “Ready” message.
- Wait 30 Seconds: This allows the jump starter to stabilize. Don’t rush this step—it ensures a steady power flow.
Step 4: Start Your Car
- Turn the Ignition: Insert the key and turn it to “Start.” Hold for 3-5 seconds. If the engine cranks but doesn’t start, wait 2 minutes before trying again. This gives the jump starter a break.
- Success!: If the car starts, great! Let it run for 2-3 minutes to charge the battery.
Tip: If the car doesn’t start on the first try, don’t panic. Wait 2 minutes, then try again. Sometimes, the engine needs a few seconds to “wake up.”
Step 5: Disconnect the Cables
- Turn Off the Car: Once the engine is running, turn it off.
- Remove the Clamps in Reverse Order: First, remove the black clamp, then the red one. This minimizes the risk of short circuits.
- Turn Off the Jump Starter: Hold the power button until the screen turns off.
Common Mistake: I once left the clamps connected after the car started. The jump starter overheated and shut down. Always disconnect promptly!
Charging Your Ravpower Jump Starter: Dos and Don’ts
A well-maintained jump starter lasts years. The key? Proper charging. Here’s how to do it right—and what to avoid.
How to Charge It
- Use the Right Cable: Always use the included USB-C or Micro-USB cable. Other cables might not deliver enough power.
- Charge Fully: Plug the cable into the wall adapter or a car charger. The LCD screen will show the charging progress. A full charge takes 4-6 hours (depending on the model).
- Check the LED Indicator: Most models have an LED that turns green when fully charged. If it’s red or blinking, it’s still charging.
Best Practices for Battery Health
- Charge Every 3 Months: Even if you don’t use it, lithium-ion batteries lose charge over time. A 3-month recharge keeps the battery healthy.
- Avoid Extreme Temperatures: Don’t charge in freezing temps or direct sunlight. Store it in a cool, dry place (ideally 50°F–77°F).
- Don’t Overcharge: Unplug it once it’s full. Modern models have overcharge protection, but it’s still good practice.
Charging Mistakes to Avoid
- Using a Low-Quality Adapter: Cheap adapters can damage the battery. Stick to the original or a certified third-party one.
- Charging While Jump-Starting: Never charge the jump starter while it’s connected to a car. This can overload the device.
- Leaving It in the Car: Extreme heat (like in a summer car) can degrade the battery. Store it in the trunk, not the cabin.
Real-Life Example: My friend left his jump starter in his car during a heatwave. The battery swelled and stopped working. A $100 lesson learned!
Troubleshooting Common Issues and Safety Tips
Even the best devices have hiccups. Here’s how to handle common problems—and stay safe while doing it.
Common Problems and Fixes
- Jump Starter Won’t Turn On:
- Check the battery level. If it’s dead, charge it.
- Try a different charging cable. Sometimes, the issue is the cable, not the device.
- Car Doesn’t Start After Connection:
- Double-check the clamps. Are they secure? Is the red clamp on positive?
- Wait 2 minutes between attempts. The jump starter needs a cooldown period.
- Test the jump starter on another car. If it works, your car’s battery might be beyond help.
- Device Overheats:
- Turn it off immediately. Let it cool for 30 minutes.
- Ensure proper ventilation. Don’t cover the device during use.
Safety First: What Not to Do
- Don’t Connect the Clamps Backwards: This can fry the jump starter. The smart cables have reverse polarity protection, but it’s not foolproof.
- Don’t Use on Diesel Engines: Most Ravpower models are for gasoline engines. Diesel engines require more power.
- Don’t Jump-Start a Flooded Engine: If the engine is flooded (common in rainy weather), wait 10 minutes before trying.
- Don’t Leave It Connected: Once the car starts, disconnect the jump starter. Leaving it connected can drain the battery.
When to Seek Help
If you’ve tried everything and the car still won’t start, the issue might be bigger than the battery. It could be the starter motor, alternator, or fuel system. In that case, call a mechanic. A jump starter is a tool—not a magic fix.
Maximizing Your Jump Starter’s Lifespan and Performance
Want your Ravpower jump starter to last 5+ years? Follow these maintenance tips. A little care goes a long way.
Routine Maintenance
- Clean the Clamps: Wipe the clamps with a dry cloth after each use. Corrosion can build up over time.
- Store Properly: Keep it in a cool, dry place. The included case is perfect for this.
- Update Firmware (If Applicable): Some models have firmware updates. Check Ravpower’s website for details.
Smart Usage Tips
- Use It for Other Devices: Charge your phone, tablet, or even a portable speaker. This keeps the battery active.
- Carry It in Your Emergency Kit: Pair it with a first-aid kit, flashlight, and jumper cables. You’re ready for anything.
- Test It Monthly: Turn it on and check the battery level. This ensures it’s ready when you need it.
Performance Data Table
| Model | Battery Capacity | Jump Start Cycles (100% to 0%) | USB Output | Weight |
|---|---|---|---|---|
| RP-PB058 | 12,000mAh | 300+ | 5V/2.4A (USB-A) | 1.2 lbs |
| RP-PB122 | 15,000mAh | 350+ | 5V/2.4A (USB-A), 5V/3A (USB-C) | 1.5 lbs |
| RP-PB211 | 20,000mAh | 400+ | 5V/2.4A (USB-A), 5V/3A (USB-C), 12V/10A (DC) | 2.1 lbs |
Note: Jump start cycles vary based on usage. Heavy use (e.g., jump-starting large trucks) reduces the lifespan.
Final Thoughts: Your Ravpower Jump Starter Is More Than a Tool
Think of your ravpower jump starter as a safety net. It’s not just for dead batteries—it’s for peace of mind. Whether you’re stuck in a parking lot, a remote trail, or a snowstorm, it’s there for you. But like any tool, it needs care. Follow the ravpower jump starter instructions, charge it regularly, and treat it with respect. It’ll return the favor for years to come.
Here’s my final tip: Keep the manual in the carrying case. I once helped a friend jump-start his car, but he’d lost the manual. We had to guess the steps—and almost connected the clamps backward! A quick read would’ve saved us the stress.
Now, go ahead. Charge your jump starter, test it, and tuck it into your trunk. You’re not just prepared—you’re confident. And that’s the best feeling a driver can have.
Frequently Asked Questions
How do I use the Ravpower jump starter for the first time?
To use your Ravpower jump starter, fully charge it via the included USB-C or DC cable. Connect the clamps to the battery terminals (red to positive, black to negative), then start your vehicle while ensuring the unit is powered on.
Can I leave the Ravpower jump starter plugged in overnight?
Yes, most Ravpower models feature overcharge protection, so leaving it plugged in is safe. However, unplugging once fully charged helps prolong battery lifespan.
What should I do if my Ravpower jump starter won’t turn on?
First, check the battery level and recharge if needed. If the issue persists, try a reset by holding the power button for 10 seconds or consult the manual for troubleshooting steps.
How do I follow Ravpower jump starter instructions for jump-starting safely?
Always connect the clamps in the correct order (red first, then black) and avoid touching the clamps together. Refer to the included Ravpower jump starter instructions for vehicle-specific tips.
Is the Ravpower jump starter compatible with diesel engines?
Yes, many Ravpower models support diesel engines up to 6L. Verify your model’s specifications for compatibility, especially if working with larger engines.
How long does the Ravpower jump starter hold its charge?
When fully charged and unused, it typically holds a charge for 3–6 months. Recharge it every 3 months for optimal performance.