
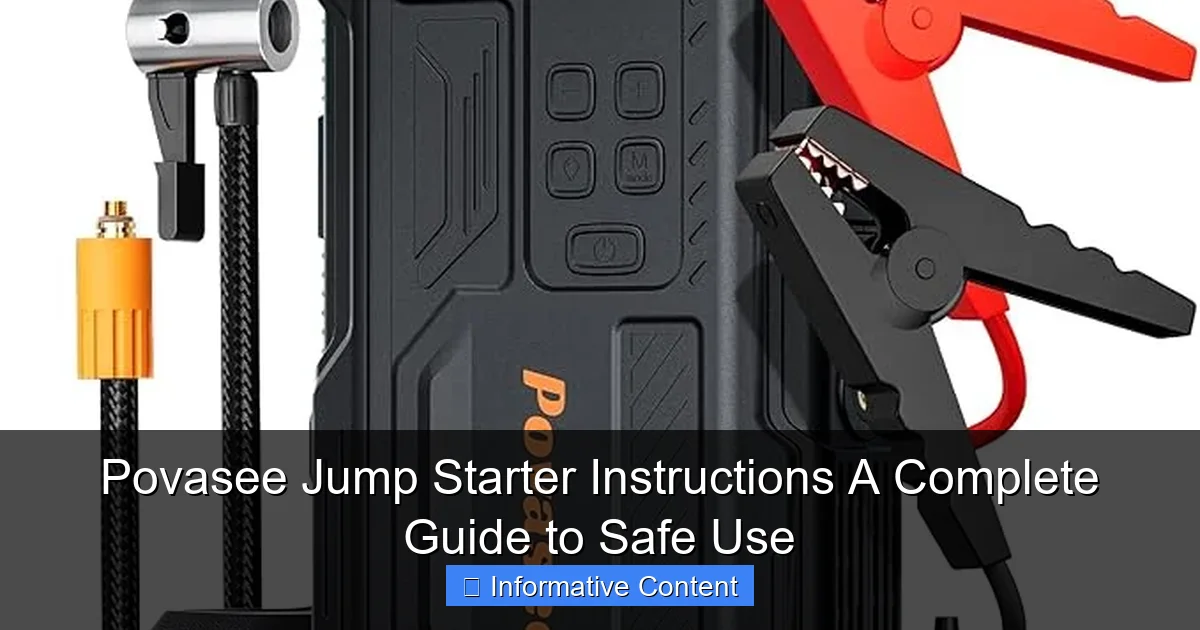
Featured image for povasee jump starter instructions
Image source: povasee.org
Always follow the manufacturer’s step-by-step safety guidelines when using your Povasee jump starter to prevent damage to your vehicle or personal injury. Ensure the device is fully charged and properly connected—positive to positive, negative to ground—before starting the engine for a reliable, safe jump every time.
Key Takeaways
- Always read the manual before using your Povasee jump starter for safe operation.
- Check battery levels before each use to ensure reliable jump-starting power.
- Connect red to positive (+) first, then black to negative (-) for safety.
- Never leave it charging unattended to avoid overheating or battery damage.
- Use in dry conditions only to prevent electrical hazards or short circuits.
- Store in a cool, dry place to maintain battery life and performance.
- Test regularly to confirm your jump starter is ready for emergencies.
📑 Table of Contents
- Why You Need a Jump Starter (And Why Povasee Might Be Your Best Bet)
- What Is a Povasee Jump Starter and How Does It Work?
- Step-by-Step Povasee Jump Starter Instructions for Safe Use
- Common Mistakes to Avoid (And How to Fix Them)
- Advanced Features and Multi-Use Capabilities
- Maintenance, Storage, and Troubleshooting Tips
- Final Thoughts: Is the Povasee Jump Starter Worth It?
Why You Need a Jump Starter (And Why Povasee Might Be Your Best Bet)
Let’s be honest: there’s nothing worse than turning the key in your car’s ignition and being met with that dreaded click—or worse, silence. A dead battery can happen to anyone, at any time, and it always seems to occur when you’re already running late, stuck in the middle of nowhere, or just trying to get home after a long day. That’s where a portable jump starter, like the Povasee jump starter, comes in. It’s not just a backup plan; it’s a lifeline for your vehicle when you need it most.
Unlike traditional jumper cables that require another vehicle, the Povasee jump starter is compact, self-contained, and easy to use—even if you’re not a car expert. Whether you’re a daily commuter, a road tripper, or someone who just wants peace of mind in the garage, having a reliable jump starter can save you time, money, and stress. But here’s the catch: even the best tool is only as good as your knowledge of how to use it. That’s why understanding Povasee jump starter instructions is essential for safe, effective use. In this guide, we’ll walk you through everything you need to know—from setup to troubleshooting—so you can confidently handle a dead battery with ease.
What Is a Povasee Jump Starter and How Does It Work?
Understanding the Basics
The Povasee jump starter is a portable lithium-ion battery pack designed to jump-start vehicles with dead or weak 12V batteries. It’s not just a battery—it’s a multi-functional power tool that can also charge phones, tablets, and other USB devices. Most models come with smart safety features like reverse polarity protection, short-circuit protection, and spark-proof technology, which make them safer than traditional jumper cables.

Visual guide about povasee jump starter instructions
Image source: d3gqasl9vmjfd8.cloudfront.net
Think of it like a power bank, but beefier. It stores enough energy to crank an engine, typically supporting vehicles with engines up to 6.0L gasoline or 4.0L diesel. That covers most cars, SUVs, trucks, and even small boats. Unlike older jump starters that were clunky and hard to store, Povasee units are sleek, lightweight, and often come with a carrying case—perfect for tossing in your glove box or trunk.
Key Components You Need to Know
- Jump Starter Unit: The main battery pack. Usually has an LED flashlight and digital display showing battery level.
- Smart Jumper Cables: Heavy-duty clamps with built-in safety circuitry. These plug into the jump starter and connect to your car battery.
- USB Charging Ports: For charging phones, GPS units, or other electronics.
- 12V/24V Output (on some models): For powering air compressors, tire inflators, or other car accessories.
- LED Flashlight: Useful during nighttime emergencies or roadside repairs.
One thing I love about Povasee is how user-friendly the design is. For example, the jumper cables have color-coded clamps (red for positive, black for negative) and often include a built-in LED indicator that flashes if you connect them incorrectly. That’s a small detail, but it can prevent big mistakes.
How It Works in Real Life
Imagine you’re leaving a concert at midnight. Your car won’t start. No one’s around. No AAA in sight. You grab your Povasee jump starter from the trunk, pop the hood, and follow three simple steps:
- Plug the smart jumper cables into the jump starter.
- Connect red to the positive (+) terminal on the battery, black to a grounded metal part (like a bolt or bracket—not the negative battery terminal if corroded).
- Turn on the jump starter, wait a few seconds, then try starting the car.
Most of the time, the engine fires up right away. No second car needed. No waiting for help. Just you, your jump starter, and a sigh of relief.
Step-by-Step Povasee Jump Starter Instructions for Safe Use
Step 1: Check the Jump Starter’s Charge Level
Before you even think about using your Povasee jump starter, check its battery level. Most models have a button that activates an LED display showing how much charge is left. Ideally, it should be at 75% or higher for reliable performance. If it’s below 50%, charge it fully before use.
Pro tip: I keep my Povasee on a smart charger in the garage. It only takes a few hours to recharge, and I do it once a month—even if I haven’t used it. That way, it’s always ready when I need it.
Step 2: Prepare Your Vehicle
Safety first. Here’s what to do before connecting anything:
- Turn off the ignition and all electrical systems (radio, lights, A/C).
- Set the parking brake and put the car in park (or first gear for manual transmission).
- Open the hood and locate the battery. Clean any corrosion from the terminals if necessary (use a wire brush or baking soda/water mix).
- Make sure the jump starter is off and the cables are unplugged.
I once skipped cleaning the terminals and got a weak connection. The car barely cranked. A quick wipe with a rag fixed it. Lesson learned: clean terminals = better connection.
Step 3: Connect the Jumper Cables
Follow this order—it’s critical for safety:
- Plug the jumper cables into the jump starter.
- Connect the red (positive) clamp to the positive (+) terminal on the battery.
- Connect the black (negative) clamp to a solid, unpainted metal ground—like an engine bolt, alternator bracket, or bare metal frame. Never connect it to the negative battery terminal if it’s corroded or damaged.
Why the ground? It prevents sparks near the battery, which could ignite hydrogen gas. Smart, right?
Step 4: Activate the Jump Starter
Now it’s time to power up:
- Press the power button on the jump starter. The LED display should light up.
- Wait 10–15 seconds. This gives the jump starter time to stabilize and detect the battery.
- Some models have a “Boost” or “Start” mode. If yours does, press it now.
If the jump starter has a safety indicator, make sure it shows “Safe to Start” or a green light. If it flashes red or beeps, double-check your connections.
Step 5: Start the Vehicle
Turn the ignition key or push the start button. The engine should crank and start within a few seconds. If it doesn’t:
- Wait 30–60 seconds before trying again. This prevents overheating.
- Try 2–3 attempts max. If the car still won’t start, there may be another issue (e.g., bad starter, fuel pump).
Important: Once the car starts, keep it running for at least 10–15 minutes to recharge the battery. Avoid turning it off immediately.
Step 6: Disconnect Safely
Reverse the connection order:
- Turn off the jump starter.
- Unplug the jumper cables from the jump starter.
- Remove the black (negative) clamp first, then the red (positive) clamp.
- Store everything in the carrying case.
Always disconnect in this order to avoid sparks or short circuits.
Common Mistakes to Avoid (And How to Fix Them)
Connecting Clamps in the Wrong Order
This is the #1 mistake. If you connect the black clamp to the battery’s negative terminal and then accidentally touch the positive clamp to metal, you’ll create a spark. That’s dangerous and can damage the jump starter.
Solution: Always connect red first, black to ground. Disconnect black first, then red. Think: “Red in, red out. Black in, black out.”
Using a Low-Charge Jump Starter
Don’t assume a half-charged jump starter will work. Cold weather or an older battery may need full power. I once tried to jump a car in winter with a 40% charge. It barely made a sound. Charged it to 100%—worked instantly.
Tip: Keep it charged. Set a monthly reminder on your phone.
Ignoring Safety Indicators
Many Povasee models have LED indicators that warn of reverse polarity, short circuits, or overloads. If it flashes red or beeps, stop and check your connections. Forcing it can damage the unit.
Using on Non-12V Systems
Most Povasee jump starters are for 12V systems. Don’t try to use them on 24V trucks or heavy machinery unless the model specifically supports it. Check the manual.
Leaving It in Extreme Temperatures
Lithium batteries hate heat and cold. Leaving your jump starter in a hot trunk (120°F+) or freezing garage (below 32°F) can reduce battery life. Store it in a cool, dry place—like your home or office.
Advanced Features and Multi-Use Capabilities
USB Charging for Electronics
Need to charge your phone during a road trip? Most Povasee jump starters have USB-A and USB-C ports. I’ve used mine to power a GPS, tablet, and even a portable fan while camping. Just plug in your cable and press the power button.
Note: Charging electronics drains the jump starter’s battery. Don’t rely on it as a full-time power bank.
LED Flashlight for Emergencies
Many models have a built-in flashlight with multiple modes: steady beam, strobe, and SOS. I once used the SOS mode to signal for help on a dark highway. It’s bright and visible from hundreds of feet away.
Inflator and Air Pump Functions (On Select Models)
Some Povasee jump starters double as tire inflators. They come with nozzles for car tires, bike tires, and even air mattresses. Just attach the hose, set the PSI, and let it run.
For example, the Povasee X500 has a 150 PSI air compressor. I used it to inflate a flat bike tire in under 2 minutes—no manual pump needed.
Smart Charging and Battery Management
Advanced models use smart charging tech to prevent overcharging, overheating, and short circuits. They also have a “maintenance mode” that keeps the battery at optimal charge when stored.
Maintenance, Storage, and Troubleshooting Tips
Charging and Recharging Best Practices
- Use the included AC or car charger. Third-party chargers may not provide the correct voltage.
- Charge every 3–6 months, even if unused. Lithium batteries degrade over time.
- Don’t charge in direct sunlight or near water.
Cleaning and Storage
Wipe the unit with a dry or slightly damp cloth. Never submerge it. Store it in its case to protect the clamps and ports. Keep it away from children and pets.
Common Issues and Fixes
| Issue | Possible Cause | Solution |
|---|---|---|
| Jump starter won’t turn on | Low battery or faulty power button | Charge for 24 hours. If still unresponsive, contact support. |
| Car won’t start after connection | Loose clamps, low charge, or bad battery | Check connections, recharge jump starter, test car battery. |
| LED indicator flashes red | Reverse polarity or short circuit | Disconnect immediately. Reconnect properly. |
| USB ports not working | Low battery or damaged port | Charge the unit. Inspect for debris. Use compressed air. |
One time, my jump starter wouldn’t charge. I left it plugged in overnight, and it worked the next day. Sometimes, a deep discharge just needs a long charge cycle.
When to Replace Your Jump Starter
Most Povasee units last 3–5 years with proper care. Replace it if:
- The battery won’t hold a charge.
- Clamps are damaged or loose.
- It fails to start a car after full charge.
Final Thoughts: Is the Povasee Jump Starter Worth It?
After using my Povasee jump starter for over a year—and helping friends and family with theirs—I can confidently say it’s one of the most practical tools I own. It’s not just about jump-starting cars. It’s about independence, safety, and peace of mind. Whether you’re stranded on a dark road or just want to avoid the hassle of calling a tow truck, having a reliable jump starter is a game-changer.
Yes, there are cheaper models out there. But Povasee stands out for its smart safety features, compact design, and multi-functionality. The Povasee jump starter instructions are clear, the learning curve is low, and the payoff is huge. I’ve used mine to jump-start three different cars, charge my phone on road trips, and even inflate a flat tire—all without breaking a sweat.
Just remember: a jump starter is only as good as your knowledge of how to use it. Follow the steps, avoid common mistakes, and keep it charged. With a little care, your Povasee jump starter will be ready to save the day—whenever and wherever you need it.
So go ahead. Toss one in your car. You never know when that click will turn into a full engine roar. And when it does, you’ll be ready.
Frequently Asked Questions
How do I use the Povasee jump starter for the first time?
Before using your Povasee jump starter, fully charge it using the included USB-C cable. Connect the clamps to the battery terminals (red to positive, black to negative), then start the vehicle while ensuring all connections are secure.
Can I use the Povasee jump starter on a completely dead battery?
Yes, the Povasee jump starter is designed to revive deeply discharged batteries, even those below 1.5V. Its built-in protection system ensures safe operation by preventing reverse polarity and short circuits.
What safety features does the Povasee jump starter have?
The Povasee jump starter includes spark-proof technology, reverse polarity protection, and overload protection. These features ensure safe use during Povasee jump starter instructions are followed correctly.
How long does the Povasee jump starter hold its charge?
The device retains up to 80% of its charge for 6–12 months when stored in a cool, dry place. For best results, recharge it every 3 months if unused.
Is the Povasee jump starter compatible with all vehicles?
It works with most 12V vehicles, including cars, trucks, motorcycles, and boats. Check your vehicle’s manual to confirm it’s within the jump starter’s 8-cylinder engine capacity.
What should I do if the Povasee jump starter doesn’t work?
First, ensure the device is fully charged and connections are correct. If issues persist, consult the troubleshooting section of your Povasee jump starter instructions or contact customer support.