

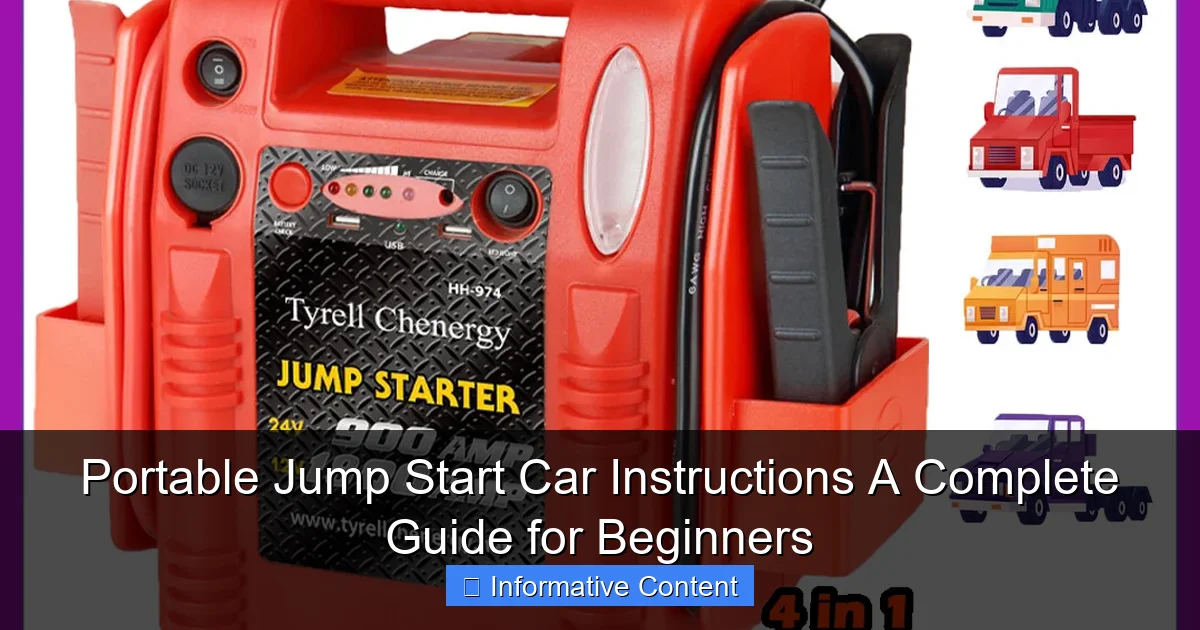
Featured image for portable jump start car instructions
Image source: media.trusper.net
Mastering portable jump start car instructions is essential for every driver facing a dead battery. This guide simplifies the process with clear, step-by-step directions—from safely connecting clamps to reviving your engine—ensuring you’re never stranded. Always prioritize safety by checking device charge, avoiding sparks, and following manufacturer guidelines.
Key Takeaways
- Always check battery charge: Ensure your portable jump starter is fully charged before use.
- Follow connection order: Connect red to positive, black to negative to avoid sparks.
- Wait before starting: Allow 30 seconds after connecting for voltage to stabilize.
- Never touch clamps together: Prevent short circuits by keeping metal parts separated.
- Store properly after use: Recharge and keep in a dry, cool place for longevity.
- Check compatibility first: Confirm your jump starter supports your vehicle’s engine size.
- Keep safety gear handy: Use gloves and goggles to protect during the jump start process.
📑 Table of Contents
- Why Portable Jump Starters Are a Must-Have for Every Driver
- Understanding Portable Jump Starters: What They Are and How They Work
- Step-by-Step Portable Jump Start Car Instructions
- Common Mistakes and How to Avoid Them
- Choosing the Right Portable Jump Starter for Your Needs
- Maintenance and Care: Keeping Your Jump Starter Ready
- Final Thoughts: Empower Yourself with Confidence
Why Portable Jump Starters Are a Must-Have for Every Driver
Picture this: you’re running late for work, you hop in your car, turn the key, and… nothing. The engine won’t start. The headlights are dim, and the radio barely flickers. You’ve got a dead battery, and no jumper cables or helpful passerby in sight. This is where a portable jump starter becomes your best friend—a small, battery-powered device that can bring your car back to life without needing another vehicle.
Portable jump starters have revolutionized how we handle dead batteries. They’re compact, easy to use, and eliminate the stress of relying on strangers or roadside assistance. But here’s the catch: even the best jump starter won’t help if you don’t know how to use it correctly. That’s why this guide is here—to walk you through portable jump start car instructions in a way that’s simple, clear, and practical. Whether you’re a complete beginner or just need a refresher, you’ll learn everything from choosing the right model to safely jump-starting your car and maintaining your device for years to come.
Understanding Portable Jump Starters: What They Are and How They Work
What Is a Portable Jump Starter?
A portable jump starter (also called a jump box or battery booster) is a rechargeable lithium-ion or lead-acid battery pack designed to deliver a high burst of current to start a vehicle with a dead battery. Unlike traditional jumper cables, it doesn’t require another car. Think of it as a power bank for your car—only much more powerful. Most models also double as emergency power sources with USB ports for charging phones, tablets, or even small electronics.
Visual guide about portable jump start car instructions
Image source: my-test-11.slatic.net
For example, my first jump starter was a 12,000 mAh lithium-ion model with a built-in flashlight and air compressor. It’s about the size of a thick novel and weighs just under 2 pounds. I keep it in my trunk year-round, and it’s saved me twice—once during a cold winter morning and again after accidentally leaving my headlights on overnight.
How Does It Work?
When your car battery is dead, it doesn’t have enough power to engage the starter motor. A portable jump starter provides a surge of electricity (measured in cranking amps) to get the engine turning. Here’s the science simplified:
- The jump starter connects to your car’s battery terminals (positive and negative).
- It delivers a controlled current to “jump” the starter motor.
- Once the engine runs, the alternator recharges the car’s battery.
<
Most modern jump starters have safety features like reverse polarity protection (to prevent sparks if you connect the clamps backward), overload protection, and spark-resistant clamps. These features make them far safer than traditional jumper cables, especially for beginners.
Key Specifications to Know
Not all jump starters are created equal. Before buying, check these specs:
- Peak Amps: The maximum current output (e.g., 1,000–2,000A). Higher amps = better for large engines (trucks, SUVs).
- Cranking Amps (CA): The sustained current during cold starts. Crucial for winter use.
- Battery Capacity: Measured in mAh (milliamp-hours). A 10,000–15,000 mAh unit typically offers 2–4 jumps on a single charge.
- Compatibility: Ensure it supports your vehicle type (gas, diesel, 12V/24V).
Pro Tip: If you drive a compact car (e.g., Honda Civic), a 1,000A starter is sufficient. For a pickup truck or diesel engine, aim for 1,500A+.
Step-by-Step Portable Jump Start Car Instructions
Step 1: Safety First—Park and Prep
Before touching any cables, prioritize safety:
- Park on a flat surface with the engine off and parking brake engaged.
- Turn off all electronics (AC, radio, lights) to reduce load on the battery.
- Wear safety glasses (optional but smart—batteries can leak or spark).
- Check the battery: Look for corrosion (white/green crust) or leaks. If you see damage, do not attempt a jump—replace the battery instead.
I learned this the hard way when I tried to jump a corroded battery and got a small acid splash on my hand. Now, I always inspect first!
Step 2: Charge Your Jump Starter
Even the best jump starter is useless if it’s dead. Most models take 3–5 hours to charge fully. Here’s how:
- Use the included USB cable and a wall outlet, car charger, or power bank.
- Check the LED indicator: A solid green light usually means “fully charged.”
- Pro Tip: Recharge your jump starter every 3–6 months, even if unused. Lithium batteries degrade if left uncharged for long.
My jump starter has a “battery health” LED that blinks red if the charge drops below 20%. I check it monthly during winter.
Step 3: Connect the Clamps (The Right Way!)
This is where many beginners panic. Follow this order:
- Attach the red (positive) clamp to the battery’s positive terminal (+). It’s usually marked with a red cap or a “+” sign.
- Attach the black (negative) clamp to an unpainted metal surface (e.g., a bolt or bracket on the engine block). Never connect it directly to the negative terminal if the battery is corroded or leaking—this reduces spark risk.
- Double-check connections: Ensure clamps are tight and not touching each other.
Example: On my Toyota Camry, I connect the black clamp to the engine’s alternator bracket. It’s bare metal and far from the battery.
Step 4: Power On and Start the Engine
Now the moment of truth:
- Turn on the jump starter (press the power button).
- Wait 30 seconds—this lets the device stabilize and deliver full power.
- Start your car. If it doesn’t start on the first try, wait 1–2 minutes and try again. Most units allow 3–5 attempts before overheating.
Pro Tip: If the engine cranks but won’t start, the battery might be too far gone. Let the jump starter charge the car battery for 5–10 minutes first.
Step 5: Disconnect in Reverse Order
Once the engine runs:
- Turn off the jump starter.
- Remove the black clamp first, then the red clamp.
- Store the jump starter safely in your car.
Why reverse order? Removing the negative (ground) clamp first prevents sparks near the battery, which could ignite hydrogen gas (a real danger with older batteries).
Common Mistakes and How to Avoid Them
Mistake 1: Connecting Clamps Backward
Reversing the clamps (red to negative, black to positive) can fry your car’s electronics or damage the jump starter. Modern devices have reverse polarity protection, but never rely on it. Always double-check:
- Red = Positive (+)
- Black = Negative (-) or ground
I once panicked and connected the black clamp to the positive terminal. My jump starter flashed a warning light—and I immediately disconnected it. No harm done, but it taught me to stay calm and verify.
Mistake 2: Using a Dead or Low-Charge Jump Starter
A jump starter at 10% charge might not have enough power. Signs of a weak unit:
- Dim or blinking LEDs
- Slow cranking when you turn the key
Solution: Keep your jump starter charged. I use a wall outlet charger and set a phone reminder every 3 months.
Mistake 3: Ignoring Safety Warnings
Some common risks:
- Sparking: Caused by loose clamps or connecting to a damaged battery.
- Overheating: Repeated jump attempts without cooling breaks.
- Water exposure: Never use a jump starter in rain or snow unless it’s rated IP65+ (water-resistant).
Pro Tip: If your jump starter gets hot during use, let it cool for 10–15 minutes before storing.
Mistake 4: Forgetting to Recharge the Car Battery
Jump-starting is a temporary fix. Your car’s alternator needs to recharge the battery. After a jump:
- Drive for at least 20–30 minutes (avoid short trips).
- Get the battery tested at an auto shop. A jump might mean the battery is dying.
Choosing the Right Portable Jump Starter for Your Needs
What to Look For in a Jump Starter
Not all jump starters are equal. Consider these factors:
| Feature | Why It Matters | Example |
|---|---|---|
| Peak Amps | Higher amps = better for large engines | 1,500A for trucks; 1,000A for sedans |
| Battery Capacity (mAh) | More mAh = longer life between charges | 12,000 mAh = 3–4 jumps |
| Safety Features | Reverse polarity, overload, spark protection | LED warnings, automatic shutdown |
| Extra Functions | USB ports, flashlight, air compressor | Useful for emergencies |
| Size/Weight | Compact for easy storage | Under 3 lbs fits in a glovebox |
Budget vs. Premium Models
- Budget ($40–$70): Good for small cars. Look for at least 1,000A and 10,000 mAh. Brands: NOCO, DBPOWER.
- Mid-Range ($70–$120): Best for most drivers. Includes safety features and extras like flashlights. Example: TACKLIFE T8 Pro.
- Premium ($120+): High power (2,000A+), rugged design, and advanced tech (e.g., jump-starting diesel engines). Example: GOOLOO GP4000.
My Pick: I use the DBPOWER 18,000 mAh model. It’s mid-range, has a flashlight, and jump-starts my Camry and my dad’s F-150.
Special Considerations
- Winter Use: Lithium batteries lose power in cold weather. Store your jump starter indoors when possible.
- Electric Cars: Most jump starters only work on 12V batteries (which all EVs have for lights/electronics). Check your EV’s manual.
- Older Vehicles: High-amperage starters (1,500A+) are safer for vintage cars with weaker electrical systems.
Maintenance and Care: Keeping Your Jump Starter Ready
Regular Charging Routine
Lithium batteries degrade if left uncharged. Follow this schedule:
- After every use: Recharge immediately.
- Every 3–6 months: Even if unused, charge to 80–100%.
- Before long trips: Check charge level and test functionality.
I keep a sticky note on my jump starter: “Charge every March, June, Sept, Dec.”
Cleaning and Storage
- Wipe clamps with a dry cloth after use. Corrosion can reduce conductivity.
- Store in a cool, dry place. Avoid extreme temperatures (e.g., hot trunks in summer).
- Use the carrying case (if included) to prevent damage.
Troubleshooting Common Issues
Problem: Jump starter won’t turn on.
- Solution: Charge for 1–2 hours. If still unresponsive, contact the manufacturer (many offer 1–2-year warranties).
Problem: Clamps spark when connecting.
- Solution: Ensure the battery isn’t leaking or swollen. Disconnect immediately and seek help.
Problem: Device gets hot during use.
- Solution: Let it cool for 10–15 minutes. Never cover it with fabric or store it while hot.
Final Thoughts: Empower Yourself with Confidence
Learning portable jump start car instructions isn’t just about fixing a dead battery—it’s about gaining independence. No more waiting for a tow truck or relying on strangers. With the right jump starter and a few minutes of practice, you can handle this common car issue like a pro.
Remember: Safety first. Always inspect your battery, connect clamps correctly, and recharge your device regularly. And if you’re ever unsure, don’t hesitate to consult your jump starter’s manual or a mechanic. The goal isn’t to become a car expert overnight—it’s to have a reliable tool and the knowledge to use it when you need it most.
So go ahead. Buy a jump starter, charge it up, and tuck it in your glovebox. The next time your car won’t start, you’ll smile, pull out your trusty device, and say, “No problem—I’ve got this.” That’s the peace of mind every driver deserves.
Frequently Asked Questions
How do I use a portable jump starter to start my car?
To use a portable jump starter, first ensure it’s fully charged. Connect the red clamp to the positive (+) terminal of your car battery and the black clamp to an unpainted metal surface, then turn on the jump starter and start your car. Always follow the portable jump start car instructions provided with your device for safety.
Can I use a portable jump starter on any car?
Most portable jump starters work with gasoline and diesel engines up to a certain size (e.g., 6.0L). Check your jump starter’s manual and the portable jump start car instructions to confirm compatibility with your vehicle’s engine.
What should I do if my portable jump starter doesn’t work?
Ensure the jump starter is charged and clamps are securely connected. If it still fails, double-check the battery voltage or try jump-starting in a different order. Refer to troubleshooting tips in your device’s manual.
Is it safe to leave the jump starter connected while the car is running?
Yes, but only briefly—once the car starts, disconnect the clamps in reverse order (black first, then red). Leaving it connected for too long may damage the jump starter or battery.
How often should I recharge my portable jump starter?
Recharge it every 3–6 months, even if unused, to maintain battery health. Most models have indicator lights to show charge level—keep it ready for emergencies.
Can I use a portable jump starter in cold weather?
Yes, but extreme cold reduces battery efficiency. Store the jump starter indoors when possible and allow it to warm up before use. Some models feature cold-weather modes for better performance.