
Featured image for peak jump starter 600 charging instructions
Image source: i.ebayimg.com
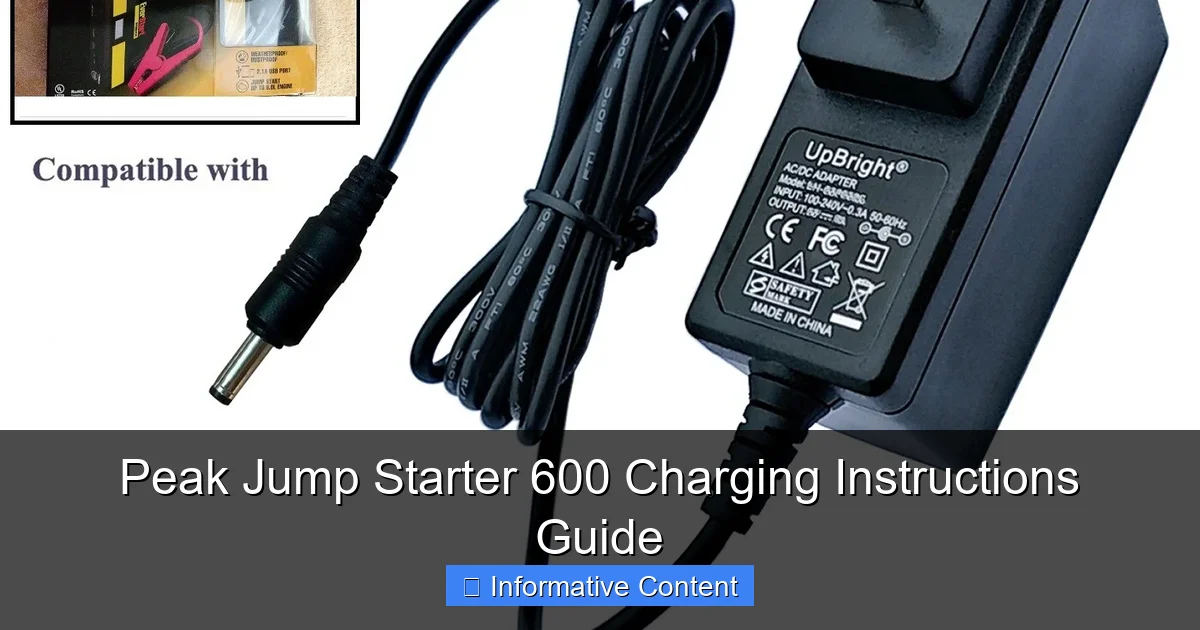
Always use the included 12V DC adapter or a compatible 12V power source to safely charge your Peak Jump Starter 600, ensuring the device reaches a full charge in 3–4 hours. Never leave it charging unattended or use non-approved chargers to avoid damaging the battery or reducing performance. For maximum reliability, check the LED indicator to confirm charging status and maintain peak readiness.
Key Takeaways
- Charge fully before first use: Ensures optimal performance and battery longevity.
- Use the included 12V adapter: Prevents damage and ensures safe charging.
- Avoid overcharging: Unplug once the LED indicates a full charge.
- Check battery level monthly: Maintain charge during long-term storage.
- Keep terminals clean: Ensures efficient charging and reliable connections.
- Store in cool, dry place: Protects battery life and device functionality.
📑 Table of Contents
- Why Proper Charging Matters for Your Peak Jump Starter 600
- Getting to Know Your Peak Jump Starter 600
- Step-by-Step Charging Instructions
- Best Practices for Charging and Maintenance
- Troubleshooting Common Charging Issues
- Maximizing Performance and Lifespan
- Summary of Charging Times and Methods
- Final Thoughts: Be Ready, Not Regretful
Why Proper Charging Matters for Your Peak Jump Starter 600
Imagine this: It’s a freezing winter morning. You’re running late for work, and as you turn the key in your car’s ignition, all you hear is a slow, painful click-click-click. Your battery’s dead. Again. You reach for your trusty Peak Jump Starter 600—a device that’s saved you more than once—but then it hits you: When was the last time I charged this thing?
It’s a situation many of us have faced. A jump starter is only as good as its charge, and the Peak Jump Starter 600 is no exception. This compact, powerful tool is designed to get your car going in minutes, but it won’t do you any good if it’s been sitting idle for months, slowly losing its juice. That’s why knowing the correct charging instructions isn’t just helpful—it’s essential. Whether you’re a weekend warrior, a daily commuter, or someone who just wants peace of mind, this guide will walk you through everything you need to know to keep your Peak Jump Starter 600 ready to go when you need it most.
Getting to Know Your Peak Jump Starter 600
What’s in the Box?
When you first unbox your Peak Jump Starter 600, you’ll find more than just the jump starter itself. The package typically includes:
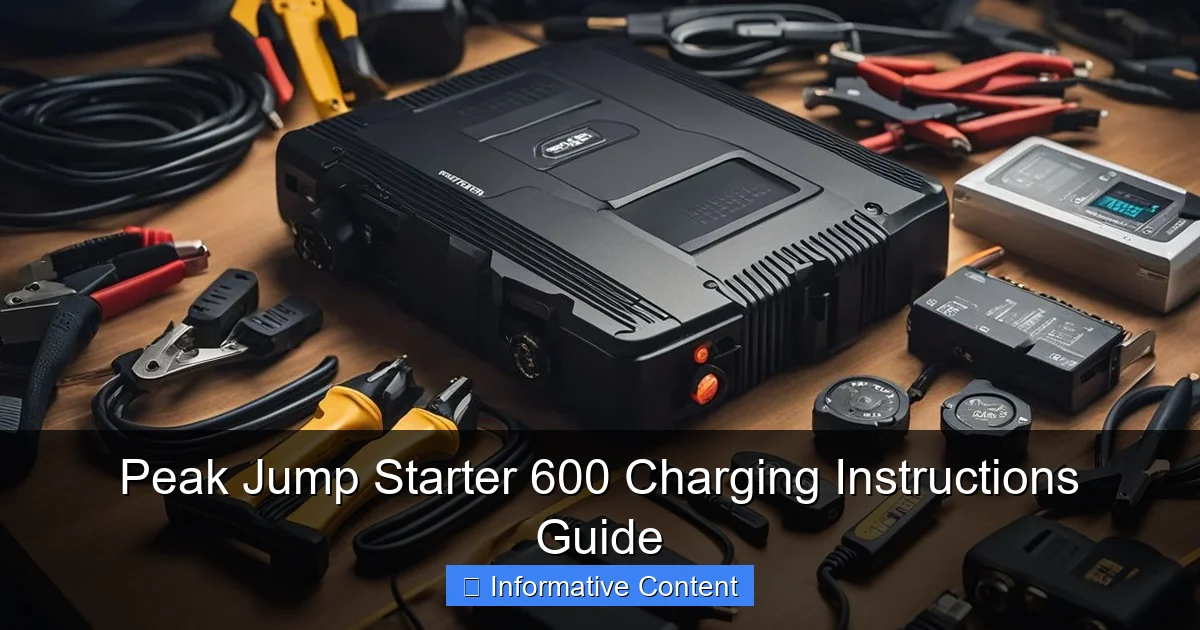
Visual guide about peak jump starter 600 charging instructions
Image source: koala.sh
- The main jump starter unit (about the size of a large smartphone)
- A set of smart clamps (with reverse polarity protection)
- A 12V DC car charger
- A wall (AC) charger
- A USB charging cable (often micro-USB or USB-C, depending on model year)
- A carrying case or pouch
- User manual (which, let’s be honest, we often skip—but don’t!)
Take a moment to inspect each component. Make sure the clamps are clean and the cables aren’t frayed. The jump starter’s surface should be free of cracks or dents. A quick check now can prevent problems later.
Key Features That Affect Charging
The Peak Jump Starter 600 is built with lithium-ion technology, which means it’s lightweight and holds a charge well—but it also comes with specific charging needs. Here are a few features to keep in mind:
- 600 peak amps: This is the maximum power it can deliver during a jump. Great for cars, SUVs, and even small trucks.
- 12V DC output: You can use it to power 12V devices like tire inflators or portable coolers.
- USB ports: Most models include at least one USB-A and sometimes a USB-C port, so you can charge your phone, tablet, or GPS.
- LED flashlight: Handy for nighttime emergencies. Some models have multiple modes (steady, SOS, strobe).
- Charge indicator lights: Usually 4 LEDs that show battery level in 25% increments (e.g., 1 light = 25%, 4 lights = 100%).
Understanding these features helps you appreciate why charging isn’t just about plugging it in—it’s about doing it the right way to protect the battery and ensure longevity.
Step-by-Step Charging Instructions
Method 1: Using the Wall (AC) Charger
This is the most common and recommended method for charging your Peak Jump Starter 600 at home or in the office.
Step 1: Plug the AC charger into a standard wall outlet (110–120V in the U.S.).
Step 2: Connect the charger’s output cable (usually a barrel plug or USB) to the input port on the jump starter. Make sure it’s snug.
Step 3: Look at the LED indicators. If the battery is low, the lights will flash. As it charges, the LEDs will light up sequentially.
Step 4: Let it charge until all four LEDs are solid (100%). This usually takes 4 to 6 hours, depending on how depleted the battery was.
Step 5: Once fully charged, unplug the charger. Don’t leave it plugged in indefinitely. Lithium-ion batteries don’t like being “overcharged,” even with smart circuits.
Pro Tip: I once left my jump starter charging overnight, thinking it would “top off.” The next morning, it was warm to the touch and took longer to charge next time. Lesson learned: unplug it when full!
Method 2: Charging via 12V Car Charger
Great for road trips or if you’re away from a wall outlet. But use this method carefully.
Step 1: Plug the 12V car charger into your vehicle’s cigarette lighter socket. Make sure the car is off to avoid voltage spikes.
Step 2: Connect the output end to the jump starter.
Step 3: Turn the car’s ignition to the “accessory” or “on” position (but don’t start the engine).
Step 4: Wait for the LEDs to start lighting up. Charging via 12V is slower—expect 6 to 8 hours for a full charge.
Step 5: Once charged, turn off the ignition and unplug everything.
Important: Never charge the jump starter while your car engine is running. The voltage from the alternator can exceed 14V, which may damage the internal circuitry.
Method 3: USB Charging (If Supported)
Some newer models of the Peak Jump Starter 600 support USB charging. This is convenient if you’re at a coffee shop, in a hotel, or using a power bank.
Step 1: Use a high-quality USB cable (preferably the one that came with the device).
Step 2: Connect it to a USB port with at least 2.1A output (like a wall charger, power bank, or laptop).
Step 3: Plug the other end into the jump starter’s USB input port.
Step 4: Monitor the LEDs. USB charging is the slowest—8 to 10 hours for a full charge—so it’s best for topping off, not full charges.
Real-World Example: Last summer, I was camping and forgot my wall charger. I used my 10,000mAh power bank with a USB-C cable. It took all night, but by morning, the jump starter had two LEDs lit—enough to start my SUV after a long weekend of fridge use.
What to Do If the LEDs Don’t Light Up
If you plug in the charger and nothing happens, don’t panic. Try these steps:
- Check the outlet or car socket with another device (like a phone charger).
- Inspect the charging cable for damage or bent pins.
- Try a different cable or charger if available.
- Let the jump starter sit for 10 minutes—sometimes a deeply discharged battery needs a “wake-up” charge.
- If still nothing, contact Peak customer support. They often have troubleshooting guides.
Best Practices for Charging and Maintenance
Charge It Regularly—Even When Not in Use
Lithium-ion batteries hate deep discharge. If you leave your jump starter uncharged for more than 3 months, the battery can degrade significantly—sometimes permanently.
Here’s what I do: I keep my Peak Jump Starter 600 in the garage, plugged into a wall charger once every 6 weeks, even if I haven’t used it. I set a phone reminder: “Charge jump starter!” After 4 hours, I unplug it. Simple, effective.
Why this works: Lithium-ion batteries perform best when kept between 40% and 80% charge. Regular top-ups prevent the battery from dropping below 20%, which stresses the cells.
Store It Right: Temperature Matters
Extreme heat or cold can ruin your jump starter’s battery life. Here’s what to avoid:
- Hot car trunks: In summer, temperatures can hit 140°F (60°C). That’s bad news for lithium-ion.
- Freezing garages: Sub-zero temps can temporarily reduce capacity and, over time, cause internal damage.
- Direct sunlight: Even on a 70°F day, a black dashboard can reach 120°F.
Ideal storage: A cool, dry place like a kitchen drawer, closet shelf, or glove box. If you must store it in the car, keep it in the cabin—not the trunk.
Avoid Overcharging (Yes, It’s Still a Concern)
Modern jump starters have overcharge protection, but it’s not foolproof. Leaving it plugged in for days—or worse, weeks—can:
- Reduce battery lifespan
- Cause swelling or overheating
- Void the warranty (in some cases)
Rule of thumb: Once the LEDs are solid (100%), unplug it within 1–2 hours. Don’t “set it and forget it.”
Clean and Inspect Monthly
Take 5 minutes every month to:
- Wipe the jump starter with a dry, soft cloth.
- Check the clamps for rust or dirt. Clean them with a wire brush if needed.
- Inspect the cables for fraying or kinks.
- Test the flashlight and USB ports to make sure they work.
I keep a small cleaning kit in my car’s center console: microfiber cloth, contact cleaner spray, and a toothbrush for the clamps. It’s saved me from a few surprises.
Troubleshooting Common Charging Issues
Jump Starter Charges Slowly (Or Not at All)
Possible causes:
- Low-quality or damaged charging cable
- Weak power source (e.g., a USB port on a laptop)
- Dirty or corroded input port
- Internal battery degradation (after 2–3 years of use)
What to do:
- Try a different cable or charger.
- Use a wall outlet, not a car socket or laptop USB.
- Clean the input port with a cotton swab and isopropyl alcohol.
- If the problem persists, contact Peak. Many models have a 1-year warranty.
Charger Gets Hot During Use
A slightly warm charger is normal. But if it’s hot to the touch or emits a burning smell, stop using it immediately.
Safety first: Unplug everything, let it cool, and inspect for damage. If the charger or jump starter is damaged, replace it. Don’t risk fire or injury.
Battery Drains Faster Than Expected
If your jump starter loses charge after just a few weeks, even with minimal use, it could be:
- Parasitic drain: Some models have a small circuit that keeps the LEDs or USB ports active. This drains the battery over time. Turn off any unused features.
- Old battery: After 2–3 years, lithium-ion batteries lose capacity. You might only get 2–3 jumps instead of 5–6.
- Extreme temperatures: Cold weather temporarily reduces battery performance. Store it indoors when possible.
My story: I left my jump starter in my car all winter. By spring, it wouldn’t hold a charge. Peak replaced it under warranty—but only because I had proof of purchase and hadn’t modified it. Lesson: read the warranty terms!
Maximizing Performance and Lifespan
Charge It Before Every Use
Even if you think it’s charged, check the LEDs. A jump starter that’s only 50% charged might not have enough power for a cold start. Always top it off before heading out on a long trip or after using it.
Real-world tip: I keep a “charging station” in my garage. The jump starter, tire inflator, and flashlight all sit on a shelf with their chargers nearby. Before a road trip, I do a quick check: “All charged? Yes. All packed? Yes.”
Use It Regularly (But Not Too Often)
Like any battery, the Peak Jump Starter 600 benefits from regular use. Lithium-ion batteries “like” to be cycled. But don’t jump-start your car unnecessarily—it stresses the internal components.
Balance is key: Use it 2–3 times a year for actual jumps, and charge it every 6 weeks. This keeps the battery healthy without overworking it.
Upgrade Your Charging Habits
Consider these small upgrades:
- Smart power strip: Plug your charger into a strip with a timer or auto-off feature. It cuts power when the jump starter is full.
- USB-C wall charger: If your model supports it, a 30W USB-C charger can reduce charging time by 20–30%.
- Portable solar charger: For off-grid use, a 20W solar panel can slowly top off the battery during the day.
When to Replace Your Jump Starter
Even with perfect care, batteries don’t last forever. Replace your Peak Jump Starter 600 if you notice:
- It takes more than 8 hours to charge
- It only holds 50% charge after a full charge
- It fails to jump-start a car that used to start easily
- The clamps or cables are damaged beyond repair
Most models last 3–5 years. After that, it’s worth investing in a newer, more powerful unit.
Summary of Charging Times and Methods
| Charging Method | Power Source | Average Time to Full Charge | Best For |
|---|---|---|---|
| Wall (AC) Charger | Standard 110V outlet | 4–6 hours | Home, office, garage |
| 12V Car Charger | Vehicle cigarette lighter | 6–8 hours | Road trips, camping |
| USB Charging | Wall charger, power bank, laptop | 8–10 hours | Topping off, emergencies |
Final Thoughts: Be Ready, Not Regretful
Your Peak Jump Starter 600 is more than a tool—it’s peace of mind. But that peace only lasts if you treat it right. Charging it properly isn’t just about following steps; it’s about building habits that keep it ready for that one time you really need it.
Think of it like brushing your teeth. It’s a small, daily task that prevents big problems down the road. Charge your jump starter regularly, store it safely, and inspect it often. Do that, and it’ll be there for you—on a cold morning, in a remote parking lot, or after a long weekend of adventures.
And remember: the best jump starter is the one that works when you need it. Not the one that’s “almost charged” or “probably fine.” Be the driver who’s always ready. Your future self will thank you.
Frequently Asked Questions
How do I charge the Peak Jump Starter 600 for the first time?
For the first charge, connect the included AC adapter to the unit’s input port and plug it into a wall outlet. Charge until the LED indicator shows full (usually 4-6 hours), ensuring optimal battery performance.
What type of charger does the Peak Jump Starter 600 use?
The Peak Jump Starter 600 comes with a standard AC wall charger (100-240V) and a 12V car charger. Always use the provided cables to avoid damaging the lithium-ion battery.
How long does it take to fully charge the Peak Jump Starter 600?
A full charge typically takes 4-6 hours using the AC adapter. The LED indicator will turn green when the charging process is complete.
Can I use a third-party USB-C cable to charge my Peak Jump Starter 600?
No, the device requires the original DC input port for safe charging. Using non-approved cables may result in slower charging or potential damage to the unit.
Why isn’t the Peak Jump Starter 600 holding a charge?
This could indicate a depleted battery or connection issues. Try recharging with the original adapter, and if problems persist, contact Peak customer support for a battery health check.
Is it safe to leave the Peak Jump Starter 600 charging overnight?
Yes, the unit has built-in overcharge protection. Once fully charged, it automatically stops drawing power, making extended charging safe and convenient.