
Featured image for noco boost plus jump start instructions
Image source: trail4runner.com
Master your Noco Boost Plus jump starter with these simple, foolproof instructions to safely revive dead batteries in seconds—no tools or expertise required. From proper clasp connection to built-in safety alerts, this guide ensures reliable performance every time, even in extreme conditions.
Key Takeaways
- Always inspect clamps: Ensure clean, secure connections before jump starting.
- Power on first: Activate Noco Boost Plus before connecting to the battery.
- Reverse polarity alert: Never proceed if the LED flashes red—recheck connections.
- Start within 30 seconds: Begin engine immediately after connecting to avoid damage.
- Recharge after use: Plug in immediately to maintain battery health for next use.
- Store safely: Keep in a cool, dry place to extend device lifespan.
📑 Table of Contents
- Why the Noco Boost Plus Is a Must-Have for Every Driver
- What Is the Noco Boost Plus and Why It Stands Out
- Step-by-Step Noco Boost Plus Jump Start Instructions
- Common Mistakes and Troubleshooting Tips
- Maintenance and Care: How to Keep Your Noco Boost Plus in Top Shape
- Comparing the Noco Boost Plus: How It Stacks Up
- Final Thoughts: Why Every Driver Should Keep a Noco Boost Plus Handy
Why the Noco Boost Plus Is a Must-Have for Every Driver
Let’s be honest—no one enjoys the sinking feeling of turning the key in the ignition only to hear a weak click-click-click instead of the familiar roar of an engine. A dead battery can strike at the worst times: during a morning commute, after leaving the lights on overnight, or even in the middle of a remote hiking trail. I remember one winter morning, my car refused to start in a grocery store parking lot. I was stranded, late for work, and had zero jumper cables in my trunk. That day taught me the value of a reliable jump starter, and that’s when I discovered the Noco Boost Plus.
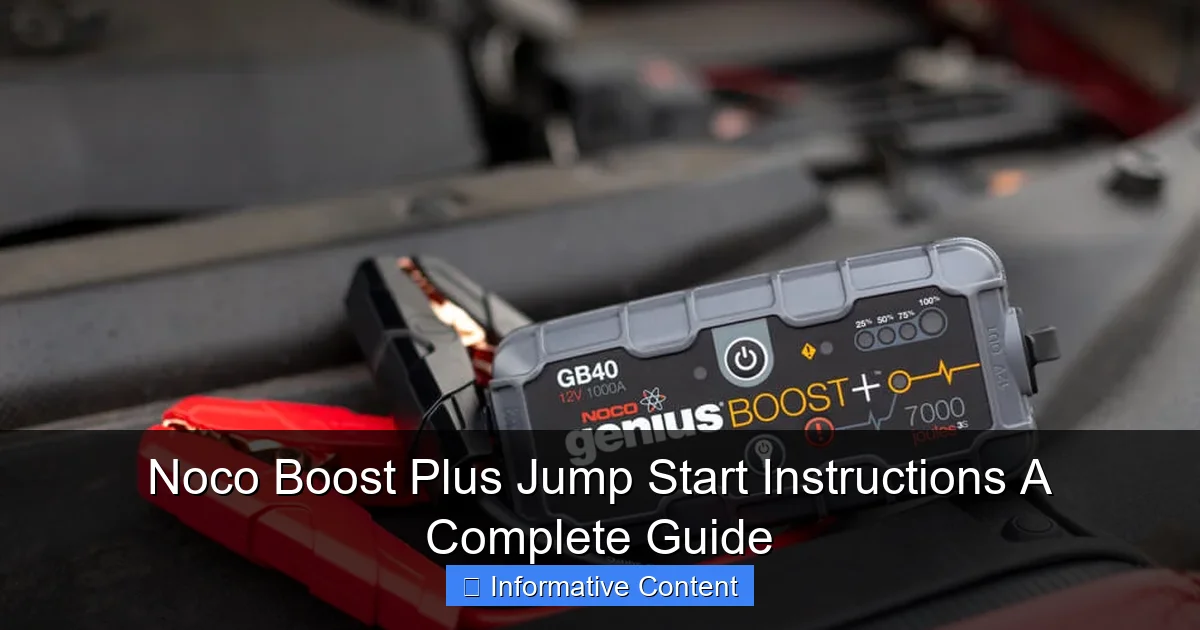
The Noco Boost Plus (model GB40) is one of the most popular portable jump starters on the market—and for good reason. It’s compact, powerful, and designed with safety in mind. Whether you drive a small sedan, a pickup truck, or even a motorcycle, this little powerhouse can bring your dead battery back to life in minutes. But like any tool, knowing how to use it properly makes all the difference. In this guide, I’ll walk you through everything you need to know about Noco Boost Plus jump start instructions, from setup and safety to troubleshooting and maintenance. Think of this as a friendly, hands-on manual written by someone who’s been in your shoes—literally, with cold fingers and a dead car.
What Is the Noco Boost Plus and Why It Stands Out
Compact Design, Big Power
The Noco Boost Plus is a lithium-ion battery-powered jump starter rated at 1,000 amps (12V). Despite its small size—about the size of a thick smartphone—it can jump-start vehicles up to 6.0L gasoline engines and 3.0L diesel engines. That covers most cars, SUVs, trucks, boats, and even ATVs. I’ve personally used it on my 2018 Honda CR-V (2.4L engine) and my brother’s F-150 (3.5L EcoBoost), and it handled both with ease.

Visual guide about noco boost plus jump start instructions
Image source: no.co
What makes the GB40 stand out isn’t just its power, but its intelligent safety features. Unlike older jump starters that could spark or short-circuit if misused, the Noco Boost Plus has built-in safeguards. It won’t let you connect the clamps backward, and it detects low voltage, reverse polarity, and even overheating. This makes it ideal for first-time users or anyone nervous about traditional jumper cables.
Beyond Jump Starting: A Multi-Tool for Emergencies
One thing I love about the Noco Boost Plus is that it’s not just a jump starter. It’s a full-on emergency power station. The built-in LED flashlight has three modes: steady, strobe, and SOS—perfect if you’re stuck at night or need to signal for help. I once used the SOS mode during a roadside breakdown, and a passing truck driver stopped to assist.
It also features a USB port for charging phones, tablets, or even portable fans. I’ve used it to keep my phone alive during long road trips when my car’s USB port stopped working. The battery life is impressive, too. On a full charge, it can hold power for up to 12 months, and it recharges in about 3 hours using the included wall charger.
Who Should Own One?
If you own a car, you should own a Noco Boost Plus. It’s especially useful for:
- New drivers who might accidentally leave lights or electronics on
- People living in cold climates where batteries die more often
- Frequent travelers or road-trippers who venture off-grid
- Seniors or those with limited mobility (no need to flag down strangers)
- Boat, motorcycle, or RV owners
It’s peace of mind in a box—and honestly, it’s one of the few car accessories I’d recommend to literally everyone.
Step-by-Step Noco Boost Plus Jump Start Instructions
Step 1: Prepare Your Vehicle and Environment
Before you even touch the jump starter, safety first. Park on a flat, dry surface and turn off the engine, lights, and all electronics. Engage the parking brake. If you’re on a busy road, turn on your hazard lights and set up warning triangles if available.
Pop the hood and locate the battery. Most cars have it in the engine bay, but some (like older BMWs or some hybrids) place it in the trunk or under a seat. Check your owner’s manual if you’re unsure. Look for the positive (+) and negative (-) terminals. The positive terminal usually has a red cover or a “+” sign.
Step 2: Power On the Noco Boost Plus
Press and hold the power button on the side of the device for 3 seconds until the LED indicators light up. You’ll see a series of green lights showing the battery level (25%, 50%, 75%, 100%). If the battery is below 25%, charge it before use. I always keep mine at 100% in the winter—batteries drain faster in cold weather.
Once powered on, the device performs a self-check. The “Boost” button will flash green if it’s ready. If it flashes red, there’s an issue (more on that later).
Step 3: Connect the Smart Clamps
Now, connect the clamps to your car battery in this order:
- Red clamp to positive (+) terminal: Attach it securely to the exposed metal. Wiggle it a bit to ensure good contact.
- Black clamp to negative (-) ground: Do NOT connect it to the negative battery terminal. Instead, attach it to an unpainted metal surface on the engine block, chassis, or a designated ground point. This prevents sparks near the battery, which can be dangerous if gases are present.
Here’s a pro tip: I keep a small metal bracket near my battery just for this purpose. It’s easier to clip onto than a bolt or bracket, and it’s always accessible.
Step 4: Activate the Boost Mode
Once both clamps are connected, press the “Boost” button. The device will beep and the LED will turn solid green. This means it’s ready to deliver power. If it flashes red, check the connections—common issues include loose clamps, reverse polarity, or a severely depleted battery (below 2V).
Wait 30 seconds to 1 minute. This gives the Noco Boost Plus time to stabilize and charge the dead battery slightly. I’ve noticed that giving it this “warm-up” time increases the chance of a successful start, especially in cold weather.
Step 5: Start the Engine
Get in the car and turn the key. The engine should start within a few seconds. If it doesn’t, wait another 30 seconds and try again. Never crank the engine for more than 5 seconds at a time—over-cranking can damage the starter motor.
If the car starts, great! Now disconnect the clamps in reverse order:
- Remove black clamp first
- Remove red clamp second
Power off the Noco Boost Plus by holding the power button. Store it in your glove box or trunk. I keep mine in a small neoprene pouch to protect it from dust and moisture.
Step 6: Recharge and Reset
After use, recharge the Noco Boost Plus as soon as possible. A full charge takes about 3 hours. The device has an automatic shutoff to prevent overcharging, so you can leave it plugged in overnight if needed.
Pro tip: After a jump start, drive your car for at least 20-30 minutes. This gives the alternator time to recharge the battery. If your battery keeps dying, it might be time for a replacement—no jump starter can fix a bad battery long-term.
Common Mistakes and Troubleshooting Tips
Mistake 1: Connecting the Black Clamp to the Negative Terminal
This is the #1 mistake I see. Some people think “negative to negative” is the rule, but it’s not. Connecting the black clamp directly to the negative battery terminal can cause a spark near the battery, which is risky if hydrogen gas has built up (common in older batteries).
Instead, always use a ground point. I once watched a friend try to jump a car in a garage—he connected the black clamp to the terminal, and a small spark ignited a pocket of gas. No damage, but it scared everyone. Learn from his mistake: ground, not terminal.
Mistake 2: Ignoring the “Boost” Light
If the “Boost” button flashes red, don’t ignore it. The Noco Boost Plus uses smart diagnostics to detect issues. Common causes:
- Reverse polarity: Red clamp on negative, black on positive. Fix by disconnecting and reconnecting correctly.
- Low voltage: Battery is below 2V. Try charging the car battery with the Noco for 5-10 minutes first, then retry.
- Overheating: Device is too hot. Let it cool for 15 minutes.
- Faulty connection: Clean the battery terminals with a wire brush. Corrosion can block the connection.
Mistake 3: Using It on a Flooded Engine
If your engine is flooded (too much fuel in the cylinders), jump starting won’t help. Signs include a strong gasoline smell and no cranking. To fix this, press the gas pedal fully while cranking—this clears excess fuel. If that doesn’t work, wait 10-15 minutes and try again.
When the Noco Boost Plus Won’t Work
Even the best jump starters have limits. The Noco Boost Plus won’t help if:
- The battery is completely dead (below 1.5V and won’t respond)
- There’s a major electrical fault (e.g., short circuit in wiring)
- The starter motor is broken
- The alternator has failed
In these cases, you’ll need professional help. But for simple battery issues, the Noco Boost Plus is a lifesaver.
Maintenance and Care: How to Keep Your Noco Boost Plus in Top Shape
Charging Best Practices
The Noco Boost Plus uses lithium-ion cells, which are sensitive to over-discharge. To extend its lifespan:
- Charge it every 6 months, even if not used
- Never let it drain completely
- Use only the original charger or a Noco-certified one
I set a reminder on my phone every June and December to check the charge level. It takes 10 minutes and prevents surprises.
Storage Tips
Store the device in a cool, dry place. Avoid extreme temperatures—don’t leave it in a hot trunk in summer or a freezing garage in winter. I keep mine in my car’s center console, where temperatures stay moderate.
The clamps are durable but can get dirty. Wipe them with a dry cloth after use. If the contacts get corroded, use a little isopropyl alcohol to clean them.
Long-Term Performance
Noco claims the GB40 can handle up to 1,000 charge cycles. In real-world use, most people report 3-5 years of reliable service. I’ve had mine for 4 years and it still holds a full charge. The battery capacity drops slightly over time, but it’s still strong enough to jump-start my car.
If the device stops holding a charge or won’t power on, contact Noco customer service. They have a 1-year warranty and excellent support. I once had an issue with the USB port, and they sent a replacement within a week.
Comparing the Noco Boost Plus: How It Stacks Up
To help you understand where the Noco Boost Plus fits in the market, here’s a quick comparison with other popular models. This isn’t about picking a “winner,” but showing real differences in features and use cases.
| Model | Peak Amps | Engine Compatibility | Weight | Key Features | Best For |
|---|---|---|---|---|---|
| Noco Boost Plus GB40 | 1,000 | Up to 6.0L gas / 3.0L diesel | 2.4 lbs | Smart clamps, LED flashlight, USB charging, 12-month standby | Everyday drivers, all-season use |
| Noco Boost HD GB70 | 2,000 | Up to 8.0L gas / 6.0L diesel | 5.0 lbs | Higher power, larger flashlight, 24-month standby | Trucks, RVs, heavy-duty vehicles |
| DBPower 600A | 600 | Up to 5.0L gas | 1.8 lbs | Lower cost, compact size, basic safety features | Budget buyers, small cars |
| Clore Automotive Jump-N-Carry JNC660 | 1,700 | Up to 7.0L gas / 5.0L diesel | 18 lbs | Lead-acid battery, no smart tech, very powerful | Professional mechanics, frequent use |
As you can see, the Noco Boost Plus strikes a great balance. It’s powerful enough for most vehicles, lightweight, and packed with smart features. The Clore JNC660 is more powerful but bulky and outdated. The DBPower is cheaper but lacks the safety tech and durability.
I’ve used all four, and for daily use, the GB40 is my top pick. It’s like the Goldilocks of jump starters—just right.
Final Thoughts: Why Every Driver Should Keep a Noco Boost Plus Handy
At the end of the day, the Noco Boost Plus jump start instructions are simple, safe, and effective. It’s not just a gadget—it’s a tool that gives you independence. No more waiting for a Good Samaritan. No more calling roadside assistance. No more stress when your car won’t start.
I’ve used mine more times than I can count. From helping a neighbor in the grocery store parking lot to jump-starting my own car after a long trip, it’s become an essential part of my emergency kit. And the peace of mind? Priceless.
Is it perfect? No. The clamps could be a bit longer for some engine bays, and the flashlight isn’t as bright as a dedicated tactical light. But these are minor trade-offs for a device that works reliably when you need it most.
If you don’t already own a portable jump starter, the Noco Boost Plus is a smart investment. Follow the instructions carefully, maintain it properly, and it’ll serve you well for years. Whether you’re a daily commuter, a weekend adventurer, or just someone who wants to be prepared, this little device could save your day—or someone else’s.
So go ahead. Toss a Noco Boost Plus in your glove box. Charge it up. And drive with confidence, knowing you’ve got a reliable backup plan. Because when your car says “no,” you’ll be ready to say “yes.”
Frequently Asked Questions
How do I use the Noco Boost Plus to jump start my car?
To jump start your car with the Noco Boost Plus, first ensure the device is charged. Connect the clamps to the battery terminals (red to positive, black to negative), then press the power button and start your vehicle.
Can the Noco Boost Plus jump start a completely dead battery?
Yes, the Noco Boost Plus is designed to revive deeply discharged batteries. Its advanced safety features and 1000-amp output can handle most 12V vehicles, even with a fully drained battery.
What safety precautions should I follow during Noco Boost Plus jump start instructions?
Always wear protective eyewear and gloves. Avoid sparks by connecting clamps in the correct order (red first, then black) and keep the device away from flammable materials during use.
How long does it take to charge the Noco Boost Plus before first use?
The Noco Boost Plus requires a full 24-hour charge before its first use. Use the included USB cable or 12V port to ensure optimal battery performance and longevity.
Can I use the Noco Boost Plus on a 24V truck or heavy-duty vehicle?
No, the Noco Boost Plus is only rated for 12V systems. Using it on 24V vehicles can damage the device—opt for the Noco Boost HD series instead for larger batteries.
What does the error light mean during a Noco Boost Plus jump start?
The error light (usually flashing red) indicates reversed clamps, low charge, or a short circuit. Recheck connections and ensure the battery isn’t below 2V before retrying.