
Featured image for multi function jump starter instructions
Image source: jumpstarterpacks.com
Always read the manufacturer’s instructions before using a multi function jump starter to ensure safe, effective operation and avoid damage to your vehicle or device. Prioritize safety by connecting clamps correctly—red to positive, black to ground—and never bypass built-in protections like reverse polarity or overload alerts. A quick check of battery level and proper storage keeps your jump starter ready for emergencies.
Key Takeaways
- Read the manual first: Always review instructions before using your jump starter.
- Check battery levels: Ensure both vehicle and jump starter are sufficiently charged.
- Connect cables properly: Attach red to positive, black to negative terminals securely.
- Turn off accessories: Power down electronics to prevent surges during jump starting.
- Wait before retrying: Pause 30 seconds if the first attempt fails.
- Store safely: Keep in a cool, dry place when not in use.
📑 Table of Contents
- Why You Need a Multi Function Jump Starter (And How to Use It Right)
- Understanding Your Multi Function Jump Starter: What It Can (and Can’t) Do
- Step-by-Step Multi Function Jump Starter Instructions for Safe Use
- Advanced Features: Making the Most of Your Multi Function Jump Starter
- Common Mistakes and How to Avoid Them
- Data Table: Comparing Key Features of Popular Multi Function Jump Starters
- Conclusion: Your Jump Starter Is More Than a Battery Saver
Why You Need a Multi Function Jump Starter (And How to Use It Right)
Imagine this: You’re late for work, the kids are screaming in the backseat, and as you turn the key in the ignition—nothing. Just a faint click and silence. Your car battery is dead. Again. If you’ve ever been stranded in a grocery store parking lot, a remote hiking trail, or even your own driveway, you know the frustration. That’s where a multi function jump starter comes in. It’s not just a battery booster—it’s a portable powerhouse that can jump-start your car, charge your phone, power small devices, and even help in emergencies.
Unlike traditional jumper cables that require another vehicle, a multi function jump starter is a self-contained unit with a built-in battery. It’s compact, easy to store in your glove compartment or trunk, and designed for anyone—no mechanical expertise needed. Whether you’re a seasoned driver or a first-time car owner, knowing how to use one properly can save time, stress, and even money on roadside assistance. In this guide, I’ll walk you through everything you need to know about multi function jump starter instructions, from setup to safe operation and long-term care.
Understanding Your Multi Function Jump Starter: What It Can (and Can’t) Do
Before you plug in or power up, it’s important to understand what your device is capable of. Not all jump starters are created equal. Some are basic, with just enough power to jump a small sedan. Others are advanced, packing features like air compressors, LED flashlights, USB-C ports, and even power banks for laptops.
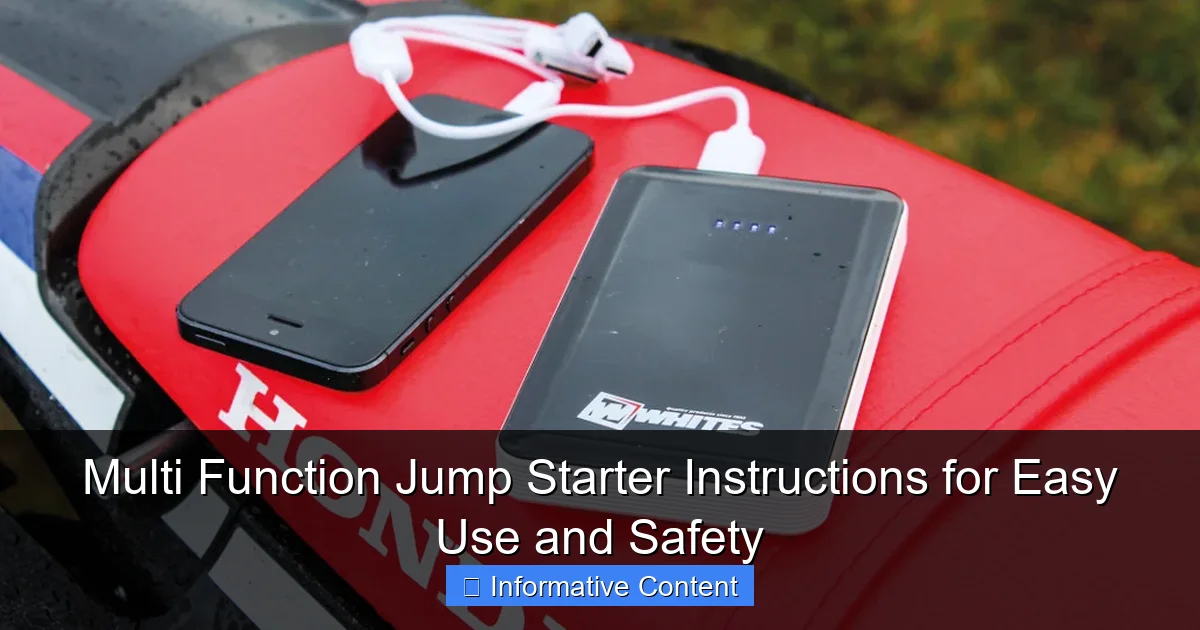
Visual guide about multi function jump starter instructions
Image source: brm.co.nz
Core Functions of a Multi Function Jump Starter
- Jump-starting vehicles: Most models can handle cars, SUVs, trucks, and even boats (check the amperage—12V is standard, but larger engines may need 24V).
- Powering USB devices: Phones, tablets, GPS units, and even small fans can be charged via USB ports.
- Emergency lighting: Built-in LED flashlights, often with SOS and strobe modes, are a lifesaver at night.
- Air inflation: Some high-end models include a built-in air compressor for tires, air mattresses, or sports equipment.
- AC/DC output: A few units offer wall-style outlets or 12V car sockets to power small appliances like coolers or tire inflators.
For example, my own jump starter—a 20,000mAh model—saved me during a winter storm when my phone died and my tire was low. I used the USB port to call a friend and the air compressor to fix the tire. It felt like carrying a mini survival kit in my trunk.
What It *Can’t* Do
- Replace a faulty alternator: If your alternator is broken, the battery will keep dying even after a jump.
- Jump-start a completely dead battery with no residual charge: Most jump starters need a small amount of power in the car battery to detect polarity and activate the jump.
- Power large appliances: Don’t expect to run a mini-fridge or microwave. These are for small electronics and emergency use.
Knowing these limits helps you use your device safely and avoid disappointment. Always read your user manual to confirm specs—like peak amps, battery capacity (mAh), and compatible engine sizes.
Step-by-Step Multi Function Jump Starter Instructions for Safe Use
Using a jump starter isn’t rocket science, but skipping steps can lead to sparks, damage, or even injury. I learned this the hard way when I once connected the clamps backward and fried a sensor. Here’s how to do it right—every time.
Step 1: Prepare Your Jump Starter
- Charge it fully: Most jump starters come with a USB-C or wall charger. Plug it in for at least 3–4 hours before first use. A green light usually indicates full charge.
- Check the battery level: Use the power button or LCD screen to confirm it’s at 80% or higher. Cold weather drains batteries faster, so keep it warm if possible.
- Inspect the clamps and cables: Look for frayed wires, cracked insulation, or corrosion. Clean the clamps with a dry cloth if needed.
Pro tip: I keep my jump starter plugged into a smart outlet at home so it’s always charged. No more “I meant to charge it last week” regrets.
Step 2: Position the Vehicle and Jump Starter
- Park on a flat surface, turn off the engine, and engage the parking brake.
- Place the jump starter on a stable, non-conductive surface (like a plastic tray or cardboard) near the car battery. Never place it directly on the battery or metal engine parts.
- Ensure the cables can reach the battery terminals without stretching or dragging.
One time, I set my unit on the battery cover (metal) and got a small spark when connecting the clamps. Not dangerous, but unsettling. Lesson learned: always use a non-conductive surface.
Step 3: Connect the Clamps (The Right Way)
Here’s the golden rule: Red to positive (+), Black to negative (-).
- Step 3a: Attach the red clamp to the positive terminal of the car battery (marked with a “+” sign). It’s usually the larger terminal.
- Step 3b: Attach the black clamp to an unpainted metal surface—like a bolt or bracket—on the engine block. This acts as a ground. Never connect it to the negative battery terminal if the battery is damaged or leaking.
- Step 3c: Double-check both connections. Wiggle the clamps to ensure they’re secure.
Why ground to the engine? If the battery is leaking gas, a spark at the negative terminal could ignite it. Grounding elsewhere reduces that risk.
Step 4: Power On and Start the Engine
- Turn on the jump starter (usually a power button or switch).
- Wait 30–60 seconds for the unit to “detect” the battery. Some models have a “ready” light or beep.
- Try starting the car. If it doesn’t start on the first try, wait 1–2 minutes and try again. Never crank for more than 5 seconds at a time.
If the engine turns over but doesn’t start, check the fuel gauge and spark plugs. A jump starter won’t fix a flooded engine or empty tank.
Step 5: Disconnect and Store
- Once the engine is running, turn off the jump starter.
- Remove the black clamp first, then the red clamp. This order prevents sparks near the battery.
- Let the engine run for 15–20 minutes to recharge the car battery.
- Store the jump starter in a cool, dry place. Recharge it every 3–6 months, even if unused.
Real-world example: My neighbor used my jump starter last winter. He forgot to recharge it after. Six months later, it only had 20% power—enough to jump a small car, but not his truck. Now we keep a shared charging schedule!
Advanced Features: Making the Most of Your Multi Function Jump Starter
Once you’ve mastered the basics, you’ll want to explore the extra features. These aren’t just gimmicks—they can be game-changers in emergencies.
Using the Air Compressor
- Attach the included hose to the valve stem of your tire.
- Set the desired PSI (check your car door jamb or manual).
- Turn on the compressor. It may take 2–5 minutes to reach the target pressure.
- Monitor the LCD screen to avoid over-inflation.
I once used this to fix a slow leak in my wife’s car while she was at work. She didn’t even know it happened until I told her!
Charging Devices and Powering Electronics
- Use the USB-A or USB-C ports to charge phones, tablets, or power banks.
- For laptops, check if your unit has a DC output (e.g., 12V/19V). Use the correct adapter.
- Some models have a 110V AC outlet—great for charging cameras or running small fans.
Tip: Prioritize charging your phone in emergencies. A dead phone is a bigger liability than a dead battery.
Emergency Lighting and SOS Mode
- Most units have a flashlight button. Press it once for steady light, twice for SOS (flashing).
- Use it to signal for help, check under the hood, or light a campsite.
- Some even have a red emergency beacon mode.
During a power outage, I used the SOS mode to guide my kids to safety through a dark house. It felt like having a personal rescue light.
Safety Alerts and Smart Features
Modern jump starters often include:
- Reverse polarity protection: Prevents damage if clamps are connected backward.
- Short-circuit and overload alerts: Automatically shuts off if there’s a fault.
- Temperature sensors: Stops charging in extreme heat or cold.
These features make the device safer for beginners. My first model lacked reverse protection—thankfully, I got lucky. Now I only buy units with built-in safety tech.
Common Mistakes and How to Avoid Them
Even experienced users make mistakes. Here are the most common—and how to prevent them.
Mistake 1: Forgetting to Recharge
Jump starters lose charge over time. A unit left in a hot garage or cold trunk can degrade faster.
- Fix: Recharge every 3–6 months. Set a phone reminder.
- Pro tip: Some units have a “maintenance mode” that keeps the battery at 50% for long-term storage.
Mistake 2: Connecting Clamps to the Wrong Terminals
Reversing polarity can fry electronics, melt cables, or even cause explosions.
- Fix: Always double-check: Red = +, Black = ground (not the negative terminal).
- Use color-coded labels or tape if you’re prone to mix-ups.
Mistake 3: Using a Low-Power Unit for Large Vehicles
A 10,000mAh jump starter might not start a diesel truck or V8 engine.
- Fix: Match the jump starter’s peak amps to your vehicle. Most sedans need 600–800A. Trucks/SUVs may need 1,000A+.
- Check your car manual for battery specs.
Mistake 4: Ignoring the User Manual
Every model is slightly different. Skipping the manual can lead to misuse.
- Fix: Read it once when you buy the unit. Keep it in the storage case.
- Watch a quick YouTube tutorial for visual learners.
Mistake 5: Storing It in Extreme Temperatures
Heat and cold damage lithium batteries. I once left mine in a trunk in 100°F weather—it swelled and wouldn’t charge.
- Fix: Store in a climate-controlled area. If you must keep it in the car, use an insulated case.
Data Table: Comparing Key Features of Popular Multi Function Jump Starters
| Model | Battery Capacity | Peak Amps | USB Ports | Air Compressor? | AC Outlet? | Weight | Best For |
|---|---|---|---|---|---|---|---|
| DBPOWER 20,000mAh | 20,000mAh | 800A | 2 (USB-A) | Yes | No | 1.2 lbs | Compact cars, emergencies |
| NOCO Boost Plus GB40 | 18,000mAh | 1,000A | 1 (USB-C) | No | No | 2.4 lbs | SUVs, frequent travelers |
| TACKLIFE T8 Pro | 18,000mAh | 1,200A | 2 (USB-A + USB-C) | Yes | Yes (110V) | 3.1 lbs | Trucks, camping, power outages |
| GOOLOO GP4000 | 24,000mAh | 1,500A | 3 (2x USB-A, 1x USB-C) | Yes | No | 2.8 lbs | Diesel engines, heavy-duty use |
Note: Prices and availability vary. Always check for firmware updates and warranty coverage before buying.
Conclusion: Your Jump Starter Is More Than a Battery Saver
When I first bought a multi function jump starter, I thought it was just a backup for dead batteries. Now, I see it as a lifesaving tool—one that’s gotten me out of jams more times than I can count. From jump-starting my mom’s car during a snowstorm to charging my phone during a 12-hour road trip, it’s become as essential as my spare tire.
The key is knowing how to use it properly. Follow the multi function jump starter instructions carefully: charge it regularly, connect the clamps correctly, and respect its limits. Don’t skip the manual—it’s not boring paperwork; it’s your safety net. And remember, these devices aren’t just for emergencies. Use the air compressor for bike tires, the flashlight for night hikes, or the USB ports to keep your family connected.
Whether you’re a city driver, a road-tripper, or an off-grid adventurer, a multi function jump starter is worth every penny. Treat it well, use it wisely, and it’ll be there when you need it most—no waiting for help, no tow truck fees, just peace of mind. Now go charge that unit. Your future self will thank you.
Frequently Asked Questions
How do I use a multi function jump starter to jump-start my car?
First, ensure the jump starter is fully charged and connect the clamps to the correct terminals (red to positive, black to negative). Then, start your vehicle and disconnect the clamps in reverse order. Always follow the multi function jump starter instructions for safety.
Can I leave my multi function jump starter plugged into a wall outlet for too long?
No, overcharging can damage the battery. Most models have auto-shutoff features, but it’s best to unplug once fully charged (usually 3-4 hours). Refer to the manual for specific charging times.
What safety precautions should I take when using a jump starter?
Wear insulated gloves, avoid touching metal clamps together, and keep the device away from water. Always follow the multi function jump starter instructions to prevent sparks or short circuits.
How do I use the USB or power bank features on my jump starter?
Turn on the jump starter and plug your device into the USB port. Some models require holding the power button for 3 seconds to activate the charging mode. Check your manual for port specifications.
Why won’t my jump starter turn on or hold a charge?
This could be due to a dead battery or faulty connection. Try recharging the unit fully or resetting it per the instructions. Contact support if issues persist.
Can I use my multi function jump starter in extreme temperatures?
Most jump starters work between -4°F and 140°F, but extreme cold/hot can reduce performance. Store and use within the recommended range for optimal results and battery life.