
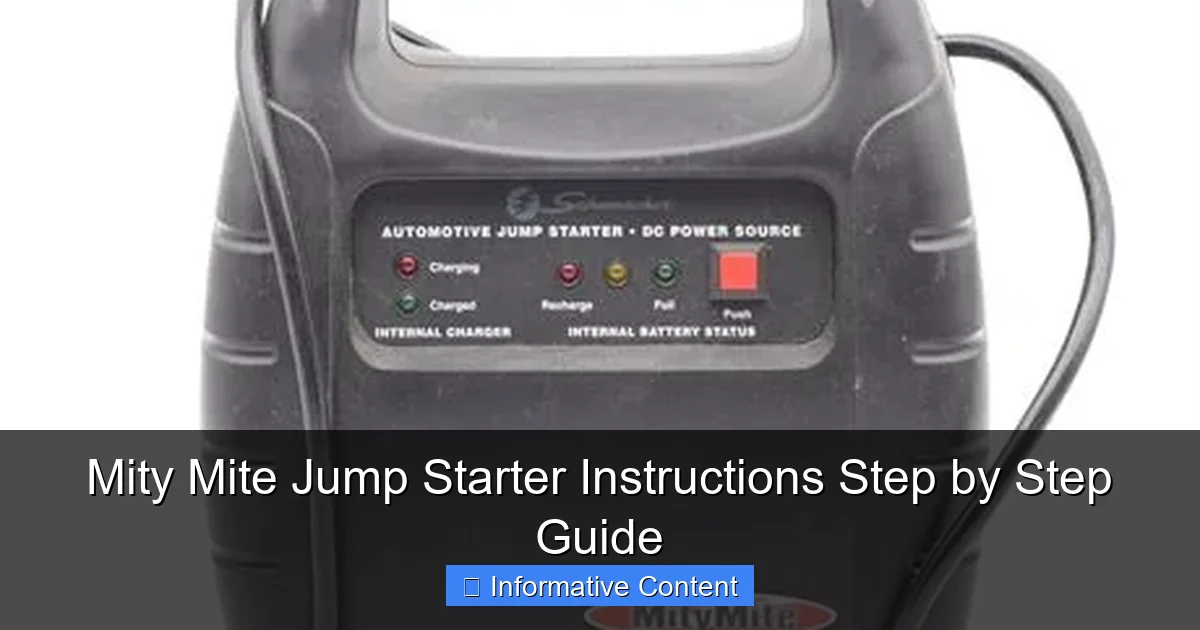
Featured image for mity mite jump starter instructions
Image source: dygtyjqp7pi0m.cloudfront.net
Master your Mity Mite jump starter with this simple, step-by-step guide designed to get your vehicle running safely and efficiently. Follow clear instructions—from proper battery connection to jump-starting protocols—to avoid damage and ensure peak performance every time.
Key Takeaways
- Read the manual first: Always review safety guidelines before use.
- Charge fully before use: Ensure 100% charge for optimal performance.
- Connect red to positive: Attach clamps correctly to avoid damage.
- Start engine within 30 seconds: Prevents overheating the jump starter.
- Disconnect after use: Remove clamps in reverse order safely.
- Store in cool, dry place: Maintains battery life and device longevity.
📑 Table of Contents
- Why Every Driver Needs a Mity Mite Jump Starter (And How to Use It)
- Understanding Your Mity Mite Jump Starter
- Preparing for a Jump Start: Safety and Setup
- Step-by-Step Mity Mite Jump Starter Instructions
- Troubleshooting Common Mity Mite Jump Starter Issues
- Maximizing Your Mity Mite’s Lifespan and Performance
- Data: Mity Mite Jump Starter Specifications (Common Models)
- Final Thoughts: Why the Mity Mite Is Worth It
Why Every Driver Needs a Mity Mite Jump Starter (And How to Use It)
Remember that time your car battery died at the worst possible moment? Maybe it was a freezing winter morning, a late-night commute, or right before an important meeting. Dead batteries don’t send calendar invites. They strike when you least expect them — and that’s exactly why portable jump starters like the Mity Mite jump starter have become essential gear for drivers everywhere.
Unlike traditional jumper cables that require another vehicle, the Mity Mite jump starter is a self-contained powerhouse. It’s compact, lightweight, and packs enough juice to get most 12V vehicles back on the road. But here’s the catch: even the best tool is useless if you don’t know how to use it safely and correctly. That’s why we’re walking through the complete Mity Mite jump starter instructions step by step — not just the basics, but the little details that make all the difference between a successful jump and a frustrating mess.
Understanding Your Mity Mite Jump Starter
What Is a Mity Mite Jump Starter?
The Mity Mite jump starter is a portable lithium-ion battery pack designed to jump-start vehicles without needing another car. Think of it as a “battery in a box” — a rechargeable device that stores energy and delivers a powerful burst when your car’s battery can’t. It typically supports gasoline engines up to 6.0L and diesel engines up to 3.0L, making it ideal for cars, trucks, SUVs, motorcycles, and even small boats.
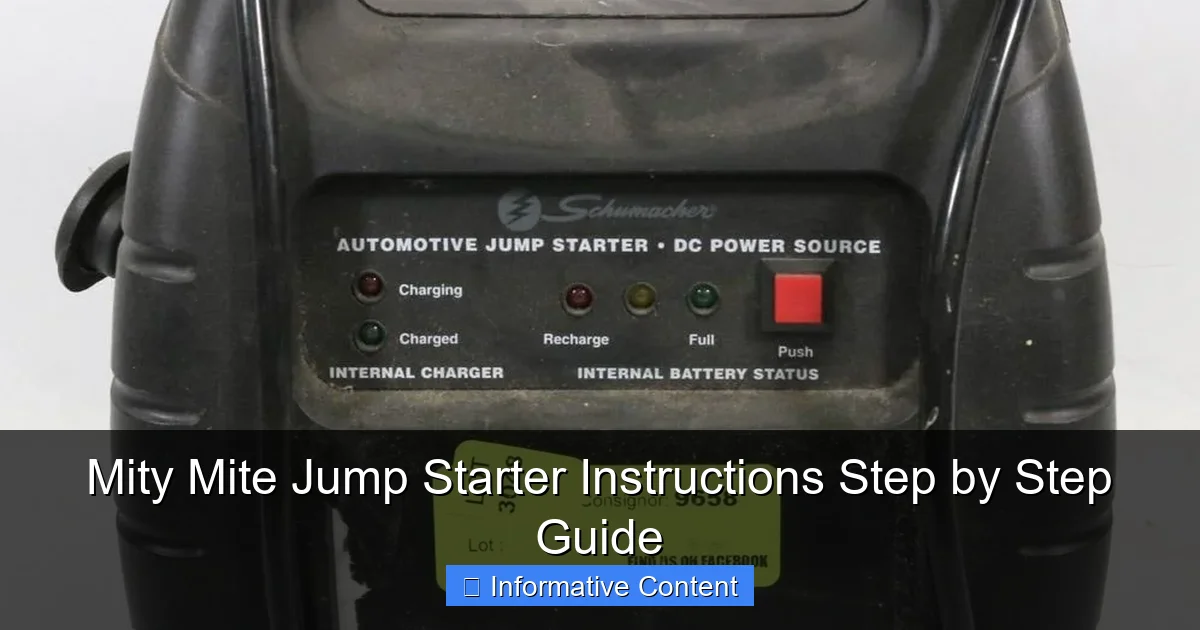
Visual guide about mity mite jump starter instructions
Image source: placerauctions.com
What sets Mity Mite apart (besides its quirky name) is its user-friendly design. It features built-in safety protections, a digital display, and often includes bonus functions like USB charging ports and LED flashlights — all packed into a device no bigger than a shoebox.
Key Components and Features
Before you even think about jumping your car, get familiar with what’s in front of you. Here’s what you’ll typically find on a Mity Mite jump starter:
- Jump Start Terminals: Red (+) and black (-) clamps connected to heavy-duty cables.
- Digital Display: Shows battery level, error codes, and charging status.
- Power Button: Turns the unit on and activates the jump-start mode.
- USB Output Ports: For charging phones, tablets, or other electronics.
- 12V DC Output: Powers car accessories like coolers or air compressors.
- LED Flashlight: With multiple modes (steady, SOS, strobe) — super helpful at night.
- Charging Port: Usually a DC or USB-C input for recharging the unit.
- Safety Indicators: Lights or beeps that warn of reversed polarity, low charge, or overheating.
One thing I love? The clamps are often spark-proof and have reverse polarity protection. That means if you accidentally connect them backward, the unit won’t let current flow — saving your car’s electronics (and your nerves).
What’s in the Box?
When you open your Mity Mite package, you should find:
- The jump starter unit
- Smart jumper cables with clamps
- AC wall charger
- 12V car charger (for recharging on the go)
- User manual (keep this handy!)
- Storage case (optional, depending on model)
Pro tip: Always keep the manual in the car with the unit. You’ll be glad you did when you’re in a panic and can’t remember the steps.
Preparing for a Jump Start: Safety and Setup
Check the Mity Mite’s Battery Level
Before anything else, check your jump starter’s charge. A dead jump starter won’t jump-start anything. Most Mity Mite models have a digital display or LED indicators showing charge level.
Here’s what to do:
- Press and hold the power button for 3–5 seconds to turn it on.
- Look at the screen: “100%” means full; “20%” means you need to charge it soon.
- If it’s below 50%, plug it in using the wall charger for at least 30 minutes before attempting a jump.
Real-world example: My neighbor once tried to jump his SUV with a 10% charged Mity Mite. The unit powered on, but the voltage was too low to engage the starter. He ended up waiting 45 minutes to charge it — lesson learned.
Inspect the Vehicle’s Battery
Don’t just assume the battery is dead. Look for signs of damage or corrosion:
- Corrosion: White, green, or blue crust on terminals? Clean it with a wire brush or baking soda/water mix.
- Leaks or Swelling: If the battery case is cracked or bloated, don’t jump it — replace it.
- Loose Cables: Tighten any wobbly connections before attaching the Mity Mite.
Tip: If the battery is over 4 years old, it’s probably time for a replacement. Jumping an old battery repeatedly can damage your alternator.
Choose a Safe Location
Safety first! Park on a flat, dry surface away from traffic. Turn off the ignition, engage the parking brake, and put the transmission in Park (or First for manual). If you’re on a slope, use wheel chocks.
Also, avoid jump-starting in the rain or snow unless absolutely necessary. Moisture increases the risk of short circuits. If you must, cover the engine bay with a tarp — but keep the jump starter dry.
Wear Protective Gear (Yes, Really)
I know it sounds dramatic, but wear gloves and safety glasses. Batteries can leak acid or explode under rare conditions (especially if damaged). Better safe than sorry.
Step-by-Step Mity Mite Jump Starter Instructions
Step 1: Power On the Mity Mite
Press and hold the power button for 3–5 seconds. The digital display should light up, showing battery level and system status. If you see an error (like “Err” or “Low Batt”), address it before continuing.
Some models have a “Jump Start” mode you need to activate manually. Look for a button labeled “Start” or “Jump” — press it once. You might hear a click or see a light indicating it’s ready.
Step 2: Connect the Red (Positive) Clamp
Here’s where precision matters. Follow this order:
- Locate the positive terminal on your car battery — it’s marked with a “+” and usually has a red cover.
- Attach the red clamp to the positive terminal. Make sure it’s snug — no wobbling.
- Double-check: The clamp should be on the metal post, not the cable or plastic housing.
Why this matters: If the clamp slips, it can arc (spark violently), damaging electronics or even causing a fire.
Step 3: Connect the Black (Negative) Clamp
Now for the ground connection. This is where many people get confused. Do not connect the black clamp directly to the negative battery terminal unless the battery is isolated (rare).
Instead:
- Find an unpainted metal surface on the engine block or frame — a bolt, bracket, or bare metal part.
- Attach the black clamp to that spot. This acts as a ground, completing the circuit safely.
Example: On my Honda Accord, I use the bolt on the engine mount bracket. It’s close to the battery, easy to reach, and always clean.
Warning: Never connect the black clamp to the fuel line, moving parts, or the battery’s negative terminal if the battery is in the cabin (common in some BMWs or Audis) — this increases explosion risk.
Step 4: Start the Vehicle
With both clamps secured:
- Get in the car and turn the ignition to “ON” (don’t start yet). Wait 10–15 seconds to let the Mity Mite stabilize.
- Crank the engine. If it starts, great! If not, wait 15 seconds and try again.
- Once running, let the engine idle for 1–2 minutes to charge the battery slightly.
If it doesn’t start after 3 attempts:
- Wait 1 minute between tries (prevents overheating).
- Check clamps — are they tight? Is the Mity Mite still charged?
- Try wiggling the cables to ensure good contact.
Note: Some vehicles (especially newer ones with sensitive electronics) may take longer to start. Patience is key.
Step 5: Disconnect in Reverse Order
Once the engine is running, disconnect the clamps in this order:
- Remove the black clamp from the ground point.
- Remove the red clamp from the positive terminal.
- Store both clamps back on the unit (many have built-in holders).
Never let the clamps touch each other while connected — this can cause a dangerous short circuit.
Step 6: Recharge the Mity Mite
Even if it worked perfectly, your Mity Mite just gave up a big chunk of its energy. Plug it in as soon as possible using the wall or car charger. Most models take 3–6 hours to fully recharge.
Pro tip: Recharge it immediately after use, even if you don’t plan to use it again soon. Lithium batteries degrade faster when left partially discharged.
Troubleshooting Common Mity Mite Jump Starter Issues
“The Mity Mite Won’t Turn On”
If the unit doesn’t power on:
- Check if it’s completely drained. Plug it in for 15–30 minutes, then try again.
- Try a different charger or cable — sometimes the issue is with the power source.
- If it still won’t turn on, the internal battery may be dead. Contact customer support.
Real story: A friend’s Mity Mite wouldn’t turn on after being stored in a cold garage all winter. Turns out, lithium batteries hate freezing temps. We charged it inside for 2 hours — it worked fine after that.
“The Clamps Spark or Get Hot”
Sparks are normal when connecting the first clamp — but if they’re large or the clamps get hot, disconnect immediately.
Causes:
- Loose clamps
- Corroded terminals
- Damaged cables
Solution: Clean terminals, tighten connections, and inspect cables for fraying. If the Mity Mite feels hot, let it cool for 10 minutes before retrying.
“The Car Starts, but the Mity Mite Dies”
This means the unit’s battery dropped too low during the jump. It’s not broken — just needs charging. Plug it in and wait. Most Mity Mite models have low-voltage protection that shuts them off to prevent damage.
Prevention: Always recharge after use and avoid multiple jump attempts in quick succession.
“Error Codes on the Display”
Refer to your manual for specific codes, but common ones include:
- “Err” or “E01”: Reverse polarity (clamps swapped) — fix the connection.
- “E02”: Overheating — let the unit cool.
- “E03”: Low input voltage — use a different charger.
When in doubt, disconnect everything, wait 1 minute, and start over.
Maximizing Your Mity Mite’s Lifespan and Performance
How Often Should You Recharge It?
Even if you don’t use it, recharge your Mity Mite every 3–6 months. Lithium batteries self-discharge over time. A fully charged unit stored for a year can lose 20–30% capacity.
Set a reminder on your phone or calendar. I do this every April and October — it’s part of my car maintenance routine.
Storage Tips
Store your Mity Mite in a cool, dry place — ideally between 50°F and 80°F (10°C–27°C). Avoid:
- Hot trunks (can exceed 120°F in summer)
- Freezing garages (below 32°F)
- Humid areas (like a basement)
Use the storage case if included. It protects the unit from dust and accidental damage.
Cleaning and Maintenance
Wipe the unit with a dry or slightly damp cloth. Never use solvents or abrasive cleaners. For the clamps:
- Brush off corrosion monthly.
- Apply a thin layer of dielectric grease to terminals (optional but recommended).
Check cables for cuts or kinks. If you see damage, stop using it — frayed wires can cause shorts.
Bonus Features: Using the USB Ports and Flashlight
Your Mity Mite isn’t just a jump starter — it’s a power bank! Use the USB ports to:
- Charge your phone in an emergency.
- Power a GPS or dash cam.
- Run a portable fan on road trips.
The LED flashlight is a lifesaver at night. I used it to signal for help when my car broke down on a dark road. The SOS mode flashed in a pattern — it got a police officer’s attention within 10 minutes.
Data: Mity Mite Jump Starter Specifications (Common Models)
While exact specs vary by model, here’s a general comparison of popular Mity Mite jump starters:
| Model | Peak Amps | Battery Capacity | Engine Compatibility | USB Ports | Weight |
|---|---|---|---|---|---|
| Mity Mite 800A | 800A | 12,000 mAh | Up to 6.0L Gas / 3.0L Diesel | 2 (5V/2.1A) | 1.8 lbs |
| Mity Mite 1000A | 1000A | 15,000 mAh | Up to 6.5L Gas / 3.5L Diesel | 2 (5V/2.4A) | 2.1 lbs |
| Mity Mite 1200A Pro | 1200A | 18,000 mAh | Up to 7.0L Gas / 4.0L Diesel | 3 (5V/2.4A + QC 3.0) | 2.5 lbs |
Note: Higher peak amps = better for larger engines. But even the 800A model works great for most sedans and small SUVs. Choose based on your vehicle type and how often you plan to use it.
Final Thoughts: Why the Mity Mite Is Worth It
Let’s be honest — no one enjoys jump-starting a car. It’s stressful, messy, and sometimes dangerous. But the Mity Mite jump starter turns that nightmare into a 5-minute task. It’s reliable, safe, and packed with features that go beyond just jumping batteries.
After using mine for over two years (and jumping my own car, my mom’s, and two friends’), I can say this: it’s one of the best investments I’ve made for my car. The peace of mind alone is worth it. No more waiting for roadside assistance. No more flagging down strangers. Just grab the unit, follow the Mity Mite jump starter instructions, and get back on the road.
Sure, it’s not perfect. It needs recharging. It won’t start a 10-year-old battery on its last legs. And yes, the price is higher than basic jumper cables. But for anyone who values independence, safety, and convenience, the Mity Mite delivers.
So whether you’re a daily commuter, a road tripper, or a parent juggling errands, keep a Mity Mite in your car. And when the time comes — because it will — you’ll be ready. Just remember: connect red first, black to ground, wait, start, and recharge. Simple, safe, and stress-free.
Drive safe — and keep that Mity Mite charged!
Frequently Asked Questions
How do I use the Mity Mite Jump Starter for the first time?
Begin by fully charging the Mity Mite Jump Starter using the included AC adapter or car charger. Ensure the power switch is off, then connect the clamps to the battery terminals (red to positive, black to negative) and turn the unit on to start the jump.
What safety precautions should I follow with the Mity Mite Jump Starter instructions?
Always wear protective eyewear and avoid touching metal clamps together. Follow the Mity Mite Jump Starter instructions to prevent reverse polarity, short-circuiting, or sparks during use.
Can I use the Mity Mite Jump Starter in cold weather?
Yes, the Mity Mite Jump Starter is designed to work in temperatures as low as -20°F. However, store it indoors when possible to maintain battery performance and lifespan.
How long does it take to charge the Mity Mite Jump Starter?
The unit typically takes 3–4 hours to reach a full charge via the AC adapter. A red LED indicator turns green when charging is complete, per the Mity Mite Jump Starter instructions.
What do I do if the jump starter doesn’t power on?
Check that the battery is charged and the power switch is fully engaged. If the issue persists, reset the unit by holding the power button for 10 seconds or consult the troubleshooting section of the manual.
Can I charge my phone or other devices with the Mity Mite Jump Starter?
Yes, the built-in USB port allows you to charge smartphones, tablets, and other small electronics. Simply connect your device using a compatible USB cable while the jump starter is powered on.