
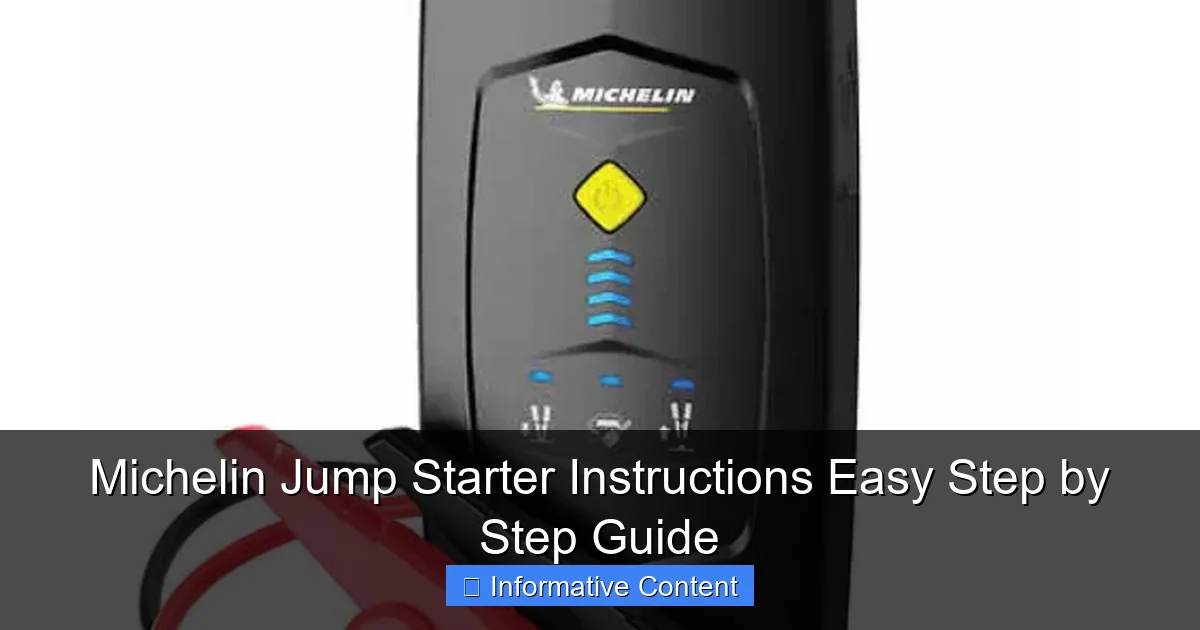
Featured image for michelin jump starter instructions
Image source: static.slickdealscdn.com
Follow these simple Michelin jump starter instructions to safely and quickly revive your dead battery in minutes. Designed for ease and reliability, this step-by-step guide walks you through proper connections, safety checks, and activation—ensuring a hassle-free jump start every time, even for beginners.
Key Takeaways
- Always check battery level before attempting a jump start for safety.
- Connect clamps correctly: red to positive, black to negative terminals.
- Turn off all electronics in the vehicle before starting the process.
- Allow 2-3 minutes between connection and starting the engine.
- Store properly after use to maintain jump starter lifespan and performance.
- Use safety gloves and goggles to protect against sparks or battery issues.
📑 Table of Contents
Why a Michelin Jump Starter Could Save Your Day
Imagine this: you’re running late for an important meeting, the car won’t start, and the engine just groans in protest. The lights are dim, the radio barely plays, and you realize—your battery is dead. It’s a scenario every driver dreads, and it happens more often than you’d think. That’s where a Michelin jump starter comes in. Compact, reliable, and powerful, these portable devices are designed to bring your car back to life—no second vehicle, no jumper cables, and no waiting around for help.
But having a jump starter in your trunk is only half the battle. The real value lies in knowing how to use it correctly and safely. Whether you’re a seasoned driver or a new car owner, understanding Michelin jump starter instructions can mean the difference between a quick fix and a frustrating roadside ordeal. I’ve been there—fumbling with cables, misreading the manual, and accidentally shorting the battery. That’s why I’ve put together this easy step-by-step guide to help you master your Michelin jump starter, avoid common mistakes, and get back on the road with confidence.
Understanding Your Michelin Jump Starter
What Makes Michelin Different?
Michelin isn’t just about tires. Their jump starters are built with the same engineering precision and safety standards you’d expect from a global leader in automotive innovation. Unlike generic brands, Michelin jump starters often include smart safety features like reverse polarity protection, spark-proof clamps, and overload protection. These aren’t just marketing buzzwords—they’re real safeguards that prevent damage to your car or injury to you.
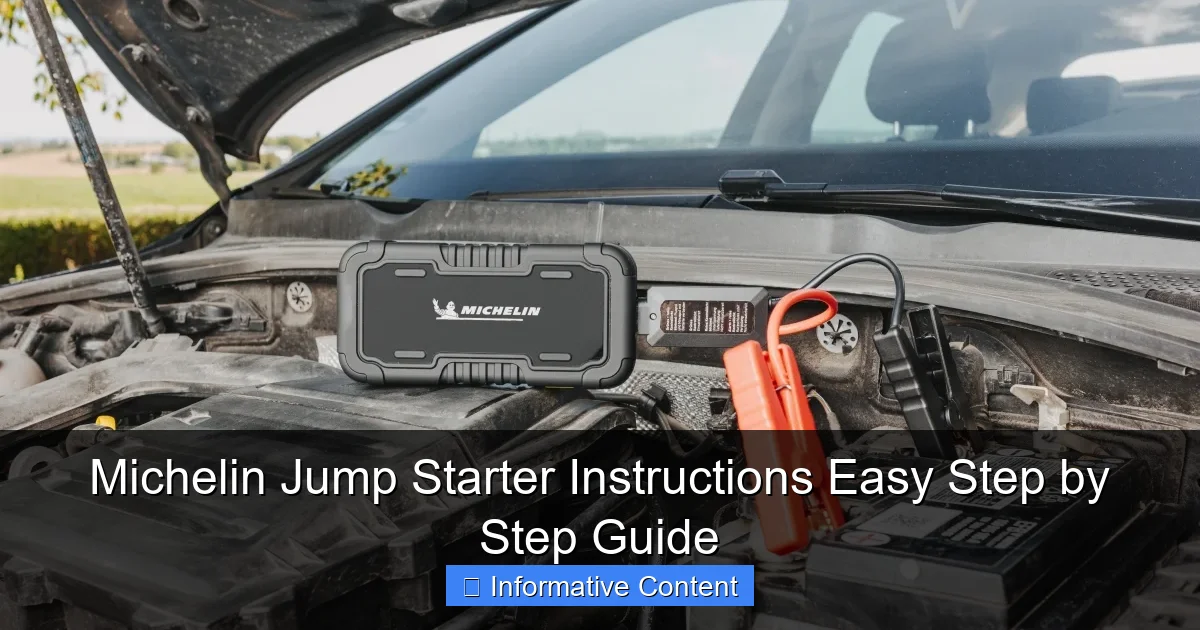
Visual guide about michelin jump starter instructions
Image source: helix-automotive.com
For example, the Michelin 12V Lithium Jump Starter (a popular model) packs a 1000A peak current, enough to jump start most gasoline engines up to 6.0L and diesel engines up to 3.0L. It also doubles as a power bank, with USB ports for charging phones, tablets, and even small electronics. That versatility is a game-changer, especially if you’re stranded without cell service.
Key Components and Features
Before you jump into action, let’s break down what’s in the box and what each part does:
- Jump starter unit: The main battery pack with built-in lithium cells.
- Smart clamps: Red (positive) and black (negative) with built-in circuitry to prevent sparks and reverse connections.
- Charging cable: Usually a USB-C or micro-USB cable for recharging the unit.
- Carry case: Keeps everything organized and protected.
- User manual: Don’t skip this! It includes model-specific Michelin jump starter instructions and troubleshooting tips.
One thing I love about Michelin’s design is the LED flashlight with multiple modes (steady, strobe, SOS). It’s not just for emergencies—it’s handy for checking under the hood at night or signaling for help if you’re stuck.
Common Models and Their Capabilities
Here’s a quick look at some popular Michelin jump starter models and their specs:
| Model | Peak Current | Compatible Engines | Extra Features | Weight |
|---|---|---|---|---|
| Michelin 12V 1000A | 1000A | Gas up to 6.0L, Diesel up to 3.0L | USB-C charging, LED flashlight, power bank | 1.2 lbs |
| Michelin 12V 1500A | 1500A | Gas up to 7.0L, Diesel up to 5.0L | Dual USB ports, digital battery % display, 12V DC output | 1.5 lbs |
| Michelin 12V 2000A | 2000A | Gas up to 8.0L, Diesel up to 6.0L | Jump start + tire inflator combo, LCD screen, emergency hammer | 2.1 lbs |
Note: Always check your vehicle’s manual to confirm the required cranking amps. Overestimating can lead to unnecessary wear; underestimating might not start the engine.
Step-by-Step Michelin Jump Starter Instructions
Step 1: Safety First – Park and Prep
Before touching anything, ensure your vehicle is in a safe location—preferably on level ground, away from traffic. Turn off the ignition, engage the parking brake, and put the transmission in Park (or Neutral for manual). This prevents the car from rolling during the process.
Pro tip: If you’re on a slope, use wheel chocks or place a heavy object behind the wheels. Safety is non-negotiable, especially when working with electrical systems.
Next, pop the hood and locate the battery. Most modern cars have the battery under a plastic cover. If so, remove it carefully. Look for the positive (+) and negative (-) terminals. The positive is usually marked with a red cover or a “+” sign; the negative is black or unmarked and often connected to the chassis.
Step 2: Charge and Check Your Jump Starter
Your jump starter is only useful if it has power. Before heading out, charge it fully using the included USB cable. A full charge usually takes 3–5 hours. Most Michelin models have LED indicators: red for charging, green for full.
Real talk: I once tried to jump start a car with a half-charged unit—and failed. The engine cranked weakly and died. Always check the battery level on your jump starter. The 1500A and 2000A models have digital displays, but even the 1000A has a 4-LED indicator. If only one light is on, charge it before proceeding.
Step 3: Connect the Clamps – The Right Way
This is where many people go wrong. Follow these steps exactly:
- Connect red (positive) clamp to the battery’s positive terminal. Make sure it’s tight and free of corrosion. If the terminal is dirty, clean it with a wire brush.
- Connect black (negative) clamp to a bare metal surface on the engine block or chassis. Avoid the battery’s negative terminal directly—this reduces spark risk. Look for a thick bolt or unpainted metal bracket near the battery.
Why not the negative terminal? Connecting the negative to the chassis (not the battery) creates a safer ground path. If there’s a spark, it won’t ignite hydrogen gas that may be leaking from a damaged battery.
Smart clamps alert: Michelin’s clamps have sensors. If you reverse the connections, the unit will beep and flash red. This reverse polarity protection is a lifesaver—I’ve accidentally swapped clamps before, and the device shut off instantly, preventing damage.
Step 4: Power On and Start the Engine
Once the clamps are secure, turn on your Michelin jump starter. Most models have a simple power button. You’ll hear a soft beep and see the LED lights activate.
Now, get in the driver’s seat and start the engine. Turn the key (or push the start button) and hold it for a few seconds. The engine should crank and start within 5–10 seconds. If it doesn’t start on the first try, wait 30 seconds, then try again. Never crank for more than 5 seconds continuously—this can overheat the starter motor.
Example: My friend’s 2018 Honda Civic wouldn’t start on a cold morning. I used the 1000A Michelin unit, followed the steps above, and it fired up in 3 seconds. No hesitation, no drama.
Step 5: Disconnect and Power Down
Once the engine is running, disconnect the clamps in reverse order:
- Remove the black (negative) clamp from the engine block.
- Remove the red (positive) clamp from the battery terminal.
- Turn off the jump starter and stow it back in its case.
Important: Do not leave the jump starter connected while the engine is running. The alternator charges the battery at 14V+, which can overload the jump starter’s circuitry if left attached.
After disconnecting, let the engine run for at least 15–20 minutes to recharge the battery. If possible, drive the car for 30+ minutes to ensure a full charge.
Maintenance and Charging Tips
How Often Should You Charge Your Jump Starter?
Even if you never use it, lithium batteries degrade over time. Michelin recommends recharging your jump starter every 3–6 months to maintain peak performance. Think of it like changing your smoke detector batteries—it’s a small task with big consequences if neglected.
I keep mine on a shelf in my garage with a sticky note: “Charge in March and September.” It takes 10 minutes and gives me peace of mind.
Storing Your Jump Starter
Where you store your jump starter matters. Avoid extreme temperatures:
- Hot cars: In summer, the trunk can hit 150°F+, which damages lithium cells.
- Cold garages: Below freezing, battery capacity drops temporarily.
Best practice: Store it in a cool, dry place—like a closet or under the back seat. If you must leave it in the car, use the insulated carry case to buffer temperature swings.
Cleaning and Inspection
After each use (or every few months), do a quick inspection:
- Wipe down the clamps with a dry cloth to remove grease or corrosion.
- Check the cables for fraying or cracks.
- Test the flashlight and USB ports to ensure they work.
I once found a small cut in the clamp cable after a jump start. I wrapped it in electrical tape and replaced it later. Better safe than sorry!
Common Mistakes and How to Avoid Them
Using a Low-Charge Jump Starter
This is the #1 mistake. A jump starter with 20% battery might not deliver enough amps to start your car, especially in cold weather. Always charge it fully before an emergency. If you’re on a road trip, charge it at hotels or cafes with USB outlets.
Incorrect Clamp Placement
Connecting the negative clamp to the battery’s negative terminal (instead of the engine block) increases spark risk. I’ve seen sparks fly when someone did this—luckily, no one was hurt, but it could have been worse.
Tip: If you’re unsure where to attach the negative, look for a thick metal bracket or bolt labeled “GND” (ground). If in doubt, consult your car’s manual or a mechanic.
Cranking Too Long or Too Often
Repeated cranking without waiting can drain the jump starter and overheat the starter motor. Follow the “5 seconds on, 30 seconds off” rule. If the car doesn’t start after 3 attempts, there’s likely a deeper issue—like a bad starter, alternator, or fuel problem.
Leaving It Connected While Driving
Some people leave the jump starter connected “just in case.” Big mistake. The alternator’s high voltage can damage the jump starter’s internal electronics. Always disconnect once the engine is running.
When to Use (and When Not to Use) Your Jump Starter
Ideal Scenarios for a Jump Start
Your Michelin jump starter shines in these situations:
- Dead battery after leaving lights on: The most common cause of battery failure.
- Cold weather cranking issues: Cold reduces battery efficiency. A jump starter gives you the extra boost needed.
- Remote areas with no help: No AAA? No problem. Your jump starter is your roadside hero.
- Multiple jump attempts: Some cars need a few tries. The jump starter handles this better than a weak battery.
When a Jump Start Won’t Help
Not every no-start issue is battery-related. Avoid using your jump starter if:
- The engine cranks but won’t start: This suggests fuel, ignition, or starter motor problems. A jump start won’t fix it.
- There’s a clicking sound but no crank: Could be a bad starter solenoid. The battery might be fine.
- You smell gas or see smoke: Stop immediately. This could indicate a fire or electrical short.
Real example: My neighbor’s truck wouldn’t start, but it cranked strong. I used the jump starter—no change. A mechanic later found a clogged fuel filter. The battery was fine; the problem was fuel delivery.
Final Thoughts: Be Prepared, Not Panicked
Having a Michelin jump starter isn’t just about convenience—it’s about control. When your car won’t start, you don’t have to wait for a tow truck or rely on strangers. You have the power to fix it yourself, safely and efficiently.
Remember, the key is preparation. Keep your jump starter charged, stored properly, and ready to go. Follow the Michelin jump starter instructions step by step, and never skip safety checks. And if you’re ever unsure, don’t guess—consult the manual or call a professional.
At the end of the day, this little device is more than a tool. It’s peace of mind. Whether you’re heading to work, picking up the kids, or exploring a remote trail, knowing you can handle a dead battery makes every drive a little less stressful. So charge it, pack it, and drive with confidence—because you’ve got this.
Frequently Asked Questions
How do I use a Michelin jump starter for the first time?
To use your Michelin jump starter, first ensure it’s fully charged. Connect the red clamp to the positive (+) terminal of the dead battery and the black clamp to a grounded metal surface, then power on the unit and start your vehicle.
What are the safety precautions when following Michelin jump starter instructions?
Always wear safety goggles and avoid smoking during use. Ensure the jump starter is off while connecting clamps to prevent sparks, and never touch clamps together during the process.
Can I use a Michelin jump starter on a lithium battery?
Yes, most Michelin jump starters are compatible with lithium batteries, but check your model’s manual to confirm. Follow the same connection steps while ensuring the battery voltage matches the unit’s specifications.
How long does a Michelin jump starter hold its charge?
Michelin jump starters typically retain a charge for 3–6 months when unused. Recharge the unit every 2–3 months to maintain optimal performance and battery health.
Why won’t my Michelin jump starter turn on?
If your unit doesn’t power on, it may be depleted or in protection mode due to extreme temperatures. Recharge it for at least 12 hours or let it adjust to room temperature before retrying.
Are Michelin jump starter instructions different for diesel engines?
Yes, diesel engines often require higher cranking power. Use a Michelin jump starter rated for diesel (check the manual for compatibility) and ensure the unit is fully charged before attempting to start.