
Imagine you’re ready to jump-start your car, but the device won’t work because you skipped a crucial step. You don’t want to be stuck in that frustrating moment.
That’s why preparing your jump starter before use is key. In this guide, you’ll discover simple but important steps to activate your jump starter safely and effectively. Follow these tips, and you’ll have the confidence to power up your vehicle without stress.
Keep reading to make sure you’re fully prepared when the time comes.
Choosing The Right Jump Starter
Choosing the right jump starter is key to a quick and safe car battery boost. It ensures your device fits your needs and works well during emergencies. Knowing what to consider helps avoid buying the wrong one.
Some jump starters suit small cars, others work best for trucks or SUVs. Your choice depends on the vehicle size and battery type. This guide helps you pick the best jump starter easily.
Types Of Jump Starters
Jump starters come in different types. Some use lithium-ion batteries, which are light and recharge fast. Others use lead-acid batteries, which are heavier but often cheaper.
Some models include extra features like USB ports for charging phones. Others focus only on jump-starting power. Choose the type that fits your needs and budget.
Battery Capacity And Power
Battery capacity shows how much power the jump starter holds. It is measured in milliampere-hours (mAh) or ampere-hours (Ah). Higher capacity means more jumps before recharging.
Power is measured in peak amps. This number tells how strong the starter is. Bigger engines need jump starters with higher peak amps. Check your vehicle’s manual to match power needs.
Portability And Size
Portability matters for easy storage and carrying. Compact jump starters fit in glove compartments or small bags. Larger models may offer more power but can be bulky.
Think about where you will keep it and how often you will carry it. A lightweight, small jump starter is handy for road trips and daily use.
Inspecting The Jump Starter
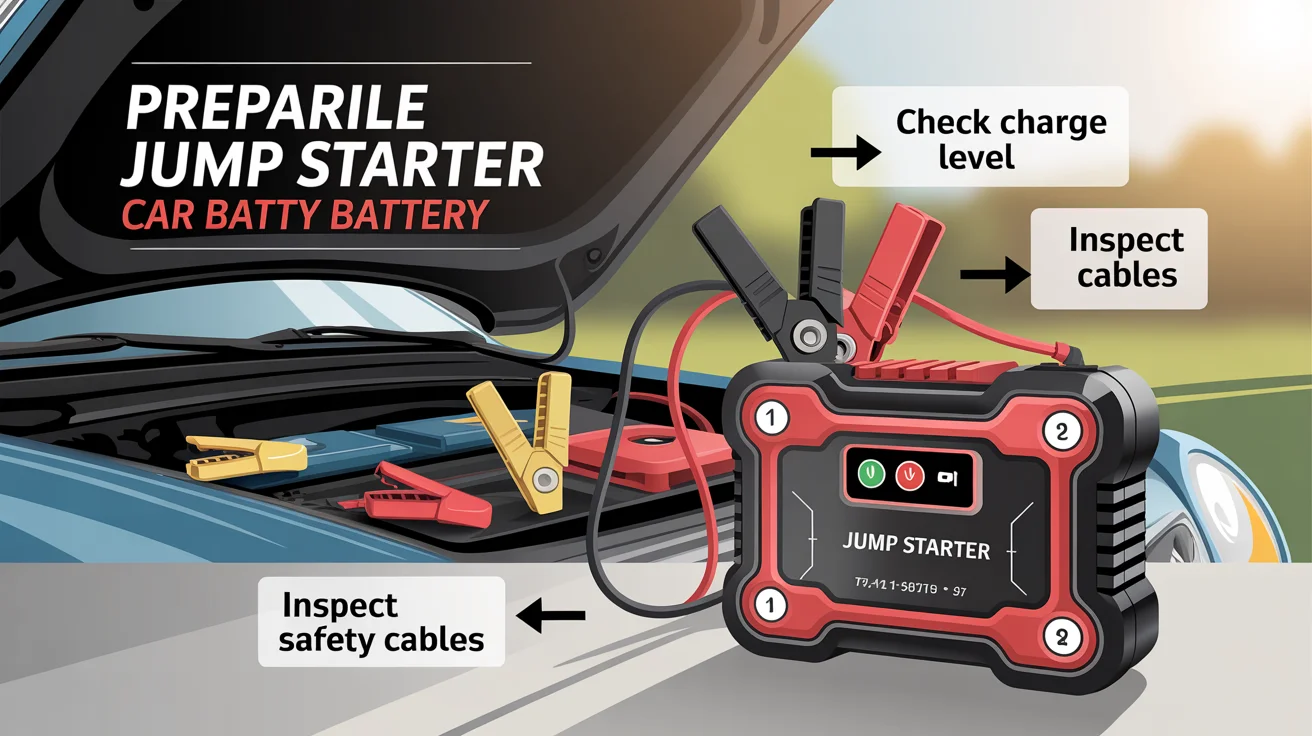
Before using a jump starter, it is important to inspect it carefully. This step ensures the device works safely and effectively. A thorough check helps prevent problems during the jump-start process. Follow these simple steps to inspect your jump starter properly.
Check Battery Charge Level
Start by checking the battery charge level. Most jump starters have a built-in indicator or screen. Make sure the battery is fully charged or has enough power. A low charge can cause the device to fail. Charge the jump starter before use if needed.
Examine Cables And Clamps
Next, examine the cables and clamps closely. Look for frayed or exposed wires. Ensure the clamps open and close smoothly. Tight clamps create a strong connection to the battery. Damaged cables or loose clamps reduce jump starter effectiveness.
Look For Physical Damage
Finally, inspect the jump starter for any physical damage. Check the outer casing for cracks or dents. Damaged parts can affect performance and safety. Avoid using the device if it shows signs of serious damage. Replace or repair before use.
Safety Precautions
Safety is the top priority before using a jump starter. Taking the right precautions protects you and your vehicle. Follow these safety steps carefully. They help avoid accidents and damage during use.
Wear Protective Gear
Always wear gloves to protect your hands from sparks and battery acid. Safety glasses shield your eyes from unexpected splashes or debris. Avoid loose clothing that can catch on car parts or cables.
Avoid Sparks And Flames
Keep all sparks, flames, and smoking materials away from the battery. Batteries release flammable gases that can ignite easily. Connect and disconnect cables slowly to prevent sparks.
Ensure Proper Ventilation
Use the jump starter in a well-ventilated area. Fresh air prevents buildup of harmful gases around the battery. Avoid enclosed spaces like garages without open doors or windows.
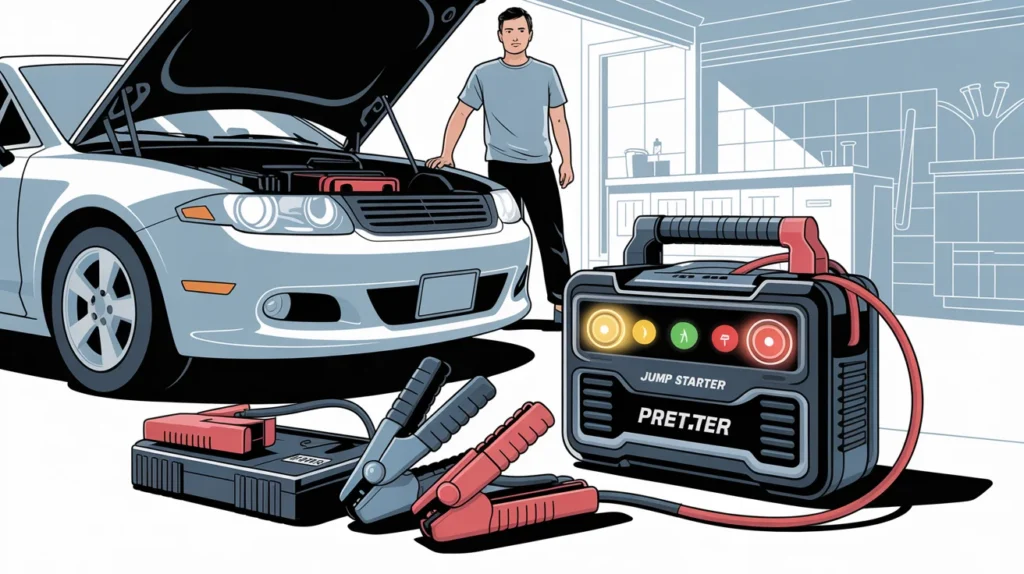
Preparing The Vehicle
Preparing your vehicle before using a jump starter is very important. It helps ensure safety and increases the chance of a successful start. Follow these simple steps carefully to get ready.
Turn Off Ignition And Electronics
Make sure the vehicle’s ignition is completely off. Switch off all electronics like headlights, radio, and air conditioning. This prevents power drain and protects the vehicle’s electrical system.
Locate Battery And Terminals
Open the vehicle’s hood and find the battery. Look for the positive (+) and negative (-) terminals. Knowing their location helps you connect the jump starter correctly.
Clean Battery Terminals
Check the battery terminals for dirt or corrosion. Use a wire brush or cloth to clean them gently. Clean terminals improve the connection and ensure the jump starter works well.
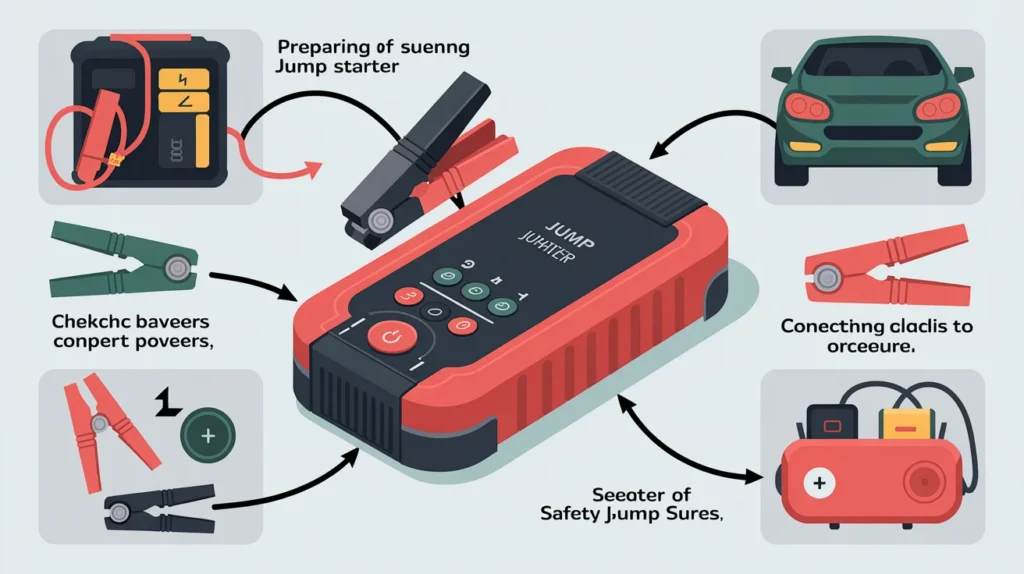
Connecting The Jump Starter
Connecting the jump starter to your vehicle is a key step before powering it on. Proper connection ensures safety and effectiveness. Follow these clear steps to attach the clamps correctly and avoid sparks or damage.
Attach Positive Clamp
Locate the positive terminal on your car battery. It usually has a plus sign (+) or is red. Firmly attach the positive clamp from the jump starter to this terminal. Make sure it is secure and not loose. A good connection helps deliver power efficiently.
Attach Negative Clamp
Find the negative terminal on the battery. It has a minus sign (-) or is black. Connect the negative clamp from the jump starter to this terminal. Some recommend attaching the negative clamp to a metal part of the car’s frame instead. This reduces the risk of sparks near the battery.
Double Check Connections
Look over both clamps carefully. Confirm they are tightly attached to the correct terminals. Check that the clamps do not touch each other or other metal parts. Secure connections prevent accidents and ensure the jump starter works well.
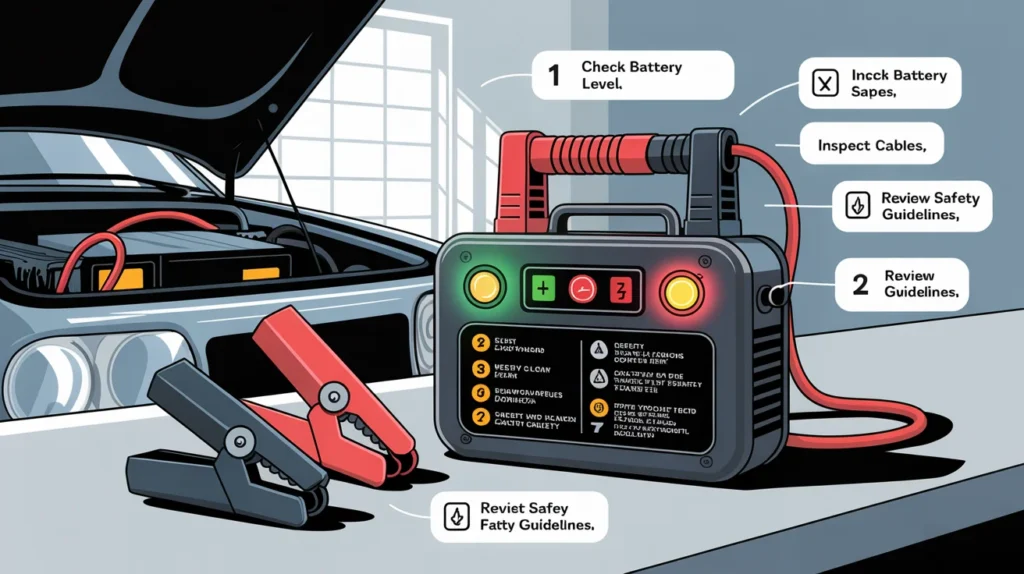
Final Checks Before Activation
Before activating your jump starter, complete a few final checks. These ensure safety and success. Skipping these steps can cause problems or damage. Take a moment to confirm everything is ready.
Confirm Proper Setup
Check all connections twice. Make sure the clamps are firmly attached to the battery terminals. Positive clamp on positive terminal, negative clamp on a clean metal ground. Loose or wrong connections stop the jump starter from working. Avoid sparks or shorts by securing the clamps well.
Review Manufacturer Guidelines
Read the user manual carefully. Follow any specific instructions for your jump starter model. Different devices may have unique steps or limits. Pay attention to safety warnings and time limits. This helps prevent damage to your car and the jump starter.
Prepare To Start Engine
Keep the car in neutral or park. Ensure the parking brake is set. Clear the area of any flammable materials. Turn off all electrical accessories inside the vehicle. This reduces the power load and helps the engine start smoothly.
Frequently Asked Questions
What Is The First Step Before Using A Jump Starter?
Before use, check the jump starter’s battery charge. Ensure it’s fully charged for optimal performance and safety.
How Do I Prepare My Car For Jump Starting?
Turn off the ignition and all electrical devices. Open the hood and locate the battery terminals for connection.
Can I Use A Jump Starter On Any Vehicle?
Most jump starters work on cars, trucks, and motorcycles. Always check your device’s specifications for compatibility.
How To Connect Jump Starter Cables Safely?
Attach red clamp to the positive terminal first. Then connect black clamp to a grounded metal surface.
Conclusion
Preparing your jump starter before use keeps you safe and ready. Check the device’s charge and cables carefully. Make sure the clamps are clean and free from damage. Always follow the steps to avoid mistakes or accidents. Taking these simple actions saves time and stress later.
Stay confident knowing your jump starter works when needed. A little care goes a long way for reliable help. Keep it ready, keep it safe, and stay prepared.