
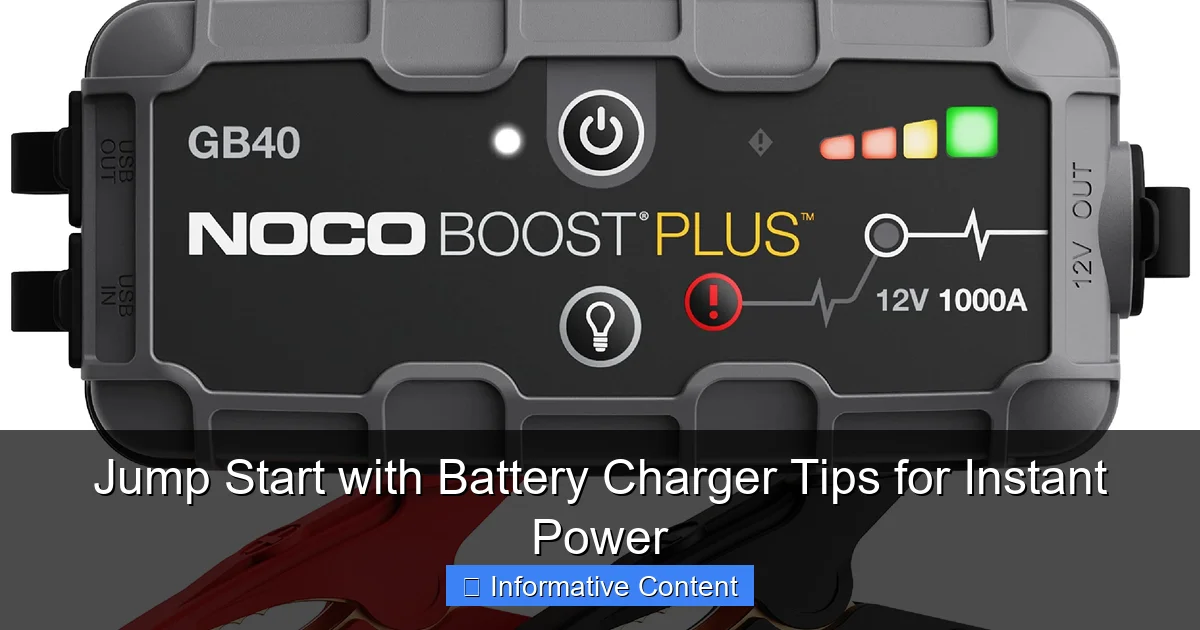
Featured image for jump start with battery charger
Image source: images-na.ssl-images-amazon.com
Jump starting a vehicle with a battery charger is faster and safer when you follow proper steps and use a quality charger. Always connect the charger to the battery terminals correctly—positive to positive, negative to ground—to avoid sparks or damage. Modern smart chargers deliver instant power and prevent overcharging, making them ideal for emergency jump starts.
Key Takeaways
- Safety first: Always wear protective gear and check for battery damage before jump-starting.
- Use the right charger: Match the charger’s voltage and amperage to your vehicle’s battery.
- Connect properly: Attach red to positive, black to negative to avoid sparks or damage.
- Charge before jump-starting: A low battery may need pre-charging for a successful jump.
- Monitor charging time: Avoid overcharging by following manufacturer guidelines.
- Keep a portable charger handy: Emergency power is essential for unexpected battery failures.
📑 Table of Contents
- Jump Start with Battery Charger Tips for Instant Power
- Understanding How Car Batteries and Jump Starters Work
- Choosing the Right Jump Starter with Battery Charger
- Step-by-Step Guide to Jump Start with Battery Charger
- Safety Tips and Common Mistakes to Avoid
- Maintenance and Long-Term Care for Your Jump Starter
- When to Replace Your Car Battery (Not Just Jump Start)
- Conclusion: Be Prepared, Stay Powered
Jump Start with Battery Charger Tips for Instant Power
Picture this: It’s a cold winter morning, you’re running late for work, and you walk out to your car—only to find it completely dead. The dashboard lights flicker weakly, the engine won’t turn over, and your heart sinks. You’ve been here before. A dead battery can strike at the worst possible moment, leaving you stranded and frustrated. But what if you had a simple, reliable solution tucked away in your garage or trunk? That’s where a jump start with battery charger comes in—your instant power lifeline when your car battery gives up the ghost.
Whether you’re a seasoned driver or someone who just wants peace of mind on the road, knowing how to safely and effectively jump start your vehicle using a battery charger is a skill worth mastering. It’s not just about getting your car running again—it’s about doing it the right way to protect your vehicle’s electrical system and ensure your safety. With the right tools and knowledge, you can turn a stressful situation into a quick fix. In this guide, we’ll walk you through everything you need to know about jump starting your car with a battery charger, from choosing the right equipment to step-by-step instructions and safety tips. Think of this as your go-to handbook for instant power—no mechanic required.
Understanding How Car Batteries and Jump Starters Work
Before we dive into the practical steps of a jump start with battery charger, it helps to understand what’s actually happening under the hood. Your car’s battery is like the heart of its electrical system. It stores energy and delivers it to the starter motor, which cranks the engine to life. Over time, batteries lose their charge due to age, extreme temperatures, or leaving lights on overnight. When the voltage drops too low, the battery can’t provide enough power to start the engine—hence, the dreaded “click” when you turn the key.
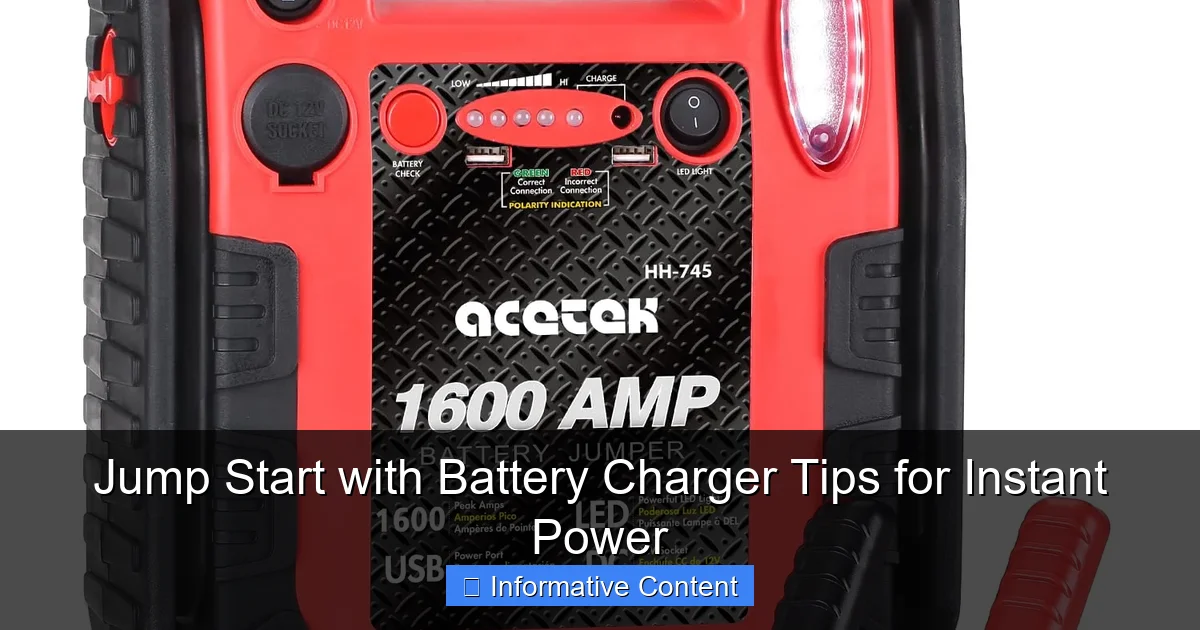
Visual guide about jump start with battery charger
Image source: m.media-amazon.com
What Is a Jump Starter with Built-in Charger?
A jump starter with a built-in battery charger is a portable device that combines two functions: it can jump start a dead battery and recharge itself (or other devices) via a wall outlet or USB. Unlike traditional jumper cables that require another vehicle, these standalone units store electrical energy in an internal lithium-ion or lead-acid battery. When your car won’t start, you simply connect the jump starter’s clamps to your battery terminals, and it delivers a burst of power to get your engine running.
Modern jump starters often include additional features like built-in flashlights, USB ports for charging phones, and digital displays showing battery level and voltage. Some even have safety mechanisms to prevent reverse polarity, short circuits, or overcharging. These advancements make them safer and more user-friendly than ever.
How Jump Starting Restores Power
When you perform a jump start with battery charger, you’re essentially giving your dead battery a temporary energy boost. The jump starter sends a high-amperage current to the battery, which helps overcome the internal resistance that’s preventing the starter motor from turning. Once the engine starts, the alternator takes over, recharging the battery as you drive.
It’s important to note that jump starting doesn’t “fix” a dead battery—it just gives it enough power to start the car. If your battery is old or damaged, it may not hold a charge, and you’ll need to replace it. But for occasional dead batteries due to cold weather or accidental drain, a jump starter is a lifesaver.
Common Causes of Dead Batteries
Understanding why your battery dies can help you prevent future issues. Here are some common culprits:
- Extreme temperatures: Cold weather slows chemical reactions in the battery, reducing its ability to deliver power. Heat can also accelerate battery degradation.
- Leaving lights or accessories on: Forgetting to turn off headlights, interior lights, or the radio can drain the battery overnight.
- Old age: Most car batteries last 3–5 years. After that, their capacity diminishes significantly.
- Parasitic drain: Faulty electrical components (like a stuck glove box light) can slowly drain the battery even when the car is off.
- Infrequent driving: Short trips don’t give the alternator enough time to fully recharge the battery.
By recognizing these patterns, you can take preventive steps—like using a battery maintainer during long periods of inactivity—or keep a reliable jump starter on hand just in case.
Choosing the Right Jump Starter with Battery Charger
Not all jump starters are created equal. With so many models on the market, it’s easy to feel overwhelmed. But choosing the right one doesn’t have to be complicated. The key is to match the device to your vehicle type, usage needs, and safety preferences. Here’s what to look for when selecting a jump start with battery charger that fits your lifestyle.
Peak Amps vs. Cranking Amps: What’s the Difference?
Two of the most important specs on a jump starter are peak amps and cranking amps. Peak amps refer to the maximum current the device can deliver for a short burst—usually just a few seconds. This is what gets your engine turning over. Cranking amps (CA) or cold cranking amps (CCA) measure how much power the jump starter can deliver at 32°F (0°C), which is closer to real-world conditions.
For most compact cars, a jump starter with 400–600 peak amps is sufficient. SUVs, trucks, and larger vehicles may need 800–1000+ peak amps. Always check your vehicle’s manual or battery label for recommended CCA ratings, and choose a jump starter that meets or exceeds that number.
Battery Type and Capacity
Jump starters typically use either lithium-ion or lead-acid batteries. Lithium-ion models are lighter, more compact, and hold a charge longer—ideal for keeping in your car or backpack. They also perform better in cold weather. Lead-acid jump starters are heavier and bulkier but often more affordable and capable of delivering higher surge currents.
Capacity is measured in milliampere-hours (mAh). A higher mAh rating means the jump starter can deliver more total energy, which translates to more jump attempts on a single charge. For example, a 10,000 mAh unit can typically jump a standard car 10–15 times before needing a recharge.
Portability and Additional Features
Think about where and how you’ll use your jump starter. If you travel frequently or live in a rural area, a compact, lightweight model with a built-in flashlight and USB ports can be a game-changer. Some units even include air compressors for inflating tires—perfect for road trips or emergencies.
Other useful features to consider:
- Safety protections: Look for reverse polarity alarms, spark-proof clamps, and overload protection.
- Digital display: Shows battery level, voltage, and error codes.
- Charging options: Can it charge via wall outlet, car charger, or solar panel?
- Durability: Water-resistant or rugged casing for outdoor use.
Top Picks for Different Needs
Here’s a quick comparison of popular jump starters based on common use cases:
| Use Case | Recommended Model | Peak Amps | Battery Type | Key Features |
|---|---|---|---|---|
| Daily commuter (compact car) | NOCO Boost Plus GB40 | 1000 | Lithium-ion | Compact, USB-C, flashlight, 20 jump starts per charge |
| SUV or truck owner | Jump-N-Carry JNC660 | 1700 | Lead-acid | Heavy-duty, 22-inch cables, built-in voltmeter |
| Outdoor enthusiast | DBPower 2000A | 2000 | Lithium-ion | Water-resistant, air compressor, dual USB ports |
| Budget-friendly option | Tacklife T8 | 800 | Lithium-ion | Affordable, 12V/19V outputs, LED display |
Remember, the best jump starter is one you’ll actually use. If it’s too heavy, complicated, or unreliable, you’re less likely to keep it charged and accessible when you need it most.
Step-by-Step Guide to Jump Start with Battery Charger
Now that you’ve got the right tool, it’s time to put it to work. Jump starting your car with a battery charger is straightforward, but safety is paramount. A single mistake—like reversing the clamps—can damage your vehicle’s electronics or even cause injury. Follow these steps carefully, and you’ll have your engine running in minutes.
Before You Begin: Safety First
Before connecting anything, take a moment to assess the situation. Make sure:
- The jump starter is fully charged (check the indicator light or display).
- Your car is in park (or neutral for manual transmissions) with the ignition off.
- Both vehicles (if using jumper cables) are turned off and parked close but not touching.
- You’re wearing closed-toe shoes and, if possible, safety gloves.
- The battery and surrounding area are free of cracks, leaks, or corrosion.
If you see white, green, or blue powder around the battery terminals, that’s corrosion. Clean it gently with a mixture of baking soda and water using an old toothbrush, then wipe dry. Never touch corroded terminals with bare hands.
Connecting the Jump Starter
Here’s how to safely connect your jump starter to your car battery:
- Locate the battery: Open the hood and find the battery. In most cars, it’s under the hood, but some models (like certain BMWs or Hondas) have it in the trunk or under a rear seat.
- Identify the terminals: The positive terminal (+) is usually red and marked with a “+” sign. The negative terminal (–) is black and marked with a “–” sign.
- Attach the red clamp: Connect the red (positive) clamp to the positive terminal of the dead battery. Make sure it’s secure and metal-to-metal contact is made.
- Attach the black clamp: Connect the black (negative) clamp to a grounded metal part of the engine block, away from the battery. This could be a bolt, bracket, or unpainted metal surface. Never connect the negative clamp directly to the negative terminal of a dead battery—this can cause sparks and ignite hydrogen gas.
- Power on the jump starter: Turn on the device. Most models will have a button or switch. Wait a few seconds for it to initialize.
Starting the Engine
Once everything is connected:
- Turn the ignition key to the “start” position. The engine should crank and start within a few seconds.
- If it doesn’t start right away, wait 30–60 seconds and try again. Avoid cranking for more than 10 seconds at a time to prevent overheating the starter.
- If the engine still won’t start after 2–3 attempts, there may be another issue—like a faulty starter, fuel problem, or deeply discharged battery.
Disconnecting and Aftercare
Once your car is running:
- Turn off the jump starter.
- Remove the black clamp first, then the red clamp.
- Close the hood and let the engine run for at least 15–20 minutes to allow the alternator to recharge the battery.
- If possible, drive the car for 30 minutes or more to ensure a full recharge.
Afterward, recharge your jump starter as soon as possible. Most models take 3–5 hours to fully charge via a wall outlet. Some can also be charged in a car using a 12V adapter.
What If It Doesn’t Work?
Sometimes, even with a good jump starter, the car won’t start. Here are a few troubleshooting tips:
- Check connections: Loose or corroded clamps can prevent proper current flow.
- Try a different ground point: If the engine block is painted or dirty, the connection may be weak. Find a clean, bare metal spot.
- Wait and retry: Let the jump starter “rest” for a few minutes between attempts. Lithium-ion batteries can overheat with repeated use.
- Test the battery: If your car starts but dies again shortly after, the battery may be too old or damaged to hold a charge.
When in doubt, call a professional. It’s better to be safe than sorry.
Safety Tips and Common Mistakes to Avoid
Jump starting a car might seem simple, but it’s easy to make mistakes that can lead to injury, vehicle damage, or even fire. A little caution goes a long way. Here are the most important safety tips and common pitfalls to avoid when performing a jump start with battery charger.
Never Reverse the Clamps
This is the #1 rule of jump starting. Connecting the red clamp to the negative terminal (or black to positive) can cause a short circuit, sparks, or even an explosion. Most modern jump starters have reverse polarity protection that will alert you with a beep or flashing light, but it’s still crucial to double-check before connecting.
Avoid Sparks Near the Battery
Car batteries emit hydrogen gas, which is highly flammable. Always connect the negative clamp to a grounded metal part—not the battery terminal—to minimize the risk of sparks near the battery. If you see smoke, smell gas, or hear a hissing sound, disconnect immediately and move away.
Don’t Use a Damaged Jump Starter
Inspect your jump starter before each use. Look for cracked casings, frayed wires, or swollen batteries. A damaged unit can overheat, leak, or fail during use. If something looks off, don’t risk it—replace it.
Keep It Charged
A jump starter is only useful if it has power. Make it a habit to recharge your device after each use, and check the battery level monthly if it’s stored in your car. Cold temperatures can drain lithium-ion batteries faster, so consider bringing it indoors during winter.
Don’t Jump Start in the Rain (If Possible)
While many jump starters are water-resistant, it’s best to avoid using them in heavy rain or snow. Water can cause short circuits or reduce grip, increasing the risk of accidental contact. If you must jump start in wet conditions, use a waterproof cover and work quickly.
Common Mistakes to Avoid
- Using the wrong ground point: Connecting the negative clamp to the alternator, fuel line, or plastic part can damage components.
- Cranking too long: Holding the ignition for more than 10 seconds can overheat the starter motor.
- Leaving the jump starter connected: Once the engine is running, disconnect immediately. Prolonged connection can overload the system.
- Ignoring warning lights: If your jump starter displays an error (like “reverse polarity” or “low charge”), stop and troubleshoot before proceeding.
Remember: safety isn’t just about protecting yourself—it’s about protecting your car, too. A single mistake can fry your ECU, blow fuses, or ruin your alternator. Take your time, stay calm, and follow the steps.
Maintenance and Long-Term Care for Your Jump Starter
Your jump starter is an investment in your peace of mind. Like any tool, it needs regular care to perform reliably when you need it most. With proper maintenance, a quality jump starter can last 5–10 years or more. Here’s how to keep it in top shape.
Regular Charging Schedule
Even when not in use, lithium-ion batteries slowly lose charge. To prevent deep discharge (which can permanently damage the battery), recharge your jump starter every 3–6 months. If you live in a cold climate, check it more frequently—cold temperatures accelerate self-discharge.
Most manufacturers recommend storing the device at 50–80% charge for long-term storage. Avoid letting it sit fully charged or completely drained for extended periods.
Cleaning and Storage
Keep your jump starter clean and dry. Wipe the casing with a dry cloth to remove dust and dirt. Use a slightly damp cloth for stubborn grime, but never submerge the unit or use harsh chemicals.
Store it in a cool, dry place—preferably in its original case or a protective pouch. Avoid leaving it in your car during extreme heat or cold, as temperature swings can degrade the battery over time.
Inspecting Cables and Clamps
Check the cables and clamps regularly for signs of wear. Look for fraying, kinks, or loose connections. The clamps should open and close smoothly and grip securely. If the jaws are loose or corroded, they may not make proper contact, reducing effectiveness.
Some models come with replaceable clamps or cable sets. If yours doesn’t, consider upgrading to a higher-quality unit if the cables degrade.
Testing Before You Need It
Don’t wait for a dead battery to test your jump starter. Once a year, do a quick functionality check:
- Charge the unit fully.
- Turn it on and verify the display or indicator lights work.
- Test the flashlight and USB ports (if applicable).
- Simulate a jump start on a known-good battery (optional, but reassuring).
This simple routine ensures your device is ready when disaster strikes.
When to Replace Your Car Battery (Not Just Jump Start)
While a jump start with battery charger can get you back on the road, it’s not a permanent fix for a failing battery. If your car frequently needs jump starts, it’s a sign that the battery is nearing the end of its life. Ignoring this can leave you stranded again—and again.
Signs Your Battery Needs Replacement
Watch for these warning signs:
- Slow engine crank: The engine turns over sluggishly, especially in cold weather.
- Dim headlights: Lights flicker or appear dim when the engine is off.
- Check engine or battery light: illuminated on the dashboard.
- Swollen battery case: Indicates overheating or internal damage.
- Old age: If your battery is over 4 years old, consider replacing it proactively.
How to Test Your Battery
You can test your battery’s health with a multimeter or visit an auto parts store for a free load test. A healthy 12V battery should read 12.6 volts or higher when the car is off. If it’s below 12.4 volts, it may need charging or replacement.
Most auto shops can also test the alternator and starter to rule out other issues. A bad alternator, for example, won’t recharge the battery while driving, leading to repeated dead batteries.
Choosing a Replacement Battery
When it’s time for a new battery, match the specifications in your owner’s manual. Consider factors like:
- Group size: Physical dimensions and terminal placement.
- CCA rating: Should meet or exceed the original.
- Warranty: Look for at least a 3-year free replacement warranty.
- Type: Standard lead-acid, AGM (for start-stop vehicles), or lithium (for performance cars).
Many retailers offer free installation, so you don’t have to do it yourself unless you’re comfortable with basic car maintenance.
Conclusion: Be Prepared, Stay Powered
A dead battery doesn’t have to ruin your day. With the right knowledge and tools, you can handle it confidently and safely. A jump start with battery charger is more than just a quick fix—it’s a smart, empowering solution that puts you in control. Whether you’re facing a chilly morning commute or a remote roadside breakdown, having a reliable jump starter in your vehicle means you’re never truly stranded.
From understanding how batteries work to choosing the right device, following safe procedures, and maintaining your equipment, this guide has covered everything you need to stay powered up. Remember, preparation is key. Keep your jump starter charged, store it properly, and know the signs that your car battery might need replacing. And most importantly, always prioritize safety—your well-being and your vehicle’s health are worth the extra caution.
So the next time you hear that weak click instead of a roar, don’t panic. Grab your jump starter, follow the steps, and get back on the road. With these tips in your back pocket, instant power is always within reach.
Frequently Asked Questions
How do I safely jump start with a battery charger?
To safely jump start with a battery charger, connect the red clamp to the dead battery’s positive terminal and the black clamp to a grounded metal surface. Ensure the charger is off before connecting, then power it on to deliver a controlled charge without sparks.
Can a battery charger damage my car’s electrical system?
Modern smart chargers are designed to prevent damage by regulating voltage and current. However, avoid cheap chargers without safety features like overcharge protection, as they may harm sensitive electronics during a jump start.
What’s the difference between a jump starter and a battery charger?
A jump starter provides instant power to start a dead battery, while a battery charger delivers a slower, controlled charge to restore capacity. Some devices combine both functions for convenience.
How long does it take to jump start with a battery charger?
Most battery chargers take 5–30 minutes to deliver enough power for a jump start, depending on the charger’s output (amps) and the battery’s depletion level. Fast-charge modes may reduce this time.
Can I leave my battery charger connected overnight?
Only if it’s a smart charger with automatic shutoff. Traditional chargers may overcharge the battery, causing damage or leaks. Always verify your model’s safety features first.
What should I do if my battery won’t jump start with a charger?
If the battery won’t respond, check for corroded terminals or internal damage. Try a slower “trickle charge” mode, or replace the battery if it’s older than 3–5 years or holds no charge.