
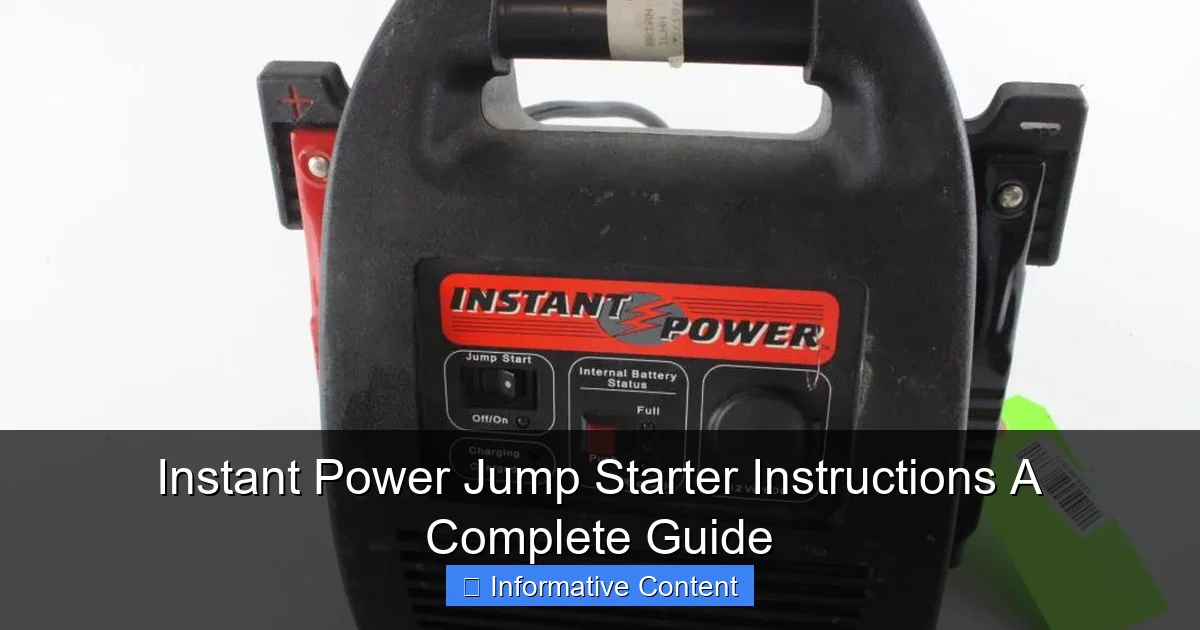
Featured image for instant power jump starter instructions
Image source: content.propertyroom.com
Master your Instant Power Jump Starter with these simple, foolproof instructions to get your vehicle running in minutes—no professional help needed. Always connect red to positive (+) and black to negative (−) terminals to avoid sparks or damage, and ensure the device is fully charged before use for maximum reliability.
Key Takeaways
- Always charge fully before first use for maximum performance.
- Connect red clamp first to positive terminal, then black to ground.
- Wait 30 seconds after connecting before attempting to start.
- Never reverse clamps—it can damage the device and vehicle.
- Use safety mode if available to prevent incorrect connections.
- Store in cool, dry place to preserve battery life and function.
📑 Table of Contents
- Understanding Instant Power Jump Starters
- Choosing the Right Instant Power Jump Starter for Your Needs
- Step-by-Step: How to Use an Instant Power Jump Starter
- Maintaining Your Jump Starter for Longevity
- Advanced Tips and Real-World Scenarios
- Comparing Popular Models: A Quick Look
- Final Thoughts: Be Prepared, Not Stressed
Understanding Instant Power Jump Starters
What Is an Instant Power Jump Starter?
Imagine you’re running late for work, turn the key in your ignition, and… nothing. The engine won’t start. You’ve probably faced this frustrating situation before, and if you haven’t, you likely will. That’s where an instant power jump starter comes in. This compact device is like a superhero for your car, giving your battery the jolt it needs to get going again—without the help of another vehicle or a long wait for roadside assistance.
Unlike traditional jumper cables, which require a second car and a bit of technical know-how, an instant power jump starter is a self-contained unit with built-in batteries. It’s designed to deliver a quick burst of power to your car’s battery, jump-starting the engine in seconds. Think of it as a portable battery pack, but built specifically for vehicles. Most models are lightweight, easy to store in your trunk, and can even double as a phone charger or power bank in a pinch.
How Do Instant Power Jump Starters Work?
At its core, an instant power jump starter works by transferring stored electrical energy from its internal battery to your car’s dead battery. When you connect the jump starter’s clamps to your battery’s terminals (positive to positive, negative to negative), the device delivers a high-amp current that mimics the surge from another car’s battery. This wakes up your engine, allowing it to start normally.
Most modern jump starters use lithium-ion batteries, which are lightweight, rechargeable, and capable of holding a charge for weeks or even months. Some advanced models include safety features like reverse polarity protection, short-circuit prevention, and spark-resistant clamps—making them far safer than older, clunky jump boxes.
I remember the first time I used one. My car had been sitting idle for a few weeks, and the battery was completely drained. I pulled out my jump starter, followed the simple steps (which I’ll cover later), and within a minute, my engine roared back to life. No waiting, no stress. It felt like magic—but it was just smart engineering.
Choosing the Right Instant Power Jump Starter for Your Needs
Key Features to Look For
Not all instant power jump starters are created equal. Before buying one, it’s important to consider what you’ll actually need it for. Are you using it for a small sedan, a large SUV, or a motorcycle? Will you be storing it in a cold garage or taking it on road trips? Here are the key features to evaluate:
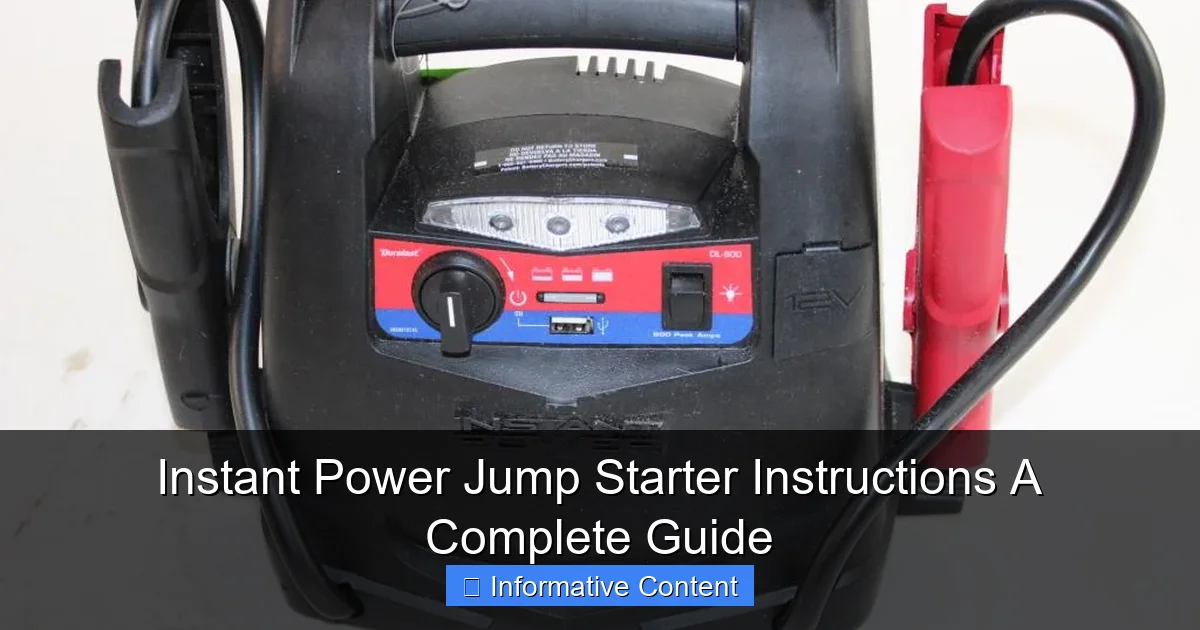
Visual guide about instant power jump starter instructions
Image source: content.propertyroom.com
- Peak Amps and Cranking Amps: These numbers tell you how much power the jump starter can deliver. For most cars, 1000–1500 peak amps are sufficient. Larger vehicles (like trucks or SUVs) may need 2000+ amps.
- Battery Capacity (mAh): Measured in milliamp-hours, this tells you how much charge the internal battery holds. A higher mAh means more jump starts on a single charge—ideal for frequent use or long trips.
- Portability and Size: You don’t want a bulky device taking up half your trunk. Look for compact, lightweight models with ergonomic handles or cases.
- Additional Features: Many jump starters now include USB ports, LED flashlights, air compressors, or even wireless charging pads. These extras can be lifesavers in emergencies.
- Safety Protections: Make sure the unit has reverse polarity, over-current, and over-voltage protection. These prevent damage to your car or the jump starter itself.
Matching the Jump Starter to Your Vehicle
Here’s a practical tip: always check your car’s manual or battery label to determine the recommended cranking amps. For example, a Honda Civic might need 600 cranking amps, while a Ford F-150 could require over 1200. Match your jump starter’s specs to your vehicle’s needs—don’t go overboard with power you don’t need, but don’t skimp either.
I once borrowed a friend’s jump starter for my old SUV. It had only 800 peak amps, and while it worked, it struggled and took three attempts to start the engine. When I upgraded to a 1800-amp model, the same car started on the first try. Lesson learned: match the tool to the job.
Also, consider climate. If you live in a cold region, look for a jump starter rated for low temperatures. Some lithium-ion batteries lose efficiency below freezing, so cold-weather models often use special battery chemistries to stay effective.
Step-by-Step: How to Use an Instant Power Jump Starter
Pre-Use Safety Checks
Before you even connect the clamps, take a moment to inspect both your car and the jump starter. Safety first, always.
- Ensure the jump starter is charged. Most have an LED indicator—green means good, red means recharge.
- Check for visible damage: cracks, frayed wires, or corroded clamps.
- Make sure the vehicle is in park (or neutral for manual transmissions) with the ignition off.
- Open the hood and locate the battery. If it’s covered, remove the cover carefully.
- Wipe away any dirt or corrosion from the battery terminals using a clean cloth.
I’ve seen people skip these steps and end up with sparks or even a damaged battery. A quick 30-second check can save a lot of trouble.
Connecting the Jump Starter: A Safe, Simple Process
Now comes the main event. Here’s how to connect your instant power jump starter correctly:
- Connect the red (positive) clamp to the positive terminal on your car battery. It’s usually marked with a “+” and often red in color.
- Connect the black (negative) clamp to an unpainted metal surface on the engine block or frame. Never connect it directly to the negative battery terminal if the battery is damaged or leaking—this reduces the risk of sparks near the battery.
- Double-check your connections. Make sure the clamps are secure and not touching each other or any moving parts.
- Turn on the jump starter (if it has a power switch).
- Wait 30–60 seconds to allow the jump starter to transfer charge to the battery.
- Try starting your car. Turn the key or push the start button. If it doesn’t start, wait another 30 seconds and try again.
- Once the engine starts, leave it running for at least 10–15 minutes to recharge the battery.
- Disconnect the clamps in reverse order: black first, then red.
- Turn off the jump starter and store it safely.
Pro tip: If the engine doesn’t start after three attempts, there might be a deeper issue—like a bad starter motor or alternator. Don’t keep cranking it. Let the battery rest and consider calling for help.
Common Mistakes to Avoid
Even simple tools can be misused. Here are a few pitfalls I’ve seen (and made myself):
- Reversing the clamps: Connecting red to negative and black to positive can damage electronics or even cause a fire. Always double-check.
- Using a dead jump starter: If the unit won’t turn on, it can’t help you. Recharge it regularly, even if you haven’t used it.
- Leaving the clamps connected after starting: This can drain the jump starter or damage the car’s electrical system. Remove them as soon as the engine is running.
- Using it in wet conditions: Water and electricity don’t mix. If it’s raining, try to cover the battery area with a tarp or do it under a shelter.
Maintaining Your Jump Starter for Longevity
Charging and Storage Best Practices
Your instant power jump starter is only as good as its charge. To keep it ready when you need it:
- Charge it every 3–6 months, even if you haven’t used it. Lithium-ion batteries degrade when left uncharged for long periods.
- Store it in a cool, dry place. Extreme heat or cold can damage the internal battery. Avoid leaving it in the car during summer or winter.
- Use the right charger. Most jump starters come with a USB or wall charger. Don’t use a third-party charger with higher voltage—it could overcharge and ruin the battery.
- Check the charge level before long trips. You don’t want to rely on it only to find it’s at 10%.
I keep mine in a small case in my garage, right next to my emergency kit. I set a phone reminder every four months to top it off. It takes five minutes and gives me peace of mind.
Cleaning and Inspecting Regularly
Just like your car, your jump starter needs a little TLC:
- Wipe the clamps and casing with a dry cloth to remove dust or grime.
- Inspect the cables for fraying or insulation damage.
- If the clamps get dirty, clean them with a wire brush or fine sandpaper to ensure good conductivity.
- Test the flashlight and USB ports occasionally to make sure they still work.
One winter, I noticed my jump starter’s flashlight was dim. It turned out the lens was covered in salt residue from road spray. A quick wipe fixed it, but I learned to clean it more often after that.
When to Replace Your Jump Starter
Even the best jump starters don’t last forever. Here are signs it’s time for a new one:
- It won’t hold a charge for more than a few weeks.
- The clamps are loose or corroded beyond cleaning.
- The battery swells or leaks (a serious safety hazard).
- It struggles to start your car, even when fully charged.
Most quality models last 3–5 years with proper care. If yours is older than that, consider upgrading to a newer model with better safety features and higher efficiency.
Advanced Tips and Real-World Scenarios
Using Your Jump Starter in Cold Weather
Cold weather is a battery killer. Temperatures below freezing can reduce a car battery’s capacity by up to 50%. Here’s how to use your instant power jump starter effectively in winter:
- Keep the jump starter indoors when not in use. Cold batteries deliver less power.
- Before connecting, warm the jump starter in your car’s cabin for 10–15 minutes (if possible).
- Turn off all accessories (radio, lights, heater) before starting to reduce the load on the battery.
- If the engine is slow to turn over, wait an extra 60 seconds after connecting to let the jump starter warm up the battery slightly.
I once had to jump-start my car in -10°C weather. The jump starter worked, but it took two tries. I learned to keep it in the back seat instead of the trunk—much warmer!
Jump-Starting Motorcycles, ATVs, and Other Vehicles
Your jump starter isn’t just for cars. Many models can start motorcycles, ATVs, boats, and even lawnmowers—if you have the right cables.
- For motorcycles, use smaller clamps or purchase a motorcycle-specific cable kit.
- For boats, ensure the jump starter is rated for marine use and has corrosion-resistant clamps.
- Always check the voltage requirements. Most small engines use 12V, but some older models may need 6V.
My neighbor used my jump starter to start his snowblower last winter. It worked like a charm—saved him a trip to the mechanic.
Emergency Situations: What to Do When Help Isn’t Near
Imagine you’re on a remote road, your car won’t start, and there’s no cell service. Your jump starter becomes your lifeline.
- Always carry a fully charged jump starter when traveling in rural or mountainous areas.
- Use the built-in flashlight to signal for help if needed.
- If you’re stuck, conserve power—don’t leave the jump starter on unnecessarily.
- After jump-starting, drive for at least 30 minutes to recharge the battery. If the car dies again, the battery may be beyond saving.
I once got stranded in a national park. My phone had no signal, but my jump starter worked on the first try. I drove straight to a gas station, where they tested my battery and confirmed it needed replacement. That jump starter paid for itself that day.
Comparing Popular Models: A Quick Look
With so many options on the market, it can be hard to choose. Here’s a quick comparison of some popular instant power jump starter models based on real-world performance and user feedback:
| Model | Peak Amps | Battery (mAh) | Weight | Special Features | Best For |
|---|---|---|---|---|---|
| NOCO Boost Plus GB40 | 1000 | 18,000 | 2.4 lbs | Spark-proof, USB-C, 12V outlet | Compact cars, daily drivers |
| DBPOWER 2000A | 2000 | 21,800 | 3.1 lbs | LED flashlight, air compressor, dual USB | SUVs, trucks, frequent travelers |
| TACKLIFE T8 | 800 | 18,000 | 1.8 lbs | LCD screen, compass, wireless charging | Budget-friendly, tech lovers |
| GOOLOO GP4000 | 4000 | 26,800 | 4.5 lbs | Jump-start up to 10L gas engines, power bank | Large trucks, diesel engines |
As you can see, higher peak amps and mAh usually mean more versatility and power—but also more weight. Choose based on your vehicle type and how often you’ll use it.
Final Thoughts: Be Prepared, Not Stressed
An instant power jump starter is one of those tools you hope you’ll never need—but you’ll be so glad you have when the time comes. It’s not just about avoiding the embarrassment of calling a friend at midnight; it’s about independence, safety, and peace of mind.
I’ve used mine more times than I can count—on road trips, in parking garages, even to help strangers on the highway. Every time, it worked flawlessly. And because I follow the steps I’ve shared here, I’ve never had an accident or damaged my car.
Remember: the best jump starter is the one that’s charged, maintained, and ready when you need it. Take a few minutes today to check yours. Clean the clamps, top off the charge, and store it where you can reach it fast. It might just save your day—and your engine.
Stay safe, stay prepared, and never let a dead battery slow you down again.
Frequently Asked Questions
How do I use an Instant Power Jump Starter to jump-start my car?
First, ensure the jump starter is fully charged and turn off your vehicle’s ignition. Connect the red clamp to the positive (+) battery terminal and the black clamp to an unpainted metal surface, then power on the device and start your engine. Always follow the safety instructions in the manual.
Can I leave my Instant Power Jump Starter plugged in overnight?
Yes, most models have overcharge protection, making it safe to leave them plugged in. However, avoid prolonged charging beyond 24 hours to maximize battery lifespan. Check your manual for specific charging guidelines.
What should I do if my Instant Power Jump Starter isn’t working?
First, verify the device is charged and the clamps are securely connected. If issues persist, reset the jump starter or consult the troubleshooting section of the Instant Power Jump Starter instructions manual.
Is it safe to use the jump starter in wet conditions?
No, avoid using the device in rain or wet environments to prevent electrical hazards. Moisture can damage the unit and pose safety risks—always operate it in dry, well-ventilated areas.
How often should I recharge my Instant Power Jump Starter?
Recharge it every 3-6 months, even if unused, to maintain battery health. Refer to the Instant Power Jump Starter instructions for optimal storage and maintenance tips.
Can I use this jump starter for other devices, like phones or laptops?
Yes, many models include USB ports for charging electronics. Use the provided cables and check the device’s power requirements to avoid overloading the jump starter’s output.