
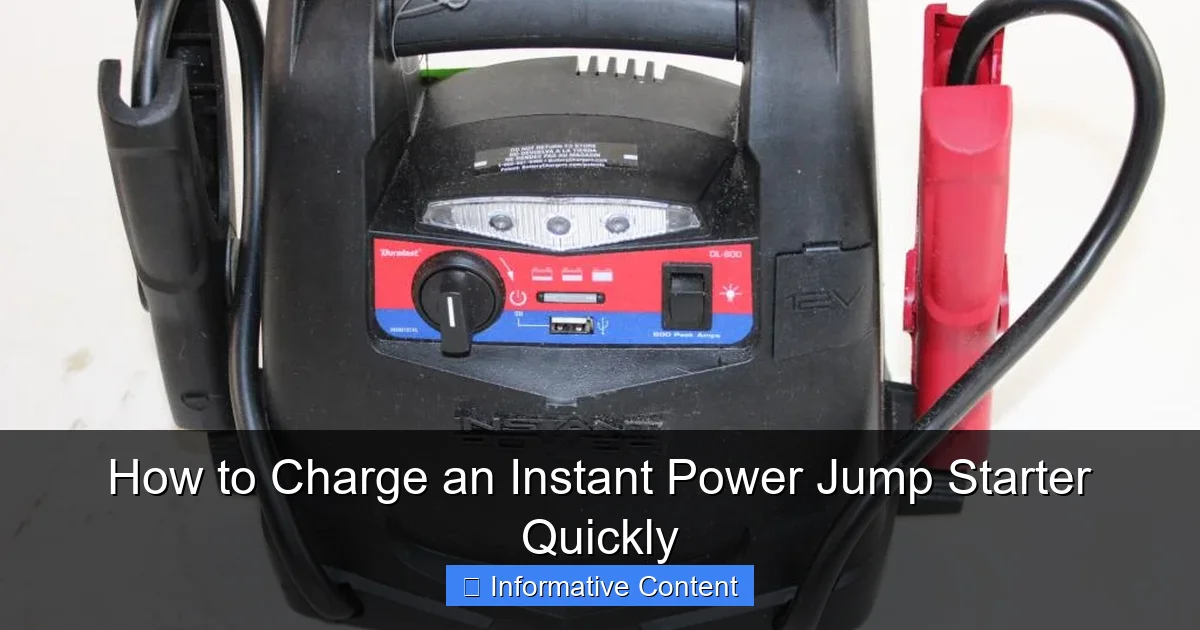
Featured image for instant power jump starter how to charge
Image source: content.propertyroom.com
To charge an instant power jump starter quickly, always use the manufacturer-recommended charger and a stable power source to ensure optimal speed and battery health. Avoid using fast chargers not designed for the device, as they can damage internal cells and reduce lifespan. For fastest results, charge in a cool, dry environment and power off the unit during the process.
Key Takeaways
- Use the correct charger: Always use the charger provided to ensure safe, fast charging.
- Charge in a cool, dry place: Avoid heat and moisture to protect battery life and performance.
- Fully charge before first use: Maximize capacity and longevity by charging completely initially.
- Check LED indicators: Monitor charging status with built-in lights for timely disconnection.
- Recharge every 3–6 months: Maintain readiness by topping up during storage periods.
- Avoid overcharging: Unplug once fully charged to prevent battery damage.
📑 Table of Contents
- How to Charge an Instant Power Jump Starter Quickly: A Complete Guide
- Understanding Your Instant Power Jump Starter
- Step-by-Step Guide to Charging Your Jump Starter
- Common Charging Mistakes and How to Avoid Them
- Speeding Up the Charging Process: Pro Tips
- Data Table: Charging Times for Popular Jump Starter Models
- When to Replace Your Jump Starter (And How to Extend Its Life)
How to Charge an Instant Power Jump Starter Quickly: A Complete Guide
Imagine this: It’s a cold winter morning, and you’re running late for work. You hop in your car, turn the key, and… nothing. The engine won’t start. Your battery is dead, and you’re stranded. But then you remember—you have an instant power jump starter tucked away in your trunk. You grab it, connect the clamps, and within seconds, your car roars back to life. Relief washes over you. But here’s the catch: What if your jump starter’s battery is also dead? That’s why knowing how to charge an instant power jump starter is just as important as owning one.
Jump starters are lifesavers, but they’re only as good as their charge. Unlike car batteries, which recharge automatically when the engine runs, jump starters need manual charging. Whether it’s a lithium-ion or lead-acid model, charging it correctly ensures it’s ready when you need it most. In this guide, we’ll walk you through everything you need to know—from choosing the right charger to troubleshooting common issues. No jargon, no fluff, just practical tips to keep your jump starter powered up and reliable.
Understanding Your Instant Power Jump Starter
Types of Jump Starters and Their Charging Needs
Not all jump starters are created equal. The first step to charging yours quickly is understanding its type. Here’s a quick breakdown:

Visual guide about instant power jump starter how to charge
Image source: content.propertyroom.com
- Lithium-Ion Jump Starters: Lightweight and compact, these are the most popular. They charge faster (usually 3-4 hours) but can degrade if overcharged. Look for models with built-in protection circuits.
- Lead-Acid Jump Starters: Bulkier and heavier, these are cheaper but take longer to charge (6-12 hours). They’re less sensitive to overcharging but require occasional maintenance (like topping up water levels).
- Hybrid Models: Combine lithium-ion and lead-acid tech for a balance of speed and durability. These often come with smart charging systems.
Pro Tip: Check your user manual to confirm your jump starter’s battery type. Charging a lead-acid unit like a lithium-ion one (or vice versa) can damage the battery.
Key Features to Look for in a Charger
The right charger can make a huge difference in charging speed. Here’s what to prioritize:
- Voltage Compatibility: Most jump starters use 12V, but some high-capacity models require 24V. Mismatched voltage = slow charging or damage.
- Smart Charging: Chargers with microprocessors adjust voltage and current automatically. They prevent overcharging and optimize speed.
- Multi-Stage Charging: These chargers use bulk, absorption, and float stages to charge efficiently. For example, a lithium-ion charger might deliver 80% charge in 2 hours, then slow down for the remaining 20%.
- Portability: If you travel often, opt for a car charger or solar-powered option.
Real-World Example: My friend once used a generic 12V charger on his lithium-ion jump starter. It took 8 hours instead of the usual 3 because the charger lacked smart tech.
Step-by-Step Guide to Charging Your Jump Starter
Step 1: Check the Battery Level
Before plugging in, check how much charge is left. Most jump starters have LED indicators or digital displays. If it’s below 20%, charge it ASAP—deep discharges shorten battery life.
- Lithium-Ion: Avoid letting it drop below 20%. Recharge after each use.
- Lead-Acid: Can handle deeper discharges (down to 50%), but frequent deep cycles reduce lifespan.
Tip: Use your jump starter’s built-in battery test function (if available) to get an accurate reading.
Step 2: Choose the Right Charging Method
Jump starters can be charged via:
- Wall Outlet: The fastest method. Use the included AC adapter or a compatible one (e.g., 12V/2A for lithium-ion).
- Car Cigarette Lighter: Slower but convenient for on-the-go charging. Ensure your car’s alternator is running to avoid draining the car battery.
- USB Port: Only for small-capacity lithium-ion models. A 10,000mAh jump starter might take 6+ hours via USB-C.
- Solar Panels: Eco-friendly but slow. Best for emergencies or off-grid use.
Data Point: A 12V/5A wall charger can charge a 15,000mAh lithium-ion jump starter in 3 hours, while a 12V/1A car charger takes 7-8 hours.
Step 3: Connect the Charger Correctly
Always follow this order:
- Turn off the jump starter.
- Plug the charger into the jump starter first, then into the power source.
- For car charging, start the engine to ensure stable voltage.
Warning: Reversing the order (plugging into the wall first) can cause voltage spikes that damage the battery.
Step 4: Monitor the Charging Process
Keep an eye on:
- LED Indicators: Flashing lights usually mean active charging; solid lights signal completion.
- Heat: A warm unit is normal, but if it’s hot to the touch, disconnect it immediately—this could indicate a faulty charger or battery.
- Time: Refer to your manual for estimated charge times. For example, a 20,000mAh lead-acid unit might take 10 hours with a 2A charger.
Pro Tip: Set a timer if your jump starter lacks auto-shutoff. Overcharging lithium-ion batteries can reduce capacity by 20-30% over time.
Step 5: Disconnect and Store Properly
Once charged:
- Unplug the charger from the wall first, then the jump starter.
- Store it in a cool, dry place. Extreme temperatures (below 32°F or above 104°F) degrade batteries.
- For lead-acid models, top up the water every 3-6 months.
Common Charging Mistakes and How to Avoid Them
Overcharging: The Silent Killer
Leaving your jump starter plugged in indefinitely might seem harmless, but it’s not. Overcharging:
- Heats up the battery, accelerating degradation.
- Causes swelling in lithium-ion models (a fire hazard).
- Reduces overall lifespan by 30-50%.
Solution: Use a smart charger with auto-shutoff or set a timer. For example, if your jump starter takes 4 hours to charge, set a 5-hour timer as a safety buffer.
Using the Wrong Charger
Not all chargers are interchangeable. Common mistakes include:
- Using a higher-voltage charger (e.g., 24V on a 12V unit), which can fry the circuitry.
- Using a lower-current charger (e.g., 1A instead of 2A), which slows charging significantly.
Example: I once borrowed a friend’s 24V charger for my 12V jump starter. The unit overheated and stopped working entirely. Always match voltage and current specs.
Ignoring Maintenance
Jump starters need regular care to stay charged:
- Lithium-Ion: Recharge every 3 months if unused. Storing it at 50% charge extends lifespan.
- Lead-Acid: Check water levels and recharge every 6 months. Sulfation (a white crust on terminals) can be cleaned with baking soda.
Pro Tip: Keep a charging log to track maintenance dates. A simple spreadsheet or sticky note works!
Speeding Up the Charging Process: Pro Tips
Use a High-Current Charger
The faster the charge, the higher the current (measured in amps). For example:
- A 12V/2A charger charges a 15,000mAh lithium-ion unit in 4 hours.
- A 12V/5A charger does it in 2 hours.
Caveat: Don’t exceed your jump starter’s max input. A 12V/10A charger might charge faster but could damage the battery if the unit isn’t rated for it.
Charge in a Warm Environment
Cold temperatures slow charging. For every 10°F below 77°F, charging time increases by 15%. If possible:
- Bring the jump starter indoors while charging.
- Use a space heater (safely) to warm the area.
Data Point: Charging a lithium-ion jump starter at 32°F takes 50% longer than at 77°F.
Prioritize Partial Charges
For lithium-ion batteries, partial charges (e.g., 20% to 80%) are faster and healthier than full cycles. Save 100% charges for emergencies.
Invest in a Solar Charger (For Off-Grid Use)
Solar panels are slow but invaluable when power isn’t available. A 20W solar charger can fully charge a 10,000mAh jump starter in 8-10 hours of direct sunlight.
Data Table: Charging Times for Popular Jump Starter Models
| Model | Battery Type | Capacity (mAh) | Charger Type | Charging Time (Hours) |
|---|---|---|---|---|
| NOCO Boost Plus GB40 | Lithium-Ion | 10,000 | 12V/2A Wall | 3.5 |
| DBPOWER 18,000mAh | Lithium-Ion | 18,000 | 12V/5A Wall | 4.0 |
| Schumacher PSJ-2212 | Lead-Acid | 22,000 | 12V/2A Wall | 10.0 |
| GOOLOO GP4000 | Lithium-Ion | 4,000 | 12V/1A Car | 6.0 |
| Tacklife T8 Pro | Lithium-Ion | 18,000 | USB-C (18W) | 8.0 |
When to Replace Your Jump Starter (And How to Extend Its Life)
Signs It’s Time to Replace
Even with proper care, jump starters don’t last forever. Replace yours if:
- It holds less than 50% charge after a full cycle.
- The battery swells or leaks.
- It fails to jump-start a car despite being fully charged.
Lifespan Expectancy: Lithium-ion models last 3-5 years; lead-acid lasts 2-4 years.
Extending Battery Life
Follow these habits to get the most out of your jump starter:
- Avoid Full Discharges: Recharge lithium-ion units before they drop below 20%.
- Store at 50% Charge: Ideal for long-term storage.
- Use a Battery Maintainer: Trickle chargers keep lead-acid batteries at full capacity without overcharging.
- Keep Terminals Clean: Wipe them with a dry cloth every few months.
Personal Story: I once left my jump starter in my trunk for a year without charging. The battery died completely and couldn’t be revived. Learn from my mistake!
Charging your instant power jump starter isn’t rocket science, but it’s easy to overlook the details. By understanding your battery type, using the right charger, and avoiding common pitfalls, you can keep it ready for emergencies. Remember: A jump starter is only as reliable as your charging routine. So set those reminders, invest in a smart charger, and treat your jump starter with care. After all, you never know when you’ll need that quick burst of power to get back on the road. Stay charged, stay safe, and keep that engine roaring!
Frequently Asked Questions
How do I charge an instant power jump starter for the first time?
For the first charge, plug the jump starter into a wall outlet or USB port using the provided cable. Ensure it’s fully charged (LED indicators will show completion) before using it to jump-start a vehicle.
What type of charger does an instant power jump starter need?
Most models use a standard micro-USB or USB-C cable for charging, compatible with car chargers, power banks, or wall adapters. Check your device manual for specific voltage requirements.
How long does it take to fully charge an instant power jump starter?
Charging time varies by model but typically takes 3–5 hours via wall outlet or 5–8 hours via USB. Fast-charging versions may take under 2 hours with a compatible adapter.
Can I charge my jump starter while driving?
Yes! Use the car charger (cigarette lighter adapter) to charge your instant power jump starter on the go. Just ensure your vehicle’s engine is running to avoid draining the car battery.
Why won’t my instant power jump starter hold a charge?
This may occur due to prolonged inactivity, extreme temperatures, or a faulty battery. Try resetting the device or contact the manufacturer if the issue persists after a full recharge.
How often should I recharge my jump starter when not in use?
Recharge your jump starter every 3–6 months to maintain battery health, even if unused. This prevents deep discharge and prolongs the lifespan of the lithium-ion battery.