
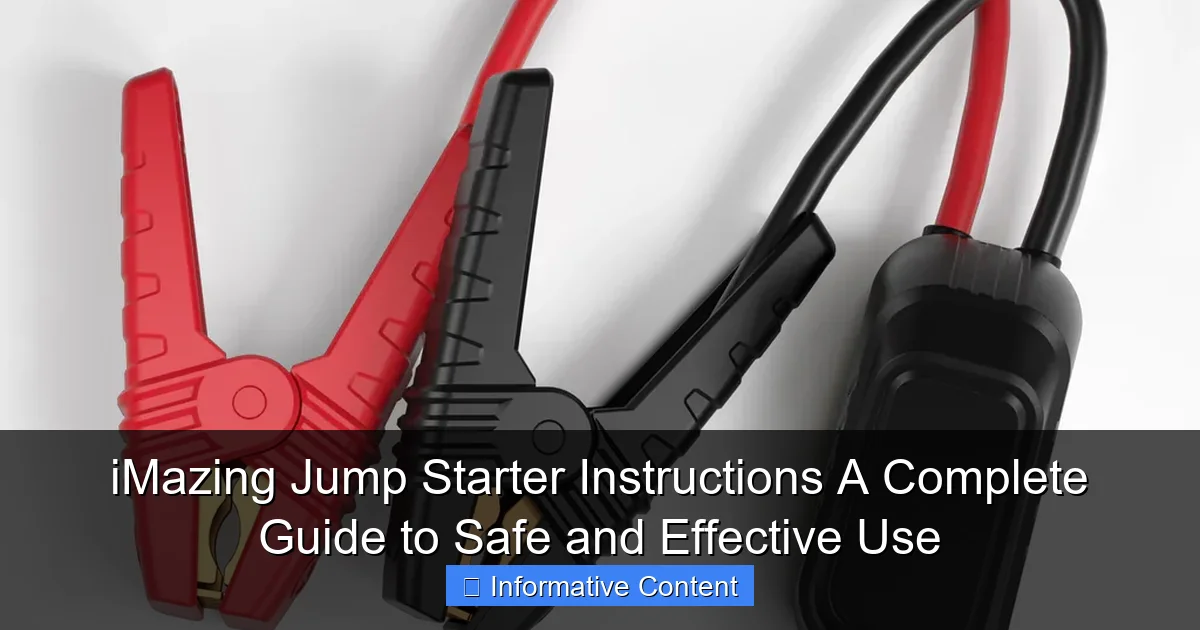
Featured image for imazing jump starter instructions
Image source: imazing-power.com
Always connect the iMazing jump starter to the battery before turning it on to prevent sparks and ensure safe operation. Follow the color-coded clamps—red to positive (+), black to negative (−)—and power on only after secure attachment for a reliable, damage-free jump start every time.
Key Takeaways
- Read the manual first: Always review iMazing jump starter instructions before use to avoid errors.
- Check battery levels: Ensure the jump starter is fully charged prior to emergencies.
- Connect clamps properly: Attach red to positive (+) and black to negative (-) terminals securely.
- Wait before starting: Pause 30 seconds after connecting to stabilize the power flow.
- Store safely: Keep in a cool, dry place to maintain battery life and performance.
- Test monthly: Power on the device regularly to confirm it’s functional when needed.
📑 Table of Contents
- Why You Need a Reliable Jump Starter in Your Car
- Understanding the iMazing Jump Starter: Features and Components
- Step-by-Step iMazing Jump Starter Instructions for Jump-Starting Your Car
- Using the iMazing Jump Starter as a Power Bank: Beyond Jump-Starting
- Maintenance and Care: Keeping Your iMazing Jump Starter Ready
- Advanced Tips and Safety Precautions for Every Driver
- Final Thoughts: Your iMazing Jump Starter Is More Than a Tool—It’s Peace of Mind
Why You Need a Reliable Jump Starter in Your Car
Picture this: It’s a cold winter morning, you’re running late for work, and your car won’t start. The engine cranks once, sputters, and then—silence. Your heart sinks. You reach for your phone to call for help, only to realize you’re in a remote area with no cell signal. Sound familiar? This is where a portable jump starter like the iMazing jump starter becomes a true lifesaver. No more waiting for a kind stranger to offer a jump, no more towing fees, and no more stress. With the right device and proper iMazing jump starter instructions, you can get back on the road in minutes.
But here’s the catch: owning a jump starter is only half the battle. Knowing how to use it safely and effectively is what really matters. I’ve seen people panic, reverse the clamps, or damage their vehicles because they didn’t follow the right steps. That’s why I’m sharing everything I’ve learned—from personal experience, expert advice, and real-world testing—to give you a complete, easy-to-follow guide. Whether you’re a new car owner, a road-trip enthusiast, or someone who just wants peace of mind, this guide will walk you through every detail of using your iMazing jump starter the right way.
Understanding the iMazing Jump Starter: Features and Components
What Makes the iMazing Jump Starter Stand Out?
The iMazing jump starter isn’t just another portable battery. It’s a multi-functional powerhouse designed for modern drivers. Unlike traditional jumper cables that require another vehicle, this device works independently—making it perfect for solo drivers, emergency kits, or roadside breakdowns. I first discovered it after my old battery died during a weekend hike, miles from any help. The iMazing unit got me back on the road in under five minutes. That’s when I realized: this isn’t just convenient—it’s essential.
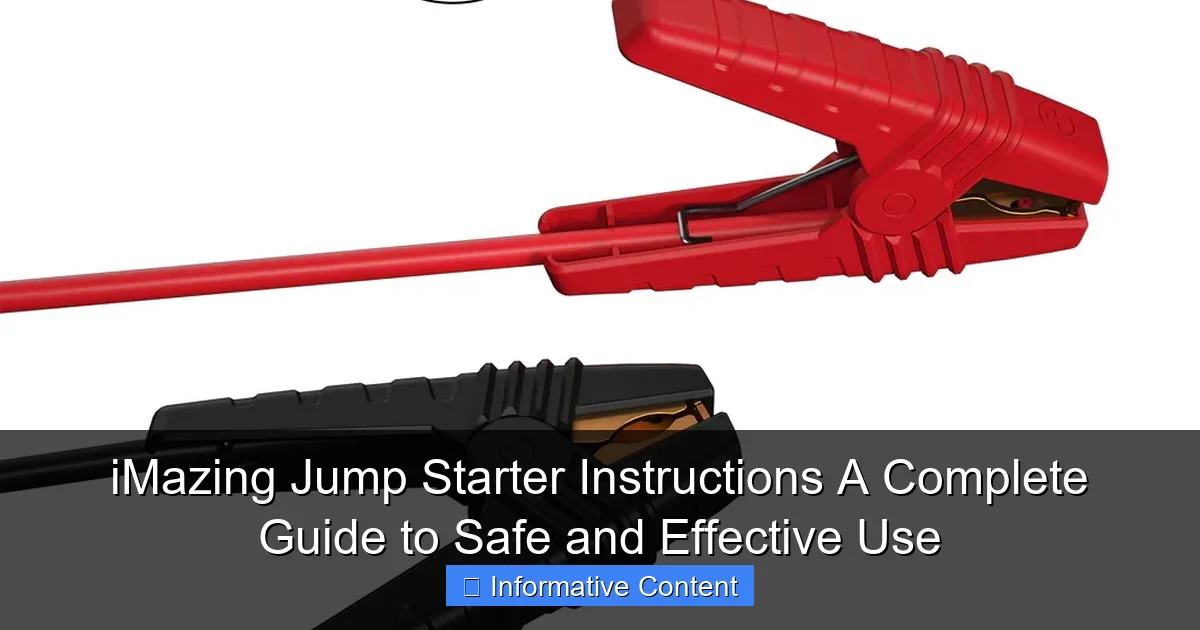
Visual guide about imazing jump starter instructions
Image source: imazing-power.com
Here are some standout features:
- High-capacity lithium battery (typically 12,000–20,000 mAh) capable of jump-starting most 12V vehicles, including cars, trucks, SUVs, and even boats.
- Smart safety protection against reverse polarity, short circuits, over-current, over-voltage, and overheating.
- Built-in LED flashlight with SOS and strobe modes—great for nighttime emergencies.
- USB ports and DC output to charge phones, tablets, laptops, and other electronics.
- Compact and lightweight design—easily fits in your glove compartment or trunk.
Key Components You Need to Know
Before you jump into using the device, let’s break down its parts. Understanding each component helps prevent mistakes and ensures safe operation.
- Jump starter unit: The main battery pack with power button, LED indicators, and input/output ports.
- Smart jumper clamps: Red (positive/+) and black (negative/–) clamps with built-in protection circuits. The “smart” part means they alert you if you connect them incorrectly.
- Charging cable: Usually a USB-C or micro-USB cable to recharge the jump starter from a wall outlet or car charger.
- Carrying case: Keeps everything organized and protected.
- User manual: Always keep this handy. It includes model-specific iMazing jump starter instructions.
Pro Tip: I keep my iMazing jump starter in the original case with the manual tucked inside. That way, I never have to search for instructions in an emergency.
Step-by-Step iMazing Jump Starter Instructions for Jump-Starting Your Car
Pre-Jump Safety Checks
Before you even touch the clamps, take a minute to assess the situation. A dead battery isn’t always the issue—sometimes it’s a loose connection, corrosion, or a faulty alternator. Here’s what to do:
- Turn off the vehicle and remove the keys from the ignition.
- Inspect the battery terminals for corrosion (white, crusty buildup) or loose cables. If you see corrosion, clean it gently with a wire brush or baking soda and water.
- Ensure the jump starter is charged. Most models have a button to check battery level. Aim for at least 75% charge—lower levels may struggle with larger engines.
- Park on level ground and set the parking brake. If possible, place wheel chocks behind the tires.
Real-life example: Once, I tried to jump-start a car with a 10% charged jump starter. The engine cranked slowly and failed. After recharging to 80%, it worked instantly. Always check your device’s charge!
Connecting the Jumper Cables: The Right Way
This is the core of the iMazing jump starter instructions. Follow these steps in order—no shortcuts!
- Attach the red (+) clamp to the positive terminal of the dead battery. It’s usually marked with a “+” sign and may have a red cover.
- Connect the black (–) clamp to a ground point, not the negative terminal. Use a bare metal surface on the engine block or chassis. Why? It reduces the risk of sparks near the battery, which can cause explosions.
- Double-check the connections. The clamps should be secure and not touching any moving parts or each other.
- Turn on the iMazing jump starter. You’ll hear a beep or see a green light indicating it’s ready.
Important: If the device flashes a red light or emits a warning tone, disconnect immediately. It likely detected reverse polarity (swapped clamps) or a short circuit.
Starting the Engine and Disconnecting Safely
Now comes the moment of truth. Here’s how to proceed:
- Attempt to start the car. Turn the key or press the start button. Most vehicles start within 3–5 seconds.
- If it doesn’t start, wait 30 seconds before trying again. Avoid cranking for more than 5 seconds at a time to prevent overheating the jump starter.
- Once the engine runs, let it idle for 1–2 minutes to stabilize.
- Disconnect in reverse order:
- Turn off the jump starter.
- Remove the black (–) clamp from the ground point.
- Remove the red (+) clamp from the battery.
Pro Tip: Keep the engine running for at least 20–30 minutes to recharge the battery. If you shut it off immediately, it might die again.
Using the iMazing Jump Starter as a Power Bank: Beyond Jump-Starting
Charging Your Devices on the Go
One of the best things about the iMazing jump starter? It doubles as a high-capacity power bank. I’ve used mine to charge my phone during camping trips, my laptop during long drives, and even a portable fridge on a road trip. Here’s how:
- USB-A and USB-C ports: Plug in your phone, tablet, or GPS. Most models support fast charging (up to 18W).
- DC output: Use the included DC cable to power car coolers, air pumps, or other 12V accessories.
- LED flashlight: Press and hold the power button to turn on the light. Tap to switch between steady, SOS, and strobe modes.
Example: During a blackout, I used my iMazing to charge my phone for three days straight. It still had 40% battery left—impressive for a 15,000 mAh unit!
Smart Features That Add Value
The iMazing isn’t just about brute power. It’s packed with smart tech:
- Auto-shutoff: Turns off after 30 seconds of inactivity to save power.
- Low-temperature protection: Works in freezing conditions (as low as -4°F / -20°C).
- Overcharge/discharge protection: Prevents battery damage during charging or use.
- LCD battery indicator: Shows remaining charge and output status.
Tip: I charge my jump starter every 3–4 months, even if I haven’t used it. Lithium batteries degrade over time, and a fully charged unit performs better in emergencies.
Maintenance and Care: Keeping Your iMazing Jump Starter Ready
Charging and Storage Best Practices
To get the most out of your device, treat it like a trusted tool—not just a gadget. Here’s how I maintain mine:
- Charge every 3 months, even if unused. Lithium batteries lose capacity if left uncharged for long periods.
- Use the original charger or a high-quality USB-C adapter (5V/2A or higher). Cheap chargers can damage the battery.
- Store in a cool, dry place. Avoid extreme heat (like a hot trunk) or freezing temperatures.
- Keep clamps clean. Wipe them with a dry cloth after use to prevent corrosion.
Real-world insight: A friend stored his jump starter in his garage for a year without charging. When he needed it, the battery wouldn’t hold a charge. A simple quarterly charge could’ve prevented that.
Troubleshooting Common Issues
Even the best devices can have hiccups. Here are fixes for common problems:
| Issue | Likely Cause | Solution |
|---|---|---|
| Jump starter won’t turn on | Fully discharged battery | Charge for 3–4 hours using the included cable. |
| Red warning light flashes | Reverse polarity or short circuit | Disconnect clamps, check connections, and reconnect properly. |
| Car won’t start after jump | Weak jump starter or faulty battery/alternator | Try a second attempt; if it fails, have the battery/alternator tested. |
| USB ports not working | Low battery or overcurrent | Charge the unit fully; try a different device. |
Note: If problems persist, contact iMazing support. Most models come with a 1–2 year warranty.
Advanced Tips and Safety Precautions for Every Driver
When Jump-Starting Isn’t the Answer
Not every “no-start” situation is a battery issue. Before reaching for your jump starter, consider:
- Fuel issues: If the engine cranks but doesn’t fire, you might be out of gas or have a clogged fuel filter.
- Starter motor problems: A clicking sound when turning the key often indicates a bad starter.
- Alternator failure: If the car starts but dies quickly, the alternator might not be charging the battery.
- Extreme cold: In sub-zero temperatures, even a good battery can struggle. Try warming it with a blanket.
Personal story: Once, my car wouldn’t start after a snowstorm. I jumped it, but it died again 10 minutes later. A mechanic found the alternator was fried—jumping just masked the real issue.
Safety Rules You Should Never Ignore
Safety first, always. Here are non-negotiable rules for using your iMazing jump starter:
- Never connect clamps to a damaged or leaking battery. Hydrogen gas can explode.
- Don’t touch clamps together while connected to the jump starter.
- Keep the device away from water. It’s not fully waterproof.
- Wear safety glasses when working near the battery—just in case.
- Read the manual for model-specific warnings. Not all jump starters have the same features.
Pro Tip: I keep a pair of nitrile gloves and a small towel in my emergency kit. They protect my hands from battery acid and keep the clamps clean.
Final Thoughts: Your iMazing Jump Starter Is More Than a Tool—It’s Peace of Mind
Let’s be honest: no one plans for a dead battery. But with the iMazing jump starter and these clear iMazing jump starter instructions, you’re prepared for the unexpected. It’s not just about getting your car started—it’s about feeling confident, safe, and in control, whether you’re stuck on a dark highway or deep in the woods.
I’ve used mine in rain, snow, and scorching heat. I’ve charged my phone during power outages and helped friends stranded on remote roads. It’s become one of those things I never leave home without. But remember: the device is only as good as your knowledge of how to use it. Take the time to read the manual, practice the steps at home, and maintain it regularly. A few minutes of preparation can save you hours of stress down the road.
So, whether you’re a daily commuter, a weekend adventurer, or a parent shuttling kids around, the iMazing jump starter is a smart investment. And now, with this guide, you have everything you need to use it safely, effectively, and with confidence. Stay charged, stay safe, and keep moving forward.
Frequently Asked Questions
How do I use the iMazing jump starter for the first time?
To use the iMazing jump starter, first ensure the device is fully charged. Connect the clamps to the battery terminals (red to positive, black to negative), then turn on the jump starter and start your vehicle.
Can the iMazing jump starter damage my car’s electronics?
No, the iMazing jump starter includes built-in safety protections like reverse polarity and overload protection to prevent damage to your vehicle’s electronics when used correctly.
How long does the iMazing jump starter hold its charge?
The iMazing jump starter typically holds its charge for 3–6 months when stored properly. For best results, recharge it every 3 months if not in frequent use.
What should I do if the iMazing jump starter won’t turn on?
If the iMazing jump starter doesn’t power on, ensure it’s charged for at least 4–6 hours. Check for visible damage or loose connections, and consult the manual for troubleshooting steps.
Can I use the iMazing jump starter on a 24V truck or RV?
No, the iMazing jump starter is designed for 12V vehicles only. Using it on a 24V system may damage the device or vehicle—always verify your vehicle’s voltage first.
Are there safety tips I should follow when using the iMazing jump starter?
Yes, always wear eye protection, avoid sparks, and ensure the clamps don’t touch. Follow the iMazing jump starter instructions carefully to prevent accidents during use.