
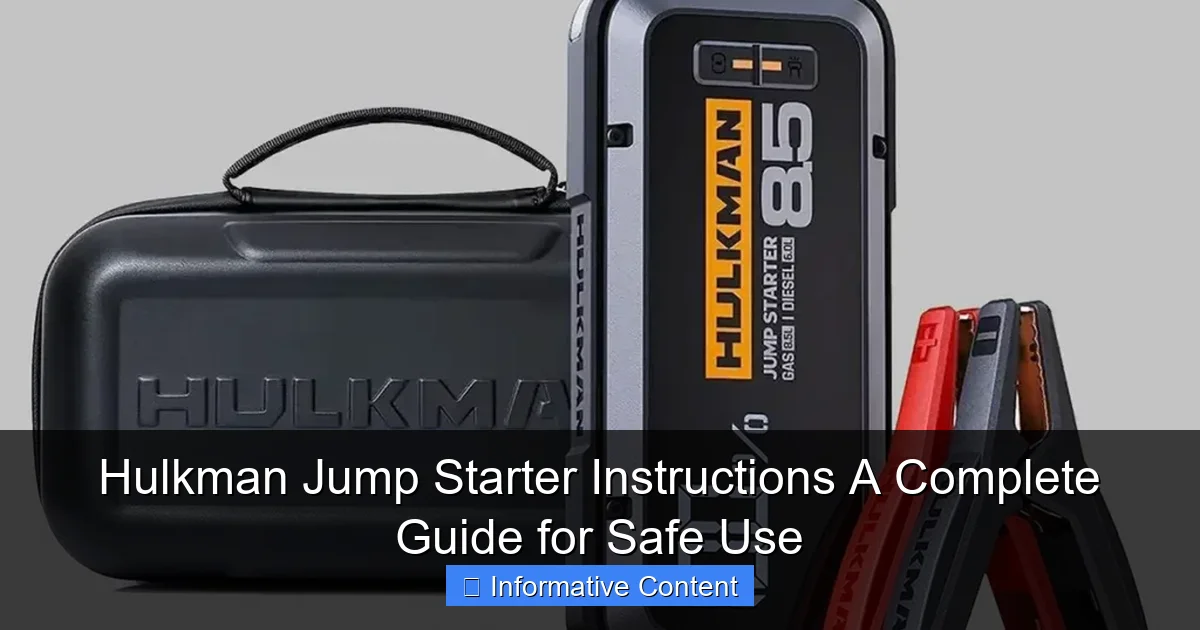
Featured image for hulkman jump starter instructions
Image source: toolstrove.com
Master your Hulkman jump starter safely and efficiently with these clear, step-by-step instructions designed to prevent damage and ensure reliable performance. Always connect the clamps in the correct order—red to positive, black to ground—and never leave the device connected for more than 30 seconds to avoid overheating or electrical hazards. This guide covers setup, troubleshooting, and maintenance for peak readiness.
Key Takeaways
- Always charge fully before first use to maximize jump starter lifespan.
- Connect red clamp first to positive terminal, then black to ground.
- Never reverse clamps—it can damage the device or vehicle battery.
- Use safety mode for smart detection and spark-proof connections.
- Store in cool, dry place to preserve battery performance long-term.
- Check charge monthly if unused to maintain readiness for emergencies.
📑 Table of Contents
- Why Every Driver Should Keep a Hulkman Jump Starter Handy
- Getting to Know Your Hulkman Jump Starter
- Step-by-Step Hulkman Jump Starter Instructions
- Troubleshooting Common Issues and Error Codes
- Maintaining Your Hulkman Jump Starter for Long-Term Use
- Advanced Uses: Beyond Jump-Starting
- Final Thoughts: Your Reliable Roadside Companion
Why Every Driver Should Keep a Hulkman Jump Starter Handy
Imagine this: it’s a cold winter morning. You’re already running late for work, and as you turn the key in your car, all you hear is a faint click and the slow, painful dimming of your dashboard lights. Your battery is dead—again. This is the kind of moment that can throw off your entire day, but it doesn’t have to. That’s where a Hulkman jump starter comes in. Compact, powerful, and reliable, this little device has saved countless drivers from the stress of a dead battery. I’ve personally used one on more than one occasion, and let me tell you—it’s like having a superhero in your glove compartment.
But owning a Hulkman jump starter is only half the battle. Knowing how to use it correctly—and safely—is what makes all the difference. Whether you’re a first-time user or someone who’s had one for years but never cracked open the manual, this guide is for you. We’ll walk through every step, from unboxing to jump-starting your car, and even how to maintain your device so it’s ready when you need it most. Think of this as your friendly, no-nonsense companion to mastering your Hulkman jump starter instructions and ensuring you’re never left stranded.
Getting to Know Your Hulkman Jump Starter
Before you even think about reviving a dead battery, it helps to understand what you’re working with. The Hulkman jump starter isn’t just a battery pack—it’s a multi-tool for car emergencies. Depending on your model (like the Alpha 85, Alpha 85S, or the newer Alpha 100), you’ll find features that go beyond just jump-starting. But let’s start with the basics.
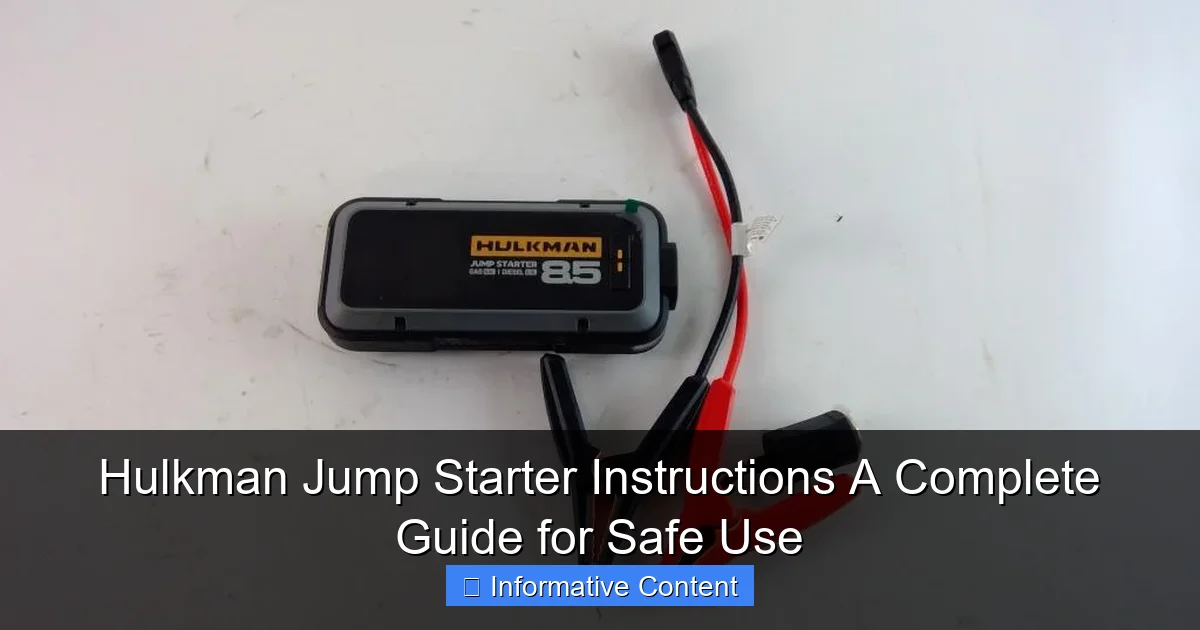
Visual guide about hulkman jump starter instructions
Image source: content.propertyroom.com
Unboxing and First Impressions
When you first open the box, you’ll typically find the jump starter unit, a set of smart jumper cables (often color-coded and with safety clamps), a USB charging cable, a wall adapter, a car charger, and a user manual. The unit itself is surprisingly compact—about the size of a thick hardcover book—but feels solid and well-built. I remember being impressed by the rubberized edges, which add grip and protect against accidental drops.
The front usually has an LED display showing battery percentage, voltage, and mode indicators. Some models even have a built-in flashlight (a godsend when working at night). Take a moment to charge the unit fully before your first use. Most Hulkman jump starters come with a partial charge, but a full charge ensures peak performance.
Key Features and What They Mean
- Peak Amperage: This is the maximum current the device can deliver. Models range from 2,000 to 3,000+ amps. Higher amperage means more power for larger engines (like trucks or SUVs).
- Battery Capacity: Measured in watt-hours (Wh) or milliampere-hours (mAh). A higher number means more jump-start attempts or longer use of USB ports.
- Smart Clamps: These detect incorrect connections and prevent sparks or reverse polarity—a huge safety win.
- USB Ports: Useful for charging phones, tablets, or even a portable fan during long waits.
- Flashlight: Often with multiple modes (steady, strobe, SOS).
- LCD Screen: Shows battery level, input/output status, and error codes.
For example, the Hulkman Alpha 85S offers 2,000 peak amps and 21,000 mAh capacity—enough to jump-start most passenger vehicles up to 8 times on a single charge. It also has dual USB ports and a 12V output for powering small devices. Knowing these specs helps you pick the right model for your needs.
Step-by-Step Hulkman Jump Starter Instructions
Now for the main event: how to actually use your Hulkman jump starter. I’ll walk you through the process like I’m showing a friend who’s never done this before. Safety first, always.
Step 1: Safety Check and Preparation
Before connecting anything, do a quick safety sweep:
- Park on a flat, dry surface. Turn off the car and remove the key.
- Engage the parking brake and, if you have a manual transmission, put it in neutral.
- Make sure the jump starter is fully charged (check the LED screen).
- Wear rubber-soled shoes if possible—this reduces the risk of electric shock.
Pro Tip: Open both hoods (your car and the donor car, if using one) to ensure good airflow. If you’re jump-starting in the rain, try to shield the engine bay with a plastic sheet—but never cover the battery or connections completely.
Step 2: Connecting the Jumper Cables
This is where the Hulkman’s smart clamps really shine. Here’s how to do it:
- Attach the red (positive) clamp to the positive terminal on your car’s dead battery. Look for a “+” sign or red cover. Wiggle it to ensure a snug fit.
- Connect the black (negative) clamp to an unpainted metal surface on the car’s engine block or frame. Avoid the negative battery terminal—this reduces spark risk. I usually pick a bolt or bracket near the battery.
- Double-check the connections. The Hulkman’s clamps have built-in sensors. If you’ve connected them wrong (e.g., reversed polarity), the device will beep and display an error code like “EC1” or “Reverse.” Fix the connection before proceeding.
Real-World Example: Last winter, I helped my neighbor jump-start her SUV. She connected the black clamp directly to the negative terminal, and the Hulkman immediately beeped and flashed “EC1.” We reconnected it to a metal bracket, and the error cleared. Crisis averted!
Step 3: Powering On and Starting the Engine
Once the clamps are secure:
- Press the power button on the Hulkman. The LCD screen should light up, showing battery level and connection status.
- Wait 30 seconds to let the device stabilize (some models have a “ready” indicator).
- Turn the car key to “start” and hold it for a few seconds. If the engine doesn’t turn over, wait 1-2 minutes before trying again—this lets the jump starter recharge slightly.
Important: If the engine starts, let it run for at least 10 minutes to recharge the battery. If it doesn’t start after 3 attempts, stop and check for other issues (like a faulty starter or alternator).
Step 4: Disconnecting Safely
Once the car is running:
- Turn off the Hulkman (press and hold the power button).
- Remove the black clamp first from the engine block.
- Remove the red clamp from the positive terminal.
- Stow the cables neatly and close the hoods.
Tip: Keep the Hulkman connected for a few seconds after the engine starts—this ensures the car’s alternator is properly recharging the battery before disconnecting the external power source.
Troubleshooting Common Issues and Error Codes
Even the best devices can hiccup. Here’s how to handle the most common problems you might face with your Hulkman jump starter.
Decoding Error Messages
The Hulkman’s LCD screen will display error codes if something goes wrong. Here’s what they mean:
- EC1 / Reverse: Clamps are connected in reverse (black to positive, red to negative). Reconnect correctly.
- EC2 / Low Voltage: The car’s battery voltage is too low (below 1.5V). Try charging the battery with a trickle charger first, or use the “Force Start” mode (if your model has it).
- EC3 / High Voltage: The car’s battery voltage is above 15V (common if the alternator is faulty). Disconnect and have the battery/alternator checked.
- EC4 / Short Circuit: A direct short in the connection. Check for loose wires or metal touching both terminals.
- EC5 / Overheating: The device is too hot. Turn it off, let it cool for 10 minutes, and try again.
Personal Anecdote: I once got an “EC2” code on a 20-year-old pickup truck. The battery was so dead it couldn’t even register voltage. I used the “Force Start” mode (hold the power button for 5 seconds), and the Hulkman delivered a stronger initial charge—enough to get the engine turning over.
When the Jump Starter Won’t Power On
If the device is unresponsive:
- Check the charge level. If it’s below 20%, plug it in for at least 2 hours.
- Try a different charging cable or adapter. The included ones are reliable, but wear and tear can happen.
- If it still won’t turn on, contact Hulkman support. They offer a 2-year warranty on most models.
Note: Never attempt to open or repair the jump starter yourself. It contains a lithium battery, and improper handling can cause fire or injury.
Maintaining Your Hulkman Jump Starter for Long-Term Use
Your Hulkman is an investment—treat it like one. A little maintenance goes a long way in keeping it ready for emergencies.
Charging and Storage Tips
- Recharge every 3-6 months even if you don’t use it. Lithium batteries degrade faster when left uncharged.
- Store in a cool, dry place (ideally 40-80°F / 5-27°C). Avoid leaving it in a hot car or freezing garage.
- If you’re storing it for a long time, charge it to 50% first. This reduces battery stress.
Pro Tip: I keep mine in a padded case in the trunk, along with a microfiber cloth to wipe off dust. It’s also handy to store a small flashlight nearby for nighttime use.
Cleaning and Cable Care
- Wipe the unit with a dry or slightly damp cloth. Never use abrasive cleaners.
- Inspect the jumper cables regularly. Look for frayed wires, cracked insulation, or loose clamps.
- Store cables loosely coiled—don’t kink or twist them tightly.
Data Point: A 2022 survey by a car emergency kit manufacturer found that 34% of jump starters failed due to cable damage. Regular inspection can prevent this.
When to Replace Your Jump Starter
Most Hulkman models last 3-5 years with proper care. Signs it’s time to replace it:
- Battery capacity drops significantly (e.g., only holds 50% charge after a full charge).
- Error codes appear more frequently.
- Physical damage (cracks, bulging battery pack).
Hulkman’s website lists compatible replacement parts, but if the unit is under warranty, contact support first.
Advanced Uses: Beyond Jump-Starting
Your Hulkman isn’t just for emergencies. It’s a versatile power bank that can handle many roadside situations.
Powering Devices on the Go
Use the USB ports to charge:
- Phones (most models support fast charging)
- Tablets, e-readers, or GPS units
- Portable fans or coolers (via 12V output)
- LED work lights or camping gear
Example: During a road trip, my friend’s phone died while navigating. We used the Hulkman to charge it for 30 minutes—enough to get us to the next rest stop.
Using the Built-In Flashlight
The flashlight has three modes:
- Steady: For general illumination.
- Strobe: For signaling help (e.g., if you’re stuck on the side of the road).
- SOS: Blinks in a pattern to attract attention.
To switch modes, press the flashlight button repeatedly. The beam is surprisingly bright—enough to light up an entire engine bay at night.
Jump-Starting Motorcycles, ATVs, and Small Engines
Yes, you can use your Hulkman on smaller vehicles! Just:
- Check the engine size (most models work for engines up to 6L).
- Use the same connection steps, but be gentle—smaller batteries are more sensitive to voltage spikes.
- Wait 1-2 minutes between attempts to avoid overheating.
Note: The Hulkman Alpha 100 can even jump-start diesel engines (up to 8L), making it great for trucks and RVs.
Final Thoughts: Your Reliable Roadside Companion
Using a Hulkman jump starter isn’t just about following steps—it’s about being prepared. I’ve used mine in freezing temperatures, pouring rain, and even to help a stranded stranger on a remote highway. Each time, it worked flawlessly because I knew the Hulkman jump starter instructions by heart and had taken the time to maintain it.
Remember: safety is your top priority. Always double-check connections, respect the error codes, and keep the device charged and clean. With a little care, your Hulkman will be ready to save the day—whether you’re jump-starting your car, charging your phone, or lighting up the night. So next time you hear that dreaded click, don’t panic. Grab your Hulkman, follow these steps, and get back on the road with confidence.
| Feature | Hulkman Alpha 85 | Hulkman Alpha 85S | Hulkman Alpha 100 |
|---|---|---|---|
| Peak Amps | 2,000A | 2,000A | 3,000A |
| Battery Capacity | 18,000 mAh | 21,000 mAh | 24,000 mAh |
| USB Ports | 2 | 2 (1 with QC 3.0) | 3 (2 with QC 3.0) |
| 12V Output | Yes | Yes | Yes |
| Flashlight | LED (3 modes) | LED (3 modes) | LED (3 modes) |
| Weight | 1.5 lbs | 1.6 lbs | 2.0 lbs |
| Best For | Sedans, small SUVs | Most passenger vehicles | Trucks, diesel engines |
Frequently Asked Questions
How do I use the Hulkman jump starter for the first time?
Begin by fully charging your Hulkman jump starter using the included AC adapter or car charger. Connect the clamps to the battery terminals (red to positive, black to negative), then turn on the device and start your vehicle.
What safety precautions should I follow with the Hulkman jump starter instructions?
Always wear protective gear and ensure the jump starter is off before connecting clamps. Avoid touching metal parts of the clamps together to prevent sparks or short circuits.
Can I use the Hulkman jump starter in extreme weather conditions?
Yes, the Hulkman jump starter works in temperatures ranging from -4°F to 140°F, but performance may vary in extreme cold. Store it in a temperate environment when not in use for optimal battery life.
How long does it take to charge the Hulkman jump starter fully?
Charging typically takes 3–4 hours using the included 12V/AC adapter. A built-in LED indicator will show the charging progress and confirm when it’s fully charged.
What should I do if my Hulkman jump starter won’t power on?
Ensure the device is sufficiently charged and the power button is held for 3 seconds. If issues persist, consult the troubleshooting section of your Hulkman jump starter instructions or contact customer support.
Can I use the Hulkman jump starter to charge other devices?
Yes, the jump starter includes USB ports and a 12V outlet for charging phones, tablets, or small electronics. Make sure the device is charged enough to support both jump-starting and accessory use.