
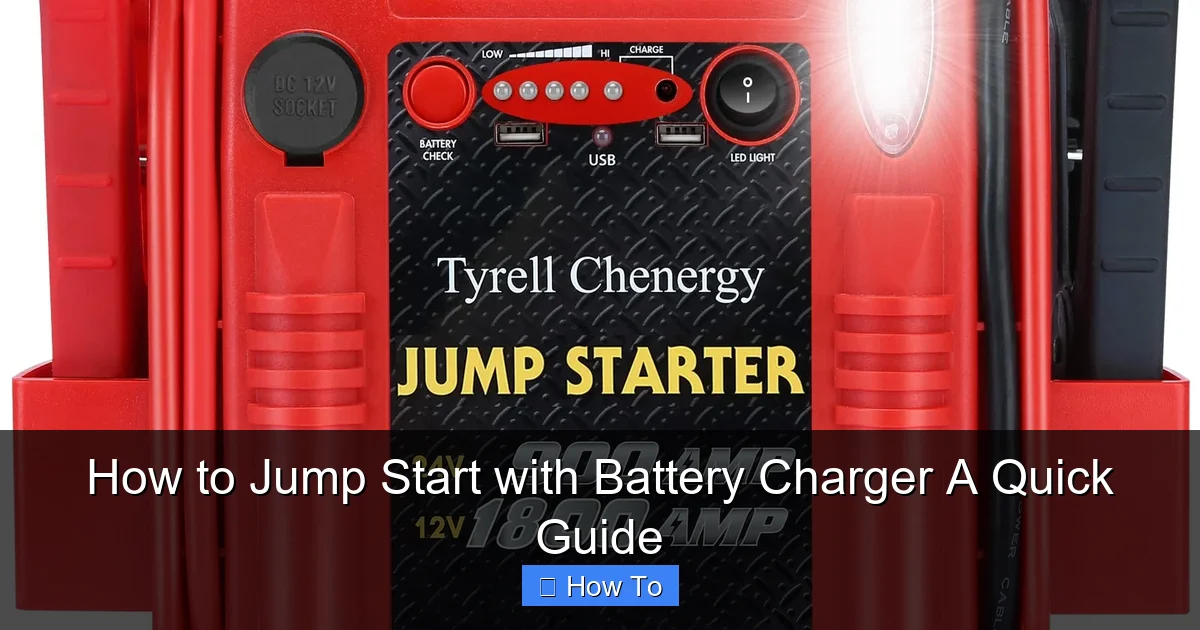
Featured image for how to jump start with battery charger
Image source: m.media-amazon.com
Jump starting your vehicle with a battery charger is a safe and effective way to revive a dead battery without needing another car. Simply connect the charger’s red clamp to the positive terminal and the black clamp to the negative, then plug in the charger and let it charge until the battery reaches an adequate voltage. Always follow the manufacturer’s instructions and prioritize safety by wearing protective gear and ensuring proper ventilation.
“`html
How to Jump Start with Battery Charger: A Quick Guide
Key Takeaways
- Inspect terminals first: Clean corrosion for a solid connection.
- Match voltage settings: Ensure charger matches battery voltage.
- Connect red first: Attach positive clamp before negative.
- Start slow charging: Use low amps to avoid damage.
- Monitor progress: Check for overheating or swelling.
- Disconnect properly: Remove negative before positive after charging.
Why This Matters / Understanding the Problem
Ever turned the key and heard nothing but silence? Or maybe that dreaded click-click-click that means your car battery is dead. It’s frustrating, especially when you’re already late for work or picking up the kids.
You’re not alone. Over 50 million car batteries fail each year in the U.S., and most happen without warning. But here’s the good news: you don’t need a mechanic or a tow truck. With a battery charger and a few minutes, you can jump start with battery charger: a quick guide that gets you back on the road—safely and confidently.
This isn’t just about convenience. A dead battery can leave you stranded in unsafe areas or during extreme weather. Knowing how to jump start with battery charger: a quick guide gives you peace of mind and real control over your vehicle’s reliability.
I once got stuck at a gas station at 11 p.m., miles from home. I had a charger in my trunk (thankfully!) and had my car running in under 15 minutes. That night taught me: preparation beats panic.
What You Need
Before we dive into the steps, let’s make sure you’ve got everything. No fancy tools required—just a few essentials you likely already own or can grab in under $50.
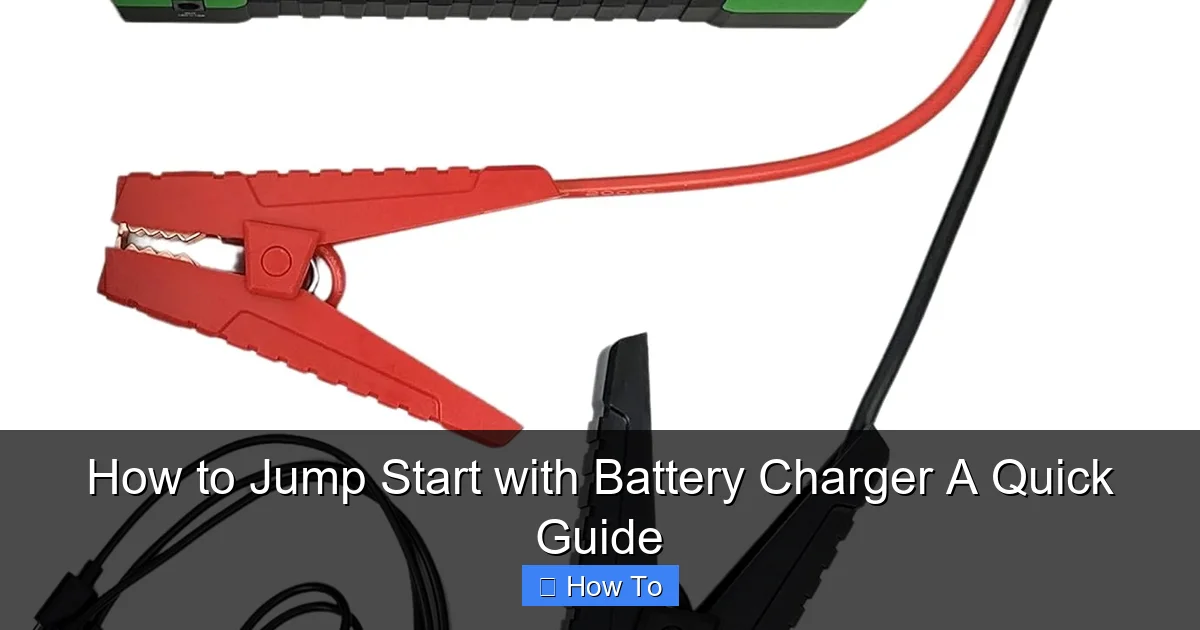
Visual guide about how to jump start with battery charger
Image source: m.media-amazon.com
- Portable battery charger (jump starter): Also called a jump box. Look for one with at least 12,000mAh capacity and reverse polarity protection. I use the NOCO Boost Plus GB40—it’s compact and never failed me.
- Clean, dry workspace: Park on a flat surface, away from traffic. Turn off the engine and remove the keys.
- Insulated gloves (optional but smart): Especially in cold or wet conditions. Safety first.
- Owner’s manual: For locating your battery and any vehicle-specific quirks.
- Flashlight (if it’s dark): Helps you see terminals clearly.
Pro tip: Keep your battery charger fully charged. I charge mine every 3 months, even if I haven’t used it. Most modern jump starters have auto-shutoff and low-battery alerts—so set a phone reminder.
Warning: Never use a damaged charger. Frayed wires, cracked casing, or strange smells? Toss it. Safety trumps savings.
Step-by-Step Guide to How to Jump Start with Battery Charger: A Quick Guide
Step 1: Safety First – Park and Prep
Start by parking on a flat, stable surface. Turn off the engine, engage the parking brake, and remove the key. If you’re on a busy road, pull as far off as possible and turn on hazard lights.
Open the hood and locate the battery. In most cars, it’s near the front, but some (like certain European models) have it in the trunk or under seats. Check your manual if you’re unsure.
Inspect the battery. Look for corrosion (white/green crust), cracks, or leaks. If the battery is cracked or leaking acid, do not attempt a jump start—call a pro. But if it’s just dead, you’re good to go.
I once ignored a small crack, thinking it was just a surface flaw. The charger sparked, and I smelled burning plastic. Lesson learned: when in doubt, don’t risk it.
Step 2: Expose the Battery Terminals
Remove any plastic covers or protective caps over the terminals. Most have a simple clip or screw—just pop them off with your fingers or a screwdriver.
Now, clean the terminals if they’re corroded. Use a wire brush or a terminal cleaner tool (you can buy one for $5 at any auto store). A little baking soda and water on a rag works in a pinch.
Why clean them? Dirty terminals reduce conductivity, making it harder for the charger to deliver power. A clean connection = faster, safer jump start with battery charger: a quick guide.
Tip: Wipe down the terminals even if they look clean. Dirt and grease build up over time and can interfere with the connection.
Step 3: Connect the Charger Cables (Order Matters!)
Grab your battery charger and uncoil the cables. Most have two clamps: red (positive) and black (negative). Here’s the golden rule: connect red first, black last.
Step 3a: Attach the red clamp to the positive terminal (+) on the dead battery. It’s usually marked with a “+” sign and is slightly larger than the negative.
Step 3b: Attach the black clamp to the negative terminal (-) on the battery. But wait—here’s a pro move: if your battery has a strong case or is near metal, attach the black clamp to a clean, unpainted metal surface on the engine block or chassis. This acts as a ground and reduces sparking risk.
Why ground? Sparks near the battery can ignite hydrogen gas, which batteries emit. Better safe than sorry.
I once connected both clamps to the battery and got a loud pop. The charger had reverse polarity protection, but still—it scared the heck out of me. Now I always ground the black clamp to the engine.
Step 4: Power On the Charger
Now, turn on your battery charger. Most have a simple power button or switch. You’ll see lights, a display, or hear a quiet hum—this means it’s working.
Let it run for 3 to 5 minutes before trying to start the car. This gives the dead battery time to absorb some charge. Don’t rush it—patience pays off.
Some chargers have a “boost” or “start” mode. If yours does, activate it now. This delivers a surge of power to help crank the engine.
Warning: Never touch the clamps together or let them touch metal. A short circuit can damage the charger or cause injury.
Step 5: Start the Engine
After 3–5 minutes, try starting the car. Turn the key or press the start button. If it starts right up—great! Let it run for at least 1–2 minutes to stabilize.
If it doesn’t start, don’t panic. Wait another 2 minutes and try again. Sometimes older batteries need a little more juice.
Still no luck? Check your connections. Are the clamps tight? Is the charger still on? If everything looks good but it’s still not starting, the battery might be beyond saving—or there’s another issue (like a bad starter or alternator).
My first jump start attempt failed because I didn’t wait long enough. I tried after 30 seconds—big mistake. Now I set a timer on my phone. Works every time.
Step 6: Disconnect the Charger (Reverse Order!)
Once the engine is running, it’s time to disconnect—but reverse the order. Remove the black clamp first, then the red clamp.
Why? This prevents a spark near the battery, which could ignite gas. It’s a small step, but critical for safety.
After disconnecting, turn off the charger and coil the cables neatly. Store it back in your trunk or garage.
I once forgot to turn off the charger before disconnecting. It sparked and made a loud pop. Not dangerous, but annoying. Now I make it a habit: disconnect → turn off → store.
Step 7: Let the Engine Run (and Recharge the Charger)
Keep the engine running for at least 15–30 minutes. This lets the alternator recharge the battery. If you turn it off too soon, it might die again.
Drive for at least 20 minutes if possible. This helps the alternator work harder and deliver more charge.
Finally, recharge your battery charger. Plug it in and let it charge fully. Most take 3–6 hours. This ensures it’s ready for next time.
Tip: Use a smart charger with auto-shutoff. It stops charging when full, so you don’t overcharge or damage the unit.
Pro Tips & Common Mistakes to Avoid
After years of jump-starting cars (including my own and friends’), here are the insights I wish I’d known earlier.
Use a Charger with Reverse Polarity Protection
Most modern jump starters have this feature. It stops the charger if you accidentally connect red to black. But older or cheap models might not. Always check the specs.
I once borrowed a friend’s old charger—no protection. I connected it backward and fried the unit. Cost me $80. Lesson: spend a little more for safety.
Don’t Jump Start a Frozen Battery
If your battery is frozen (you’ll see ice or a swollen case), do not jump start it. The internal plates could be damaged, and the risk of explosion is real. Let it thaw first—preferably indoors.
Keep Your Charger in the Car, Not the Garage
I used to store mine in the garage. Then one winter morning, I needed it—and it was frozen solid. Now it lives in my trunk, wrapped in a towel for insulation.
Check the Charger’s Health
Like any tool, battery chargers wear out. If it takes longer to charge or doesn’t hold a charge, it might be time for a new one. Test it monthly by turning it on and checking the display.
Don’t Rely on Jump Starts Long-Term
A jump start is a temporary fix. If your battery dies often, it’s likely failing. Get it tested at an auto shop. Most offer free battery checks.
And remember: jump starting doesn’t fix a bad alternator. If your battery keeps dying, the problem might be the charging system—not the battery itself.
Use the Right Charger for Your Vehicle
Smaller chargers (like 10,000mAh) work fine for compact cars. But if you drive a truck, SUV, or diesel, go for 15,000mAh or higher. I upgraded to 18,000mAh after struggling with my F-150 once.
Keep a Backup Plan
Even the best charger can fail. Keep a set of jumper cables and a flashlight in your car. And save your roadside assistance number—just in case.
Real talk: I once had both my charger and jumper cables fail. I called AAA and waited 45 minutes. Now I keep a second charger in my wife’s car. Redundancy is your friend.
FAQs About How to Jump Start with Battery Charger: A Quick Guide
Q: Can I leave the battery charger connected while driving?
No. Once the engine is running, disconnect the charger. Leaving it on can damage the charger or your car’s electrical system. The alternator handles charging while driving.
Q: How long should I let the engine run after a jump start?
At least 15–30 minutes. If possible, drive for 20+ minutes. This gives the alternator time to recharge the battery. Short trips might not be enough.
Q: Can I jump start a car with a completely dead battery?
Yes—but it might take longer. A deeply discharged battery needs more time to absorb charge. Let the charger run for 5–10 minutes before trying to start. Some chargers have a “deep cycle” mode for this.
Q: Is it safe to jump start in the rain?
Yes, if you’re careful. Modern chargers are water-resistant, but avoid puddles. Keep connections dry and wear insulated gloves. Never touch wet metal or clamps.
Q: What if my charger sparks when I connect it?
A small spark is normal—it’s just the circuit closing. But a large spark, pop, or smoke means something’s wrong. Disconnect immediately. Check for reverse polarity, damaged cables, or a faulty battery.
Q: Can I use a battery charger to charge my phone?
Many modern jump starters have USB ports. Yes, you can use them to charge phones, tablets, or even power lights. It’s a great bonus feature—but don’t drain the charger completely. Save power for actual jump starts.
Q: How often should I charge my jump starter?
Every 3 months—even if you haven’t used it. Most chargers lose 5–10% charge per month. A fully charged unit is ready when you need it.
Final Thoughts
Learning how to jump start with battery charger: a quick guide isn’t just about fixing a problem—it’s about gaining confidence. You’re no longer at the mercy of a dead battery.
It’s one of those skills that feels simple once you’ve done it, but life-saving when you need it. And with modern battery chargers, it’s safer and easier than ever.
My advice? Buy a quality charger, keep it charged, and practice the steps at home—maybe even with a friend. Run through the motions so it feels natural when you’re in a real jam.
Remember: safety first, patience second. Follow the order (red first, black last), ground properly, and don’t rush. A few extra minutes can prevent accidents and damage.
And if you’re ever unsure? Call a pro. There’s no shame in asking for help.
So next time your car won’t start, don’t panic. Grab your charger, follow this guide, and get back on the road. Because you’ve got this.
Last tip: Teach someone else. Share this guide with a friend or family member. The more people who know how to jump start with battery charger: a quick guide, the safer we all are.
“`