
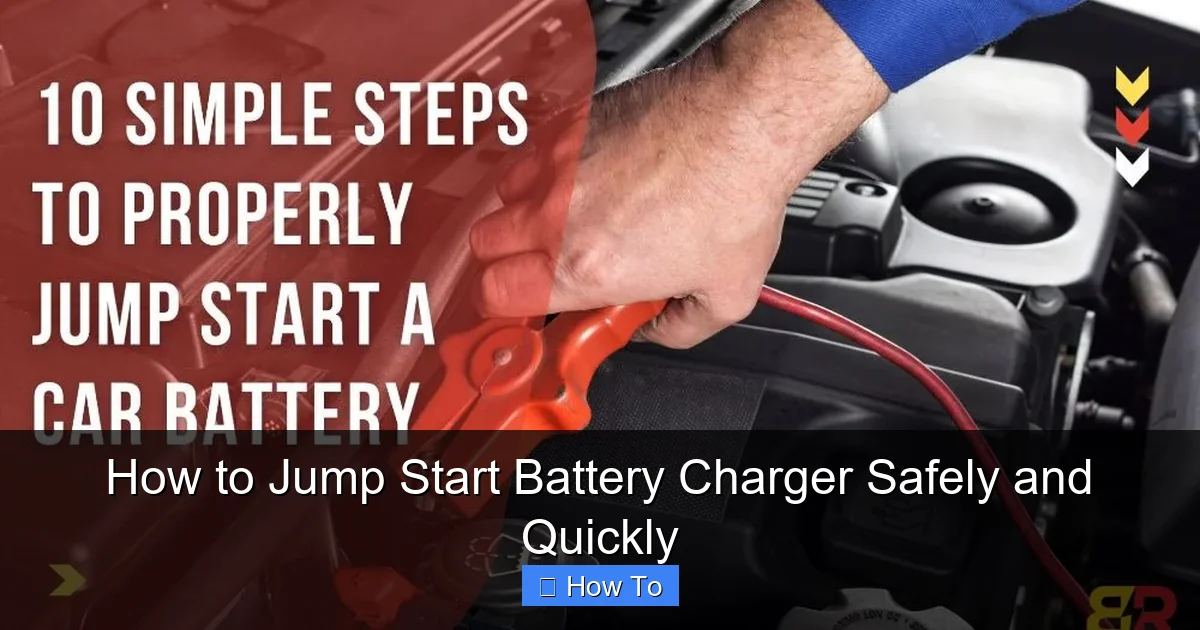
Featured image for how to jump start battery charger
Image source: batteryrite.com.au
Jump starting a battery charger safely and quickly begins with ensuring all connections are secure and the charger is powered off before attaching clamps—red to positive, black to negative—to avoid sparks or short circuits. Always follow the manufacturer’s instructions and use protective gear, as improper handling can damage the battery or pose serious safety risks. Once connected, power on the charger gradually and monitor the process to ensure a stable, efficient charge without overheating.
How to Jump Start Battery Charger Safely and Quickly
Key Takeaways
- Always turn off vehicles before connecting jumper cables to prevent electrical surges.
- Connect red to dead first to ensure proper polarity and avoid sparks.
- Attach black to ground on the dead car, not the battery terminal.
- Start the working vehicle and let it charge the dead battery for 5 minutes.
- Rev the engine slightly to boost voltage and speed up the jump start.
- Disconnect in reverse order to safely remove cables without short-circuiting.
Why This Matters / Understanding the Problem
You’re late for work. You turn the key in the ignition, and instead of the familiar roar of the engine, you hear a slow, sad click-click-click. Your car battery is dead. It’s one of those moments where time slows down, and you wonder, “Why today?”
It happens to all of us—whether it’s a cold morning, a light left on, or just an old battery giving up the ghost. And while jump-starting seems like something anyone can do, doing it wrong can damage your car, ruin your battery, or even cause a dangerous electrical fire.
That’s why knowing how to jump start battery charger safely and quickly isn’t just a handy skill—it’s a necessity. Not all chargers are the same, and not all methods are safe. Whether you’re using traditional jumper cables, a portable jump starter, or a smart battery charger, the process matters.
I’ve been there. Once, I accidentally reversed the cables and fried my car’s ECU (electronic control unit). Cost me $600. That mistake taught me the hard way that how to jump start battery charger safely and quickly isn’t just about speed—it’s about precision, safety, and understanding your tools.
This guide walks you through the safest, fastest, and most effective way to get your battery back up and running—without the risk or the drama.
What You Need
Before you even think about connecting anything, let’s make sure you’ve got the right gear. The tools you use will depend on the method you choose, but here’s a breakdown of your options and what you’ll need for each.
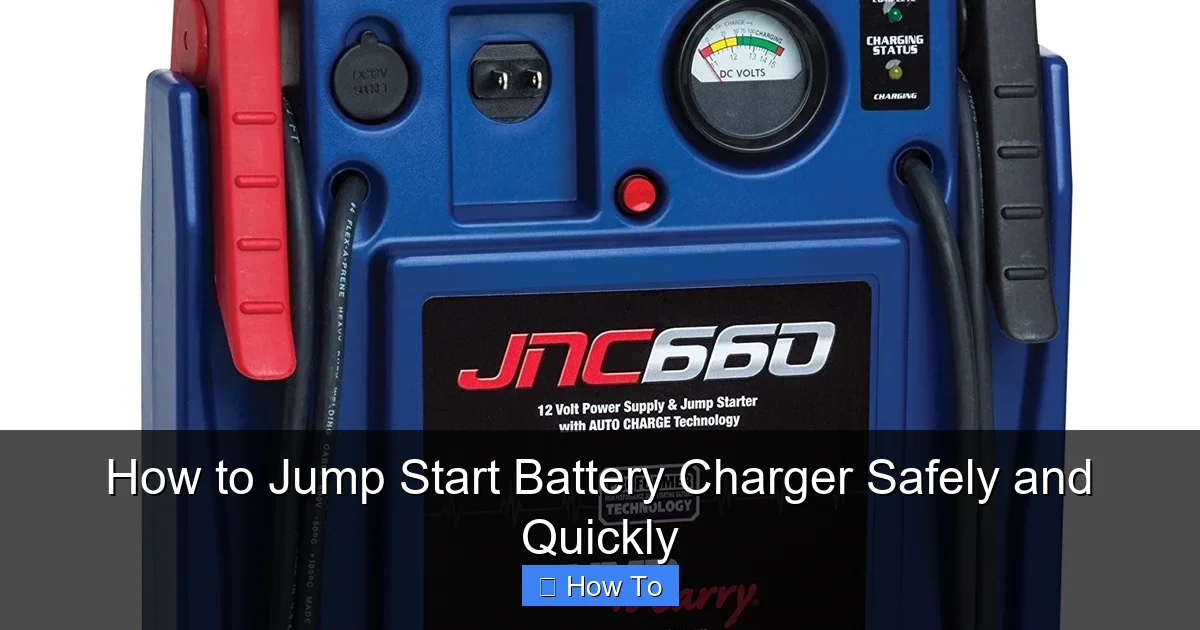
Visual guide about how to jump start battery charger
Image source: images-na.ssl-images-amazon.com
- For Traditional Jumper Cables (Using a Good Car):
- Heavy-duty jumper cables (at least 4-gauge, 10+ feet long)
- A second vehicle with a working 12V battery
- Rubber gloves (optional, but smart for safety)
- Flashlight (if it’s dark)
- For Portable Jump Starters (Power Bank Style):
- Fully charged portable jump starter (look for 12V, 1000+ peak amps)
- Smart clamps with reverse polarity protection
- Owner’s manual (to confirm voltage and compatibility)
- For Smart Battery Chargers (Trickle Charging or Jump Mode):
- Smart battery charger with “jump start” or “boost” mode
- Access to a power outlet
- Extension cord (if needed)
- Protective gloves and safety glasses
Pro Tip: Always keep your tools clean and stored in a dry place. Corroded clamps or frayed cables can ruin a jump attempt or even cause sparks.
Now, here’s what you don’t need: a second person (for most portable jump starters), a garage, or a mechanic’s license. This is DIY-friendly, but only if you follow the steps correctly.
And remember: how to jump start battery charger safely and quickly starts with preparation. A dead battery doesn’t care if you’re in a rush—so take a breath and gather your gear first.
Step-by-Step Guide to How to Jump Start Battery Charger Safely and Quickly
Step 1: Park Safely and Turn Off Everything
First things first: safety. Pull your car off the road or into a safe spot—preferably on level ground. Turn off the ignition, headlights, radio, AC, and any other accessories. Even small electrical loads can interfere with the jump process.
If you’re using another car (traditional method), position it so the two batteries are close—nose-to-nose or side-by-side—but never touching. Leave enough room to open the hoods fully.
Apply the parking brake on both vehicles. If you’re on a slope, chock the wheels with bricks or wheel blocks. A rolling car during a jump is a disaster waiting to happen.
This step is simple, but skipping it? That’s how accidents happen. When I was 19, I once left my lights on and tried to jump without turning them off—my battery charger overheated, and the cables got hot enough to melt the insulation. Lesson learned.
Step 2: Inspect the Battery and Connections
Open the hood and locate your battery. Look for:
- Corrosion (white or green crusty stuff on the terminals)
- Cracked or leaking casing
- Swollen or bulging sides
If you see corrosion, clean it gently with a wire brush or a mix of baking soda and water. A dirty connection can prevent a good electrical flow—even if the jump works, your battery may not charge properly.
Never attempt a jump on a cracked or leaking battery. That’s a fire hazard. Replace it first.
Also, make sure the battery terminals are tight. Loose cables can arc and spark. If they’re wobbly, tighten them with a wrench—but only after the jump, not before (to avoid sparks near a potential hydrogen gas leak).
This inspection is part of how to jump start battery charger safely and quickly—because a clean, secure connection is half the battle.
Step 3: Connect the Cables in the Right Order (Traditional Method)
Now comes the moment of truth. If you’re using jumper cables with a second car, order matters.
Here’s the correct sequence:
- Red to Dead (Positive): Attach one red clamp to the positive terminal (+) of the dead battery. It’s usually marked with a “+” and often red in color.
- Red to Good (Positive): Attach the other red clamp to the positive terminal of the working battery.
- Black to Good (Negative): Attach one black clamp to the negative terminal (-) of the working battery.
- Black to Ground (Not the Dead Battery!): Attach the last black clamp to a bare metal surface on the dead car—like a bolt, engine block, or bracket. Never connect it to the dead battery’s negative terminal. Why? To prevent sparks near a potentially gassing battery.
Warning: If you connect black to negative on the dead battery, you risk a spark igniting hydrogen gas—yes, that’s a real explosion risk. I’ve seen it happen at a gas station. Not pretty.
Once all clamps are secure, double-check: red to red, black to ground. No loose ends. No crossed cables.
Step 4: Start the Working Vehicle and Let It Run
Now, start the car with the good battery. Let it idle for 2–5 minutes. This allows the alternator to send a steady charge to the dead battery.
Don’t rev the engine like you’re in a movie. Just let it run smoothly. The idea is to build voltage gradually, not shock the system.
If the dead battery is very low, you might not get a start right away. That’s okay. Patience is key. I once waited 8 minutes on a -10°C winter morning. It worked—but only because I didn’t rush it.
While waiting, keep an eye on the cables. If they start to smoke or get hot, turn off the engine and check connections. That’s a sign of resistance or a short.
Step 5: Try to Start the Dead Vehicle
After 2–5 minutes, try starting the dead car. Turn the key slowly—don’t crank too long or too hard. If it doesn’t start on the first try, wait 30 seconds, then try again.
If it starts? Great! Let it run for at least 10 minutes to stabilize. This helps the alternator recharge the battery.
If it still doesn’t start, don’t panic. It could mean:
- The dead battery is too far gone (needs replacement)
- The alternator in the working car isn’t strong enough
- There’s a parasitic drain or electrical issue
Try letting the cars run connected for another 5 minutes. If still no luck, disconnect and consider a portable jump starter or calling for help.
Step 6: Disconnect in Reverse Order
Once the car is running, it’s time to disconnect—but in reverse order:
- Remove black clamp from ground (dead car)
- Remove black clamp from negative (good car)
- Remove red clamp from positive (good car)
- Remove red clamp from positive (dead car)
Why reverse order? To avoid creating a spark near the battery when removing the first clamp. Sparks + hydrogen = bad news.
Coil the cables neatly and store them. A tangled mess is a future headache.
Step 7: Use a Portable Jump Starter (Alternative Method)
No second car? No problem. Portable jump starters are a game-changer—especially for city dwellers or solo drivers.
Here’s how to jump start battery charger safely and quickly using a portable unit:
- Turn off the vehicle and ensure all accessories are off.
- Open the hood and locate the battery.
- Turn on the jump starter (some have a switch; others activate when clamps are connected).
- Attach red to positive on the dead battery.
- Attach black to ground (bare metal, not the negative terminal).
- Wait for the indicator light (many models show “ready” or “safe”).
- Start the engine. Most units allow 5–10 seconds of cranking.
Pro Tip: Always charge your portable jump starter after use. I keep mine in the trunk with a USB-C solar charger—just in case.
These devices are safer than cables because many have:
- Reverse polarity protection (won’t turn on if clamps are swapped)
- Overload and spark protection
- LED flashlights and USB ports (bonus!)
But—don’t cheap out. A $30 unit from an unknown brand might not deliver enough amps. Look for brands like NOCO, DBPOWER, or Clore.
Step 8: Use a Smart Battery Charger with Jump Mode
Smart chargers are the quiet heroes of battery care. They don’t just jump—they diagnose and revive weak batteries.
If you’re at home or near a power outlet, this method is often the safest and most thorough.
Here’s how:
- Plug the charger into a wall outlet.
- Turn it off before connecting.
- Attach red to positive, black to ground (same as before).
- Select “Jump Start” or “Boost” mode (check manual).
- Turn on the charger. Some models have a 5-second delay for safety.
- Once the charger shows “ready” or “boost,” start the car.
Smart chargers monitor voltage in real-time. They’ll cut power if they detect a short, reverse polarity, or excessive heat. That’s why this method is ideal for beginners.
After the jump, leave the charger connected in “maintenance” mode for 1–2 hours. This gently tops off the charge without overcharging.
I use a NOCO Genius10 in my garage. It once revived a battery I thought was dead after 3 weeks of sitting. Saved me $150.
Pro Tips & Common Mistakes to Avoid
Over the years, I’ve learned a few hard truths about how to jump start battery charger safely and quickly. Here are the real-world insights you won’t find in a manual.
1. Don’t Use Thin or Damaged Cables
Jumper cables come in gauges (thickness). 4-gauge or lower is best for cars. Thin cables (8-gauge or higher) can’t handle the current and may overheat.
Check for frayed wires, melted insulation, or loose clamps. A $20 set of cables is worth every penny if it prevents a fire.
2. Never Jump a Frozen Battery
If your battery is frozen (white, cracked, or bulging), do not jump it. The internal plates are likely shattered. Jump-starting can cause a dangerous rupture.
Thaw it slowly in a warm place first—then replace it.
3. Avoid Jump-Starting in the Rain (If Possible)
Water and electricity don’t mix. If you must jump in wet conditions:
- Use rubber gloves
- Keep connections as dry as possible
- Cover the battery with a plastic bag (leave terminals exposed)
I once got a mild shock from a wet clamp. Not fun.
4. Don’t Crank Too Long or Too Often
Cranking for more than 10 seconds can overheat the starter motor. Wait at least 30 seconds between attempts. If the engine doesn’t start after 3 tries, let the battery rest.
5. After a Jump, Drive for at Least 20 Minutes
Idle charging isn’t enough. The alternator needs time to recharge the battery fully. A 20-minute drive (or highway run) is ideal.
If you only drive 5 minutes and turn off the car, the battery might die again.
6. Test the Battery and Alternator Later
A jump doesn’t fix a bad battery. After a successful start, visit an auto parts store and get a free battery and alternator test. They’ll tell you if it’s time for a replacement.
I once kept jumping a weak battery for weeks—until it left me stranded at a gas station. Now I test every 6 months.
Warning: If your car dies again within a day, it’s likely not the battery—it’s the alternator or a parasitic drain. Get it checked by a pro.
FAQs About How to Jump Start Battery Charger Safely and Quickly
Q: Can I use a jump starter on a diesel engine?
Yes—but make sure your jump starter has enough cranking amps (CCA). Diesel engines need more power to start. Look for a unit rated for diesel (e.g., 1500+ peak amps). Most portable jump starters for diesel are larger and heavier, but they exist.
I have a Ram 2500, and my NOCO Boost HD handles it just fine.
Q: Is it safe to jump a lithium battery?
Only if the jump starter or charger is specifically designed for lithium batteries. Standard lead-acid chargers can damage lithium cells. If your car has a lithium battery (common in hybrids or EVs), use a smart charger labeled “lithium-compatible.”
When in doubt, consult your owner’s manual.
Q: Can I jump-start a car in a garage?
Yes, but only with the garage door open. Exhaust fumes from the running engine contain carbon monoxide—a silent, deadly gas. I know someone who passed out from CO poisoning while jump-starting in a closed garage. Always ventilate.
Q: What if I connect the cables backward?
If you reverse the polarity (red to negative, black to positive), you’ll likely blow a fuse—or worse, damage the ECU, alternator, or electronics. But modern jump starters and smart chargers often have reverse polarity protection. They’ll beep or flash a warning instead of powering on.
If you use traditional cables and make the mistake, do not start the car. Disconnect immediately and check fuses. If everything looks fine, you might get lucky. But it’s risky.
Q: How long should I let the cars run after a jump?
At least 10 minutes, but 20–30 minutes is better. The alternator charges the battery gradually. Short runs don’t fully recharge it. If you can, drive on the highway—higher RPMs mean more charging power.
I once jumped a car, drove 5 minutes, parked, and it died again. Now I always take the long way home.
Q: Can I use a battery charger as a jump starter?
Only if it has a “jump start” or “boost” mode. Regular trickle chargers are too slow and can’t deliver the high current needed to crank the engine. Smart chargers with boost mode are perfect for this.
My NOCO Genius10 has both—trickle charge for maintenance and a 200-amp boost for emergencies.
Q: How often should I test my battery?
Every 6 months—especially before winter and summer. Extreme temperatures are hard on batteries. Most auto parts stores offer free testing. It takes 5 minutes and could save you from a dead car on a freezing morning.
I test mine every spring and fall. It’s peace of mind.
Final Thoughts
Knowing how to jump start battery charger safely and quickly is one of those skills that feels trivial—until you need it. And when you do, you’ll be glad you prepared.
This isn’t about showing off or being a mechanic. It’s about independence, safety, and avoiding that helpless feeling when your car won’t start.
Whether you’re using jumper cables, a portable jump starter, or a smart charger, the key is following the steps carefully. Safety first, speed second. A rushed jump can cost more than time—it can cost you your car.
Here’s my advice: Keep a reliable jump starter in your trunk (charged), store clean cables in your garage, and test your battery twice a year. That way, when the lights flicker and the engine clicks, you won’t panic. You’ll just grab your gear and get moving.
And remember: a jump is a temporary fix. It doesn’t replace a bad battery or a failing alternator. Use it to get to safety, then get your system checked.
You’ve got this. The next time your car won’t start, you’ll know exactly what to do—safely, confidently, and quickly.
Now go charge that jump starter. You never know when you’ll need it.