
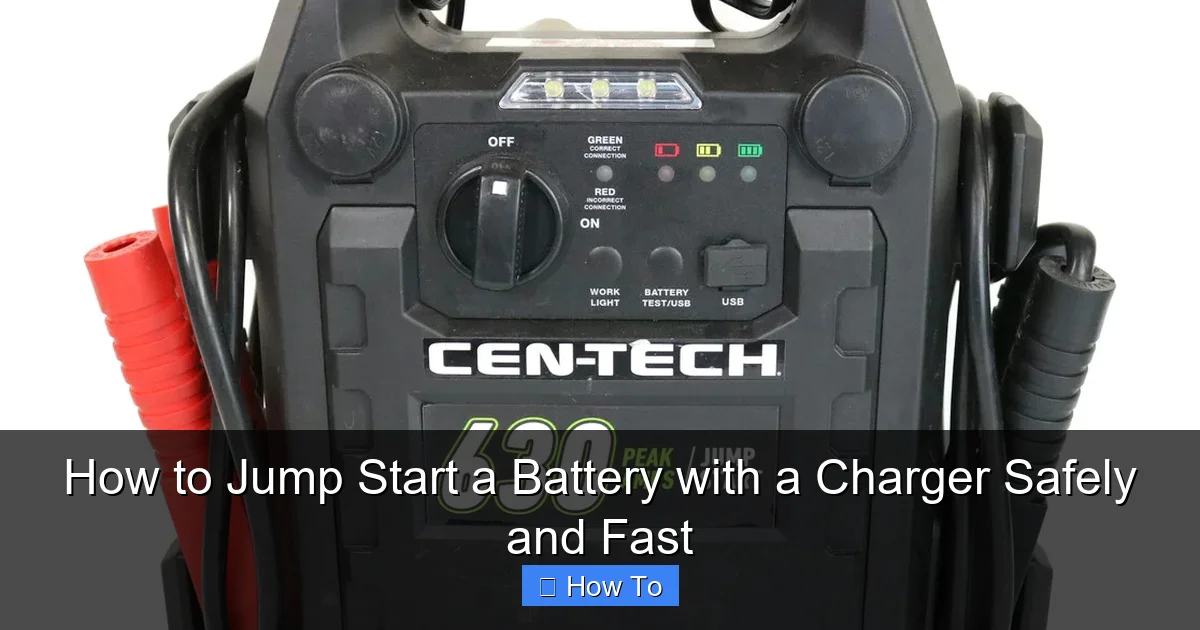
Featured image for how to jump start a battery with a charger
Image source: shop.usapawn.com
Jump starting a battery with a charger is safest and fastest when you connect the charger directly to the battery terminals—positive to positive, negative to negative—ensuring a secure power transfer. Always use a quality charger with automatic shut-off, monitor charging levels closely, and avoid sparks near the battery to prevent accidents. Following these steps ensures a reliable, efficient charge without risking damage to your vehicle or battery.
How to Jump Start a Battery with a Charger Safely and Fast
Key Takeaways
- Turn off the engine and all electronics before connecting the charger to prevent surges.
- Connect the charger clamps correctly: red to positive, black to negative terminal.
- Set the charger to the correct voltage (usually 12V) before starting the charge.
- Allow sufficient charging time based on battery size and charger output rating.
- Monitor the battery and charger for overheating or unusual behavior during the process.
- Disconnect the charger in reverse order: black first, then red, after charging completes.
- Start the vehicle and let it run to recharge the battery naturally after jump-starting.
Why This Matters / Understanding the Problem
We’ve all been there: you hop in the car, turn the key, and… nothing. Just a sad click and silence. A dead battery is one of the most common—and frustrating—car troubles out there. And while most people think of jumper cables and another car, the truth is, how to jump start a battery with a charger safely and fast is often the better, more reliable solution.
Using a battery charger isn’t just about convenience—it’s about safety, control, and avoiding damage to your vehicle’s electronics. Unlike jump-starting from another car, which can deliver a sudden surge of current, a charger gives you a steady, controlled boost. This method is especially helpful if you’re alone, in a remote area, or just want to avoid the stress of finding a “donor” car.
Plus, modern smart chargers make the whole process foolproof. But even with the right tool, doing it wrong can lead to sparks, battery damage, or even personal injury. So let’s walk through the real, practical steps to get your engine running again—without the guesswork.
What You Need
Before you start, gather these essentials. Trust me, skipping one item can turn a quick fix into a 20-minute delay.
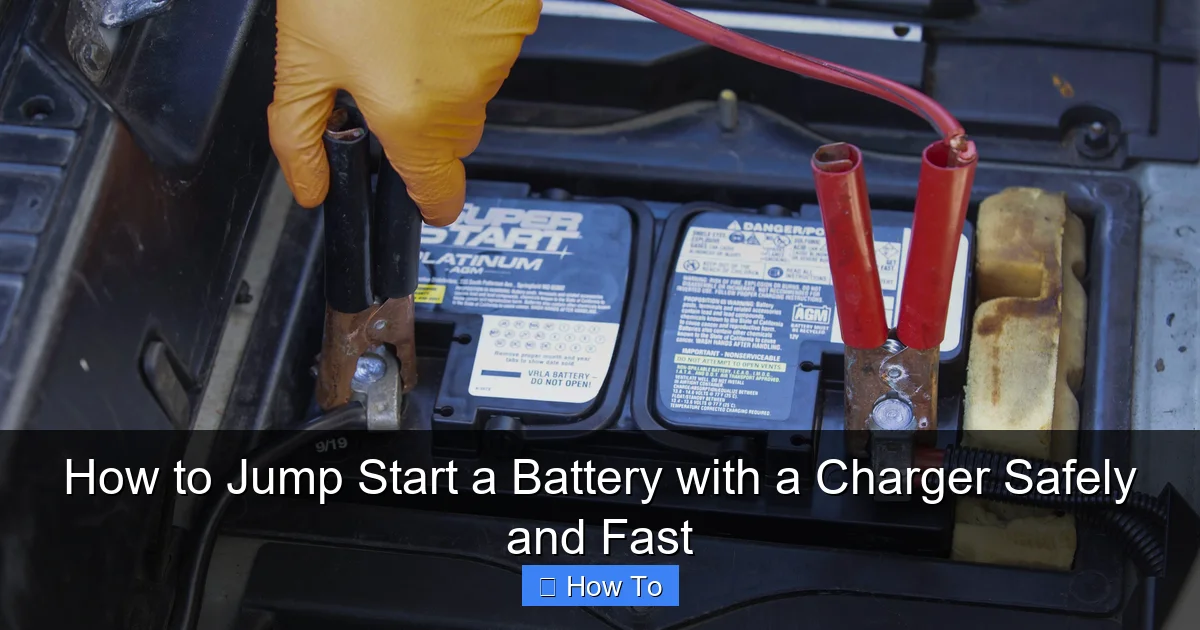
Visual guide about how to jump start a battery with a charger
Image source: hips.hearstapps.com
- A battery charger (smart or automatic is best—more on that below)
- Safety gloves and goggles (batteries contain acid and can spark)
- A clean rag or wire brush (for cleaning terminals)
- Wrench or pliers (if terminals are tight)
- A well-ventilated space (garage, driveway, or open area)
- Your car’s owner’s manual (in case of unique battery location)
When choosing a charger, look for one with automatic shutoff and reverse polarity protection. These features prevent overcharging and protect you if you accidentally connect the clamps backward. Brands like NOCO, CTEK, and Schumacher make excellent models under $100 that handle most passenger vehicles.
Pro tip: If you’re using a traditional manual charger (not smart), make sure it has a low-amp trickle mode—this is key for safely reviving deeply discharged batteries.
Now that you’re set up, let’s get into the actual process of how to jump start a battery with a charger safely and fast.
Step-by-Step Guide to How to Jump Start a Battery with a Charger Safely and Fast
Step 1: Park Safely and Turn Off Everything
First things first: make sure your car is parked on a flat, stable surface. Turn off the ignition, headlights, radio, and any other electrical systems. Engage the parking brake and, if you’re on a slight incline, use wheel chocks.
This isn’t just about safety—it’s about reducing the electrical load on the battery when you start charging. The less strain, the faster and more efficiently the charger can do its job.
Tip: If your car is in a tight garage, crack the door open slightly. Batteries emit hydrogen gas during charging, and ventilation is non-negotiable.
Step 2: Locate the Battery
Most batteries are under the hood, but not always. Some cars (like BMWs, Mercedes, and certain SUVs) hide them in the trunk or under the back seat. Check your owner’s manual if you’re unsure.
Once you find it, pop the hood and clear away any debris. You want full access to both terminals—positive (+) and negative (−). Look for the red cap on the positive terminal and the black on the negative. If they’re corroded, that’s okay—we’ll clean them next.
This step is crucial because dirty or loose terminals can block the charger’s connection and slow down the process. A clean surface means better conductivity and faster results when learning how to jump start a battery with a charger safely and fast.
Step 3: Clean the Battery Terminals
Grab your rag or wire brush. If you see white, flaky buildup (that’s corrosion), gently scrub it off both terminals. You don’t need to go metal-bright—just remove enough to expose clean metal.
For stubborn corrosion, a mix of baking soda and water (1 tbsp to 1 cup) works wonders. Dip your brush in it and scrub. Then wipe with a damp cloth and dry completely.
Why does this matter? Corrosion acts like insulation. Even if the charger is connected, poor contact means slow charging or failure to start. A 2-minute clean can save you 30 minutes of frustration later.
Warning: Don’t let the baking soda solution drip into the battery cells (the small caps on top). If it does, rinse with plain water and dry thoroughly.
Step 4: Connect the Charger Clamps Correctly
Here’s where many people make mistakes. Always follow the order: positive first, negative last.
- Clip the red (positive) clamp to the positive terminal of the battery.
- Clip the black (negative) clamp to a bare metal surface on the car’s frame—not the negative battery terminal.
Why the frame? Because when charging, the battery can produce flammable hydrogen gas. Connecting the negative to the frame instead of the battery reduces the risk of a spark near the battery, lowering the chance of explosion.
Look for a bolt or unpainted metal bracket near the battery. If you’re unsure, any clean, grounded metal part away from the engine and moving parts works.
This step is vital for both safety and performance in how to jump start a battery with a charger safely and fast.
Pro Insight: If your charger has reverse polarity protection, it will alert you with a light or buzzer if the clamps are reversed. But don’t rely on it—double-check every time.
Step 5: Set the Charger to the Right Mode
Now plug in the charger and turn it on. If it’s a smart charger, select the appropriate mode: “12V,” “Standard,” or “Jump Start” (if available). For deeply dead batteries, choose a trickle charge or recovery mode (usually 2–6 amps).
Why low amps? High-current modes (like 10–30 amps) can overheat a severely depleted battery or cause internal damage. Think of it like giving a sick person a gentle IV drip instead of a shot of espresso.
Smart chargers automatically adjust the amperage and voltage. They’ll start low, then ramp up as the battery recovers. Manual chargers require you to monitor the charge level—more on that in the tips section.
Once set, the charger will display voltage, amperage, and charge status. A good smart charger will even tell you if the battery is recoverable or needs replacement.
Step 6: Wait Patiently (Yes, Really)
Now comes the hard part: waiting. A deeply discharged battery can take 30 minutes to 2+ hours to charge enough to start the engine.
But here’s the good news: many modern chargers have a “boost” or “start assist” mode. After 15–30 minutes of trickle charging, this feature delivers a quick burst of power (like 50–100 amps) to crank the engine. This is the fast part of how to jump start a battery with a charger safely and fast.
Don’t leave the charger unattended. Check every 10–15 minutes to ensure it’s working and hasn’t overheated. If the charger gets hot or makes a buzzing noise, unplug it and let it cool.
While you wait, avoid touching the clamps or terminals. Even a small spark can be dangerous if gas has built up.
Step 7: Test the Battery and Start the Car
After 30–60 minutes (depending on the battery’s condition), try starting the car while the charger is still connected. Yes, really.
Many smart chargers allow this—they act like a power supply, giving the battery enough juice to turn the starter. If the engine cranks and starts, great! Let it run for a few minutes to stabilize.
If it doesn’t start, don’t panic. Wait another 15–20 minutes and try again. If it still fails, the battery might be too far gone. But in most cases, a slow trickle charge brings it back to life.
Tip: Once the engine is running, disconnect the charger immediately—but in reverse order: black first, then red. This prevents voltage spikes that can damage the car’s electronics.
Step 8: Disconnect the Charger and Take a Test Drive
With the engine running, carefully unplug the charger and remove the clamps. Wipe down the terminals again if needed.
Now take a 10–15 minute drive. This lets the alternator fully recharge the battery and confirms everything is working. If the battery dies again shortly after, it might be time for a replacement.
After the drive, turn the car off and wait 10 minutes. Then try starting it again. If it starts smoothly, you’ve successfully completed how to jump start a battery with a charger safely and fast—and your battery should be good for the day.
Pro Tips & Common Mistakes to Avoid
Over the years, I’ve seen (and made) plenty of mistakes. Here’s what to watch for—and how to avoid them.
1. Don’t rush the charge. I once tried to jump-start a car in 10 minutes using a 30-amp mode. The battery overheated, and I had to replace it. Slow and steady wins the race. Use low amps for recovery, then boost if needed.
2. Never connect negative to the battery if you can help it. Yes, it’s faster, but the risk isn’t worth it. One spark near a gassing battery can cause an explosion. Use the frame every time.
3. Check your charger’s compatibility. Not all chargers work with all battery types. If you have an AGM, gel, or lithium battery, use a charger designed for it. Using a standard charger on an AGM battery can shorten its life.
4. Don’t ignore warning lights. If your charger shows “reverse polarity,” “bad battery,” or “overvoltage,” stop and troubleshoot. Forcing it can damage the charger or your car.
5. Keep the charger cool. Chargers can overheat if used in direct sunlight or a hot engine bay. Place it on a concrete floor or a metal tray—never on grass or fabric.
6. Use a memory saver (optional). If your car has an expensive radio or computer system, plug in a memory saver (a small battery that plugs into the OBD2 port) before disconnecting the battery. It preserves your settings.
7. Know when to replace. If your battery is over 4 years old and dies frequently, it’s probably time to swap it. A charger can revive a weak battery, but it won’t fix old age.
Real Talk: I once tried to jump-start a 7-year-old battery. It worked… for three days. Then it died in a parking lot at night. Lesson learned: chargers are great, but they’re not magic.
FAQs About How to Jump Start a Battery with a Charger Safely and Fast
Q: Can I leave the charger on overnight?
Only if it’s a smart charger with automatic shutoff. These detect when the battery is full and switch to maintenance mode. Never leave a manual charger unattended overnight—it can overcharge and destroy the battery.
Q: What if my battery is frozen?
Do not charge it. A frozen battery can rupture or explode. Thaw it slowly in a warm garage (never with hot water or a heater). Once thawed, check for cracks before charging.
Q: Can I use a jump starter pack instead of a charger?
Yes! Portable jump starters (like NOCO Boost) are great for emergencies. But they deliver a short burst of power—they don’t charge the battery. Use them to start the car, then drive to recharge. A charger is better for long-term recovery.
Q: Why does my car not start even after 2 hours of charging?
The battery might be sulfated (a layer of lead sulfate blocks charging) or have a dead cell. Try a charger with a desulfation mode. If it still won’t charge, the battery is likely beyond repair.
Q: Is it safe to charge a battery inside the car?
Yes—if the area is well-ventilated. Never charge in a closed, unventilated space. Hydrogen gas is explosive. Crack a window or door, and keep sparks away.
Q: Can I use a charger on a motorcycle or ATV battery?
Yes, but use a low-amp setting (1–2 amps). Small batteries charge faster and overheat more easily. Also, disconnect the battery from the bike before charging if possible.
Q: What’s the difference between a trickle charger and a jump charger?
A trickle charger delivers low, steady current to maintain or slowly recharge a battery. A jump charger (or jump starter) provides a high burst of power to start the engine. For how to jump start a battery with a charger safely and fast, a smart charger that does both is ideal.
Final Thoughts
Learning how to jump start a battery with a charger safely and fast isn’t just about convenience—it’s about confidence. No more waiting for a friendly stranger or risking a surge from another car. With the right charger and a few simple steps, you’re in control.
Remember: safety first. Wear gloves, ventilate the area, and connect the clamps in the right order. Use a smart charger when possible—it does the thinking for you. And if your battery keeps dying, don’t keep reviving it. Sometimes, the best fix is a new battery.
Keep your charger in the trunk, along with gloves and a rag. You’ll be the hero the next time someone’s stranded. And hey, maybe you’ll even save your own skin one morning when the engine won’t turn over.
Stay safe, stay prepared, and keep driving.