
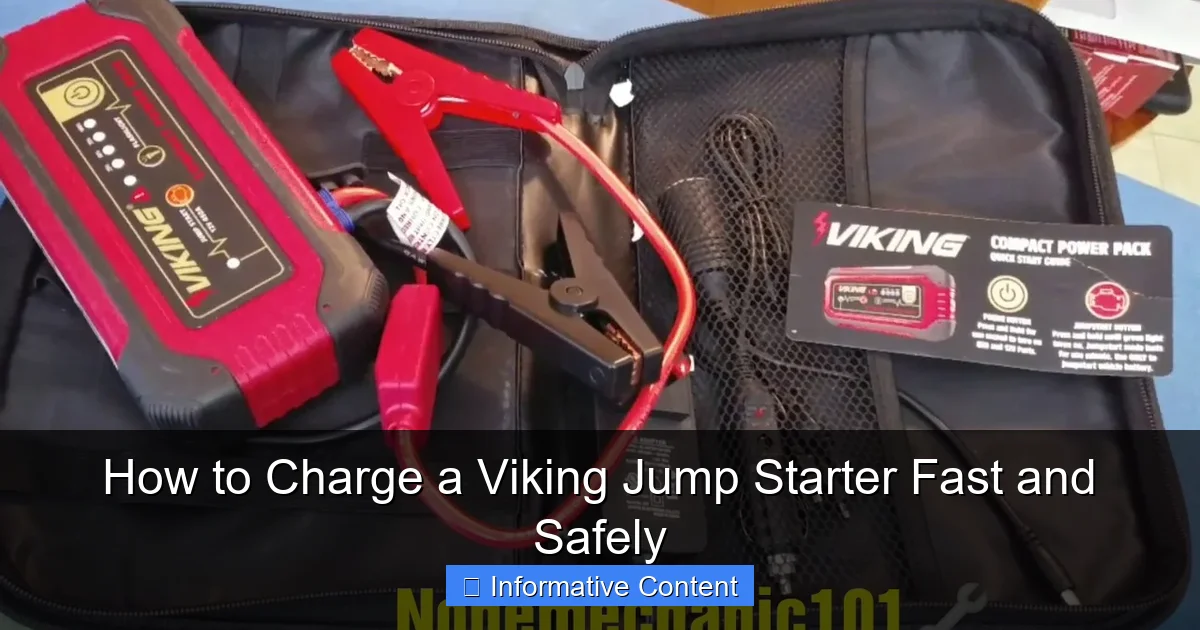
Featured image for how to charge a viking jump starter
Image source: i.ytimg.com
Always use the manufacturer-provided charger and a stable 12V DC or 120V AC power source to charge your Viking jump starter safely and efficiently. Connect the charger to the jump starter’s input port, ensure proper polarity, and avoid overcharging by monitoring the LED indicator or using the auto-shutoff feature. For fastest results, charge in a cool, dry environment and never leave unattended for extended periods.
Key Takeaways
- Use the correct charger: Always use the manufacturer-recommended charger for optimal performance.
- Check voltage compatibility: Ensure your power source matches the jump starter’s voltage requirements.
- Charge fully before first use: Pre-charge for 8–12 hours to maximize battery lifespan.
- Avoid extreme temperatures: Charge in moderate environments (32°F–104°F) for safety and efficiency.
- Monitor charging progress: Stop charging once the indicator shows full to prevent overcharging.
- Store properly when not in use: Recharge every 3–6 months to maintain battery health.
📑 Table of Contents
- Understanding Your Viking Jump Starter: The Basics
- What You Need to Charge Your Viking Jump Starter
- Step-by-Step Guide to Charging Your Viking Jump Starter
- Troubleshooting Common Charging Issues
- Advanced Tips for Optimal Charging and Battery Health
- Data Table: Charging Times and Methods
- Conclusion: Keep Your Viking Jump Starter Ready for Action
Understanding Your Viking Jump Starter: The Basics
Imagine you’re out on a road trip, miles away from any service station, when suddenly your car won’t start. The battery is dead, and you’re stranded. This is where a Viking jump starter becomes your best friend. But just like any other electronic device, it needs to be charged properly to ensure it’s ready when you need it most. Charging your Viking jump starter isn’t rocket science, but there are a few key things you should know to do it fast and safely.
Why Proper Charging Matters
Charging your Viking jump starter correctly isn’t just about getting it ready for use. It’s about extending its lifespan and making sure it works when you need it. Think of it like charging your smartphone. If you always let it drain to 0% before charging, the battery life will degrade faster. The same applies to your jump starter. Proper charging habits ensure your device is reliable, efficient, and lasts for years.
When I first bought my Viking jump starter, I made the mistake of leaving it uncharged for months. When I finally needed it, the battery was so drained it barely worked. That’s when I learned that regular charging and maintenance are crucial. In this guide, I’ll walk you through everything you need to know about charging your Viking jump starter, from the basics to advanced tips, so you never get stuck with a dead jump starter.
Common Misconceptions
Before we dive in, let’s clear up a few myths. Some people think that leaving their jump starter plugged in overnight is harmful, while others believe you should only charge it after a jump start. The truth is, most modern Viking jump starters have built-in smart charging technology that prevents overcharging. This means you can leave it plugged in without worrying about damaging the battery.
Another common misconception is that you need to fully discharge the battery before charging. This isn’t true for lithium-ion batteries, which most Viking jump starters use. In fact, keeping the battery between 20% and 80% is ideal for longevity. So, don’t wait until it’s completely dead to charge it!
What You Need to Charge Your Viking Jump Starter
Charging your Viking jump starter is straightforward, but you’ll need the right tools and a few basic supplies. Let’s break down what you’ll need and why each item is important.
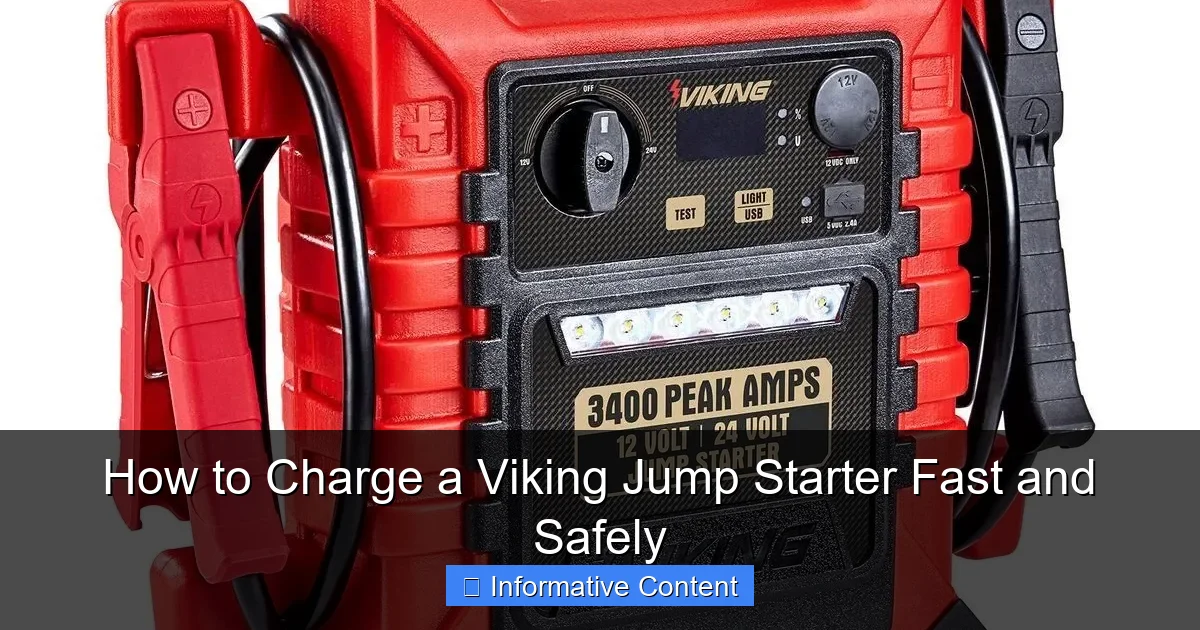
Visual guide about how to charge a viking jump starter
Image source: harborfreight.com
The Essential Charging Kit
Here’s what you’ll need to get started:
- Charging cable: Most Viking jump starters come with a USB-C or micro-USB charging cable. Make sure you’re using the correct one for your model.
- Power source: You can charge your jump starter using a wall adapter, car charger, or even a portable power bank. A wall adapter is the fastest option, while a car charger is handy if you’re on the go.
- Power outlet: Ensure your outlet is working and provides the right voltage. A standard household outlet (110V-240V) is usually sufficient.
- Clean, dry workspace: Charging your jump starter in a damp or cluttered area can be dangerous. Find a flat, dry surface away from water and flammable materials.
Optional but Helpful Tools
While not strictly necessary, these tools can make the charging process easier and safer:
- Multimeter: If you’re tech-savvy, a multimeter can help you check the battery’s voltage and health. This is useful if you notice the jump starter isn’t holding a charge.
- Desk fan: Some jump starters get warm during charging. A fan can help dissipate heat, especially if you’re charging in a hot environment.
- Timer or smart plug: If you’re forgetful, a timer can help you avoid overcharging. A smart plug can even send alerts to your phone when charging is complete.
Choosing the Right Charging Method
Not all power sources are created equal. Here’s how to choose the best one for your needs:
- Wall adapter (fastest): Use a 5V/2A or higher adapter for the quickest charge. Avoid cheap, no-name adapters, as they can damage your device.
- Car charger (on-the-go): If you’re traveling, a car charger is convenient. Just make sure it’s rated for at least 2A to avoid slow charging.
- Portable power bank (emergency): If you’re in a pinch, a high-capacity power bank can charge your jump starter. However, it will take much longer than a wall adapter.
Pro tip: Always use the original charging cable or a high-quality third-party one. Cheap cables can cause charging issues or even damage your jump starter.
Step-by-Step Guide to Charging Your Viking Jump Starter
Now that you have everything you need, let’s walk through the charging process step by step. I’ll keep it simple, so even if you’re not tech-savvy, you can follow along easily.
Step 1: Prepare Your Jump Starter
Before plugging in, make sure your Viking jump starter is clean and dry. Wipe off any dust or moisture with a soft cloth. If it’s been stored in a cold environment, let it warm up to room temperature first. Charging a cold battery can be inefficient and even harmful.
Check the battery level by pressing the power button. Most Viking jump starters have an LED indicator that shows the charge level. If it’s below 20%, it’s time to charge.
Step 2: Connect the Charging Cable
Take the charging cable and plug it into your jump starter. You’ll usually find the port on the side or bottom of the device. Make sure it’s securely connected. If the cable feels loose, try a different one to avoid intermittent charging.
Next, plug the other end of the cable into your power source. If you’re using a wall adapter, plug it into an outlet. If you’re using a car charger, plug it into your vehicle’s 12V socket. For a portable power bank, connect the cable to the power bank’s output port.
Step 3: Monitor the Charging Process
Once connected, the jump starter should start charging automatically. Look for an LED indicator that shows the charging status. Most models have a blinking light when charging and a solid light when fully charged.
Here’s a quick tip: don’t unplug it immediately when it reaches 100%. Let it sit for an additional 30 minutes to ensure the battery is fully stabilized. This is especially important if you’re charging after a deep discharge.
Step 4: Disconnect and Store Properly
When the charging is complete, unplug the cable from the power source first, then from the jump starter. Avoid yanking the cable, as this can damage the port over time.
Store your jump starter in a cool, dry place. A drawer or glove compartment works well. If you’re storing it for a long time, charge it to 50% before putting it away. This helps preserve the battery’s health.
Step 5: Test the Jump Starter
After charging, give your jump starter a quick test to make sure it’s working properly. Press the power button and check if all the LEDs light up. If your model has a built-in flashlight or USB ports, test those too. This ensures everything is ready for when you need it.
Troubleshooting Common Charging Issues
Even with the best care, you might encounter some charging problems. Don’t worry—most of these issues are easy to fix. Here are some common problems and how to solve them.
Jump Starter Not Charging
If your Viking jump starter isn’t charging, here are a few things to check:
- Check the cable and port: Make sure the charging cable is securely connected and not damaged. Try a different cable if possible.
- Test the power source: Plug another device into the same outlet or car charger to see if it works. If not, the issue is with the power source.
- Inspect the battery: If the battery is swollen or leaking, stop using the jump starter immediately and contact customer support. This is a safety hazard.
If none of these steps work, try resetting the jump starter by holding the power button for 10-15 seconds. This can sometimes resolve software glitches.
Slow Charging
If your jump starter is charging slowly, here’s what might be happening:
- Low-power adapter: If you’re using a 1A adapter, it will charge much slower than a 2A one. Upgrade to a higher-rated adapter for faster charging.
- Old or damaged cable: Over time, charging cables can wear out. Replace it with a high-quality one.
- Hot environment: Charging in a hot area can slow down the process. Move to a cooler location if possible.
Battery Not Holding a Charge
If your jump starter loses charge quickly, it might be a sign of battery degradation. Here’s what to do:
- Perform a full charge-discharge cycle: Charge the battery to 100%, then use it until it’s completely drained. Repeat this 2-3 times to recalibrate the battery.
- Check for firmware updates: Some Viking models have firmware updates that improve battery performance. Check the manufacturer’s website for updates.
- Contact support: If the problem persists, the battery might be faulty. Contact Viking customer support for a replacement.
Advanced Tips for Optimal Charging and Battery Health
Want to get the most out of your Viking jump starter? These advanced tips will help you charge faster, extend battery life, and avoid common pitfalls.
Use a Smart Charger
While most Viking jump starters have built-in smart charging, using a smart charger can take it to the next level. Smart chargers automatically adjust the voltage and current to match your device’s needs. They also have safety features like overcharge protection and temperature monitoring.
For example, if you’re charging in a cold environment, a smart charger will reduce the voltage to prevent damage. This is especially useful if you live in an area with extreme weather.
Charge at the Right Time
Timing matters when it comes to charging. Here are some best practices:
- Charge before storage: If you’re storing your jump starter for more than a month, charge it to 50% first. This prevents deep discharge.
- Charge after use: After using your jump starter, recharge it as soon as possible. This ensures it’s ready for the next emergency.
- Avoid charging in extreme temperatures: Don’t charge in freezing or scorching hot environments. Room temperature (68°F-77°F) is ideal.
Monitor Battery Health
Keeping an eye on your battery’s health can save you from surprises. Here’s how:
- Use a battery app: Some Viking models have companion apps that show battery health and charging history. Download it and check regularly.
- Check voltage with a multimeter: If you’re comfortable with electronics, a multimeter can tell you if the battery is holding the right voltage.
- Look for physical signs: Swelling, leaking, or unusual heat are red flags. Stop using the device if you notice any of these.
Data Table: Charging Times and Methods
Here’s a quick reference table to help you choose the best charging method for your needs:
| Charging Method | Power Source | Charging Time | Best For | Pros & Cons |
|---|---|---|---|---|
| Wall Adapter | 110V-240V Outlet | 1-3 hours | Fastest charging at home | Pros: Fast, reliable. Cons: Not portable. |
| Car Charger | 12V Vehicle Socket | 3-5 hours | On-the-go charging | Pros: Portable. Cons: Slower than wall adapter. |
| Portable Power Bank | High-Capacity Power Bank | 6-10 hours | Emergency charging | Pros: Ultra-portable. Cons: Very slow, drains power bank. |
| Solar Charger | Portable Solar Panel | 8-12 hours (depends on sunlight) | Off-grid charging | Pros: Eco-friendly. Cons: Weather-dependent, slow. |
This table gives you a clear idea of which method to use based on your situation. For everyday charging, a wall adapter is your best bet. If you’re traveling, a car charger is convenient. And for emergencies, a portable power bank or solar charger can be a lifesaver.
Conclusion: Keep Your Viking Jump Starter Ready for Action
Charging your Viking jump starter fast and safely isn’t complicated—it just takes a little knowledge and care. By following the steps in this guide, you’ll ensure your device is always ready when you need it most. Remember, proper charging habits not only keep your jump starter working but also extend its lifespan.
From choosing the right charging method to troubleshooting common issues, you now have all the tools you need to keep your Viking jump starter in top condition. Whether you’re a seasoned driver or a new car owner, these tips will help you avoid the stress of a dead battery.
So, next time you plug in your jump starter, take a moment to appreciate the technology that keeps it running. And if you ever find yourself stranded with a dead battery, you’ll know your Viking jump starter is ready to save the day. Safe travels!
Frequently Asked Questions
How do I charge a Viking jump starter for the first time?
For first-time use, fully charge your Viking jump starter using the included AC adapter or 12V car charger. Plug it into a wall outlet and allow 3-4 hours for a complete charge, indicated by a solid green LED light.
What type of charger do I need to charge a Viking jump starter?
You can charge your Viking jump starter using the provided AC wall charger or a 12V DC car charger. Both are safe and effective—just ensure the input voltage matches the charger’s specifications to avoid damage.
How long does it take to fully charge a Viking jump starter?
Most Viking jump starters take between 3 to 5 hours to fully charge, depending on the model and remaining battery level. A blinking or solid green light usually indicates the charging process is complete.
Can I charge my Viking jump starter while using it to jump-start a car?
No, you should never charge your Viking jump starter while simultaneously using it to jump-start a vehicle. Always disconnect from the car and allow the unit to charge independently to ensure safety and optimal performance.
How often should I recharge my Viking jump starter when not in use?
To maintain battery health, recharge your Viking jump starter every 3 to 6 months if it’s stored unused. This prevents deep discharge and extends the overall lifespan of the lithium-ion battery.
Is it safe to leave my Viking jump starter charging overnight?
Yes, it’s generally safe to leave your Viking jump starter charging overnight thanks to built-in overcharge protection. Once fully charged, the unit automatically stops drawing power, preventing damage or overheating.