
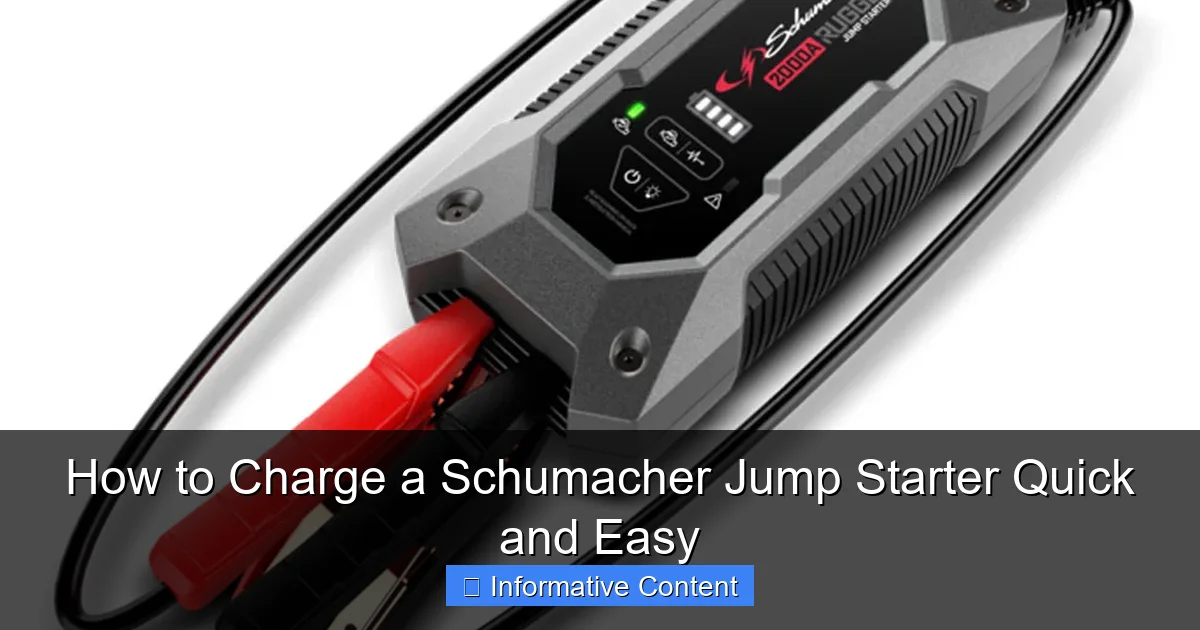
Featured image for how to charge a schumacher jump starter
Image source: evl.co.nz
Always use the original Schumacher charger or a compatible 12V DC/USB power source to safely and efficiently charge your jump starter. Connect the charger to the unit’s input port, ensure solid contact, and allow 3–6 hours for a full charge—monitor the LED indicator to confirm completion. Regular charging after each use prevents power loss and extends battery life, ensuring your jump starter is always ready when you need it most.
Key Takeaways
- Use the correct charger: Always use Schumacher-approved chargers to avoid damage.
- Check battery level first: Verify charge status before plugging in the device.
- Charge in a cool, dry place: Prevents overheating and ensures safe charging.
- Follow LED indicator cues: Monitor lights to confirm charging progress and completion.
- Fully charge before first use: Maximizes battery life and jump starter performance.
📑 Table of Contents
- Why Charging Your Schumacher Jump Starter Matters
- Understanding Your Schumacher Jump Starter
- Step-by-Step Guide: How to Charge a Schumacher Jump Starter
- Best Practices for Charging and Maintaining Your Jump Starter
- Common Charging Problems and How to Fix Them
- Charging Time Comparison: Schumacher Models
- Final Thoughts: Keep Your Schumacher Jump Starter Ready
Why Charging Your Schumacher Jump Starter Matters
Let’s be honest—few things are more frustrating than a dead car battery when you’re already late for work, school, or an important appointment. That’s where a Schumacher jump starter comes in. These compact, powerful devices have saved me more times than I can count, from jump-starting a car in a freezing parking lot to helping a friend whose SUV wouldn’t turn over after leaving the lights on overnight.
But here’s the catch: a jump starter is only as good as its charge. I learned this the hard way after pulling my Schumacher unit out of the garage only to discover it was completely dead. No lights, no beeps—nothing. I ended up calling a tow truck, and the whole ordeal cost me time, money, and peace of mind. That moment taught me a crucial lesson: how to charge a Schumacher jump starter properly is just as important as knowing how to use it. Whether you’re a first-time owner or someone who’s owned one for years, keeping your jump starter charged ensures it’s ready when you need it most.
Understanding Your Schumacher Jump Starter
How Schumacher Jump Starters Work
Before we dive into the charging process, it helps to understand what’s under the hood. Schumacher jump starters are portable power stations designed to deliver a high burst of current to start a vehicle with a weak or dead battery. They typically contain lithium-ion or lithium iron phosphate (LiFePO4) batteries, which offer excellent energy density, long life, and low self-discharge.

Visual guide about how to charge a schumacher jump starter
Image source: assets.pawnamerica.com
Unlike traditional jumper cables that rely on another vehicle’s battery, Schumacher units are self-contained. They store electrical energy and release it when connected to your car’s battery terminals. This makes them ideal for roadside emergencies, camping trips, or even jump-starting motorcycles and boats.
Different Models, Different Charging Needs
Schumacher offers a wide range of jump starters, from compact 12V units like the SL1314 (1200 peak amps) to heavy-duty models like the SL1316 (3000 peak amps). While all follow the same basic charging principles, there are subtle differences:
- Standard Lithium Models: Use USB-C or micro-USB charging. Great for everyday use and light-duty vehicles.
- LiFePO4 Models: More durable and temperature-resistant. Often come with AC wall chargers and longer charging times.
- Multi-Function Units: Some include air compressors, LED lights, or USB ports for charging phones. These may require more frequent charging due to additional power draw.
For example, I own the Schumacher SL1314, which charges via a USB-C cable. It takes about 3–4 hours to go from 0% to 100%. My neighbor has the SL1316 with a wall adapter, and his takes closer to 6 hours. Knowing your model helps you plan your charging routine and avoid last-minute surprises.
Key Features That Affect Charging
Schumacher jump starters come with several features that impact how and when you should charge:
- Smart Charging Technology: Most modern models have built-in circuitry that prevents overcharging, overheating, and short circuits. This means you can leave them plugged in for extended periods (though it’s not recommended).
- LED Battery Indicators: A simple row of lights shows your charge level. For example, 3/4 lights = 75% charged. This helps you decide whether to top it off or wait.
- Low Self-Discharge Rate: Unlike old lead-acid jump starters, Schumacher units lose very little power when stored. Still, it’s wise to check the charge every 3–6 months.
One thing I love is the auto-shutoff feature. Once my SL1314 hits 100%, the charger turns off automatically. That gives me peace of mind when charging overnight.
Step-by-Step Guide: How to Charge a Schumacher Jump Starter
Step 1: Locate the Charging Port
First things first—find the charging port on your unit. It’s usually on the side or back, protected by a rubber or plastic flap. For USB-C models like mine, it’s a modern oval-shaped port. Older or budget models might use micro-USB (the smaller, trapezoidal one).
Pro tip: If the port is dusty or dirty, gently clean it with a dry toothbrush or compressed air. A dirty connection can slow charging or cause intermittent power delivery.
Step 2: Choose the Right Charging Method
Schumacher jump starters typically offer multiple charging options:
- AC Wall Charger: Best for full, reliable charging at home. Use the original Schumacher charger if possible. Third-party chargers may not deliver the correct voltage or amperage.
- USB-C/Micro-USB Cable: Great for charging from a laptop, power bank, or car USB port. Ideal when you’re on the go.
- 12V Car Charger: Some models come with a cigarette lighter adapter. Handy if you’re stranded and need to charge from another running vehicle.
I keep my Schumacher charger plugged into a wall outlet in my garage. But I also have a USB-C cable in my car for emergencies. Once, I charged it from my laptop while waiting at a coffee shop—took a bit longer, but it worked!
Step 3: Connect and Start Charging
Once you’ve chosen your method, plug in the cable and connect it to your power source. Here’s what to expect:
- The LED indicator lights will usually blink or turn on to show charging has started.
- On my SL1314, one light means 25%, two lights 50%, and so on.
- Charging time varies: 3–4 hours for USB-C, 5–6 hours for AC, and up to 8 hours if using a low-power USB port.
Real-world example: Last winter, I forgot to charge my jump starter after using it. I plugged it into my car’s USB port while driving. It charged about 10% per hour. By the time I got home, it was at 40%—enough to get me through the next few weeks.
Step 4: Monitor the Charging Process
Don’t just plug it in and forget it. Check on it every 30–60 minutes, especially the first few times. Here’s what to watch for:
- Steady or blinking lights: Normal. Indicates active charging.
- No lights: Check connections. Try a different cable or outlet.
- Overheating: If the unit feels hot to the touch, unplug it. Let it cool, then try again. Overheating can damage the battery.
I once used a cheap off-brand USB cable that barely charged my unit. The lights flickered, and it took twice as long. Lesson learned: always use high-quality, certified cables.
Step 5: Disconnect at Full Charge
When all LED lights are solid (usually 4/4), your Schumacher jump starter is fully charged. Unplug it immediately. While most models have overcharge protection, it’s still best practice to avoid leaving lithium batteries plugged in for days.
After disconnecting, I like to press the “test” or “power” button to confirm it’s working. A quick beep or light confirms it’s ready for action.
Best Practices for Charging and Maintaining Your Jump Starter
Charge Regularly—Even When Not in Use
Lithium-ion batteries don’t like to sit empty. If you store your jump starter for months without charging, the battery can degrade. I learned this when I pulled out my unit after a year in the garage—only 20% charge left.
Recommended charging schedule:
- Every 3–6 months: If stored in a cool, dry place.
- Every 1–2 months: If used frequently or stored in extreme temperatures.
I set a calendar reminder on my phone every four months. A quick 30-minute top-off keeps it ready to go.
Store in the Right Environment
Temperature and humidity matter. Here’s what works:
- Ideal storage temperature: 50°F–80°F (10°C–27°C). Avoid leaving it in a hot car or freezing garage.
- Humidity: Keep it dry. Moisture can corrode connections.
- Location: I keep mine in a kitchen drawer near my car keys. Easy to grab in an emergency.
One summer, I left my jump starter in my car during a heatwave. When I tried to use it a week later, the battery wouldn’t hold a charge. The heat had damaged the cells. Now I store it indoors.
Use the Right Charger and Cables
Stick to Schumacher’s original charger or a high-quality third-party one with the correct specs. Here’s what to look for:
- USB-C: 5V/3A or higher for faster charging.
- AC Adapter: Match the voltage (usually 12V) and amperage (check your manual).
I use a Anker PowerPort III USB-C charger. It’s reliable, fast, and doesn’t overheat. Avoid dollar-store cables—they’re often poorly made and can damage your device.
Test Your Unit Monthly
Even if you don’t need to jump-start a car, test your jump starter monthly. Press the power button and check the LED lights. If it’s slow to respond or shows low charge, plug it in.
I keep a log in my phone. After each test, I note the date and charge level. It helps me spot trends—like if the battery drains faster in winter.
Common Charging Problems and How to Fix Them
Problem: No Lights When Plugged In
If your Schumacher jump starter shows no signs of life when charging, don’t panic. Try these fixes:
- Check the outlet: Plug in a lamp or phone charger to confirm power.
- Swap the cable: Try a different USB or AC cable.
- Inspect the port: Look for bent pins or debris. Use a toothpick (gently) to clean it.
- Reset the unit: Some models have a reset button. Press and hold for 10 seconds.
I once thought my unit was dead. Turns out the USB cable was frayed. A $10 replacement fixed it.
Problem: Slow or Incomplete Charging
If charging takes forever or stops before 100%, the issue is usually power-related:
- Weak power source: Car USB ports often provide only 0.5A. Use the AC charger instead.
- Low-quality cable: Thick, short cables work best. Avoid long, thin ones.
- Battery wear: After 2–3 years, lithium batteries lose capacity. Consider a replacement.
My neighbor’s SL1316 charged at half speed when he used a phone charger. Switching to the original Schumacher adapter fixed it.
Problem: Overheating During Charging
If the unit gets hot, unplug it immediately. Causes include:
- Faulty charger: Use only approved chargers.
- High ambient temperature: Charge in a cool room, not in direct sunlight.
- Internal battery damage: If it keeps happening, contact Schumacher support.
One summer, I charged mine on a sunny windowsill. It overheated and shut off. Now I charge it on a shaded table.
Charging Time Comparison: Schumacher Models
Here’s a quick reference table for charging times across popular Schumacher jump starters. Times are approximate and may vary based on charger quality and battery condition.
| Model | Battery Type | Charging Method | Avg. Charging Time | Notes |
|---|---|---|---|---|
| SL1314 | Lithium-ion | USB-C | 3–4 hours | Fast charging with 3A+ charger |
| SL1316 | LiFePO4 | AC Wall Charger | 5–6 hours | More durable, longer lifespan |
| SL1317 | Lithium-ion | USB-C + 12V Car | 4–5 hours (AC), 6–8 hours (car) | Dual charging options |
| SL1318 | LiFePO4 | AC + USB-C | 5–7 hours | Best for extreme temperatures |
| SL1319 | Lithium-ion | USB-C | 3.5–4.5 hours | Compact, great for travel |
Note: Always refer to your model’s manual for exact charging specs. Using a lower-amp charger (e.g., 1A) will increase charging time significantly.
Final Thoughts: Keep Your Schumacher Jump Starter Ready
Charging your Schumacher jump starter isn’t rocket science, but it does require attention and care. I’ve seen too many people treat it like a “set it and forget it” device—only to regret it when they need it most. By following these simple steps and best practices, you’ll ensure your jump starter is always ready to save the day.
Remember: how to charge a Schumacher jump starter is about more than just plugging it in. It’s about understanding your model, using the right tools, and maintaining it like any other important piece of equipment. Whether you’re a weekend warrior, a daily commuter, or a road trip enthusiast, a well-charged jump starter gives you confidence on the road.
So go ahead—check your unit today. Plug it in, top it off, and rest easy knowing you’re prepared. And if you ever find yourself stranded with a dead battery? You’ll be the one helping others, not waiting for a tow truck. That’s the real power of a Schumacher.
Frequently Asked Questions
How do I charge a Schumacher jump starter for the first time?
For first-time use, plug the Schumacher jump starter into a standard wall outlet using the included AC adapter. Charge it fully for at least 24 hours to ensure maximum battery capacity.
What type of charger does a Schumacher jump starter use?
Most Schumacher jump starters come with a built-in AC charger that plugs directly into a standard 120V household outlet. Some models may also support 12V DC charging via a car cigarette lighter.
How long does it take to charge a Schumacher jump starter?
Charging time varies by model, but most Schumacher jump starters take between 3 to 6 hours to fully charge. Refer to your user manual for specific charging times based on battery capacity.
Can I charge my Schumacher jump starter while using it?
No, you should not charge and use the jump starter simultaneously. Always disconnect it from any vehicle or device before plugging it in to charge for safety and optimal performance.
How do I know when my Schumacher jump starter is fully charged?
Most models have LED indicator lights—green typically means fully charged, while red or blinking lights indicate charging in progress. Check your model’s manual for exact light meanings.
Is it safe to leave a Schumacher jump starter charging overnight?
Yes, Schumacher jump starters are designed with built-in safety features like overcharge protection, making it safe to charge overnight. However, always use the provided charger and avoid damaged cords.