
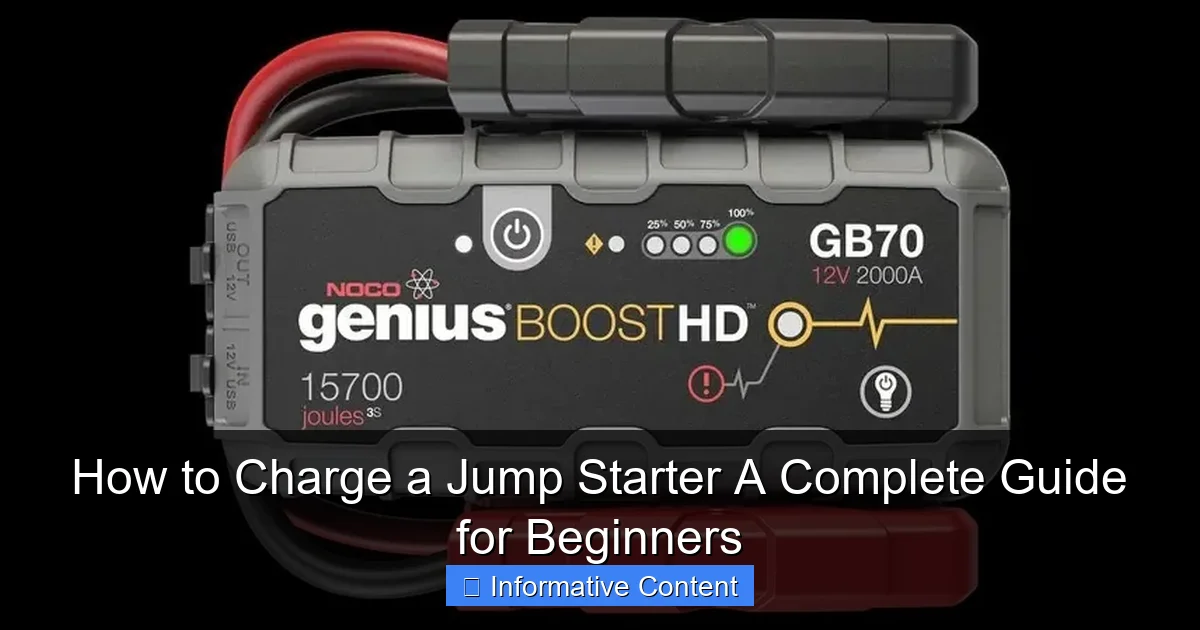
Featured image for how to charge a jump starter
Image source: roadwayready.com
Always use the correct charging cable and power source to safely charge your jump starter—this ensures optimal performance and prevents damage. Plug the included charger into a standard wall outlet or your vehicle’s 12V port, then connect it to the jump starter’s input; a solid or blinking LED light usually confirms charging is in progress. Never leave it charging unattended for extended periods to avoid overheating or overcharging.
Key Takeaways
- Always use the correct charger to avoid damaging your jump starter.
- Charge fully before first use to maximize battery lifespan and performance.
- Check LED indicators to confirm charging status and completion.
- Store in a cool, dry place to maintain battery health when not in use.
- Recharge every 3-6 months if unused to prevent battery degradation.
- Avoid overcharging by unplugging once the battery reaches 100%.
📑 Table of Contents
- How to Charge a Jump Starter: A Complete Guide for Beginners
- Understanding Your Jump Starter: What You Need to Know
- Step-by-Step Guide: How to Charge a Jump Starter
- Charging Times and What Affects Them
- Troubleshooting Common Charging Problems
- Best Practices for Maintaining Your Jump Starter
- Final Thoughts: Be Prepared, Stay Safe
How to Charge a Jump Starter: A Complete Guide for Beginners
Imagine this: It’s a cold winter morning, you’re running late for work, and you hop into your car—only to find it won’t start. The engine clicks weakly, the dashboard lights flicker, and your heart sinks. You remember you bought a jump starter a few months ago “just in case,” but when you pull it out, it’s completely dead. Sound familiar? You’re not alone. Many people invest in a portable jump starter for emergencies but forget one crucial step: how to charge a jump starter properly.
Charging your jump starter isn’t just about plugging it in and hoping for the best. It’s about understanding the device, following the right steps, and maintaining it so it’s ready when you need it most. Whether you’re a first-time buyer or someone who’s had a jump starter sitting in the trunk for years, this guide will walk you through everything you need to know—from the basics of how these devices work to troubleshooting common charging issues. By the end, you’ll feel confident that your jump starter is always ready to save the day.
Understanding Your Jump Starter: What You Need to Know
Before we dive into the actual charging process, let’s take a moment to understand what a jump starter is and how it works. A jump starter—also called a portable car battery booster—is a compact, rechargeable device that can deliver a burst of power to your car’s dead battery, allowing you to start your engine without needing another vehicle or jumper cables.
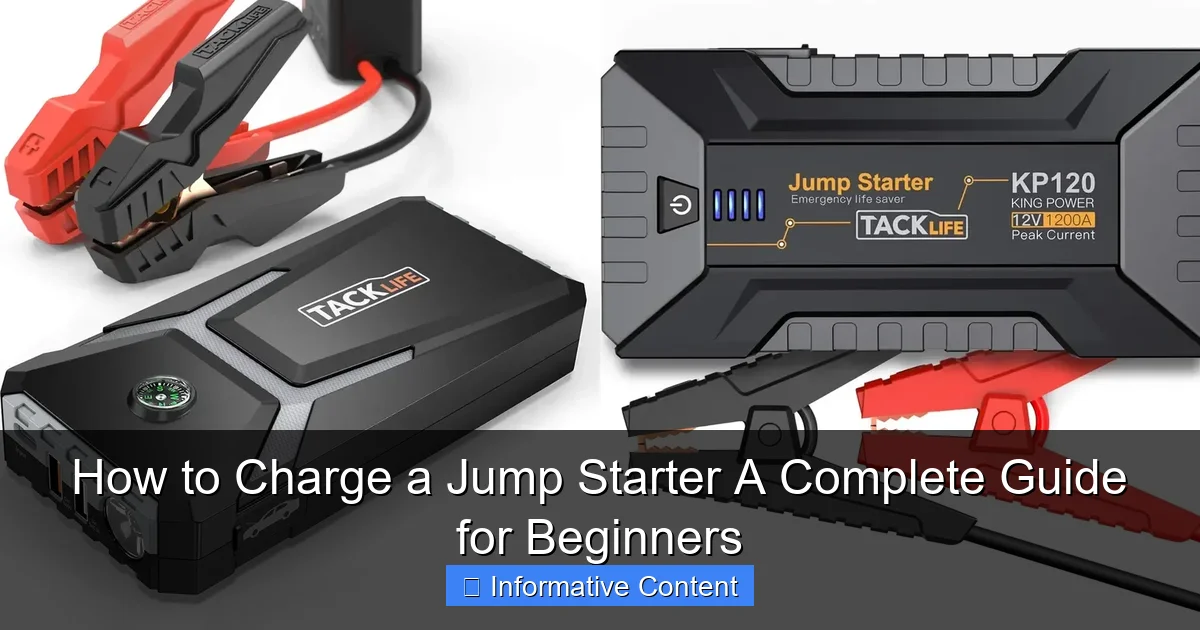
Visual guide about how to charge a jump starter
Image source: docerp.s3.amazonaws.com
Most modern jump starters are powered by lithium-ion or lithium-polymer batteries, which are lightweight, efficient, and capable of holding a charge for months. They typically come with built-in safety features like reverse polarity protection, short-circuit prevention, and overload protection. Many also double as power banks, letting you charge your phone, tablet, or other USB devices in a pinch.
Types of Jump Starters and Their Charging Needs
Not all jump starters are created equal, and their charging requirements can vary depending on the type and model. Here are the most common types you’ll encounter:
- Lithium-ion Jump Starters: These are the most popular due to their high energy density and long shelf life. They usually charge via a standard wall outlet or USB-C port and take 3–6 hours to fully charge.
- Lead-Acid Jump Starters: Older and heavier, these are less common today but still found in some heavy-duty models. They often require a dedicated charger and can take 12–24 hours to recharge.
- Solar-Powered Jump Starters: A niche option, these use solar panels to slowly recharge the internal battery. While eco-friendly, they’re not reliable for quick charging and are best used as a backup.
Knowing your jump starter’s battery type is the first step in learning how to charge it correctly. Always check the user manual—it’s your best friend when it comes to understanding your device’s specific needs.
Why Charging Matters: The Risks of a Dead Jump Starter
You might think, “I’ll just charge it when I need it.” But here’s the reality: if your jump starter hasn’t been charged in months, it might not hold a charge at all—or worse, it could fail when you need it most. Lithium-ion batteries, in particular, degrade over time if left uncharged. A fully depleted battery can lose its ability to recharge, turning your emergency tool into a useless brick.
Think of your jump starter like a fire extinguisher. You hope you never need it, but when you do, it has to work. Regular charging ensures it’s always ready. Plus, a well-maintained jump starter can last 3–5 years or more, giving you peace of mind on every road trip, winter commute, or unexpected breakdown.
Step-by-Step Guide: How to Charge a Jump Starter
Now that you understand the basics, let’s get into the nitty-gritty: how to charge a jump starter the right way. The process is simple, but skipping steps or using the wrong charger can damage your device or reduce its lifespan. Follow these steps to ensure a safe and effective charge every time.
Step 1: Check the Current Charge Level
Before plugging in your jump starter, check its current charge level. Most models have an LED indicator—usually four lights—that shows how much power is left. If all lights are off or only one is lit, it’s time to charge. Some advanced models even have digital displays that show the exact percentage.
Pro Tip: If your jump starter has been sitting unused for more than 3–6 months, assume it needs a charge—even if the lights suggest otherwise. Battery indicators can sometimes be inaccurate after long periods of inactivity.
Step 2: Locate the Correct Charging Port
Jump starters typically have one or more charging ports. The most common are:
- DC Input Port: Usually labeled “DC IN” or “CHARGE,” this is for the included wall charger.
- USB-C Port: Found on newer models, this allows for faster charging and can also be used to charge other devices.
- Micro-USB Port: Older models may use this, though it’s becoming less common.
Always use the port specified in your user manual. Using the wrong cable or port can result in slow charging or no charging at all.
Step 3: Use the Right Charger and Cable
This is where many people go wrong. Never use a random USB cable or charger you found in a drawer. Always use the charger and cable that came with your jump starter, or a certified replacement from the manufacturer.
For example, if your jump starter supports 18W fast charging via USB-C, using a standard 5W phone charger will take much longer—if it works at all. Similarly, using a low-quality cable can cause overheating or fail to deliver enough power.
Real-Life Example: Sarah bought a high-end jump starter but used her old phone charger to save time. After 8 hours, it was only 30% charged. When she finally used the correct 20W charger, it reached 100% in just 3 hours.
Step 4: Plug In and Monitor the Charging Process
Once you’ve connected the correct charger, plug it into a wall outlet. Avoid using extension cords or power strips if possible, as they can reduce voltage and slow charging. A direct wall outlet provides the most stable power.
As the jump starter charges, the LED lights will gradually illuminate. On most models, a solid green light or all four LEDs lit means it’s fully charged. Some devices will automatically stop charging once full to prevent overcharging—a key safety feature.
Important: Don’t leave your jump starter plugged in indefinitely. While modern units have overcharge protection, it’s still best to unplug it once fully charged to preserve battery health.
Step 5: Store Properly After Charging
Once charged, store your jump starter in a cool, dry place—ideally in your car’s glove compartment or trunk. Avoid extreme temperatures. Leaving it in a hot car (over 100°F) or a freezing garage (below 32°F) can damage the battery over time.
If you don’t plan to use it for a while, charge it to about 50–70% before storing. This “storage charge” helps maintain battery health during long periods of inactivity.
Charging Times and What Affects Them
One of the most common questions people ask is: “How long does it take to charge a jump starter?” The answer depends on several factors, including battery capacity, charger output, and the device’s current charge level.
Here’s a general breakdown of charging times based on common jump starter capacities:
| Battery Capacity (mAh) | Charger Output | Estimated Charging Time |
|---|---|---|
| 10,000 mAh | 5W (Standard USB) | 6–8 hours |
| 10,000 mAh | 18W (Fast USB-C) | 3–4 hours |
| 20,000 mAh | 5W (Standard USB) | 12–16 hours |
| 20,000 mAh | 30W (Fast USB-C) | 5–6 hours |
| 30,000 mAh | 30W (Fast USB-C) | 7–9 hours |
As you can see, using a higher-wattage charger significantly reduces charging time. If you’re in a hurry, investing in a compatible fast charger can be a game-changer.
Factors That Slow Down Charging
Even with the right equipment, charging can take longer than expected. Here are some common culprits:
- Low-Quality Cables: Thin or damaged cables can’t deliver full power.
- Weak Power Source: Charging from a laptop USB port or car charger often provides less power than a wall outlet.
- Extreme Temperatures: Batteries charge slower in cold or hot environments.
- Old or Damaged Battery: Over time, lithium-ion batteries lose capacity and charge more slowly.
If your jump starter is taking much longer than usual to charge, it might be a sign that the battery is nearing the end of its life.
Troubleshooting Common Charging Problems
Even with the best care, issues can arise. Here are some common problems people face when trying to charge a jump starter—and how to fix them.
Problem: The Jump Starter Won’t Charge at All
If your device isn’t responding when plugged in, try these steps:
- Check the power outlet with another device to make sure it’s working.
- Inspect the charging cable for fraying or damage.
- Try a different charger or cable if available.
- Press and hold the power button for 10–15 seconds to reset the device.
If none of these work, the internal battery may be completely dead or the charging circuit could be faulty. Contact the manufacturer for support or consider replacement.
Problem: It Charges Very Slowly
Slow charging is often due to using the wrong charger or a weak power source. Always use the recommended charger and plug directly into a wall outlet. Avoid charging in a car unless your jump starter specifically supports 12V car charging.
Also, avoid using the jump starter to charge other devices while it’s being charged. This can overload the system and slow down the process.
Problem: The Battery Drains Quickly After Charging
If your jump starter loses power within days of charging, it could be a sign of battery degradation. Lithium-ion batteries typically last 300–500 charge cycles. If yours is older than 3–4 years, it may simply be time for a new one.
Another possibility is a parasitic drain—some models have small LEDs or displays that stay on even when “off,” slowly draining the battery. Check your manual to see if there’s a true “off” mode or a way to disable standby lights.
Problem: Overheating During Charging
Some warmth is normal during charging, but if your jump starter becomes hot to the touch, unplug it immediately. Overheating can indicate a faulty battery, damaged charger, or internal short circuit.
Never charge a jump starter that feels excessively hot. Let it cool down completely before attempting to charge again. If the problem persists, stop using it and contact the manufacturer.
Best Practices for Maintaining Your Jump Starter
Charging your jump starter correctly is just one part of the equation. To keep it in top condition, follow these best practices for long-term maintenance.
Charge Regularly—Even When Not in Use
Experts recommend charging your jump starter every 3–6 months, even if you haven’t used it. This prevents the battery from entering a deep discharge state, which can permanently damage it.
Set a calendar reminder or tie it to a routine—like checking your smoke detector batteries—to make it a habit.
Avoid Extreme Temperatures
Heat and cold are the enemies of lithium-ion batteries. Don’t leave your jump starter in a hot car during summer or in an unheated garage in winter. Ideal storage temperature is between 50°F and 77°F (10°C–25°C).
If your jump starter has been exposed to extreme cold, let it warm to room temperature before charging or using it.
Keep It Clean and Dry
Dust, moisture, and dirt can interfere with charging ports and internal components. Wipe the exterior with a dry cloth and use a can of compressed air to clean the ports if needed.
Never submerge your jump starter in water or use it in the rain unless it’s specifically rated as waterproof.
Test It Periodically
Every few months, test your jump starter by turning it on and checking the charge level. Some models have a “test” or “boost” button that simulates a jump start. This helps ensure all components are working properly.
If it fails to turn on or the lights flicker, it’s time to investigate or replace it.
Final Thoughts: Be Prepared, Stay Safe
Learning how to charge a jump starter might seem like a small task, but it’s one of the most important steps you can take to ensure your safety on the road. A dead car battery can leave you stranded anywhere—from a remote highway to a snowy parking lot—and having a reliable jump starter can make all the difference.
By following the steps in this guide—checking your charge level, using the right charger, monitoring the process, and maintaining your device—you’ll keep your jump starter ready for any emergency. Remember, it’s not just about owning the tool; it’s about knowing how to use it and care for it.
So the next time you’re tempted to toss your jump starter in the trunk and forget about it, think again. Take five minutes to charge it properly. Your future self—especially that cold morning version—will thank you.
Frequently Asked Questions
How do you charge a jump starter for the first time?
To charge a jump starter for the first time, connect it to a wall outlet using the provided charger and let it charge fully—usually for 3 to 5 hours. This ensures the battery reaches its maximum capacity and performs reliably during future use.
Can you charge a jump starter with a car cigarette lighter?
Yes, many jump starters can be charged using a car’s 12V cigarette lighter socket with the included adapter. However, charging via a wall outlet is generally faster and more efficient for optimal performance.
How long does it take to fully charge a jump starter?
Charging time varies by model, but most jump starters take between 3 to 6 hours to fully charge using a standard wall charger. Always refer to the manufacturer’s instructions for the recommended charging duration.
Is it safe to leave a jump starter charging overnight?
Most modern jump starters have built-in protection against overcharging, making it safe to leave them plugged in overnight. Still, it’s best to unplug once fully charged to extend battery life and ensure safety.
What type of charger do you use to charge a jump starter?
Use the charger that came with your jump starter, typically a USB-C, micro-USB, or DC input charger. Using third-party chargers may damage the device or void the warranty.
How do you know when a jump starter is fully charged?
Most jump starters have LED indicator lights that turn green or stop blinking when charging is complete. Some models also display a battery icon or percentage on a digital screen.