
Featured image for everstart maxx jump starter instructions
Image source: everstartinfo.com
Master your Everstart Maxx jump starter with this clear, step-by-step guide designed to get your vehicle running fast and safely. Follow essential instructions—from proper cable connection to charging best practices—to maximize performance and avoid common mistakes. Stay prepared and protect your device with expert-backed tips for reliable jump-starting every time.
Key Takeaways
- Always charge fully before first use for optimal performance.
- Connect clamps properly: red to positive, black to negative.
- Check LED indicators to confirm power and connection status.
- Use safety mode to prevent reverse polarity damage.
- Store in cool, dry place to extend battery life.
- Test monthly to ensure readiness for emergencies.
📑 Table of Contents
- Why Every Driver Should Have a Jump Starter (And How to Use It Right)
- Getting to Know Your Everstart Maxx Jump Starter
- Step-by-Step: How to Jump Start a Car with the Everstart Maxx
- Using the Everstart Maxx as a Power Bank
- Troubleshooting Common Issues
- Maintenance and Care Tips
- Final Thoughts: Is the Everstart Maxx Worth It?
Why Every Driver Should Have a Jump Starter (And How to Use It Right)
Let’s be honest—getting stranded with a dead car battery is one of those moments that can ruin your entire day. I remember a time when my car wouldn’t start on a freezing winter morning. I had to call a friend to come jump my car, and while I was grateful for their help, I realized I needed a better solution. That’s when I discovered the Everstart Maxx Jump Starter. It’s not just a tool—it’s peace of mind in a compact, portable package. Whether you’re stuck in your driveway, at work, or on a road trip, this device can save you from the frustration of waiting for a jump or paying for a tow.
The Everstart Maxx Jump Starter is more than just a battery booster. It’s a versatile piece of gear that doubles as a power bank for your phone, tablet, and other USB devices. But like any tool, it only works well if you know how to use it. That’s why I’ve put together this step-by-step guide to help you get the most out of your Everstart Maxx Jump Starter. From setup and safety to troubleshooting and maintenance, I’ll walk you through everything you need to know. No fluff, no jargon—just practical, easy-to-follow Everstart Maxx Jump Starter instructions to keep you prepared for anything.
Getting to Know Your Everstart Maxx Jump Starter
What’s in the Box?
When you first unbox your Everstart Maxx Jump Starter, you’ll find a few key components:
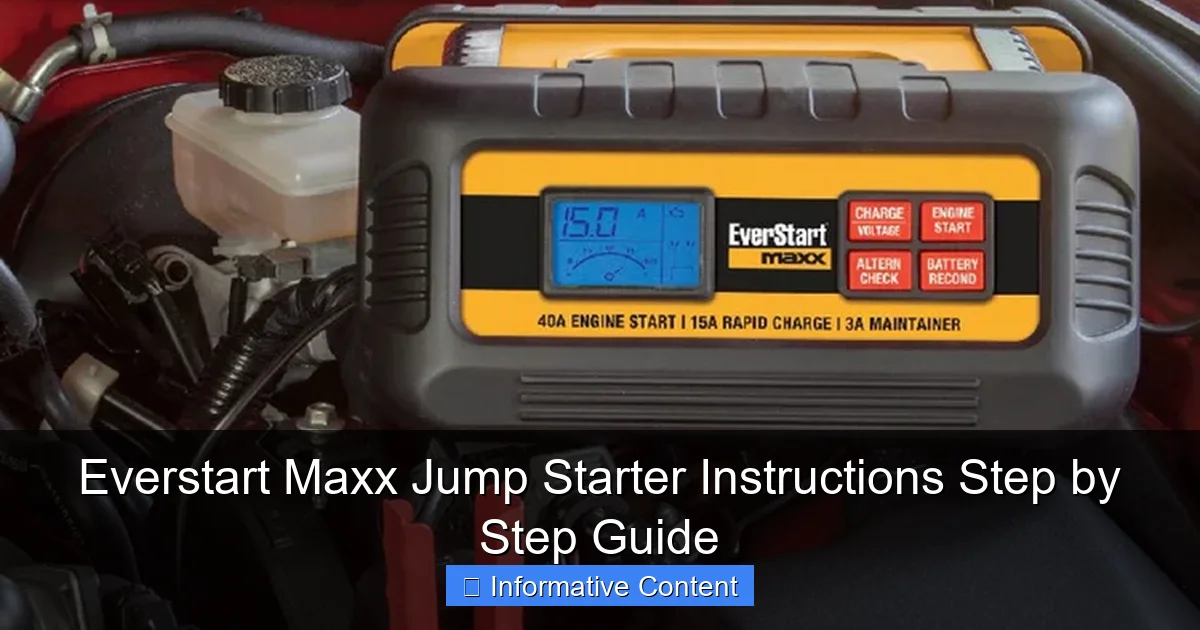
Visual guide about everstart maxx jump starter instructions
Image source: everstartjumpstarter.com
- The jump starter unit (with built-in battery)
- Heavy-duty smart jumper cables (with clamps)
- USB charging cable (usually micro-USB or USB-C, depending on the model)
- User manual (don’t skip this—it’s your best friend!)
- Carrying case or storage bag (on select models)
Take a moment to inspect everything. Make sure the clamps are clean, the cables aren’t frayed, and the unit itself shows no signs of damage. I always like to lay everything out on a table and double-check before stashing it in my trunk. That way, I know exactly what I have when I need it in an emergency.
Key Features and Specs
The Everstart Maxx line comes in several models, but most share these core features:
- Peak Current: Ranges from 1,000A to 2,000A, depending on the model (enough for most cars, trucks, and SUVs)
- Battery Capacity: Typically 12,000mAh to 18,000mAh (great for multiple jumps or charging devices)
- USB Ports: At least one USB-A and one USB-C port for charging phones, tablets, etc.
- Safety Protections: Reverse polarity, over-current, short-circuit, and overcharge protection
- LED Flashlight: Super handy for nighttime emergencies
- LCD Display: Shows battery level, voltage, and error codes (on newer models)
One thing I love is how compact these units are. They fit easily under a seat or in a glovebox. I keep mine in my trunk, wrapped in a microfiber cloth to protect the finish. It’s small enough to forget about—until you need it.
Why “Smart” Jumper Cables Matter
Not all jumper cables are created equal. The Everstart Maxx uses smart cables with built-in safety features. For example:
- If you accidentally connect the clamps backward, the unit won’t spark or damage your battery.
- It detects low voltage and won’t attempt a jump if the car battery is too far gone.
- An audible beep and LED indicator tell you if the connection is correct.
This is a game-changer, especially if you’re not a car expert. I’ve used cheaper jump starters in the past, and the fear of frying my car’s electronics kept me from using them. With the Maxx, I feel confident even when I’m in a hurry.
Step-by-Step: How to Jump Start a Car with the Everstart Maxx
Step 1: Safety First
Before you even touch the jump starter, take these precautions:
- Turn off the car. If the engine is running, shut it off completely.
- Engage the parking brake. This keeps the car from rolling.
- Wear gloves and eye protection. Better safe than sorry.
- Check for battery damage. If the battery is cracked, leaking, or frozen, do NOT jump it. Call a professional.
I learned this the hard way once when I ignored a small crack on my battery. The jump worked, but the battery failed a few days later. Now, I always inspect first.
Step 2: Charge Your Jump Starter (If Needed)
Your Everstart Maxx should be charged regularly—ideally every 3 months, even if you don’t use it. Before attempting a jump:
- Press the power button to check the battery level.
- If it’s below 50%, plug it in. Use the included USB cable and a wall charger (5V/2A recommended).
- A full charge usually takes 3–4 hours. Some models have a fast-charge feature.
Pro tip: I keep my Maxx plugged in overnight once a month. It’s like charging your phone—just part of my routine.
Step 3: Connect the Clamps Correctly
This is the most important part. Follow these steps exactly:
- Open the car’s hood. Locate the battery (usually in the engine bay, but some cars have it in the trunk).
- Attach the red (positive) clamp to the battery’s positive terminal (+). It’s usually marked with a “+” or colored red.
- Attach the black (negative) clamp to a grounded metal part. This could be:
- The battery’s negative terminal (-)
- A bolt or unpainted metal bracket on the engine block
- The car’s chassis (away from the battery)
Why a ground point? Connecting the negative clamp directly to the battery can cause sparks near flammable hydrogen gas. A grounded metal surface reduces that risk.
When you connect the clamps, the jump starter’s LED should flash green (or beep). If it flashes red, double-check your connections. The smart cables will prevent damage, but it’s still frustrating to start over.
Step 4: Power On and Wait
Once the clamps are secure:
- Press the power button on the jump starter.
- Wait 1–2 minutes. This gives the unit time to stabilize the voltage.
- You’ll hear a steady beep or see a solid green light when it’s ready.
Don’t rush this step. I once tried to start my car immediately and got nothing. After waiting 90 seconds, it fired right up. Patience pays off!
Step 5: Start the Car
Now it’s time to start the engine:
- Turn the key or push the start button.
- If the car doesn’t start on the first try, wait 30 seconds and try again. Most Maxx models can handle 3–4 attempts before needing a recharge.
- If it still won’t start, the battery might be too weak. The Maxx has a “boost” mode (hold the power button for 3 seconds) that delivers extra power for stubborn batteries.
When the engine starts, let it run for 30–60 seconds. This lets the alternator begin charging the battery.
Step 6: Disconnect and Stow
After a successful jump:
- Turn off the car (keep the engine running if you plan to drive).
- Disconnect the clamps in reverse order: black first, then red.
- Turn off the jump starter.
- Stow everything in its case. I like to coil the cables neatly to prevent tangles.
Important: Don’t leave the jump starter connected. Even if the car is running, prolonged connection can drain the Maxx’s battery.
Using the Everstart Maxx as a Power Bank
Charging Your Phone or Tablet
One of the best features of the Maxx is its ability to charge devices. Here’s how:
- Make sure the jump starter has at least 20% charge (check the LCD or indicator lights).
- Plug your device into a USB port using the appropriate cable.
- Press the power button. The Maxx will automatically detect the device and start charging.
- Most models have a “low-current” mode for delicate electronics (like smartwatches). Hold the power button for 2 seconds to toggle it.
I’ve used my Maxx to charge my phone on camping trips and even my portable speaker during a picnic. It’s a lifesaver when outlets are scarce.
Powering Other Devices
The Maxx can also power small electronics like:
- Portable fans
- LED work lights
- Bluetooth speakers
- Car vacuums
Just make sure the total draw is under 2.1A (check your device’s specs). I once tried to run a mini-fridge, and the Maxx shut off—thankfully, it has overload protection.
How Long Can It Charge?
Here’s a rough estimate of charging times based on a 15,000mAh model:
| Device | Battery Capacity | Charges (Approx.) |
|---|---|---|
| Smartphone (iPhone 15) | 3,349mAh | 4–5 times |
| Tablet (iPad Air) | 7,600mAh | 1–2 times |
| Bluetooth Speaker | 2,000mAh | 7–8 times |
| Laptop (MacBook Air) | 49.9Wh (~6,800mAh at 7.3V) | 1–2 times (via USB-C) |
Note: Charging speed depends on the cable and port used. For laptops, USB-C PD (Power Delivery) is best.
Troubleshooting Common Issues
The Jump Starter Won’t Turn On
If you press the power button and nothing happens:
- Check the battery level. If it’s below 5%, charge it first.
- Try a different USB cable. Some cables are data-only and won’t charge.
- Reset the unit. Hold the power button for 10 seconds to force a restart.
- Inspect for damage. If the unit is wet or dropped, it may need repair.
I once left my Maxx in a hot car, and the battery swelled slightly. It still worked, but I replaced it as a precaution.
Car Won’t Start Even After a Jump
If the engine cranks but won’t fire:
- The battery might be too far gone. The Maxx can jump a weak battery, but if it’s completely dead, you’ll need a replacement.
- Check for other issues. A bad starter, alternator, or fuel pump can mimic a dead battery.
- Try the boost mode. Some models have a “super boost” feature for older batteries.
Tip: If the car starts but dies after disconnecting the Maxx, the alternator might not be charging the battery. Get it checked ASAP.
USB Ports Not Working
If your devices aren’t charging:
- Clean the ports. Use a dry brush or compressed air to remove dust.
- Test with a different cable. Faulty cables are common culprits.
- Update firmware (if applicable). Newer models may have software updates via USB.
One time, my Maxx’s USB port stopped working after a rainstorm. I dried it with a hairdryer, and it was fine. Lesson learned: keep it in a waterproof bag!
Maintenance and Care Tips
How to Store Your Jump Starter
To keep your Maxx in top shape:
- Store in a cool, dry place. Avoid extreme heat (like a hot car) or cold (below freezing).
- Charge every 3 months. Even if you don’t use it, lithium batteries degrade over time.
- Keep it clean. Wipe the unit with a dry cloth after use.
I keep mine in a sealed plastic bin in my garage. It’s protected from dust and temperature swings.
When to Replace the Battery
Lithium batteries typically last 3–5 years. Signs it’s time to replace:
- Holds less than 50% charge after a full charge
- Swelling or leaking
- Overheats during use
- Fails to jump a car that it used to
Contact Everstart customer service if you’re unsure. Some models have replaceable batteries.
Winter and Summer Tips
Extreme weather affects performance:
- In winter: Keep the Maxx warm before use. A cold battery delivers less power.
- In summer: Don’t leave it in direct sunlight. High heat can damage the battery.
During a ski trip, I kept my Maxx in my jacket pocket until I needed it. It worked perfectly in -10°F weather.
Final Thoughts: Is the Everstart Maxx Worth It?
After months of using the Everstart Maxx Jump Starter, I can confidently say it’s one of the best investments I’ve made for my car. It’s reliable, easy to use, and packed with features that go beyond just jump-starting. I’ve used it to rescue my sister’s car, charge my phone during a blackout, and even power a camping lantern. It’s not perfect—no tool is—but the safety features and smart design make it a standout in a crowded market.
The Everstart Maxx Jump Starter instructions I’ve shared here are based on real-world use, not just the manual. I’ve made mistakes (like rushing the connection process) and learned from them. My hope is that this guide helps you avoid those pitfalls and gives you the confidence to handle any battery emergency. Whether you’re a new driver or a seasoned road warrior, having this tool in your car means never being stranded again. And honestly? That’s worth every penny.
Frequently Asked Questions
How do I use the Everstart Maxx Jump Starter for the first time?
To use your Everstart Maxx Jump Starter, first fully charge it using the included AC adapter. Then, connect the clamps to the battery terminals (red to positive, black to negative) and press the power button to initiate the jump-start process.
What safety precautions should I follow with the Everstart Maxx Jump Starter instructions?
Always ensure the jump starter is powered off before connecting or disconnecting clamps. Avoid touching the clamps together and follow the polarity guidelines (red to positive, black to negative) to prevent sparks or damage.
Can the Everstart Maxx Jump Starter be used on both 12V and 24V batteries?
Most Everstart Maxx models are designed for 12V systems only—check your unit’s manual to confirm voltage compatibility. Using it on an incompatible battery can damage the starter or vehicle.
How long does the Everstart Maxx Jump Starter take to fully charge?
A full recharge typically takes 12–24 hours, depending on the model and remaining battery level. The LED indicator will signal when charging is complete—refer to your Everstart Maxx jump starter instructions for specifics.
Why is my Everstart Maxx Jump Starter not holding a charge?
This may occur due to prolonged inactivity or extreme temperatures. Recharge the unit fully and store it in a cool, dry place. If issues persist, the internal battery might need replacement.
Does the Everstart Maxx Jump Starter have USB ports for charging devices?
Yes, many models include USB ports to charge phones or tablets. Simply plug your device into the port and press the power button to activate—check your Everstart Maxx jump starter instructions for port specifications.