
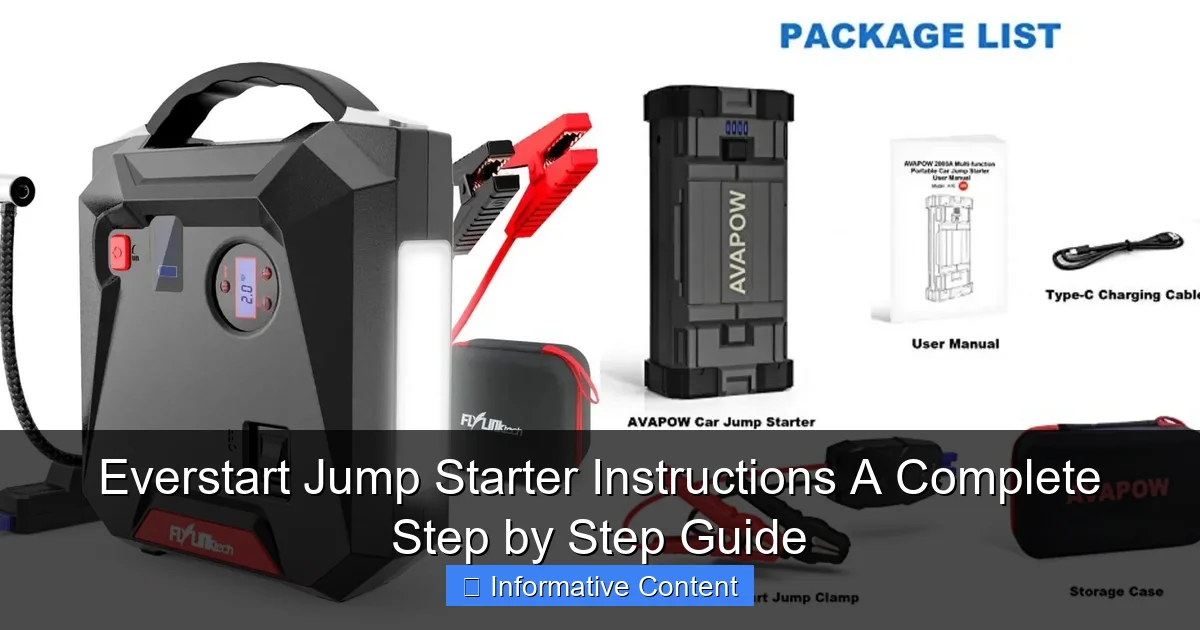
Featured image for everstart jump starter instructions
Image source: docerp.s3.amazonaws.com
Master your Everstart jump starter with this clear, step-by-step guide designed to get your vehicle running safely and efficiently. From proper cable connections to troubleshooting common issues, following the correct Everstart jump starter instructions ensures reliable performance and extends battery life. Always prioritize safety by reviewing the manual and wearing protective gear before use.
Key Takeaways
- Always charge fully before first use to ensure peak performance and battery longevity.
- Connect red clamp first to the positive terminal, then black to a grounded metal surface.
- Never reverse clamps—incorrect polarity can damage the jump starter or vehicle.
- Wait 3–5 minutes after connecting before attempting to start the engine.
- Use safety features like spark-proof tech and overload protection for worry-free jumps.
- Store in a cool, dry place and recharge every 3 months to maintain battery health.
📑 Table of Contents
- Why You Need an Everstart Jump Starter (And How to Use It Right)
- Understanding Your Everstart Jump Starter: Features and Models
- Step-by-Step Everstart Jump Starter Instructions (Safe & Effective Use)
- Charging and Maintaining Your Everstart Jump Starter
- Safety Tips and Common Mistakes to Avoid
- Real-World Scenarios: When and How to Use Your Everstart
- Performance Comparison: Everstart vs. Other Brands
- Final Thoughts: Your Everstart Jump Starter Is a Lifesaver
Why You Need an Everstart Jump Starter (And How to Use It Right)
Let’s be honest—there’s nothing quite as frustrating as turning the key in your car and hearing that dreaded click… click… click instead of a smooth engine start. A dead battery can strike at the worst times: early in the morning before work, late at night in a dimly lit parking lot, or even in your driveway when you’re already running late. I’ve been there, and I’ve learned the hard way that waiting for a jump from a stranger (or worse, a tow truck) isn’t always an option. That’s why I keep an Everstart jump starter in my trunk—it’s like having a personal roadside mechanic in a compact, portable package.
But here’s the thing: owning a jump starter is only half the battle. Knowing how to use it properly—safely and effectively—is what really matters. I’ve seen people panic, reverse the clamps, or even damage their car’s electrical system because they didn’t follow the Everstart jump starter instructions correctly. Whether you’ve just bought one or inherited an older model from a friend, this guide will walk you through every step, from unboxing to troubleshooting. No jargon, no fluff—just practical, real-world advice to get you back on the road fast.
Understanding Your Everstart Jump Starter: Features and Models
Before we dive into the Everstart jump starter instructions, it’s important to know what you’re working with. Everstart, a brand owned by Johnson Controls (the same company behind many car batteries), offers a range of jump starters designed for different needs. From compact 12V units to heavy-duty models with air compressors and USB charging, there’s something for every driver.
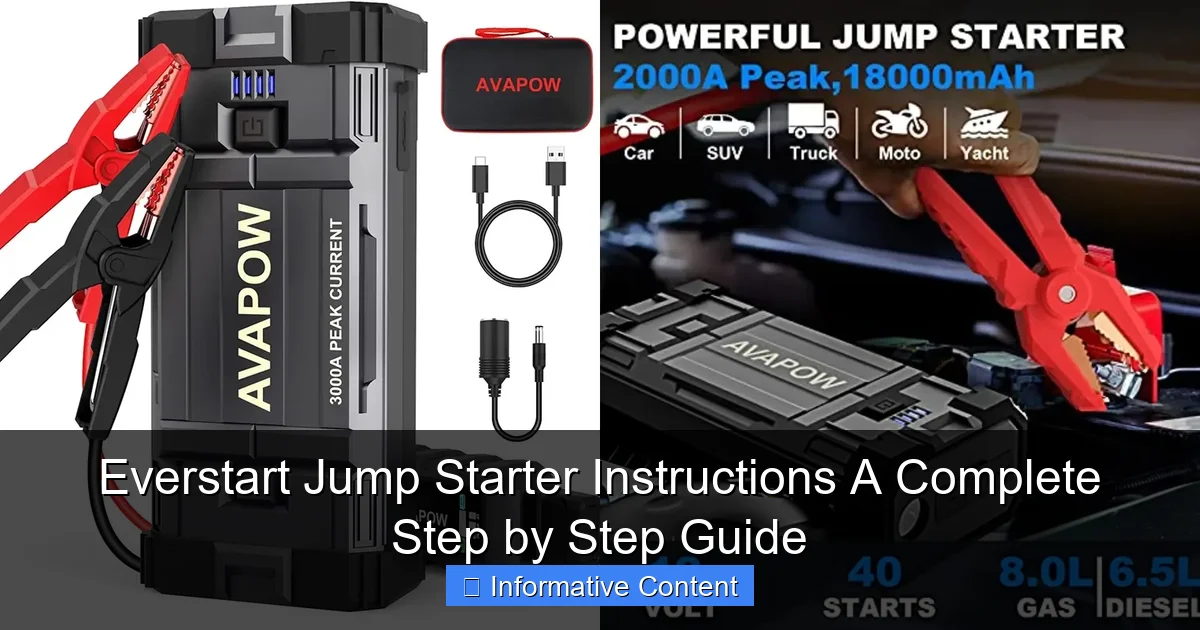
Visual guide about everstart jump starter instructions
Image source: docerp.s3.amazonaws.com
Common Everstart Models and Their Features
Here’s a quick look at some popular models you might own or consider:
- Everstart 12V 1000A Jump Starter: Great for compact cars and sedans. Compact size, includes USB ports for charging phones.
- Everstart 12V 2000A Jump Starter: Ideal for SUVs, trucks, and larger engines. Higher cranking power and often includes a built-in LED light.
- Everstart 12V 2000A with Air Compressor: All-in-one solution—jump start, inflate tires, charge devices. Perfect for road trips.
- Everstart 12V 1500A Portable Jump Starter: Mid-range option with smart safety features like reverse polarity protection.
Pro tip: Always check your owner’s manual or the label on the unit to confirm your model’s specifications. The amperage (e.g., 1000A, 2000A) tells you how powerful it is—higher numbers mean it can handle larger engines or colder temperatures.
Key Components You Need to Know
Your Everstart jump starter has a few essential parts:
- Clamps (Red and Black): Red is positive (+), black is negative (–). These connect to your car battery.
- Power Button/LED Indicators: Shows battery level, charging status, and error alerts.
- USB Ports: For charging phones, tablets, or other devices.
- Air Compressor Hose (if included): For inflating tires or sports equipment.
- Built-in LED Light: Super helpful in low-light situations.
Fun fact: Many modern Everstart models use lithium-ion batteries, which are lighter and hold a charge longer than older lead-acid jump starters. But they still need to be recharged every 3–6 months, even if you don’t use them.
Step-by-Step Everstart Jump Starter Instructions (Safe & Effective Use)
Now let’s get to the heart of the matter: how to use your Everstart jump starter correctly. I’ll walk you through the process as if we’re doing it together. Follow these steps every time—no skipping!
Step 1: Prepare Your Vehicle and Jump Starter
First, park your car on a flat, safe surface—away from traffic. Turn off the engine, lights, and radio. If your car has a manual transmission, put it in neutral. For automatics, leave it in park. Apply the parking brake. This prevents the car from rolling and reduces electrical load.
Next, grab your Everstart jump starter. Make sure it’s charged. Most models have a battery indicator (usually 4 LEDs). If it’s below 50%, plug it into a wall outlet or USB power source for at least 4–6 hours. A fully charged unit is your best friend.
Step 2: Locate the Battery and Clean the Terminals
Pop the hood and find your car battery. It’s usually a black box with two metal terminals (one red, one black). If the terminals are corroded (covered in white or green crust), clean them with a wire brush or a mix of baking soda and water. Corrosion blocks the connection and can prevent a jump.
Pro tip: If you can’t access the battery (some cars hide it under the dashboard or in the trunk), look for jump posts—metal points labeled “+” and “–” near the engine. These are safe to use instead.
Step 3: Connect the Clamps (Order Matters!)
This is where most mistakes happen. Always follow this order:
- Red clamp to the positive terminal (+) on the battery (or jump post).
- Black clamp to a grounded metal surface (not the negative battery terminal). Use an unpainted bolt, bracket, or engine block. This reduces the risk of sparks near the battery.
Wait! Why not the negative terminal? Because connecting the black clamp directly to the negative post can cause a spark near hydrogen gas that may be venting from the battery—especially if it’s old or damaged. Grounding elsewhere is safer.
Double-check: Clamps should be secure and not touching each other or any moving parts.
Step 4: Power On the Jump Starter and Start Your Car
Press the power button on your Everstart. You should see the battery indicator light up. Some models have a “boost” or “crank” button—press it if your car doesn’t start right away. This gives a burst of extra power.
Now, get in the car, turn the key, and start the engine. If it cranks but doesn’t start, wait 15–30 seconds, then try again. Never crank for more than 5 seconds at a time—overheating can damage the starter or jump unit.
Success! Once the engine runs, let it idle for a minute to charge the battery.
Step 5: Disconnect the Clamps (Reverse Order!)
Disconnect in the reverse order you connected:
- Remove the black clamp from the ground point.
- Remove the red clamp from the positive terminal.
- Turn off the jump starter and store it back in your trunk.
Important: Never let the clamps touch each other while connected to the car. It can cause a short circuit.
Charging and Maintaining Your Everstart Jump Starter
Your jump starter won’t do you any good if it’s dead when you need it. Proper charging and maintenance are key to keeping it reliable for years.
How to Charge Your Everstart Jump Starter
Most models come with a wall charger and a 12V car charger. Here’s how to use them:
- Wall Charger: Plug into a standard outlet. A full charge takes 4–6 hours. Some models have a “fast charge” mode (check your manual).
- 12V Car Charger: Plug into your car’s cigarette lighter. Only charge when the engine is running—otherwise, you’ll drain your car battery.
Tip: Charge after every use, even if it seems to have power left. Lithium-ion batteries perform best when kept above 50%.
Storage and Long-Term Care
Store your Everstart in a cool, dry place—ideally between 32°F and 86°F (0°C to 30°C). Extreme heat or cold can degrade the battery. If you live in a cold climate, keep it in your garage or home, not the trunk.
Every 3 months, do a “refresh charge” even if you haven’t used it. This prevents the battery from going into deep discharge, which can shorten its lifespan.
Check the clamps and cables for fraying or damage. Replace the unit if you see cracks, leaks, or the battery won’t hold a charge.
Troubleshooting Common Charging Issues
- Jump starter won’t charge: Try a different outlet or charger. If it still doesn’t work, the battery may be dead.
- LEDs flash or show error: Some models have error codes (e.g., “E1” for low voltage). Refer to your manual.
- Charging takes too long: Use the wall charger, not the 12V car adapter, for faster results.
Safety Tips and Common Mistakes to Avoid
Jump starting is simple, but a few mistakes can lead to sparks, damaged electronics, or even injury. Let’s talk about how to stay safe.
Never Reverse the Clamps
I can’t stress this enough: Red to positive, black to ground. Reversing them can fry your car’s computer, blow fuses, or damage the jump starter. Some Everstart models have reverse polarity protection, but don’t rely on it—always check before connecting.
Don’t Jump a Frozen or Swollen Battery
If the battery case is cracked, bulging, or frozen (common in winter), do not attempt a jump. A frozen battery can explode. Replace it instead.
Avoid Jump Starting While the Engine is Running
Never connect or disconnect the jump starter while the car is running. This can send a voltage spike through the system and damage sensitive electronics like the ECU or radio.
Watch for Sparks and Smoke
A small spark when connecting the last clamp is normal. But if you see large sparks, smoke, or smell burning, disconnect immediately and call a mechanic. There may be a short circuit or internal fault.
Use in Well-Ventilated Areas
Batteries can emit hydrogen gas, which is flammable. Always jump start outdoors or in a garage with the door open—never in a closed space.
Real-World Scenarios: When and How to Use Your Everstart
Let’s look at a few common situations where your Everstart jump starter can save the day—and how to handle them.
Scenario 1: Dead Battery in a Parking Lot
You’re shopping, and your car won’t start. The parking lot is dimly lit, and no one around can help.
What to do:
- Turn off all lights and accessories.
- Use the Everstart’s built-in LED light to see the battery.
- Follow the step-by-step instructions above. The process takes about 5 minutes.
- Once started, drive for at least 20 minutes to recharge the battery.
Bonus: Use the USB port to call a friend or check your location.
Scenario 2: Cold Winter Morning
It’s -10°F, and your car battery is weak. The jump starter is in the trunk, which is frozen shut.
What to do:
- Warm the jump starter inside your house for 30 minutes before use. Cold batteries lose power.
- Clean the battery terminals with a cloth (frost can act as an insulator).
- Connect the clamps, wait 30 seconds, then start the car. It may take a few tries.
Pro tip: Keep a small towel in your trunk to wipe off snow and ice.
Scenario 3: Jump Starting a Friend’s Car
You’re helping a friend, but their battery is in a tight spot.
What to do:
- Use the jump posts if the battery is hard to reach.
- Keep the clamps away from belts, fans, and moving parts.
- Stay calm—your confidence helps them stay calm too.
Performance Comparison: Everstart vs. Other Brands
How does Everstart stack up against popular jump starters like NOCO, DBPOWER, or GOOLOO? Let’s compare key factors.
| Feature | Everstart 2000A | NOCO Boost Plus GB40 | DBPOWER 2000A |
|---|---|---|---|
| Peak Amps | 2000A | 1000A | 2000A |
| Battery Type | Lithium-ion | Lithium-ion | Lithium-ion |
| USB Ports | 2 (2.4A) | 1 (2.4A) | 2 (2.1A) |
| Built-in Light | Yes (LED) | Yes (7 modes) | Yes (LED) |
| Air Compressor | Yes (in some models) | No | Yes (in some models) |
| Reverse Polarity Protection | Yes | Yes | Yes |
| Warranty | 1 year | 1 year | 2 years |
| Price (approx.) | $80–$120 | $100–$150 | $90–$130 |
Everstart holds its own, especially for the price. It’s not the most feature-rich, but it’s reliable, widely available at Walmart, and easy to use. The inclusion of air compressors in some models gives it an edge for all-around utility.
Final Thoughts: Your Everstart Jump Starter Is a Lifesaver
Look, I’ve used my Everstart jump starter more times than I can count—early mornings, late nights, even during a snowstorm when the tow truck was hours away. It’s never let me down. And the best part? Once you follow the Everstart jump starter instructions a few times, it becomes second nature. No more waiting for help, no more stress.
Remember: keep it charged, store it properly, and follow the steps in order. Whether you’re a new driver or a seasoned pro, this little device gives you peace of mind. And in a world where car troubles can derail your day, that’s worth its weight in gold.
So the next time you hear that click… click… click, don’t panic. Grab your Everstart, take a deep breath, and follow the plan. You’ve got this. Safe driving—and happy jumping!
Frequently Asked Questions
How do I use the Everstart jump starter for the first time?
To use your Everstart jump starter, fully charge it before the first use (takes 8-12 hours). Connect the red clamp to the battery’s positive terminal and the black clamp to a grounded metal surface, then start your vehicle. Always follow the safety instructions in your model’s manual.
What should I do if my Everstart jump starter won’t turn on?
If your Everstart jump starter isn’t powering on, ensure it’s charged for at least 4 hours. Check for visible damage to the power button or cables, and reset the device by holding the power button for 10 seconds. If issues persist, contact Everstart support.
Can I use an Everstart jump starter on a 12V and 24V battery?
Most Everstart jump starter models are designed for 12V systems only—using them on 24V batteries may damage the device. Check your product manual for voltage compatibility; some heavy-duty models support both 12V and 24V systems.
How long does the Everstart jump starter hold its charge?
The Everstart jump starter retains its charge for 3-6 months when stored properly. Recharge it every 3 months if unused to maintain optimal battery health, especially before winter or long-term storage.
Are there safety precautions for using the Everstart jump starter?
Always wear safety goggles and avoid smoking near the battery. Ensure the clamps don’t touch each other or metal surfaces during use, and never charge the jump starter in wet conditions. Follow all safety guidelines in the Everstart jump starter instructions.
How do I charge my Everstart jump starter?
Use the included AC charger or 12V car adapter to charge your Everstart jump starter. Plug it into a wall outlet or vehicle port, and let it charge until the LED indicator shows 100%. Avoid overcharging to prolong battery life.