
Featured image for energizer jump starter instructions
Image source: motorverso.com
Master your Energizer jump starter with this clear, step-by-step guide to safely jump-start your vehicle in minutes. Follow essential precautions, proper cable connections, and activation tips to avoid damage and ensure reliable performance every time.
Key Takeaways
- Always inspect clamps for damage before connecting to battery terminals.
- Charge fully before first use to ensure maximum jump-starting power.
- Connect red clamp first to positive terminal, then black to ground.
- Never jump-start frozen batteries—thaw them first to avoid hazards.
- Wait 3–5 minutes between attempts to prevent device overheating.
- Store in cool, dry place to maintain battery life and performance.
📑 Table of Contents
- Why a Reliable Jump Starter Can Save Your Day
- Understanding Your Energizer Jump Starter: Features and Components
- Step-by-Step Energizer Jump Starter Instructions: Jump Starting Your Vehicle
- Using Your Energizer Jump Starter for Other Tasks
- Charging and Maintaining Your Jump Starter
- Troubleshooting Common Issues and Safety Tips
- Comparison Table: Energizer Jump Starter Models at a Glance
- Final Thoughts: Be Prepared, Not Panicked
Why a Reliable Jump Starter Can Save Your Day
Picture this: you’re running late for work, the kids are in the backseat, and just as you turn the key, silence. The engine won’t start. The battery is dead. Again. It’s a scenario many of us have faced, and in those moments, a reliable jump starter isn’t just a convenience—it’s a lifeline. That’s where the Energizer jump starter comes in. Known for its compact design, powerful performance, and user-friendly interface, this portable device has become a go-to tool for drivers, DIYers, and even weekend warriors.
But here’s the catch: having a jump starter is only half the battle. Knowing how to use it safely and effectively is what truly matters. Whether you’re a seasoned mechanic or someone who’s never opened a car hood, the Energizer jump starter instructions can make all the difference. In this guide, I’ll walk you through every step, from unboxing to troubleshooting, with practical tips, real-life scenarios, and clear explanations. No fluff, no jargon—just what you need to get back on the road with confidence.
Understanding Your Energizer Jump Starter: Features and Components
Before we dive into the actual steps, let’s get familiar with your device. Think of this section as your “meet and greet” with the Energizer jump starter. Knowing what each part does will help you use it correctly and avoid common mistakes.
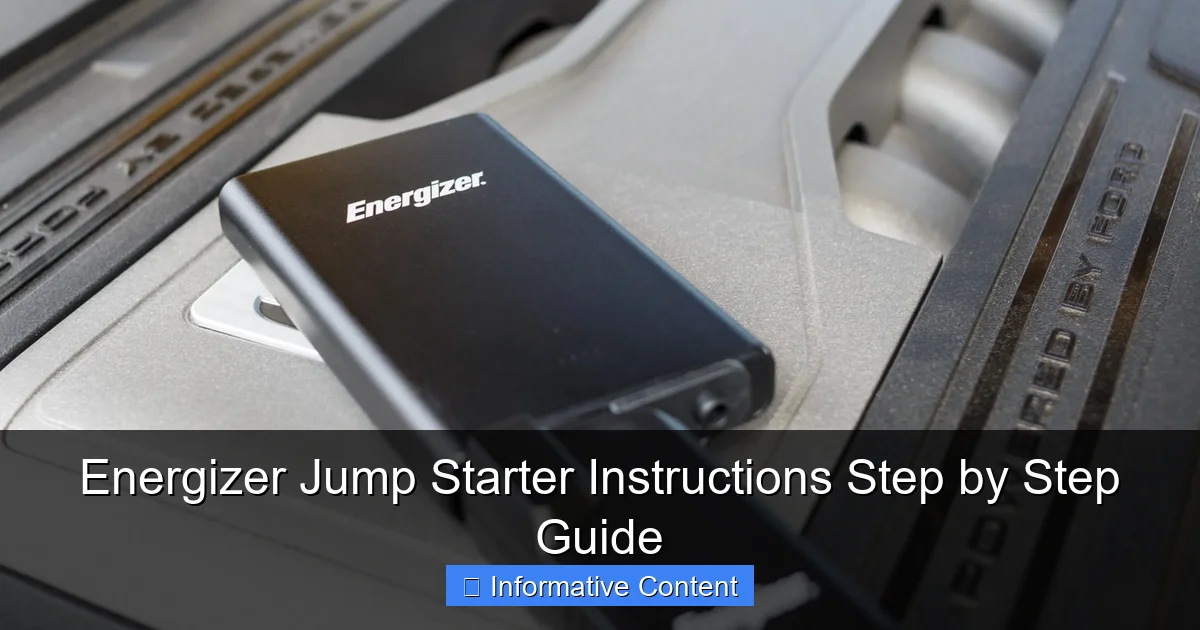
Visual guide about energizer jump starter instructions
Image source: motorverso.com
Key Components You Need to Know
- Jump Starter Unit: The main body houses the lithium-ion battery, circuitry, and ports. It’s compact—about the size of a thick hardcover book—and often includes a built-in LED flashlight.
- Smart Clamps (Jumper Cables): These are the red (positive) and black (negative) alligator clips. They’re “smart” because they include safety features like reverse polarity protection and spark resistance.
- USB Charging Ports: Most models have 1–2 USB-A ports to charge phones, tablets, or other devices. Some newer models even offer USB-C.
- 12V Power Socket: A cigarette lighter-style outlet to power 12V accessories like air compressors or coolers.
- LED Indicator Lights: These show battery level, charging status, and error alerts (e.g., reverse connection).
- Power Button: Turns the unit on/off and activates the flashlight.
For example, the Energizer EN500 is a popular mid-range model with 1200 peak amps, dual USB ports, and a 10,000mAh battery. It’s perfect for sedans, SUVs, and even small trucks. But even if you have a different model, the core components are similar.
What’s in the Box?
When you first open the package, you should find:
- The jump starter unit
- Smart jumper cables (usually stored in a zippered pouch)
- USB charging cable (typically USB-A to micro-USB)
- Wall charger (some kits include a 12V car charger)
- User manual (keep this handy!)
Pro tip: Before your first use, charge the jump starter fully. Most units come with a 30–50% charge, but a full charge ensures peak performance when you need it most.
Step-by-Step Energizer Jump Starter Instructions: Jump Starting Your Vehicle
Now, let’s get to the heart of the matter: how to use your Energizer jump starter. I’ll break it down into clear, actionable steps. Follow these, and you’ll avoid the common pitfalls that even experienced users sometimes fall into.
Step 1: Safety First—Park and Prep
Before touching anything, make sure your car is in a safe spot:
- Park on a flat, dry surface (not on a steep incline or in standing water).
- Turn off the ignition, headlights, and any accessories (radio, AC, etc.).
- Engage the parking brake and put the transmission in park (or first gear for manual).
Why this matters: A dead battery can sometimes cause electrical surges. Reducing the load on the system minimizes the risk of sparks or damage.
Step 2: Locate the Battery
Most batteries are under the hood, but some (like in older Hondas or BMWs) are in the trunk or under the rear seats. If you’re unsure, check your owner’s manual.
Once you’ve found it, look for:
- The positive (+) terminal (usually red or marked with a “+”).
- The negative (-) terminal (usually black or marked with a “-”).
- A clean, unpainted metal surface nearby (for grounding the black clamp if no negative terminal is accessible).
Real-life example: I once helped a friend with a 2005 Honda Accord whose battery was in the trunk. We had to remove a small panel to access it—good thing we read the manual first!
Step 3: Connect the Clamps in the Right Order
This is where many people make mistakes. Order matters. Follow these steps:
- Attach the red (positive) clamp to the positive terminal of the car battery.
- Attach the black (negative) clamp to the negative terminal or a clean, unpainted metal part (like a bolt or bracket). Avoid the battery’s negative terminal if it’s corroded.
⚠️ Never connect the black clamp to the negative battery terminal first—it can cause a spark near the battery, which is dangerous if there’s hydrogen gas buildup.
Once connected, you should see the jump starter’s LED lights flash or stay solid. This means it’s ready.
Step 4: Start the Vehicle
Now, turn the ignition key or press the start button. The engine should crank and start within a few seconds. If it doesn’t:
- Wait 30 seconds, then try again.
- Don’t crank for more than 5 seconds at a time—this can overheat the starter.
Success! The car starts? Great. But don’t disconnect yet.
Step 5: Disconnect in Reverse Order
To avoid sparks or short circuits:
- Remove the black clamp first.
- Then remove the red clamp.
Stow the cables in their pouch. Now, let the engine run for at least 15–20 minutes to recharge the car battery. If you’re in a hurry, drive around instead of idling.
Using Your Energizer Jump Starter for Other Tasks
A jump starter isn’t just for emergencies. It’s a versatile tool that can power your life in unexpected ways. Let’s explore some of its other uses—and how to do them safely.
Charging Devices on the Go
Got a dead phone at the campsite? No problem. Most Energizer models have USB ports that can charge:
- Smartphones (iPhone, Android)
- Tablets
- Bluetooth speakers
- Portable fans
Just plug in your device’s charging cable and press the power button. The LED lights will show how much charge remains. For example, the EN500 can charge an iPhone 13 about 3 times on a full battery.
Tip: Use the jump starter as a power bank before jump starting. Why? Because jump starting drains the battery fast. If you need both, charge devices first, then use it for the car.
Powering 12V Accessories
Need to inflate a tire? Run a cooler? The 12V socket lets you plug in:
- Air compressors
- Vacuum cleaners
- Heated blankets
- Portable coolers
Just connect the accessory, turn on the jump starter, and use it like a regular car outlet. But keep an eye on the battery level—high-draw devices can drain it quickly.
Using the Built-in Flashlight
Many models include a bright LED flashlight, perfect for:
- Working under the hood at night
- Finding keys in a dark parking lot
- Emergency signaling
Press and hold the power button for 3 seconds to turn it on. Some models have multiple modes (steady, strobe, SOS).
Charging and Maintaining Your Jump Starter
Your jump starter is only as good as its charge. Proper maintenance ensures it’s ready when you need it. Here’s how to keep it in top shape.
How to Recharge the Battery
After each use (or every 3–6 months if unused):
- Plug the wall charger into a standard outlet.
- Connect the USB cable to the jump starter’s input port (usually micro-USB or USB-C).
- Wait until all LED lights turn solid green—this means it’s fully charged.
Charging time: 4–6 hours for most models. Don’t leave it charging overnight—overcharging can degrade the battery.
Pro tip: Store the jump starter at 50–80% charge if you won’t use it for months. This prolongs battery life.
Storage and Care Tips
- Temperature: Store in a cool, dry place (32°F–104°F / 0°C–40°C). Avoid hot trunks or freezing garages.
- Cleanliness: Wipe the clamps and ports with a dry cloth. Never use water or solvents.
- Check Monthly: Press the power button to check the charge level. If it’s below 25%, recharge it.
Real-life example: A buddy of mine left his jump starter in his truck during a heatwave. The battery swelled, and it never worked again. Heat is the enemy!
Troubleshooting Common Issues and Safety Tips
Even the best devices can have hiccups. Here’s how to handle common problems—and stay safe while doing it.
Jump Starter Won’t Turn On
- Cause: Dead battery or faulty power button.
- Fix: Recharge for at least 30 minutes. If it still won’t turn on, contact Energizer support.
Engine Won’t Start After Connection
- Cause: Loose clamps, weak jump starter, or a completely dead battery.
- Fix: Double-check the clamp connections. Wait 1–2 minutes between attempts. If it still fails, the car battery may need replacement.
Clamps Spark or Overheat
- Cause: Reverse polarity (connecting red to negative) or a short circuit.
- Fix: Disconnect immediately. The jump starter’s safety features should shut it down. Reconnect correctly.
USB Port Not Charging Devices
- Cause: Low battery or a faulty cable.
- Fix: Recharge the jump starter first. Try a different USB cable.
Safety First: What NOT to Do
- Never jump start a damaged or leaking battery.
- Don’t use the jump starter in the rain or near water.
- Never connect the clamps to the same terminal (causes a short circuit).
- Don’t leave the jump starter connected to the car for more than 30 minutes.
Remember: Safety features like reverse polarity protection are great, but they’re not foolproof. Always double-check your connections.
Comparison Table: Energizer Jump Starter Models at a Glance
Not sure which model is right for you? Here’s a quick comparison of popular Energizer jump starters to help you choose.
| Model | Peak Amps | Battery Capacity | USB Ports | 12V Socket | Flashlight | Best For |
|---|---|---|---|---|---|---|
| Energizer EN200 | 800A | 8,000mAh | 1x USB-A | No | Yes | Small cars, sedans |
| Energizer EN500 | 1200A | 10,000mAh | 2x USB-A | Yes | Yes | SUVs, trucks, frequent use |
| Energizer EN900 | 2000A | 18,000mAh | 1x USB-A, 1x USB-C | Yes | Yes (SOS mode) | Large trucks, RVs, emergencies |
Note: All models include smart clamps, LED indicators, and overcharge protection.
Final Thoughts: Be Prepared, Not Panicked
Let’s be honest: car troubles are stressful. But having an Energizer jump starter in your trunk—and knowing how to use it—can turn panic into peace of mind. You’ve learned how to jump start safely, charge devices, troubleshoot issues, and maintain your device for years of reliable service.
Think of it as a modern-day Swiss Army knife for your car. It’s compact, versatile, and always ready. Whether you’re stranded on a back road, camping in the woods, or just need to charge your phone during a long drive, this little device has your back.
So, here’s my final tip: practice before you need it. Try connecting the clamps to a working battery (with the engine off) to get comfortable with the process. Keep the manual in the pouch, and check the charge every few months. When the moment comes, you’ll be ready—calm, confident, and in control.
Remember, the Energizer jump starter instructions aren’t just a guide—they’re your ticket to independence on the road. Stay safe, stay charged, and drive on!
Frequently Asked Questions
How do I use an Energizer jump starter for the first time?
To use your Energizer jump starter, first ensure it’s fully charged. Connect the red clamp to the positive (+) terminal and the black clamp to a grounded metal surface on your vehicle, then start the engine.
What are the correct Energizer jump starter instructions for safe operation?
Always follow the Energizer jump starter instructions: attach clamps correctly (red to positive, black to ground), power on the unit, and start the vehicle within 30 seconds to avoid overheating.
Can I leave the Energizer jump starter connected while the car is running?
No, disconnect the jump starter once the engine starts. Leaving it connected while the alternator charges the battery may damage the unit or vehicle electronics.
How long does it take to recharge an Energizer jump starter after use?
Recharging typically takes 3–5 hours, depending on the model and remaining charge. Use the included charger and follow the Energizer jump starter instructions for optimal battery life.
Why isn’t my Energizer jump starter powering on?
Check the charge level and recharge if needed. Ensure the power button is held for 3–5 seconds, as some models require a longer press to activate.
Can I use the Energizer jump starter to charge other devices?
Yes, many models include USB ports for charging phones or tablets. Refer to your manual to confirm compatibility and avoid exceeding the unit’s output limits.