
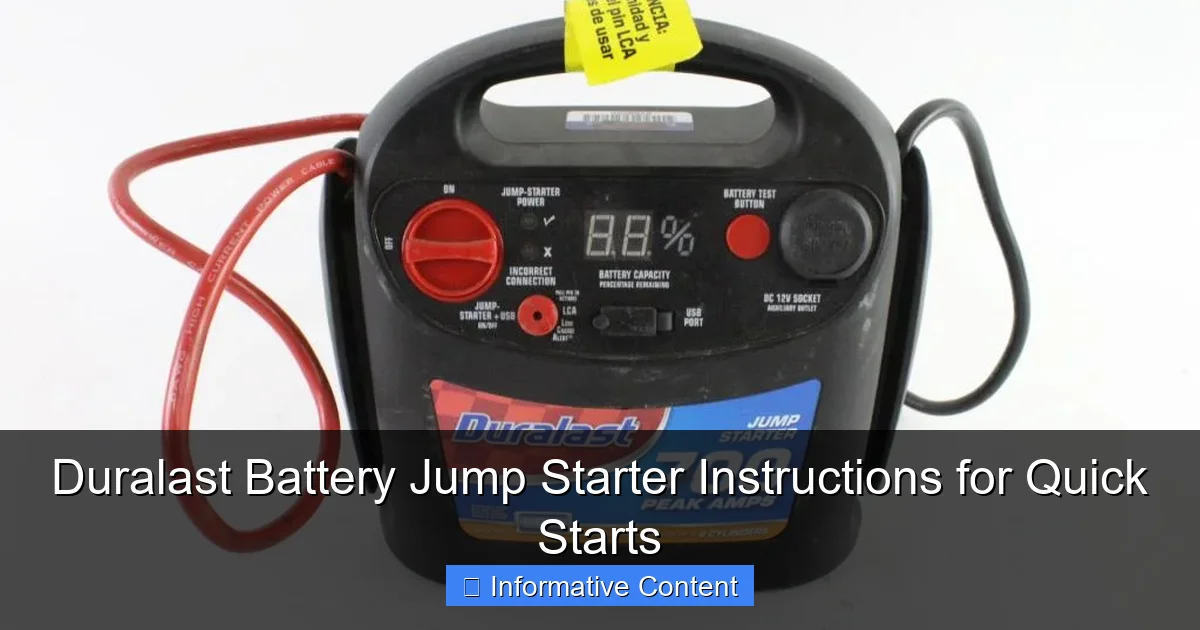
Featured image for duralast battery jump starter instructions
Image source: everstartjumpstarter.com
Master your Duralast Battery Jump Starter with these simple, foolproof instructions for fast, reliable engine starts every time. Designed for safety and efficiency, always connect the clamps to the correct battery terminals—red to positive (+), black to negative (−)—and power on the unit before attempting to jump-start. Follow the LED indicators and built-in safety alerts to avoid reverse polarity and short circuits, ensuring a quick start without damage to your vehicle or device.
Key Takeaways
- Read the manual first: Always review Duralast jump starter instructions before use to ensure safety.
- Charge fully before use: A full charge ensures maximum power for reliable jump starts.
- Connect red first, then black: Attach clamps in order to avoid sparks or damage.
- Check compatibility: Verify your vehicle’s voltage matches the jump starter’s output.
- Store in cool, dry place: Proper storage extends battery life and performance.
- Test monthly if unused: Maintain charge with periodic checks to stay prepared.
📑 Table of Contents
- Why You Need a Duralast Battery Jump Starter (And How to Use It Right)
- Understanding Your Duralast Jump Starter: What’s in the Box?
- Step-by-Step Duralast Battery Jump Starter Instructions
- Common Mistakes and How to Avoid Them
- Maintenance and Care: Keeping Your Duralast Jump Starter Ready
- When a Jump Start Isn’t Enough: Troubleshooting and Next Steps
- Final Thoughts: Confidence When You Need It Most
Why You Need a Duralast Battery Jump Starter (And How to Use It Right)
Ever been stranded in a parking lot at 6 a.m. with a car that refuses to start? The silence after turning the key, the sinking feeling in your stomach, the slow realization that you’re late—again. It’s a scenario most of us have faced, and it’s one of the many reasons a portable jump starter, like the Duralast battery jump starter, has become a must-have in every driver’s emergency kit.
I remember my first experience with a dead battery. I was in a remote area, no cell service, and my jumper cables were useless because no one stopped to help. That’s when I invested in a Duralast jump starter. It didn’t just save my day—it gave me peace of mind. Unlike traditional jumper cables that rely on another vehicle, a Duralast battery jump starter is a self-contained powerhouse. It’s compact, reliable, and designed for quick, safe jump starts without needing a second car. Whether you’re a daily commuter, weekend adventurer, or just someone who hates being stranded, knowing Duralast battery jump starter instructions can make all the difference when your car won’t start.
Understanding Your Duralast Jump Starter: What’s in the Box?
Before you even think about jump-starting your car, it’s essential to understand what you’re working with. Duralast offers several models—ranging from 800 to 1200 peak amps—but they all share a common design philosophy: simplicity, safety, and portability.
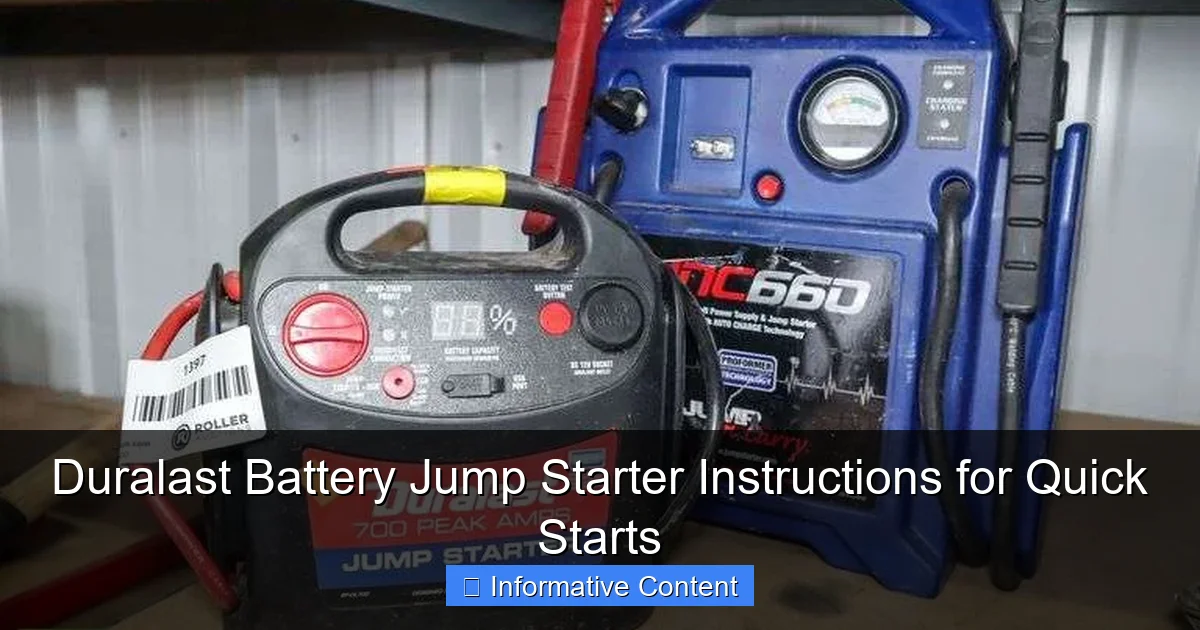
Visual guide about duralast battery jump starter instructions
Image source: auctioneersoftware.s3.amazonaws.com
What Comes in the Kit
- Jump starter unit – The main battery pack, usually lithium-ion, with a digital display showing charge level and status.
- Smart jumper cables (clamps) – These are heavy-duty, insulated cables with built-in safety features like reverse polarity protection and spark-proof design.
- USB charging cable – For recharging the jump starter via wall outlet, car charger, or power bank.
- Wall charger – A standard 120V AC adapter for home charging.
- Carrying case – Durable and compact, perfect for storing in your trunk or glove box.
- User manual – Your go-to guide for setup, usage, and troubleshooting.
Key Features That Set Duralast Apart
Duralast jump starters aren’t just about raw power. They’re engineered with safety and convenience in mind. Here’s what I’ve noticed after using mine for over a year:
- Reverse polarity protection – If you accidentally connect the clamps backward, the unit won’t spark or damage your car’s electronics.
- LED flashlight – A surprisingly useful feature during nighttime emergencies. Some models even have SOS flashing modes.
- USB power bank – Need to charge your phone? No problem. The jump starter doubles as a power bank.
- Digital voltage display – Shows the battery’s charge level so you never get caught with a dead jump starter.
- Low-temperature performance – Works well in cold weather, unlike older lead-acid models that struggle below freezing.
Pro tip: Always charge your Duralast jump starter fully before storing it. Lithium batteries degrade faster when left in a discharged state. I keep mine plugged in for a quick charge once a month, even if I haven’t used it.
Step-by-Step Duralast Battery Jump Starter Instructions
Now, let’s get into the heart of the matter: how to use your Duralast jump starter safely and effectively. I’ve followed these steps countless times, and they’ve never failed me—even in sub-zero temperatures.
Step 1: Safety First – Park and Prepare
- Park your vehicle on a flat, stable surface. Turn off the engine, headlights, radio, and any other electrical accessories.
- Engage the parking brake. If you’re on a hill, use wheel chocks.
- Ensure both vehicles (if using another car as backup) are not touching. This prevents ground loop issues.
- Open the hood and locate your car’s battery. Clean any corrosion around the terminals if needed.
Real-life example: Once, I jumped a friend’s SUV in a snowstorm. The battery terminals were caked in ice. I used a wire brush and a little elbow grease to clean them—without that, the clamps wouldn’t have made proper contact.
Step 2: Power On the Duralast Jump Starter
- Press and hold the power button on the Duralast unit for 3 seconds until the screen lights up.
- Check the battery level. You should see at least 75% charge for a reliable jump. If it’s low, charge it first.
- The unit may perform a self-diagnostic. Wait for it to complete—usually takes 5-10 seconds.
Tip: If the screen shows “Low Voltage,” don’t panic. Plug it in for 15 minutes and try again. Lithium batteries sometimes need a “wake-up” charge after long storage.
Step 3: Connect the Clamps – Red First, Then Black
- Take the smart jumper cables and connect the red (positive) clamp to the positive terminal of your car battery. It’s usually marked with a “+” and often red.
- Connect the black (negative) clamp to a ground point—not the battery’s negative terminal. I recommend a bare metal part of the engine block or a bolt on the chassis. This reduces the risk of sparks near the battery, which could ignite hydrogen gas.
Why ground matters: Connecting to the negative terminal directly can cause sparks. A ground point is safer and just as effective. I learned this the hard way when I once got a small spark near my battery—luckily, no explosion, but it was a wake-up call.
Step 4: Wait and Start the Engine
- Once the clamps are connected, wait 30 seconds to 1 minute. This allows the Duralast to transfer power to your car’s battery.
- Some models have a “Ready” light that turns green. If yours does, wait for it.
- Now, try starting your car. Turn the key or press the start button. If it starts, great! If not, wait another minute and try again.
Pro tip: If the engine cranks slowly but doesn’t start, the Duralast might need more time to charge your car’s battery. Leave the clamps connected for 2-3 minutes before retrying.
Step 5: Disconnect in Reverse Order
- Once the engine is running, disconnect the black clamp first, then the red.
- Do not let the clamps touch each other or any metal while connected.
- Return the cables to the Duralast unit and power it off.
Bonus step: Let your car idle for at least 15 minutes or take a short drive to recharge the battery. A jump start doesn’t fix a bad alternator or a deeply discharged battery.
Common Mistakes and How to Avoid Them
Even with clear Duralast battery jump starter instructions, mistakes happen. I’ve made a few myself, and I’ve seen others make them too. Here’s what to watch out for.
Mistake 1: Connecting Clamps in the Wrong Order
It’s easy to mix up red and black, especially in low light. But doing so can damage the jump starter or your car’s electronics. Duralast’s smart cables have reverse polarity protection, but it’s still not a risk worth taking.
- Solution: Always double-check. Red to positive, black to ground. Use the color coding on the clamps and battery terminals.
Mistake 2: Using a Low-Charge Jump Starter
You wouldn’t try to start a car with a nearly dead phone, right? The same goes for your jump starter.
- Solution: Check the charge level before use. If it’s below 50%, charge it fully. A 10-minute quick charge might help in an emergency, but it’s not ideal.
Mistake 3: Forgetting to Turn Off Accessories
Headlights, radio, and heated seats draw power from the battery. If they’re on during a jump start, the Duralast has to work harder—and might not deliver enough juice.
- Solution: Turn off everything. Even the dome light. Every watt counts.
Mistake 4: Leaving the Clamps Connected After Starting
Some people leave the jump starter connected while driving. This can overload the unit or damage the car’s electrical system.
- Solution: Disconnect immediately after the engine starts. The jump starter is a temporary fix, not a permanent power source.
Mistake 5: Not Storing Properly
Storing your jump starter in extreme heat or cold (like a car trunk in summer or winter) can shorten its lifespan.
- Solution: Store it in a cool, dry place. I keep mine in the trunk but in an insulated bag. Check the charge every 3-4 months.
Real talk: I once left my Duralast in a hot car for a week. When I tried to use it, the battery wouldn’t hold a charge. I had to replace it. Learn from my mistake—store it right.
Maintenance and Care: Keeping Your Duralast Jump Starter Ready
A jump starter is only as good as its maintenance. Think of it like a fire extinguisher: you hope you never need it, but when you do, it better work. Here’s how to keep your Duralast in top shape.
Regular Charging Schedule
- Charge the unit fully every 3-6 months, even if unused.
- After a jump start, recharge it as soon as possible. Lithium batteries prefer partial discharges over deep ones.
- Use only the provided charger or a high-quality USB-C/AC adapter. Cheap chargers can damage the battery.
Cleaning the Clamps and Unit
- Wipe the clamps with a dry cloth after use. If they get greasy, use a little isopropyl alcohol.
- Keep the battery terminals on your car clean. Corrosion reduces conductivity.
- Store the unit in its case to protect it from dust and moisture.
Checking for Damage
- Inspect the cables for fraying, cracks, or exposed wires.
- Test the flashlight and USB ports periodically.
- If the digital display shows error codes (like “ERR” or “LO”), consult the manual or contact Duralast support.
Extreme Weather Tips
- In cold weather, warm the jump starter in your car or house before use. Lithium batteries lose efficiency below 32°F (0°C).
- In hot weather, avoid direct sunlight. Temperatures above 113°F (45°C) can degrade the battery.
My routine: Every 6 months, I do a full test—charge the unit, simulate a jump start (without the car), and check all features. It takes 20 minutes and gives me confidence it’ll work when needed.
When a Jump Start Isn’t Enough: Troubleshooting and Next Steps
Sometimes, even a fully charged Duralast jump starter can’t start your car. That doesn’t mean it’s broken—it means the problem might be deeper. Let’s explore what to do when the jump doesn’t work.
Signs of a Bad Battery
- Engine cranks slowly, even after a jump.
- Interior lights dim when you try to start.
- You’ve jumped the car multiple times recently.
Next step: Replace the battery. Most car batteries last 3-5 years. If yours is older, it’s time for a new one.
Alternator Failure
- Car starts with a jump but dies after 5-10 minutes.
- Warning light (battery icon) stays on while driving.
- Electrical issues like flickering lights.
Next step: Get the alternator tested. A failing alternator won’t recharge the battery, so you’ll keep needing jumps.
Starter Motor Issues
- You hear a clicking sound when turning the key, but no cranking.
- Jump starter shows “Ready” but no response.
Next step: The starter motor might be faulty. This requires professional diagnosis and repair.
Parasitic Drain
- Car won’t start after sitting overnight, but jumps fine.
- Battery is new and fully charged.
Next step: Check for a parasitic drain—something drawing power when the car is off (like a glove box light or aftermarket radio). A mechanic can test this with a multimeter.
Data table: Common Jump Start Failures and Solutions
| Issue | Symptoms | Likely Cause | Solution |
|---|---|---|---|
| Slow Cranking | Engine turns over slowly, may not start | Weak or old battery | Replace battery |
| No Cranking | Clicking sound, no engine turnover | Faulty starter motor | Replace starter |
| Starts but Dies | Engine runs briefly, then stalls | Failing alternator | Test and replace alternator |
| Frequent Jumps | Multiple jump starts needed in a week | Parasitic drain | Diagnose with multimeter |
| Jump Starter Not Working | Unit powers on but no output | Internal battery failure | Contact Duralast support |
Final tip: Keep a log of jump starts. If you’re using your Duralast more than once every few months, it’s a sign something’s wrong with your car—not the jump starter.
Final Thoughts: Confidence When You Need It Most
Having a Duralast battery jump starter in your car isn’t about showing off. It’s about control. Control over your time, your safety, and your peace of mind. I’ve used mine in rain, snow, and scorching heat. It’s never let me down—as long as I followed the Duralast battery jump starter instructions and kept it maintained.
Remember, this isn’t just a tool for emergencies. It’s a preventive measure. A fully charged jump starter can help a friend, a family member, or even a stranger. And in today’s world, where we’re all a little more isolated, that kind of readiness builds community.
So charge your unit, store it properly, and practice the steps. One day, when you’re standing in a dark parking lot with a dead battery, you won’t panic. You’ll pull out your Duralast, follow the simple steps, and be on your way—like I’ve done more times than I can count. That’s the real value of being prepared.
Frequently Asked Questions
How do I use the Duralast Battery Jump Starter for the first time?
Before using your Duralast Battery Jump Starter, fully charge it using the included AC adapter or 12V car charger. Ensure the clamps are securely connected to the correct battery terminals (red to positive, black to negative) before turning on the unit.
What are the safety precautions when following Duralast Battery Jump Starter instructions?
Always wear protective gear like gloves and safety glasses, and avoid touching the clamps together during use. Follow the Duralast Battery Jump Starter instructions to prevent sparks, short circuits, or reverse polarity damage.
Can I jump-start a diesel engine with this device?
Yes, most Duralast models support diesel engines, but check your unit’s specifications for required cranking amps (CA). Ensure the battery voltage matches the starter’s compatibility (typically 12V).
How long does the Duralast Jump Starter hold a charge?
The device typically retains a charge for 3–6 months when idle, depending on the model and storage conditions. Recharge it every 3 months to maintain optimal performance.
Why won’t my Duralast Jump Starter turn on?
If the unit doesn’t power on, it may be fully drained or require a reset. Plug it into a charger for 15–20 minutes or hold the power button for 10 seconds to reset the system.
Can I use the Duralast Jump Starter while charging?
No, most models prohibit jump-starting while charging to avoid overheating or circuit damage. Always unplug the charger before attempting to jump-start a vehicle.