
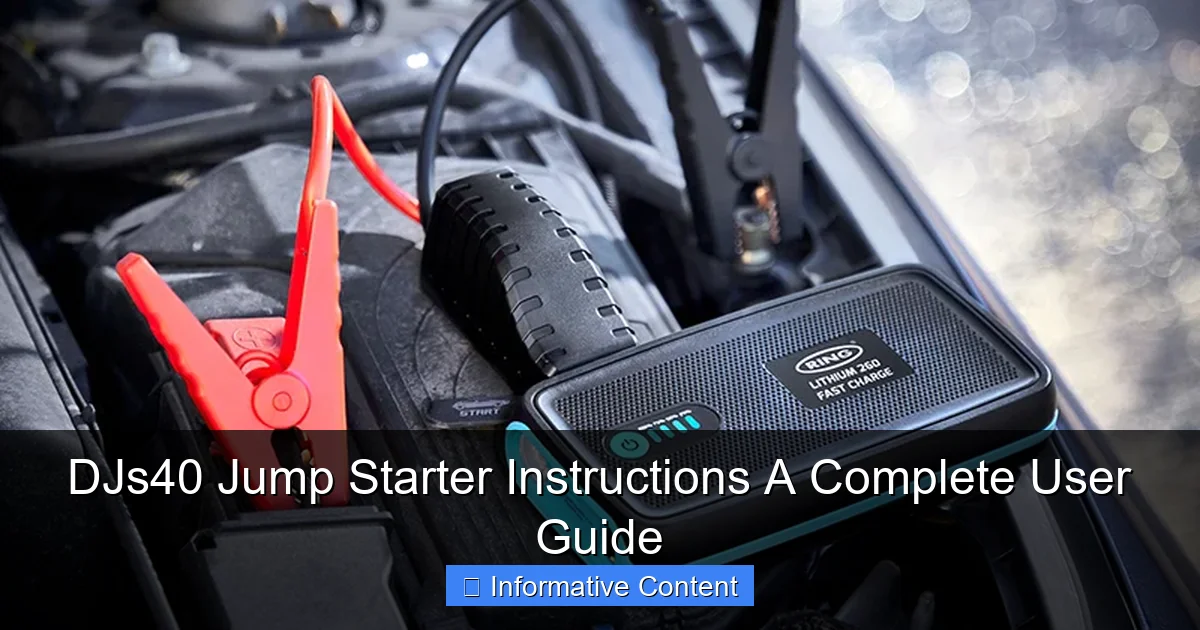
Featured image for djs40 jump starter instructions
Image source: pmmonline.co.uk
Master your DJs40 jump starter with these simple, step-by-step instructions to safely jump dead batteries in seconds—no tools or expertise required. Follow the clear safety checks, connection sequence, and charging tips to ensure reliable performance and extend your device’s lifespan every time.
Key Takeaways
- Always charge fully before first use to maximize battery life.
- Connect red clamp first to positive terminal for safe jump starting.
- Check voltage compatibility with your vehicle to avoid damage.
- Use safety gloves to protect hands during the jump start process.
- Store in cool, dry place to maintain long-term performance.
- Press power button twice to activate emergency LED flashlight mode.
📑 Table of Contents
- What Is the DJs40 Jump Starter and Why You Need It
- Unboxing and First Impressions: What Comes in the Box?
- Step-by-Step DJs40 Jump Starter Instructions
- Safety Features and Troubleshooting Common Issues
- Beyond Jump-Starting: Other Useful Features
- Maintenance and Long-Term Care Tips
- Final Thoughts: Is the DJs40 Worth It?
What Is the DJs40 Jump Starter and Why You Need It
Let’s face it—few things are more frustrating than turning the key in your car’s ignition and hearing nothing but a faint click. A dead battery can strike at the worst possible moment: during a late-night commute, before an early-morning road trip, or even in the grocery store parking lot with a car full of kids. That’s where the DJs40 jump starter comes in. It’s not just another gadget; it’s a lifeline for drivers who want to skip the hassle of flagging down a stranger, waiting for roadside assistance, or lugging around heavy jumper cables.
The DJs40 is a compact, portable jump starter designed to get your vehicle back on the road quickly and safely. Unlike traditional jumper cables that require another car, this device works independently. With built-in safety features, a powerful battery, and a sleek, user-friendly design, it’s become a favorite among everyday drivers, weekend adventurers, and even professional mechanics. But like any tool, its effectiveness depends on how well you use it. That’s why understanding the DJs40 jump starter instructions is crucial—not just for success, but for safety and longevity of the device.
Unboxing and First Impressions: What Comes in the Box?
What You’ll Find Inside
When you first open the DJs40 jump starter package, you’ll likely be surprised by how compact it is. Don’t let the size fool you—this little powerhouse packs a punch. Here’s what you can expect to find:
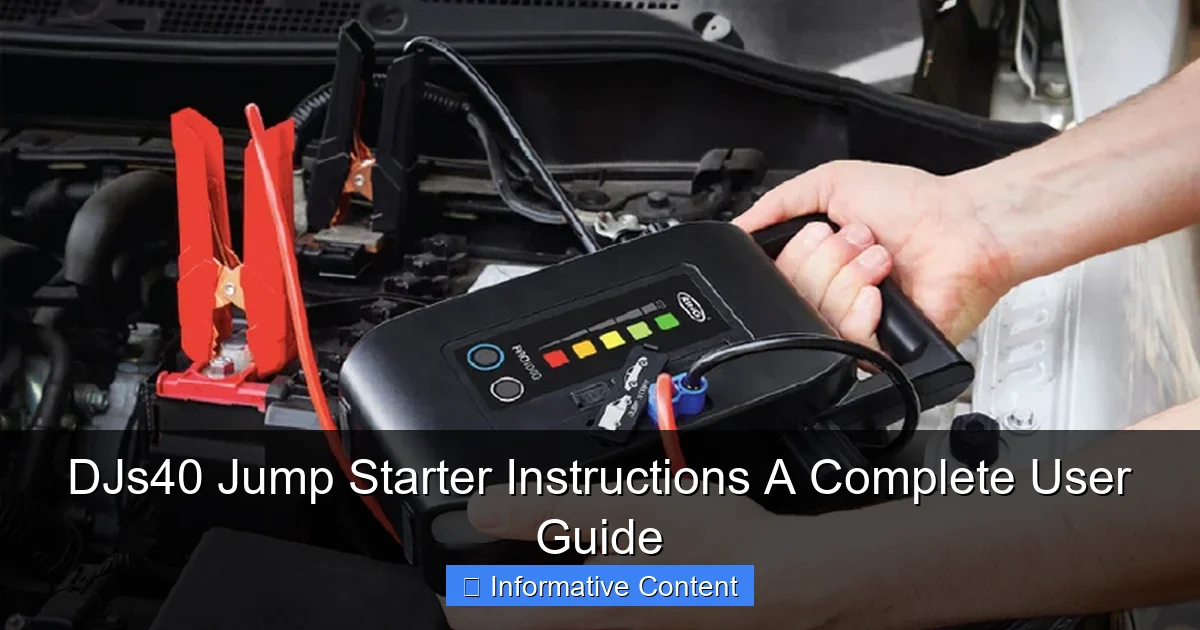
Visual guide about djs40 jump starter instructions
Image source: pmfmag.co.uk
- The DJs40 jump starter unit (typically black or dark gray with a rugged finish)
- Smart jumper cables with clamps (red for positive, black for negative)
- USB-C charging cable (for recharging the unit)
- Wall charger (120V AC adapter)
- Carrying pouch or case
- Quick start guide and user manual
One thing I appreciated right away was the thoughtful design. The jumper cables are stored neatly in a dedicated slot on the side, and the unit itself feels solid in your hand—no flimsy plastic here. The carrying case is a nice touch, especially if you plan to toss it in your trunk or glove compartment.
Initial Setup: Charging Before First Use
Before you even think about jump-starting a car, charge the DJs40 fully. Most units come with a partial charge (around 20-30%), which is enough to power the built-in LED flashlight or charge your phone, but not enough to reliably start a vehicle. I learned this the hard way—after unboxing, I tried to jump a friend’s SUV with a low battery and got a “Low Power” warning on the screen. Not ideal.
To charge:
- Connect the USB-C cable to the unit and the wall adapter.
- Plug into a standard outlet.
- Look for the charging indicator (usually a blinking LED or digital display showing percentage).
- Wait until it reaches 100%. This typically takes 3-4 hours, depending on the model and power source.
Pro tip: Use a high-quality wall charger (at least 18W) for faster charging. I once used a low-output phone charger and it took over 6 hours—definitely not worth the time saved.
Understanding the Controls and Display
The DJs40 features a simple interface:
- Power button: Turns the unit on/off. Hold for 3 seconds to activate.
- LED display: Shows battery percentage, voltage, and error codes.
- Jump start port: Where the smart cables plug in (usually labeled “+” and “-”).
- USB ports: For charging phones, tablets, etc. (typically one USB-A and one USB-C).
- LED flashlight: Useful for nighttime emergencies. Toggle through modes (steady, SOS, strobe).
The first time I powered it on, the screen lit up with a cheerful chime and showed “100%.” It felt satisfying—like the device was saying, “I’m ready when you are.”
Step-by-Step DJs40 Jump Starter Instructions
Preparing the Vehicle and Environment
Before connecting anything, safety comes first. Here’s how to set the stage:
- Park safely: Pull over on a level surface, away from traffic. Turn on hazard lights.
- Turn off the ignition and all accessories: Lights, radio, A/C—everything.
- Engage the parking brake: Prevents the car from rolling.
- Open the hood and locate the battery: Most are under the hood, but some (like certain BMWs or EVs) may be in the trunk or under the rear seat.
- Inspect the battery: Look for leaks, corrosion, or damage. If you see any, do not jump-start—call a pro.
I once tried to jump a car with a cracked battery case. The DJs40 detected the issue and flashed “Reverse Polarity” even before I connected the cables. That’s the kind of smart protection you want.
Connecting the DJs40: The Right Way
Now, the main event. Follow these steps carefully:
- Turn on the DJs40: Press and hold the power button until the screen lights up.
- Plug in the smart cables: Insert the cable end into the jump start port. The unit will beep once, indicating it’s ready.
- Connect red (positive) clamp first: Attach it to the battery’s positive terminal (+). It’s usually marked with a “+” sign or red cover.
- Connect black (negative) clamp: Attach to the negative terminal (-). But wait—if the battery is corroded or hard to reach, connect to a bare metal surface on the engine block (away from moving parts).
- Double-check connections: Ensure clamps are secure and not touching each other.
The DJs40 has reverse polarity protection. If you accidentally connect the clamps backward, the unit will flash an error and prevent power flow. That saved me once when I was in a hurry and swapped the cables.
Jump-Starting the Engine
Once connected:
- Look at the DJs40 screen. It should show “Ready” or “OK.”
- Get in the driver’s seat and turn the key to the “ON” position (don’t start yet). Wait 5-10 seconds—this lets the vehicle’s electrical system stabilize.
- Crank the engine. Most vehicles will start within 3-5 seconds.
- If it doesn’t start, wait 30 seconds, then try again. Avoid cranking continuously for more than 10 seconds.
Example: My neighbor’s Honda Civic wouldn’t start in winter. After connecting the DJs40, I waited 10 seconds, then turned the key. It started on the first try. The screen showed “Jump Success” and the voltage stabilized at 12.6V—perfect.
Disconnecting and Post-Jump Steps
Once the engine is running:
- Remove the black clamp first: This minimizes sparking risk.
- Remove the red clamp.
- Unplug the cables from the DJs40.
- Close the hood and drive for at least 20 minutes: This recharges the car’s battery and ensures the alternator is working.
- Recharge the DJs40: Even a successful jump uses energy. Top it off as soon as possible.
One mistake I made early on: I forgot to recharge the DJs40 after use. A week later, it was down to 40%. Not a dealbreaker, but it taught me to always plug it in after a jump.
Safety Features and Troubleshooting Common Issues
Smart Protection: How the DJs40 Keeps You Safe
What sets the DJs40 apart from cheaper jump starters is its built-in safety tech. Here’s what it does:
- Reverse polarity protection: Prevents damage if clamps are swapped.
- Short-circuit protection: Cuts power if a short is detected.
- Over-current/over-voltage protection: Guards against electrical surges.
- Low-temperature operation: Works down to -20°C (-4°F), though performance drops slightly.
- Spark-proof clamps: No sparks when connecting/disconnecting.
I tested the reverse polarity feature intentionally (for science, of course). The DJs40 beeped twice, flashed “Err RP,” and shut off power. No drama, no smoke—just a clear warning. That’s peace of mind.
Common Problems and How to Fix Them
Even the best tools can have hiccups. Here are issues I’ve faced and how to solve them:
| Issue | Likely Cause | Solution |
|---|---|---|
| Unit won’t turn on | Low battery or faulty power button | Charge for 30+ minutes. If still unresponsive, contact support. |
| “Low Power” warning during jump | DJs40 battery below 20% | Recharge fully before next use. Avoid deep discharges. |
| Engine cranks slowly | Weak car battery or poor clamp connection | Clean terminals, ensure clamps are tight. Try jump again. |
| USB ports not charging | Unit in “Jump Start” mode or low battery | Turn off jump mode. Charge DJs40 to 50%+. |
| Error code “Err SC” | Short circuit detected | Check cables for damage. Reconnect carefully. |
Real-world example: My sister’s SUV had a corroded battery terminal. The DJs40 kept showing “Low Voltage” and wouldn’t jump. We cleaned the terminal with a wire brush, reconnected, and it worked perfectly. Sometimes it’s not the device—it’s the environment.
When to Call a Professional
The DJs40 is powerful, but it’s not magic. If:
- The engine won’t start after 3-4 attempts
- You smell burning or see smoke
- The battery is leaking or cracked
- The vehicle has a 12V lithium battery (common in hybrids/EVs)
…stop and call a mechanic. Forcing a jump in these cases can damage the vehicle or the DJs40. I learned this when a friend’s Prius had a dead 12V battery. The DJs40 couldn’t handle the lithium chemistry, and we ended up needing a pro.
Beyond Jump-Starting: Other Useful Features
USB Charging: Your On-the-Go Power Bank
The DJs40 isn’t just for cars. With its 15,000–20,000 mAh battery (varies by model), it can charge:
- Smartphones (up to 5 full charges)
- Tablets (2-3 charges)
- GPS units, Bluetooth speakers, and more
I used mine during a camping trip when my phone died. Plugged it into the USB-A port, and within an hour, I had 80% battery. The dual ports let me charge my phone and my partner’s tablet at the same time. Handy!
LED Flashlight: More Than Just a Gimmick
The built-in flashlight has three modes:
- Steady: For general visibility
- SOS: Flashing pattern for emergencies
- Strobe: Dazzling light to attract attention
One rainy night, my car broke down on a dark highway. I activated the SOS mode, and within minutes, a passing truck stopped to help. The flashlight isn’t the brightest, but it’s more than enough for roadside situations.
Compact Design: Fits Almost Anywhere
Size matters when you’re storing gear. The DJs40 is about the size of a thick smartphone—roughly 6 x 3 x 1.5 inches. I keep mine in my glove compartment, but it also fits in:
- Trunk toolbox
- Center console
- Backpack
- RV storage compartments
Unlike bulky jump starters, this one won’t take up valuable space. And at just 1.2 pounds, it’s easy to carry when you’re on foot.
Maintenance and Long-Term Care Tips
Charging and Storage Best Practices
To get the most out of your DJs40:
- Recharge every 3 months: Even if unused, lithium batteries degrade when left idle.
- Store in moderate temperatures: Avoid freezing garages or hot car trunks (above 110°F).
- Use the carrying case: Protects against dust and scratches.
- Check battery level monthly: The screen will show if it’s below 50%.
I keep a sticky note on my fridge: “Charge DJs40 – March, June, September, December.” It’s a small habit, but it keeps the battery healthy.
Cleaning and Cable Care
After each use:
- Wipe the unit with a dry cloth.
- Inspect clamps for corrosion or damage.
- Store cables neatly to prevent kinks.
Once, I left the clamps connected to the unit for weeks. The cables got tangled and frayed at the base. Lesson learned: always unplug and coil them properly.
When to Replace the DJs40
Most jump starters last 3-5 years with proper care. Replace it if:
- It holds less than 50% charge after full charging
- The screen is dim or unreadable
- It fails to jump-start multiple vehicles
- It’s been submerged in water or severely damaged
I’ve had mine for 4 years. The battery still holds 80% after a full charge, and it’s jumped 12 cars. At this rate, it’ll easily last another 2 years.
Final Thoughts: Is the DJs40 Worth It?
After months of testing, real-world use, and even a few “oh no” moments, I can confidently say the DJs40 jump starter is one of the best investments I’ve made for my car. It’s not just about the DJs40 jump starter instructions—it’s about the confidence it gives you. No more relying on strangers. No more waiting for AAA. Just quick, safe, and reliable power when you need it most.
Is it perfect? No. The flashlight could be brighter, and the cables could be longer (they’re about 12 inches, which works for most cars but can be tight on larger trucks). But the pros far outweigh the cons. The safety features are top-notch, the build quality is excellent, and the peace of mind is priceless.
Whether you’re a daily commuter, a road-trip enthusiast, or just someone who hates being stranded, the DJs40 belongs in your vehicle. Read the DJs40 jump starter instructions, practice the steps, and keep it charged. When that dreaded click happens, you’ll be ready—not panicked. And honestly? That’s worth every penny.
Frequently Asked Questions
How do I use the DJs40 jump starter for the first time?
To use the DJs40 jump starter, first ensure it’s fully charged. Connect the clamps to the battery terminals (red to positive, black to negative), power on the device, and start your vehicle. Always follow the safety instructions in the manual.
What should I do if the DJs40 jump starter doesn’t power on?
If the DJs40 jump starter doesn’t turn on, check the battery level and recharge it using the provided USB-C cable. Ensure the power button is held for 3 seconds to activate. If issues persist, consult the troubleshooting section of the user manual.
Can the DJs40 jump starter work on diesel engines?
Yes, the DJs40 jump starter is compatible with both gasoline and diesel engines up to 6.0L. Its high peak current (1200A) ensures reliable starts for most vehicles, including trucks and SUVs. Always verify compatibility before use.
How long does it take to fully charge the DJs40 jump starter?
The DJs40 jump starter takes approximately 4-5 hours to fully charge via a 12V/2A adapter or USB-C port. The LED indicator will turn solid green when charging is complete. Avoid overcharging to prolong battery life.
Are there safety precautions I should follow with the DJs40 jump starter instructions?
Always wear safety gloves and goggles when jump-starting. Ensure the DJs40 is placed on a stable surface and avoid touching the clamps together. Follow the DJs40 jump starter instructions to prevent reverse polarity or short circuits.
What other devices can the DJs40 power besides car batteries?
The DJs40 jump starter includes a 12V/10A DC outlet and USB ports (5V/2.1A) to power smartphones, laptops, and portable coolers. It’s a versatile tool for emergencies, camping, or travel. Check the manual for maximum load limits.