
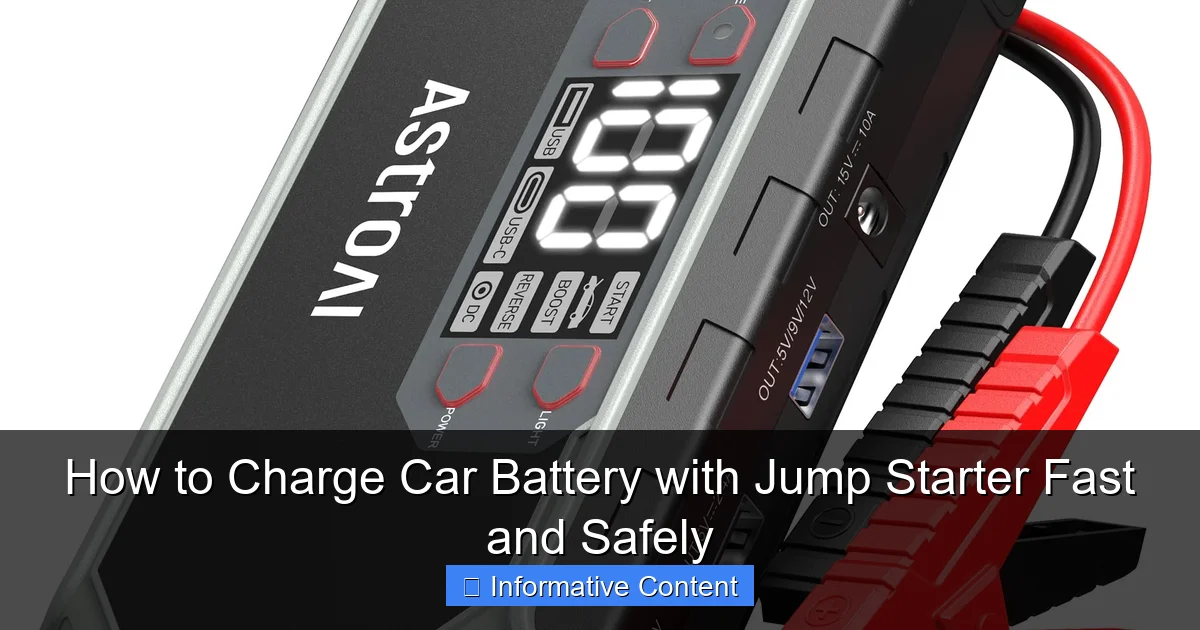
Featured image for charge car battery with jump starter
Image source: m.media-amazon.com
Charging a car battery with a jump starter is the fastest and safest way to get your vehicle running again without needing another car. By connecting the jump starter’s clamps directly to the battery terminals—ensuring correct polarity—you can deliver a powerful surge of energy in minutes. Modern jump starters are portable, reliable, and equipped with safety features like reverse polarity protection and spark-proof technology, making them ideal for emergency use.
Key Takeaways
- Ensure safety first: Wear gloves and goggles before connecting the jump starter.
- Match polarities correctly: Connect red to positive, black to negative terminals.
- Power on the jump starter: Activate it only after all cables are securely attached.
- Start the engine promptly: Attempt ignition within 30 seconds of connection.
- Disconnect in reverse order: Remove black first, then red after the engine runs.
- Recharge the jump starter: Replenish its battery immediately after use.
📑 Table of Contents
- How to Charge Car Battery with Jump Starter Fast and Safely
- Understanding How Jump Starters Work
- Choosing the Right Jump Starter for Your Vehicle
- Step-by-Step Guide to Charging Your Car Battery with a Jump Starter
- Safety Tips and Common Mistakes to Avoid
- How Long Does It Take to Charge a Car Battery with a Jump Starter?
- Maintenance and Storage Tips for Your Jump Starter
- Final Thoughts: Be Prepared, Stay Safe
How to Charge Car Battery with Jump Starter Fast and Safely
There’s nothing quite as frustrating as turning the key in your ignition and hearing nothing but a faint click—or worse, complete silence. You’re late for work, the kids need to get to school, or you’re stranded in a parking lot with no help in sight. That sinking feeling when your car battery dies is something almost every driver has experienced at least once. I remember one cold winter morning, rushing out the door with coffee in hand, only to find my car completely unresponsive. No lights, no crank, nothing. I stood there, shivering, wondering how I’d get anywhere that day.
That’s when I realized how valuable a portable jump starter can be. Unlike traditional jumper cables that require another vehicle and a second set of hands, a jump starter is a self-contained device that can bring your dead battery back to life—fast. But here’s the thing: not everyone knows how to use one properly. Some people worry about safety, others aren’t sure if it actually charges the battery or just gives it a temporary boost. The good news? With the right knowledge and a few simple steps, you can safely and effectively charge your car battery using a jump starter—no roadside assistance required.
In this guide, I’ll walk you through everything you need to know about using a jump starter to charge your car battery quickly and safely. Whether you’re a first-time user or just looking to brush up on best practices, you’ll learn how these devices work, what to look for when buying one, step-by-step instructions, and essential safety tips. By the end, you’ll feel confident enough to handle a dead battery situation like a pro—and maybe even help a stranded stranger along the way.
Understanding How Jump Starters Work
Before we dive into the how-to, let’s clear up a common misconception: a jump starter doesn’t actually “charge” your car battery in the traditional sense. Instead, it provides a powerful burst of energy to help your battery turn over the engine so it can start. Think of it like giving your car a jumpstart—hence the name. Once the engine is running, your car’s alternator takes over and begins recharging the battery naturally.
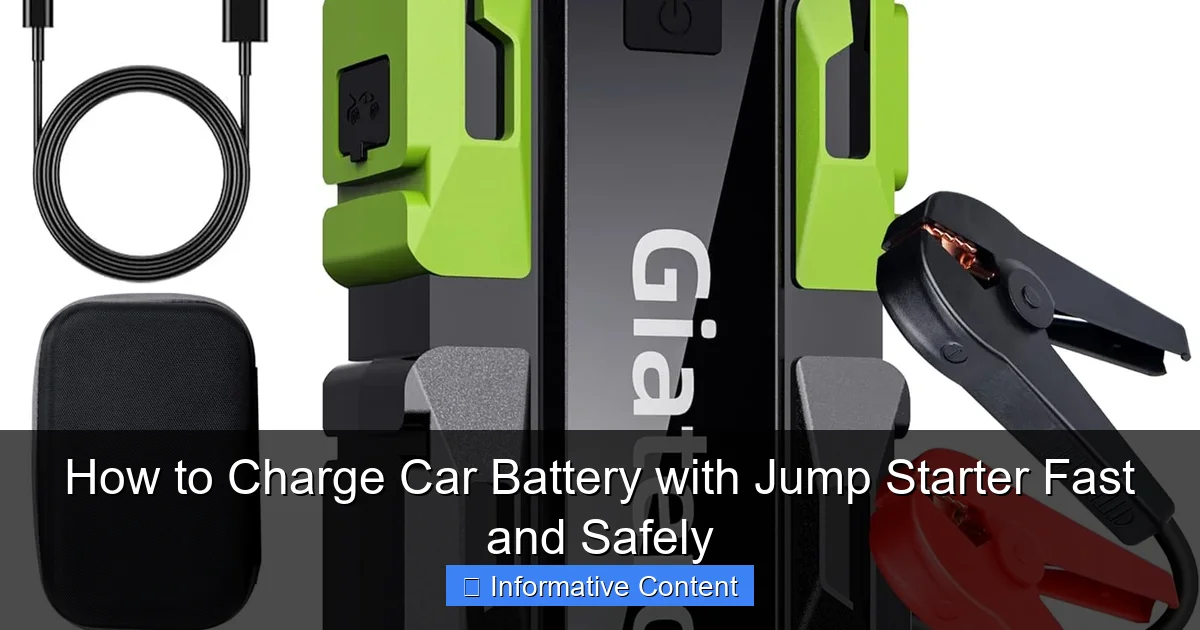
Visual guide about charge car battery with jump starter
Image source: m.media-amazon.com
So, how does a jump starter deliver that burst of power? Most modern jump starters are powered by lithium-ion batteries, similar to the ones in your smartphone or laptop, but built to handle much higher currents. These devices store electrical energy and release it quickly when needed. When you connect the jump starter to your car’s battery terminals, it sends a surge of electricity that helps overcome the battery’s low voltage, allowing the starter motor to engage.
Key Components of a Jump Starter
A typical portable jump starter includes several important parts:
- Battery pack: Stores the electrical energy. Most use lithium-ion or lithium-polymer technology for high power density and lightweight design.
- Clamps: Red (positive) and black (negative) cables with alligator clips that connect to your car battery terminals.
- Control panel: Displays battery level, charging status, and sometimes includes USB ports for charging phones or other devices.
- Safety features: Built-in protections like reverse polarity alarms, short-circuit prevention, and overload protection.
For example, a popular model like the NOCO Boost Plus GB40 has a 1000-amp peak current and can jump-start vehicles up to 6.0L gasoline or 3.0L diesel engines. It also includes a built-in flashlight and USB charging ports—making it useful beyond just jump-starting.
Jump Starter vs. Traditional Jumper Cables
Many people still rely on jumper cables and a second vehicle to jump-start their car. While this method works, it has several drawbacks:
- You need another working vehicle and a willing driver.
- It can be dangerous if not done correctly—risk of sparks, short circuits, or even battery explosion.
- Not practical if you’re alone or in a remote location.
In contrast, a jump starter is portable, easy to use, and doesn’t require another car. It’s especially useful for solo drivers, commuters, or anyone who wants peace of mind on the road. Plus, many models are compact enough to store in your glove compartment or trunk.
Choosing the Right Jump Starter for Your Vehicle
Not all jump starters are created equal. Choosing the right one depends on your vehicle type, battery size, and how you plan to use it. A small compact car doesn’t need the same power as a large SUV or truck. Picking the wrong model could result in insufficient power or, worse, damage to your vehicle’s electrical system.
Check Your Vehicle’s Engine Size
The first step in selecting a jump starter is knowing your engine’s displacement. This is usually measured in liters (L) and can be found in your owner’s manual or on the engine block. As a general rule:
- Compact cars (up to 2.0L): A jump starter with 400–600 peak amps is usually sufficient.
- Mid-size sedans and SUVs (2.0L–4.0L): Look for 600–1000 peak amps.
- Large trucks and diesel engines (4.0L and above): You’ll need 1000+ peak amps, and possibly a model specifically designed for diesel engines.
For example, if you drive a Honda Civic with a 1.8L engine, a 500-amp jump starter should be more than enough. But if you own a Ford F-150 with a 5.0L V8, you’ll want something with at least 1000 peak amps—and preferably one with a higher cranking power rating.
Look for Safety and Smart Features
Safety should be a top priority when choosing a jump starter. Look for models with built-in protections such as:
- Reverse polarity protection: Alerts you if the clamps are connected incorrectly.
- Spark-proof technology: Prevents sparks when connecting or disconnecting.
- Overcurrent and short-circuit protection: Automatically shuts off if a fault is detected.
- Temperature control: Prevents overheating during use.
Some advanced models also include smart clamps with LED indicators that show connection status and battery health. These features not only make the device safer but also easier to use, especially for beginners.
Consider Portability and Extra Features
Since you’ll likely store your jump starter in your car, size and weight matter. Many modern units are about the size of a small laptop or even a thick smartphone. Look for a model that’s lightweight and comes with a carrying case for easy storage.
Bonus features can also add value:
- USB ports: Charge your phone, tablet, or other devices.
- Built-in flashlight: Useful during nighttime emergencies.
- Air compressor: Some models include a mini air pump for inflating tires.
- Digital display: Shows battery level, voltage, and error codes.
For instance, the DBPOWER 2000A jump starter not only handles large engines but also includes dual USB ports, a bright LED flashlight, and a digital screen—making it a versatile tool for road trips or daily commutes.
Step-by-Step Guide to Charging Your Car Battery with a Jump Starter
Now that you understand how jump starters work and how to choose the right one, let’s walk through the actual process of using it to start your car. The key to success is following the steps carefully and safely. Rushing or skipping steps can lead to damage or injury.
Step 1: Prepare Your Vehicle and Jump Starter
First, park your car on a flat, stable surface and turn off the ignition. Make sure the headlights, radio, and other electrical accessories are off to reduce the load on the battery. Engage the parking brake for safety.
Next, locate your car’s battery. In most vehicles, it’s under the hood, but in some models (like certain Honda or Toyota hybrids), it may be in the trunk or under a floor panel. Refer to your owner’s manual if you’re unsure.
Now, check your jump starter. Make sure it’s fully charged—most models have an indicator light that shows the battery level. If it’s low, plug it into a wall outlet or USB port to recharge before use. A dead jump starter won’t help a dead car!
Step 2: Connect the Jump Starter to the Battery
This is the most critical part of the process. Follow these steps in order:
- Open the hood and locate the battery terminals. The positive terminal (+) is usually red and marked with a “+” sign. The negative terminal (-) is black and marked with a “-” sign.
- Attach the red (positive) clamp to the positive terminal of the battery. Make sure it’s secure and makes good contact.
- Attach the black (negative) clamp to the negative terminal. If your jump starter has a “ground” option, you can instead connect the black clamp to an unpainted metal surface on the engine block or chassis—this reduces the risk of sparks near the battery.
Important: Never connect the clamps in reverse. Reversing polarity can damage your car’s electrical system or cause the jump starter to malfunction. Most modern units have alarms or lights that warn you if the connection is wrong.
Step 3: Power On and Start the Engine
Once the clamps are securely connected, turn on the jump starter. Some models have a power button, while others activate automatically when connected. Wait a few seconds for the device to stabilize—this allows it to deliver a consistent power surge.
Now, get into the driver’s seat and try to start the car. Turn the key or press the ignition button as you normally would. If the engine doesn’t start immediately, wait about 30 seconds and try again. Most jump starters can provide multiple attempts, but avoid cranking for more than 5–10 seconds at a time to prevent overheating.
If the car starts successfully, you’ll hear the engine roar to life. At this point, the alternator will begin recharging the battery, so you don’t need to keep the jump starter connected.
Step 4: Disconnect and Store the Jump Starter
Once the engine is running smoothly, it’s time to disconnect the jump starter. Follow these steps in reverse order:
- Turn off the jump starter.
- Remove the black (negative) clamp first.
- Remove the red (positive) clamp next.
- Close the hood and store the jump starter in a safe place.
It’s important to remove the negative clamp first to minimize the risk of sparks. After disconnecting, wipe down the clamps and store the unit in its case. If your jump starter has a rechargeable battery, plug it in when you get home to keep it ready for the next use.
Safety Tips and Common Mistakes to Avoid
Using a jump starter is generally safe when done correctly, but there are risks if you’re not careful. A car battery contains sulfuric acid and can produce flammable hydrogen gas, especially when charging. One spark near the battery could ignite the gas and cause an explosion. That’s why safety should always come first.
Essential Safety Precautions
Here are some key safety tips to keep in mind:
- Never smoke or use open flames near the battery. Even a small spark from a lighter or match can be dangerous.
- Wear safety glasses and gloves. Battery acid can cause burns or eye damage.
- Keep children and pets away. The process involves high voltage and moving parts.
- Don’t touch the clamps together. This can cause a short circuit and damage the jump starter.
- Avoid using a damaged jump starter. Cracked casing, frayed wires, or swollen batteries are signs of failure.
Common Mistakes and How to Avoid Them
Even experienced drivers make mistakes when jump-starting. Here are a few to watch out for:
- Connecting the clamps in reverse: Always double-check the colors and symbols. Red to positive, black to negative.
- Leaving the jump starter connected too long: Once the car starts, disconnect immediately. Prolonged connection can overcharge the battery or damage electronics.
- Using a jump starter on a frozen battery: If the battery is frozen, do not attempt to jump-start it. The expansion can cause the casing to crack and leak acid. Let it thaw first.
- Ignoring warning lights or alarms: If your jump starter beeps or flashes a red light, stop and check the connections. It’s trying to tell you something’s wrong.
One time, a friend of mine tried to jump-start his car in the rain without checking the battery. Water had seeped into the terminals, causing a short circuit. The jump starter sparked and shut off automatically—thankfully, no one was hurt, but it could have been much worse. Always inspect the battery and surrounding area before connecting.
How Long Does It Take to Charge a Car Battery with a Jump Starter?
This is one of the most common questions people have: “Will a jump starter fully charge my battery?” The short answer is no—not in the way a battery charger does. A jump starter provides a quick burst of power to start the engine, but it doesn’t recharge the battery over time. That job belongs to the alternator once the engine is running.
So, how long should you drive after a jump-start to recharge the battery? Most experts recommend driving for at least 20–30 minutes at highway speeds to allow the alternator to restore a significant charge. If you only drive around town with frequent stops, the battery may not get enough time to recharge fully.
Here’s a quick reference table to help you understand the process:
| Action | Purpose | Timeframe |
|---|---|---|
| Jump-start the car | Provide initial power to start the engine | Instant (within seconds) |
| Drive the vehicle | Allow alternator to recharge the battery | 20–30 minutes (minimum) |
| Recharge jump starter | Prepare for future use | 2–4 hours (depending on model) |
If your battery dies frequently, even after a jump-start, it may be time to replace it. Car batteries typically last 3–5 years, and repeated deep discharges can shorten their lifespan. A jump starter is a great tool for emergencies, but it’s not a long-term solution for a failing battery.
Maintenance and Storage Tips for Your Jump Starter
To keep your jump starter reliable and ready for use, proper maintenance and storage are essential. A neglected device might fail when you need it most—and that’s the last thing you want during an emergency.
Keep It Charged
Even when not in use, lithium-ion batteries slowly lose charge over time. Most manufacturers recommend recharging your jump starter every 3–6 months to maintain optimal performance. Some models have a “maintenance mode” that automatically tops off the battery when it drops below a certain level.
For example, the Tacklife T8 Pro has a built-in smart chip that monitors battery health and alerts you when it’s time to recharge. This feature helps extend the lifespan of both the jump starter and your car battery.
Store in a Cool, Dry Place
Extreme temperatures can damage the internal components of your jump starter. Avoid leaving it in a hot car during summer or exposed to freezing conditions in winter. Ideal storage temperature is between 32°F and 77°F (0°C to 25°C).
Also, keep it away from moisture and direct sunlight. A glove compartment or trunk storage bag is usually a good spot—just make sure it’s not crushed under heavy items.
Inspect Regularly
Every few months, take a few minutes to inspect your jump starter:
- Check the clamps for corrosion or damage.
- Look for cracks in the casing or loose wires.
- Test the flashlight and USB ports to ensure they work.
- Verify the battery indicator shows a full charge.
If you notice any issues, contact the manufacturer or consider replacing the unit. A faulty jump starter is worse than having none at all.
Final Thoughts: Be Prepared, Stay Safe
Having a jump starter in your car is like carrying a safety net. It gives you confidence that you won’t be stranded by a dead battery, whether you’re commuting to work or taking a road trip. But like any tool, it’s only as good as your knowledge of how to use it.
By understanding how jump starters work, choosing the right model for your vehicle, and following safe procedures, you can handle a dead battery with ease. Remember: the goal isn’t to fully charge the battery with the jump starter—it’s to get your engine running so the alternator can do its job. And once you’re back on the road, don’t forget to recharge your jump starter and drive long enough to restore your car’s battery.
So the next time you hear that dreaded click instead of an engine roar, don’t panic. Grab your jump starter, follow the steps, and get moving. You’ve got this. And who knows? You might even become the go-to hero for friends and family when their cars won’t start. Stay safe, stay prepared, and happy driving!
Frequently Asked Questions
Can you charge a car battery with a jump starter?
Yes, you can charge a car battery with a jump starter, especially models with built-in charging capabilities. However, jump starters are primarily designed for quick power boosts to start engines, not for fully recharging deeply drained batteries.
How long does it take to charge a car battery using a jump starter?
Charging time depends on the battery’s condition and the jump starter’s output, but it typically takes 5–30 minutes to deliver enough charge for a restart. For a full charge, use a dedicated battery charger instead.
Is it safe to use a jump starter to charge a car battery?
Yes, it’s safe if you follow the manufacturer’s instructions and connect the clamps correctly (red to positive, black to negative). Avoid overcharging or using a damaged jump starter to prevent sparks or battery damage.
What’s the difference between jump-starting and charging a car battery with a jump starter?
Jump-starting delivers a short burst of power to start the engine, while charging replenishes the battery’s capacity over time. Some advanced jump starters support both functions, but prolonged charging is better handled by a dedicated charger.
Can a jump starter charge a completely dead car battery?
Most jump starters can revive a completely dead battery if it retains some residual charge. However, severely damaged or sulfated batteries may not respond, requiring professional replacement or a traditional charger.
Do I need to remove the car battery to charge it with a jump starter?
No, you can charge the battery while it’s still in the vehicle. Just ensure the jump starter is powered off during connection, and follow proper polarity to avoid short-circuiting the system.