
Featured image for charge battery with jump starter
Image source: m.media-amazon.com
Charging a battery with a jump starter is a fast, reliable way to revive a dead battery without needing another vehicle. Always connect the clamps correctly—red to positive (+) and black to negative (−)—and ensure the jump starter is powered off during setup to prevent sparks or damage. Modern jump starters with smart technology offer built-in safety features, making the process quicker and safer than traditional jumper cables.
Key Takeaways
- Always check compatibility: Ensure your jump starter matches your battery type and voltage.
- Power off first: Turn off the vehicle and jump starter before connecting cables.
- Follow correct sequence: Connect red to positive, black to negative, then power on.
- Charge briefly: Limit jump starter use to 3–5 seconds to avoid damage.
- Monitor temperature: Stop if battery or cables overheat during charging.
- Use safety gear: Wear gloves and goggles to protect against sparks or leaks.
📑 Table of Contents
- How to Charge Battery with Jump Starter: A Complete Guide
- Understanding How Jump Starters Work
- Step-by-Step: How to Charge Battery with Jump Starter
- Choosing the Right Jump Starter for Your Needs
- Common Mistakes and How to Avoid Them
- Jump Starter vs. Traditional Jumper Cables: A Comparison
- Maintenance Tips to Keep Your Jump Starter Ready
- Final Thoughts: Empower Yourself with a Jump Starter
How to Charge Battery with Jump Starter: A Complete Guide
Ever been stuck with a dead car battery on a cold morning? You turn the key, and instead of the familiar engine roar, all you hear is a faint click—or worse, silence. It’s frustrating, inconvenient, and can throw off your entire day. That’s where a jump starter comes in. These portable powerhouses aren’t just for emergencies; they’re also a reliable way to charge battery with jump starter systems, whether you’re at home, on a road trip, or in the middle of nowhere.
I remember my first experience with a dead battery. I was rushing to an important meeting, and my car wouldn’t start. I called a friend, who showed up with a compact jump starter—no cables, no waiting for another vehicle. Within minutes, my car was back to life. That moment changed my perspective. A jump starter isn’t just a backup—it’s a tool that empowers you to take control. And the best part? You don’t need to be a mechanic to use one. With the right knowledge, you can charge battery with jump starter safely and efficiently, even if you’ve never done it before.
Understanding How Jump Starters Work
What Is a Jump Starter?
A jump starter is a portable battery pack designed to deliver a high burst of current to start a vehicle with a dead or weak battery. Unlike traditional jumper cables, which rely on another car’s battery, a jump starter is self-contained. It stores energy in internal lithium-ion or lead-acid cells and can deliver 12V (or 24V for larger vehicles) to jump-start engines—often with just a few minutes of charging.
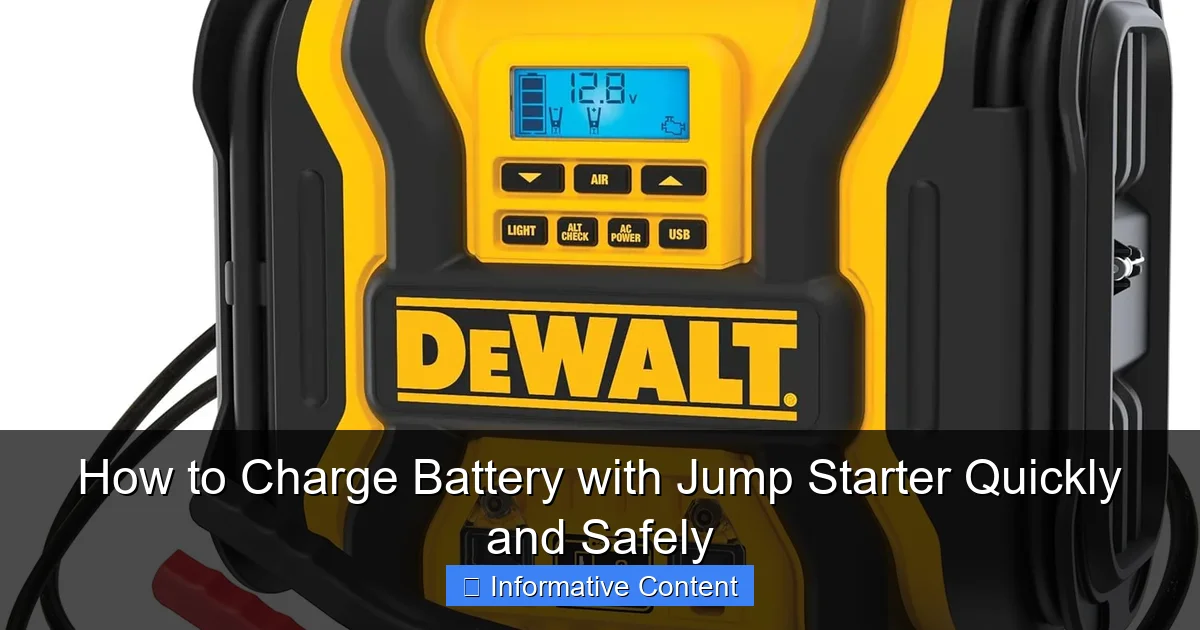
Visual guide about charge battery with jump starter
Image source: esntools.com
Modern jump starters come with built-in safety features like reverse polarity protection, short-circuit prevention, and overload alerts. Some even include USB ports, LED flashlights, and air compressors, making them multipurpose tools for roadside emergencies.
How It Charges a Car Battery
When you charge battery with jump starter, you’re not actually “charging” the battery in the traditional sense—like a battery charger would over hours. Instead, you’re providing enough power to crank the engine. Once the engine runs, the alternator takes over and recharges the battery while the vehicle operates.
Think of it like giving a tired friend a quick coffee to wake up. The jump starter gives the battery a jolt of energy to start the engine. After that, the alternator (the car’s built-in generator) does the long-term recharging. So, while a jump starter doesn’t fully charge a deeply discharged battery, it gets you moving so the car can do the rest.
Key Components of a Jump Starter
- Battery Cell: Lithium-ion is common in modern units—lightweight, compact, and fast-charging. Lead-acid models are heavier but sometimes more affordable.
- Clamps (Cables): Red (positive) and black (negative) with insulated handles. Look for models with spark-proof clamps for safety.
- Smart Technology: Many jump starters have microprocessors that detect polarity, voltage, and load to prevent damage.
- Power Output (Amps): Measured in peak amps (for cranking) and cranking amps (CA) or cold-cranking amps (CCA). A 1000A peak is good for most cars; trucks may need 2000A+.
Pro tip: Always check your vehicle’s manual to see its recommended CCA. This helps you pick the right jump starter for your car.
Step-by-Step: How to Charge Battery with Jump Starter
Step 1: Safety First—Park and Prepare
Before you begin, make sure your car is parked on a flat surface, the engine is off, and the parking brake is engaged. Turn off all accessories (radio, lights, AC). This reduces the load on the battery and prevents surges.
Wear safety glasses if you’re working in dim lighting or under a hood. Even though modern jump starters are safe, it’s good practice to minimize risks.
Step 2: Identify Battery Terminals
Open the hood and locate the battery. Look for the positive (+) terminal (usually red or marked with a “+”) and the negative (-) terminal (black or “-”). If the terminals are corroded (white or greenish crust), clean them with a wire brush or a mix of baking soda and water. Poor contact can prevent a successful jump.
Real-life example: My sister once struggled to jump her car because the terminals were so corroded the clamps wouldn’t grip. A quick scrub with a soda can and a paper towel fixed it—and saved her a trip to the mechanic.
Step 3: Connect the Jump Starter
Follow this order to avoid sparks near the battery:
- Connect the red clamp to the positive terminal on the dead battery.
- Connect the black clamp to an unpainted metal surface (like a bolt or engine bracket)—this acts as a ground. Avoid the negative terminal if possible; grounding reduces spark risk.
- Double-check all connections. The jump starter should display a “ready” or “connected” signal on its screen or LED.
Tip: If your jump starter has a “smart” mode, enable it. It will automatically detect polarity and prevent incorrect connections.
Step 4: Start the Vehicle
Turn on the jump starter (if it has a power button). Wait 30 seconds to allow the battery to absorb some charge. Then, turn the ignition key. The engine should crank and start within a few seconds.
If it doesn’t start, wait another 30–60 seconds and try again. Don’t crank for more than 5 seconds at a time—this can overheat the starter motor.
Step 5: Disconnect and Recharge the Jump Starter
Once the engine runs:
- Turn off the jump starter.
- Disconnect the black clamp first (from the ground point).
- Disconnect the red clamp (from the positive terminal).
- Close the hood and let the engine run for at least 15–30 minutes. This allows the alternator to recharge the battery.
After use, recharge your jump starter fully. Most take 3–6 hours via USB or wall charger. A depleted jump starter won’t help you next time!
Choosing the Right Jump Starter for Your Needs
Vehicle Type and Engine Size
Not all jump starters are created equal. A compact sedan needs less power than a V8 truck or a diesel SUV. Here’s a quick guide:
- Small Cars (4-cylinder): 600–1000 peak amps
- Mid-Size Cars/Sedans: 1000–1500 peak amps
- Trucks, SUVs, Vans: 1500–3000+ peak amps
- Diesel Engines: Look for high CCA ratings (1000+ CA)
Personal experience: I bought a 1200A jump starter for my Honda Civic. It worked great—until I tried to help my neighbor with his F-150. The engine cranked weakly, then stopped. Lesson learned: match the jump starter to the vehicle.
Battery Type and Capacity
Jump starters come with different internal batteries:
- Lithium-ion: Lightweight, fast-charging, holds charge longer (up to 12 months). Best for most users.
- Lead-acid (AGM): Heavier, bulkier, but often cheaper. Good for infrequent use.
Capacity is measured in mAh (milliamp-hours). A 10,000–18,000 mAh unit is ideal for most cars. Higher mAh means more jump-starts per charge (typically 10–20 uses).
Extra Features That Matter
Consider these when shopping:
- USB Ports: Charge phones, tablets, or GPS devices.
- LED Flashlight: Built-in light with SOS mode—great for night emergencies.
- Air Compressor: Some models include a tire inflator (e.g., NOCO Boost Plus).
- Smart Protection: Prevents reverse polarity, over-current, and overheating.
- Compact Design: Fits in a glove compartment or trunk.
Tip: If you camp or travel often, a multifunctional jump starter with USB and a light is a lifesaver.
Common Mistakes and How to Avoid Them
Connecting Clamps in the Wrong Order
One of the biggest mistakes is connecting the black clamp to the negative terminal first. This can cause a spark near the battery, especially if gases are present (a risk with older batteries). Always:
- Red to positive
- Black to ground (metal frame)
- Reverse when disconnecting: black first, then red
Using a Low-Charge Jump Starter
A jump starter with less than 20% charge may not deliver enough power. Always keep it charged after use. Some models have battery indicators—check yours regularly.
Cranking Too Long or Too Often
Repeated or prolonged cranking can damage the starter motor or drain the jump starter. If the engine doesn’t start after 2–3 attempts, wait 2 minutes between tries. If it still won’t start, the issue might not be the battery—could be fuel, ignition, or alternator problems.
Ignoring Weather Conditions
Cold weather reduces battery efficiency. A jump starter may struggle in sub-zero temperatures. Keep your jump starter in a warm place (like inside your home) when not in use. If you’re in a cold climate, choose a model rated for low temperatures (e.g., -20°C).
Storing It Incorrectly
Leaving your jump starter in a hot trunk (over 140°F) can degrade the battery. Store it in a cool, dry place. Recharge it every 3–6 months, even if unused.
Jump Starter vs. Traditional Jumper Cables: A Comparison
When it comes to charging battery with jump starter vs. using jumper cables, both have pros and cons. Here’s how they stack up:
| Feature | Jump Starter | Jumper Cables |
|---|---|---|
| Portability | ✅ Compact, lightweight, easy to store | ❌ Bulky, requires another vehicle |
| Ease of Use | ✅ No waiting, no second car needed | ❌ Requires another driver, coordination |
| Speed | ✅ Immediate use (if charged) | ❌ Depends on availability of another vehicle |
| Safety | ✅ Built-in protections (reverse polarity, spark-proof) | ❌ Risk of sparks, incorrect connections |
| Cost | ❌ $50–$200 (initial investment) | ✅ $20–$50 (cheaper) |
| Versatility | ✅ Can charge phones, inflate tires, provide light | ❌ Limited to jump-starting |
| Battery Life | ❌ Needs regular recharging | ✅ No battery—always ready (if cables are good) |
Bottom line: If you value independence and convenience, a jump starter is worth the investment. If you rarely face battery issues and always have a second car handy, cables might suffice.
Maintenance Tips to Keep Your Jump Starter Ready
Charge It Regularly
Even if you don’t use it, recharge your jump starter every 3 months. Lithium-ion batteries degrade when left at 0% for long periods. Most models have a “storage mode” that maintains optimal charge (around 50–70%).
Inspect Cables and Clamps
Check for frayed wires, loose clamps, or corrosion. Clean the clamps with a damp cloth after each use. Replace any damaged parts immediately.
Test It Periodically
Every few months, turn on the jump starter and check its battery level. Some models have self-diagnostic features. A quick test ensures it’s ready when you need it.
Store in Ideal Conditions
Keep it away from extreme heat, moisture, or direct sunlight. A glove compartment works, but avoid leaving it in a car during summer. A closet or garage shelf is better.
Update Firmware (If Applicable)
Some smart jump starters (like NOCO or DBPOWER) have firmware updates via USB. These can improve performance and safety. Check the manufacturer’s website occasionally.
Real tip: I keep my jump starter in a small tote with a microfiber cloth, a tire pressure gauge, and a USB cable. It’s my “roadside emergency kit”—always ready to go.
Final Thoughts: Empower Yourself with a Jump Starter
Learning how to charge battery with jump starter isn’t just about fixing a dead car—it’s about gaining peace of mind. You no longer have to rely on strangers, roadside assistance, or the kindness of friends. You’re in control.
From understanding how jump starters work to avoiding common mistakes, this guide equips you with everything you need. Whether you’re a daily commuter, a weekend adventurer, or a parent shuttling kids around, a reliable jump starter is a smart investment. It’s compact, easy to use, and can save you time, stress, and money in the long run.
Remember: safety first, proper connections, and regular maintenance keep your jump starter ready for action. And when that dreaded click happens, you’ll smile—because you know exactly what to do.
So, the next time your car refuses to start, don’t panic. Grab your jump starter, follow the steps, and get back on the road—quickly, safely, and with confidence.
Frequently Asked Questions
How do I charge a car battery with a jump starter?
To charge a battery with a jump starter, connect the red clamp to the positive (+) terminal and the black clamp to the negative (-) terminal of the dead battery. Power on the jump starter and let it supply charge for a few minutes before attempting to start the vehicle.
Can I use a jump starter to fully recharge a dead battery?
Most jump starters are designed for quick boosts, not full recharges. They can restore enough power to start the engine, but a dedicated battery charger is better for a complete charge to extend battery life.
How long does it take to charge a battery with a jump starter?
Charging time varies by battery size and jump starter power, but typically takes 3–10 minutes. Always monitor the process and avoid overcharging, as jump starters aren’t meant for prolonged charging sessions.
Is it safe to charge a battery with a jump starter in the rain?
No, never use a jump starter in wet or rainy conditions. Water increases the risk of short circuits or electrical shocks. Always operate the device in a dry, well-ventilated area for safety.
What safety precautions should I take when charging a battery with a jump starter?
Wear gloves and eye protection, ensure the jump starter is off before connecting clamps, and follow the correct polarity. Keep the device away from flammable materials and never leave it unattended during use.
Can I charge a lithium battery with a traditional jump starter?
Only if the jump starter is specifically labeled as compatible with lithium batteries. Using a standard jump starter on lithium batteries can damage them or cause safety hazards due to differing voltage requirements.