
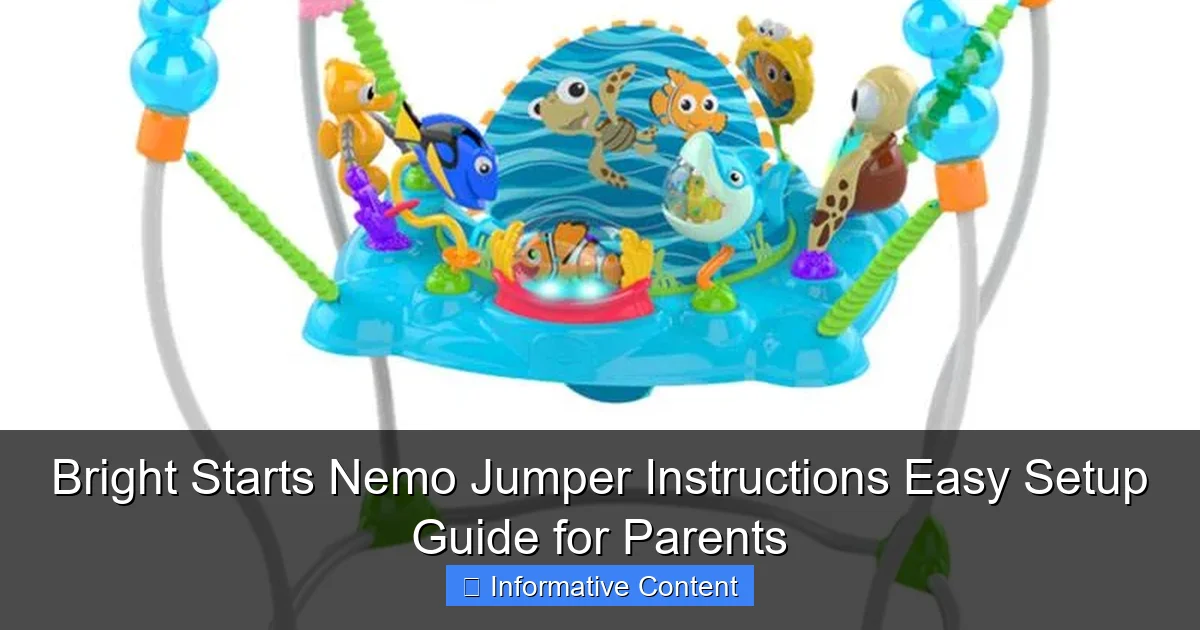
Featured image for bright starts nemo jumper instructions
Image source: bandung.mamasewa.com
Setting up the Bright Starts Nemo Jumper is quick and hassle-free with the clear, step-by-step instructions designed specifically for busy parents. From snap-together assembly to secure toy attachment, every detail ensures safety and fun in minutes—no tools or extra parts needed. Get your little one bouncing safely with this easy-to-follow guide.
Key Takeaways
- Follow manual closely: Always refer to the included guide for model-specific setup steps.
- Secure frame first: Assemble and lock the jumper’s frame before attaching toys or seat.
- Adjust height properly: Set seat height so baby’s feet touch the floor comfortably.
- Check toy attachments: Ensure all toys are firmly clipped to prevent choking hazards.
- Inspect regularly: Examine straps, springs, and frame for wear before each use.
- Limit bounce time: Restrict sessions to 15-20 minutes to avoid overstimulation.
📑 Table of Contents
- Why the Bright Starts Nemo Jumper Is a Parent Favorite
- What Makes the Bright Starts Nemo Jumper Special?
- Step-by-Step Bright Starts Nemo Jumper Instructions
- Safety Tips and Common Mistakes to Avoid
- Maximizing Fun and Developmental Benefits
- Cleaning, Maintenance, and Long-Term Care
- Final Thoughts: Is the Bright Starts Nemo Jumper Worth It?
Why the Bright Starts Nemo Jumper Is a Parent Favorite
Let’s be honest—parenting is equal parts joy and chaos. Between feeding schedules, naps, and keeping your little one engaged, finding a product that actually helps without adding stress? That’s a win. Enter the Bright Starts Nemo Jumper. If you’ve got a curious, wiggly baby who’s ready to explore the world beyond the playmat, this jumper is like a mini amusement park right in your living room.
I remember the first time my daughter spotted the Nemo-themed jumper at a friend’s house. Her eyes lit up like she’d discovered a coral reef. Within seconds, she was bouncing, giggling, and reaching for the dangling sea creatures. It wasn’t just fun—it was development in action. The jumper encouraged her to strengthen her legs, improve balance, and engage her senses. But here’s the catch: setting it up for the first time? That’s where many parents hit a snag. I’ve been there—frustrated, with a baby who just wants to bounce and a manual that feels like it’s written in another language.
What Makes the Bright Starts Nemo Jumper Special?
The Bright Starts Nemo Jumper stands out in a crowded market of baby jumpers. It’s not just about the adorable Finding Nemo theme (though, let’s be real—Nemo and Dory are instant winners). This jumper blends fun, safety, and developmental benefits in a way that feels intuitive for both babies and parents.
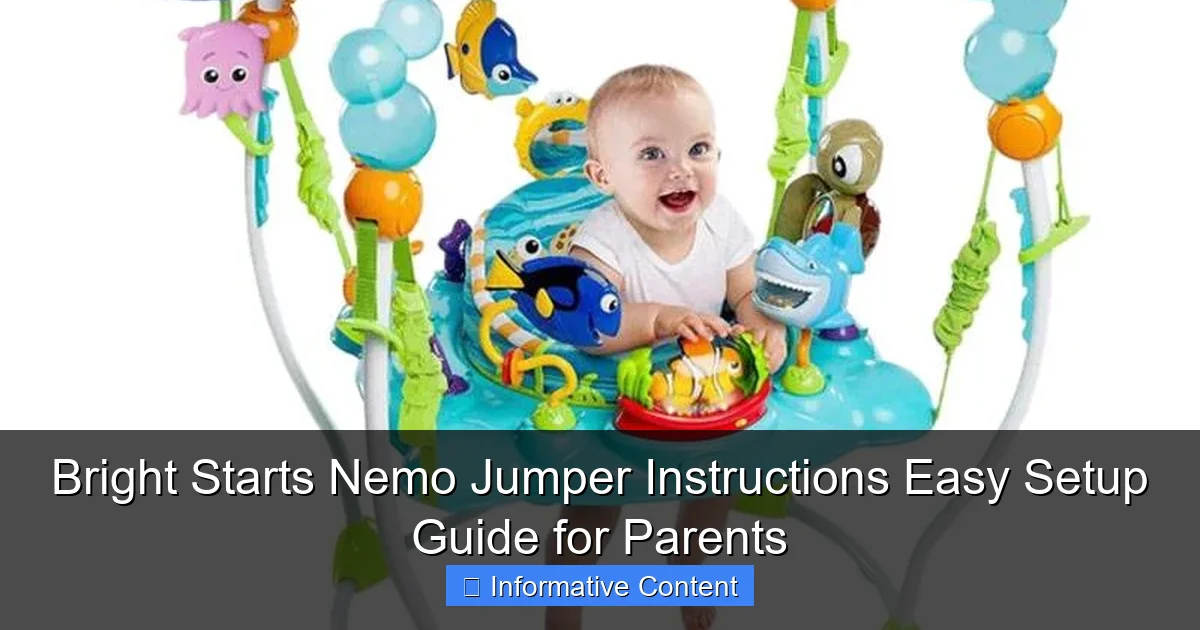
Visual guide about bright starts nemo jumper instructions
Image source: surabaya.mamasewa.com
Design and Aesthetic Appeal
The first thing you’ll notice is the vibrant ocean theme. Bright yellows, blues, and oranges pop against the white frame, and the dangling toys—crabs, starfish, and of course, Nemo and Dory—are soft, crinkly, and easy for little hands to grab. The seat rotates 360 degrees, so your baby can reach every toy without straining. It’s like a mini sensory gym.
Developmental Benefits
Beyond the fun, this jumper supports key milestones. Bouncing helps strengthen leg muscles, which is crucial for crawling and walking. The rotating seat encourages trunk control and balance. The dangling toys promote hand-eye coordination and cause-and-effect learning. My son, who was a little hesitant to bear weight on his legs, started standing more confidently after a few weeks of daily use.
Adjustability for Growing Babies
One of the best features? The three height settings. As your baby grows, you can adjust the frame so their toes just touch the ground—perfect for safe, supported bouncing. No more “tippy-toe” struggles or “sinking” into the seat. Plus, the seat pad is machine-washable (a lifesaver when spit-up or diaper accidents happen).
What Parents Love (and What Could Be Better)
Parents consistently praise the jumper’s sturdiness, easy cleaning, and engaging toys. But a few have noted that the frame can feel a bit bulky for smaller spaces. The toy tray isn’t removable, which makes deep cleaning a little trickier. And while the music and sounds are cute, some parents wish there was a volume control or off switch (because, yes, Nemo’s “Just keep swimming” song can get *very* repetitive).
Step-by-Step Bright Starts Nemo Jumper Instructions
Now, let’s tackle the main event: Bright Starts Nemo Jumper instructions. I’ll walk you through the setup process step by step—no engineering degree required. Think of this as your cheat sheet, complete with tips I wish I’d known the first time around.
Unboxing and Initial Inspection
When you open the box, you’ll find:
- The main frame (two U-shaped legs and a crossbar)
- Seat with attached toys and harness
- Spring clips (4 total)
- Instruction manual and warranty card
Pro tip: Lay everything out on a clean, flat surface. Check for any visible damage—especially on the frame joints and seat straps. I once received a jumper with a cracked spring clip, and returning it was a hassle. Better to inspect early.
Assembling the Frame
Start by connecting the two U-shaped legs to the crossbar. The crossbar has notches on both ends—align them with the legs and push until you hear a *click*. You should feel the pieces lock into place. If it’s not clicking, don’t force it. Double-check the alignment. I made the mistake of using too much pressure once, and it bent the plastic slightly. Gentle but firm is the way to go.
Once the frame is assembled, lay it flat on the floor. The legs should form a stable “A” shape. If one side wobbles, recheck the connections. A wobbly frame is a safety hazard.
Attaching the Seat
This is where the magic happens. Take the seat unit and locate the four spring clips—two on the front, two on the back. Each clip has a metal loop at the top.
Hook the front clips onto the top bar of the frame (the part that curves over the baby’s head). Then, attach the back clips to the lower crossbar. Make sure all four clips are securely fastened. Give each one a gentle tug—there should be no slack.
Important: The seat should hang evenly. If it’s tilting forward or backward, adjust the clips until it’s level. An uneven seat can make bouncing uncomfortable or unsafe.
Adjusting the Height
The Bright Starts Nemo Jumper has three height settings. To adjust:
- Press the height adjustment buttons (located on the legs, near the frame joints).
- Lift or lower the frame while holding the buttons.
- Release the buttons when the desired height is reached.
For optimal safety, your baby’s toes should *just* touch the floor when seated. If their feet are flat, the jumper is too low. If they’re on their tiptoes, it’s too high. I used a folded towel under my son’s feet the first few days to help him get used to the motion.
Securing Your Baby
Before placing your baby in the jumper:
- Check that the harness straps are not twisted.
- Ensure the seat pad is zipped securely.
- Test the toy tray—it should be within easy reach.
Place your baby in the seat and fasten the harness. The waist straps should fit snugly but not tightly. You should be able to fit two fingers between the strap and your baby’s skin. The chest clip should rest at armpit level.
Warning: Never leave your baby unattended in the jumper. Even with the harness, there’s a risk of tipping if they lean too far.
Safety Tips and Common Mistakes to Avoid
The Bright Starts Nemo Jumper is designed with safety in mind, but like any baby product, it’s only as safe as the parent using it. Here’s what you need to know to keep your little one protected—and happy.
Supervision Is Non-Negotiable
This can’t be stressed enough: never leave your baby alone in the jumper. Even if they’re strapped in, they can wiggle, lean, or bounce in ways that shift the center of gravity. I once turned my back for 30 seconds to grab a diaper, and my daughter managed to tip the jumper slightly—enough to scare me. Now, I keep it in the kitchen while I cook, so I can see her at all times.
Check the Weight and Height Limits
The jumper is rated for babies up to 25 pounds and 32 inches tall. But here’s the thing: your baby might outgrow it *developmentally* before hitting those limits. Once they start pulling to stand or trying to climb out, it’s time to retire the jumper. My son hit 20 pounds but was so eager to stand that he’d rock the jumper back and forth—definitely a sign he was ready to move on.
Inspect for Wear and Tear
Check the following regularly:
- Spring clips: Look for cracks, rust, or loose connections. Replace immediately if damaged.
- Harness straps: Frayed straps are a hazard. If the stitching is coming undone, contact Bright Starts for a replacement.
- Frame joints: Wiggle the frame gently. Any looseness could mean a joint is failing.
I recommend a quick inspection every time you set up the jumper—especially if you travel with it. I once took ours on vacation and realized the clips had loosened during transit. A 10-minute fix saved a potential accident.
Avoid These Common Setup Errors
- Incorrect height: If the jumper is too high, your baby won’t be able to bounce safely. Too low, and they might strain their legs.
- Uneven seat: A tilted seat can cause discomfort or make the jumper unstable.
- Ignoring the manual: The Bright Starts Nemo Jumper instructions include safety warnings and diagrams. Skimming them might save you a headache later.
Where (and Where Not) to Use the Jumper
Use the jumper on a flat, hard surface—tile, hardwood, or low-pile carpet. Avoid:
- High-pile carpets (they can cause instability)
- Near stairs or sharp furniture edges
- Outside (exposure to weather can damage the frame and toys)
I made the mistake of using it on a shaggy rug once. The jumper wobbled so much that my daughter refused to bounce. Lesson learned.
Maximizing Fun and Developmental Benefits
The Bright Starts Nemo Jumper isn’t just a way to keep your baby busy—it’s a tool for growth. With a few simple tweaks, you can turn playtime into a developmental powerhouse.
Engage Your Baby’s Senses
The jumper’s toys are designed for sensory exploration. The crinkly starfish, rattling crab, and soft Nemo plush encourage touch and sound. But don’t stop there:
- Talk about the colors and shapes: “Look, that’s a yellow Nemo! Can you point to the blue fish?”
- Play peek-a-boo: Hide behind a cushion and pop out when they bounce.
- Sing songs: Pair the jumper’s music with nursery rhymes. My daughter loved it when I sang “Baby Shark” to the tune of the jumper’s ocean sounds.
Encourage Physical Milestones
Use the jumper to support motor development:
- Leg strength: Gently guide your baby’s legs to push off the floor. Say, “Bounce, bounce, bounce!”
- Balance: Place a soft toy just out of reach. Encourage them to stretch and rotate to grab it.
- Hand-eye coordination: Hold a rattle above the toy tray. Help them bat at it.
I noticed my son started reaching for toys more confidently after a few weeks. He’d even try to “catch” them mid-bounce!
Limit Screen Time, Maximize Interaction
While the jumper has fun sounds and lights, it’s best used as an interactive tool—not a babysitter. Limit use to 15-20 minutes at a time, 2-3 times per day. This prevents overstimulation and ensures your baby gets plenty of tummy time and floor play.
Rotate Toys for Novelty
Babies thrive on variety. If your little one loses interest, swap out the dangling toys with others from your toy bin. A soft book, teething ring, or crinkly fabric scrap can feel like “new” toys. I once hung a ribbon from the frame, and my daughter was obsessed for days.
Cleaning, Maintenance, and Long-Term Care
Let’s face it—babies are messy. The Bright Starts Nemo Jumper is designed for easy cleaning, but a little maintenance goes a long way.
Cleaning the Seat Pad
The seat pad is machine-washable—a huge plus. To clean:
- Unzip the pad from the harness.
- Wash in cold water on a gentle cycle.
- Air dry (do not use the dryer—it can shrink the fabric).
Pro tip: Keep a spare seat pad on hand. That way, you can clean one while the other is in use. I learned this after a particularly messy diaper explosion.
Wiping Down the Frame and Toys
For the frame, use a damp cloth with mild soap. Avoid harsh chemicals—they can damage the plastic. The hanging toys can be spot-cleaned with a baby-safe wipe.
Warning: Do not submerge the toys in water. The electronic components (for music and lights) are not waterproof.
Storing the Jumper
If you need to store the jumper:
- Disassemble the frame (it folds flat for easy storage).
- Remove the seat pad and wash it before storing.
- Keep all parts in a dry, cool place—away from direct sunlight.
I stored ours in a closet under the stairs. When my second child was ready to use it, the frame looked as good as new.
When to Replace the Jumper
Even the best products don’t last forever. Replace the jumper if:
- The frame is bent or cracked
- Spring clips are damaged
- Harness straps are frayed
- Your baby exceeds the weight/height limits
Bright Starts offers replacement parts on their website, so check there before buying a whole new unit.
Final Thoughts: Is the Bright Starts Nemo Jumper Worth It?
After months of use—and a fair share of trial and error—I can confidently say the Bright Starts Nemo Jumper is a solid choice for parents. It’s fun, safe, and genuinely supports your baby’s development. The Bright Starts Nemo Jumper instructions are clear (once you get past the initial setup), and the jumper is built to last.
Yes, it has minor flaws—the bulky frame, the non-removable toy tray, the repetitive music. But the pros far outweigh the cons. My kids loved it, and as a parent, I loved watching them grow stronger and more curious with each bounce.
So if you’re on the fence, take the leap. Just remember: read the manual, check the setup, and always supervise. With a little patience and these tips, you’ll turn the jumper into a joyful, developmental adventure for your little one.
| Feature | Details |
|---|---|
| Weight Limit | Up to 25 pounds |
| Height Limit | Up to 32 inches |
| Height Settings | 3 adjustable levels |
| Seat Rotation | 360 degrees |
| Seat Pad | Machine-washable, removable |
| Toy Tray | Fixed, includes crinkly toys, music, and lights |
| Assembly Time | 10-15 minutes (first time), 5 minutes (after) |
| Warranty | 1-year limited warranty |
Frequently Asked Questions
How do I assemble the Bright Starts Nemo Jumper?
Follow the step-by-step instructions in the manual: attach the frame, secure the seat, and connect the toy tray. Ensure all parts click into place for safety. Refer to the “Bright Starts Nemo Jumper instructions” for detailed diagrams.
What age or weight is the Nemo Jumper suitable for?
The jumper is designed for babies aged 4–12 months or up to 25 lbs. Always supervise your child and stop use once they can walk or climb out independently.
Can I adjust the height of the Bright Starts Nemo Jumper?
Yes! The jumper has 3 height settings. Loosen the side knobs, adjust the frame to your baby’s leg length, and re-tighten securely. Check the instructions for exact measurements.
How do I clean the seat and toy tray?
Remove the seat fabric and machine wash on gentle. Wipe the toy tray with mild soap and water. Avoid harsh chemicals to preserve the “Bright Starts Nemo Jumper” materials.
Is the toy bar removable for storage?
Yes, the toy bar detaches easily by pressing the side buttons. This makes storage or travel simpler—just follow the disassembly steps in the manual.
What safety checks should I perform before each use?
Inspect the frame for loose screws, ensure the seat is securely attached, and test the bounce mechanism. Always review the “Bright Starts Nemo Jumper instructions” for safety guidelines.