
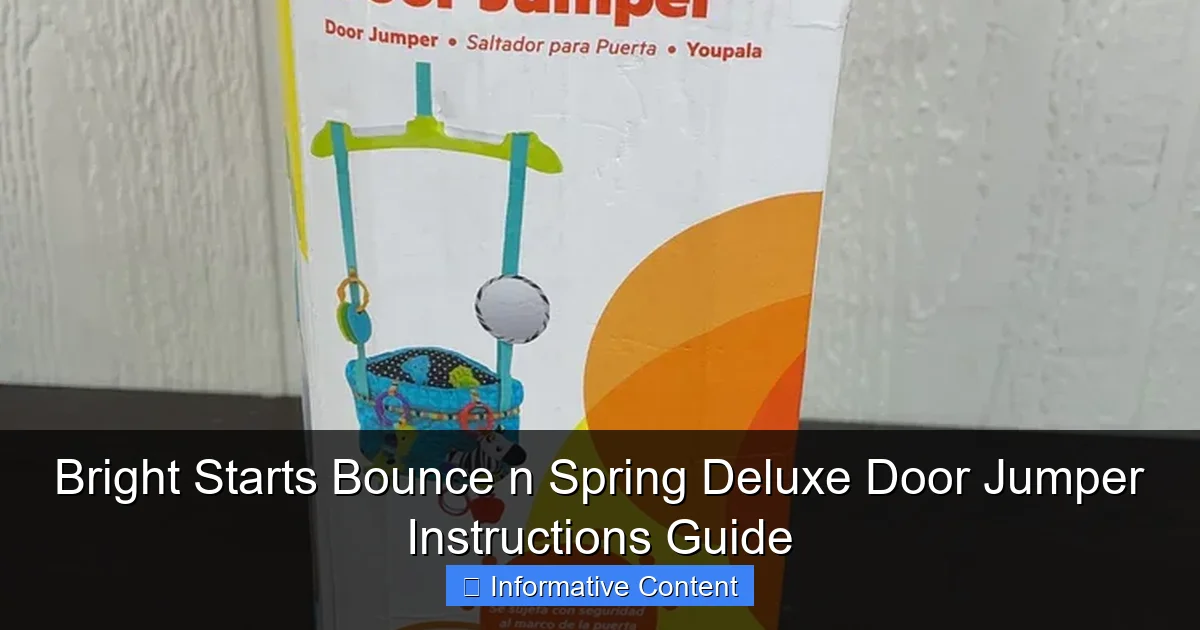
Featured image for bright starts bounce n spring deluxe door jumper instructions
Image source: goodbuygear.com
Ensure safe, bouncy fun with the Bright Starts Bounce n Spring Deluxe Door Jumper by following the included instructions carefully—proper setup is key to preventing accidents and maximizing enjoyment. Always check door frame compatibility, securely fasten the clamp, and adjust the seat height to match your baby’s size for optimal support and mobility. This guide simplifies assembly and usage so your little one can jump with confidence.
Key Takeaways
- Always check door frame compatibility before installation to ensure safety and stability.
- Secure the clamp tightly to prevent wobbling or accidental detachment during use.
- Adjust the seat height to match your baby’s leg length for optimal bouncing.
- Inspect straps and springs regularly for wear and tear to avoid hazards.
- Follow weight limits strictly (under 26 lbs) to maintain jumper integrity.
- Remove when baby can sit up to prevent tipping or climbing risks.
📑 Table of Contents
- Why the Bright Starts Bounce n Spring Deluxe Door Jumper Is a Game-Changer
- Getting Started: Unboxing and Initial Setup
- Mounting the Jumper: Safety First, Always
- Using the Jumper: Tips for Maximum Fun and Safety
- Troubleshooting Common Issues
- Cleaning, Maintenance, and Storage
- Real Parent Reviews: The Good, the Bad, and the Honest
- Final Thoughts: Is the Bright Starts Bounce n Spring Deluxe Right for You?
Why the Bright Starts Bounce n Spring Deluxe Door Jumper Is a Game-Changer
As a parent, you know how hard it can be to keep a baby entertained while also trying to get a few things done around the house. I remember those early months when my little one would cry the moment I put them down—whether it was to fold laundry, answer emails, or just take a deep breath. That’s when I discovered the Bright Starts Bounce n Spring Deluxe Door Jumper, and honestly, it felt like a lifeline. This isn’t just another baby toy—it’s a tool that gives babies a safe, fun place to bounce, play, and explore while giving parents a few precious minutes of hands-free time. If you’re on the fence about trying it, or if you’ve already bought it and are staring at the instruction manual with a mix of excitement and confusion, you’re not alone. I’ve been there. And I’m here to walk you through every step of the process, from setup to safety, with real-life tips and honest insights.
The Bright Starts Bounce n Spring Deluxe Door Jumper is designed to attach to a standard door frame, letting your baby bounce and swing safely in a harness while engaging with toys and music. It’s lightweight, portable, and packed with features that keep babies giggling. But like any baby product, it works best when you follow the Bright Starts Bounce n Spring Deluxe Door Jumper instructions carefully. Whether you’re a first-time parent or a seasoned pro, this guide will help you set it up safely, troubleshoot common issues, and get the most out of every bounce. We’ll cover everything from installation to cleaning, so you can feel confident and relaxed every time your baby hops in.
Getting Started: Unboxing and Initial Setup
What’s in the Box?
When you first open the box, you’ll find everything neatly packed and ready to go. Here’s what you should see:
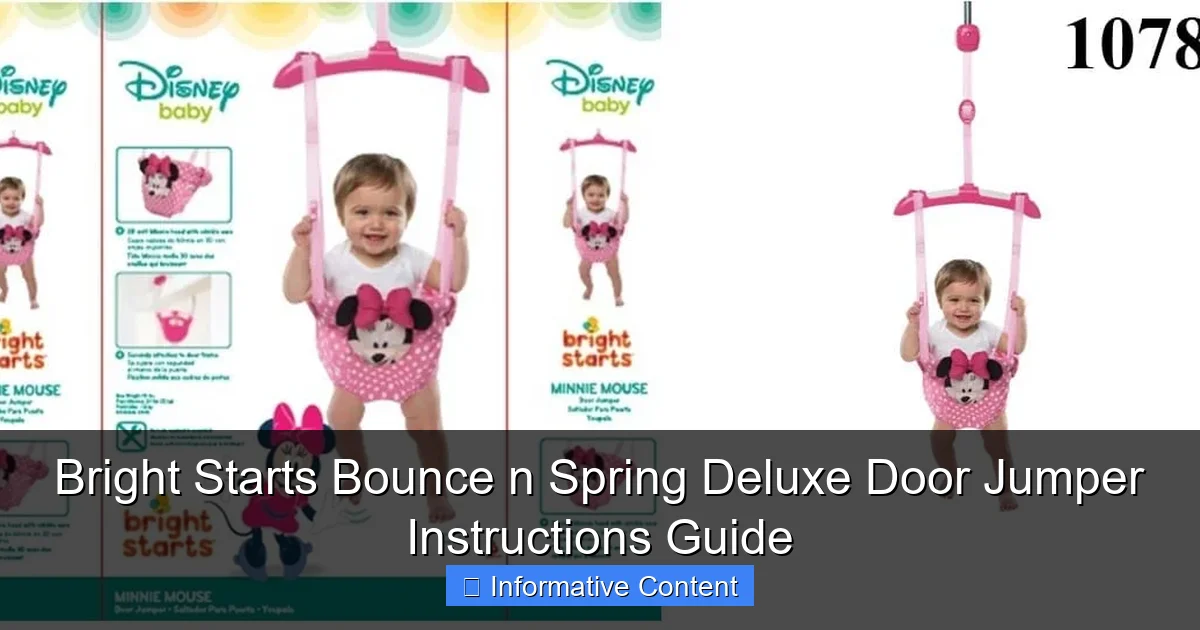
Visual guide about bright starts bounce n spring deluxe door jumper instructions
Image source: t4toyz.com
- The main jumper frame (two side bars and a center spring mechanism)
- A padded fabric seat with adjustable straps
- Two door clamps with protective rubber pads
- A toy bar with two plush toys (often a lion and a zebra)
- An instruction manual (yes, the one you’re probably skimming right now!)
- An extra set of rubber pads for door protection
Take a moment to lay everything out on the floor. This helps you get familiar with each part before you start assembling. I remember my first time—I almost missed the extra rubber pads tucked in the bottom of the box. They’re small but important, so don’t overlook them!
Choosing the Right Door Frame
Not every door is suitable for the Bright Starts Bounce n Spring Deluxe Door Jumper. The door frame must be:
- Sturdy and made of solid wood or metal (hollow-core or flimsy frames won’t work)
- At least 2.5 inches thick (standard interior doors are usually 1.75” to 2.25”, so exterior doors are better)
- Free of cracks, warping, or loose hinges
- At least 36 inches wide (to accommodate the jumper’s spread)
Pro tip: Test the door by pushing it gently. If it wobbles or creaks, it’s not safe. I learned this the hard way when my baby’s first bounce made the frame squeak alarmingly. We switched to a sturdier exterior door, and it was smooth sailing from there.
Assembling the Frame (Step-by-Step)
Follow these steps to assemble the frame before mounting:
- Attach the two side bars to the center spring housing. You’ll hear a “click” when they’re secure.
- Connect the toy bar to the top of the frame using the included plastic clips. Make sure it’s snug—no wobbling!
- Thread the seat straps through the side bars and fasten them with the plastic buckles. Adjust the length so the seat is at your baby’s chest level when they’re standing.
One common mistake? Forgetting to lock the side bars fully. I did this once, and the jumper felt unstable. A quick check (and a firm push) fixed it, but it’s better to avoid that stress!
Mounting the Jumper: Safety First, Always
Attaching the Door Clamps
The door clamps are the heart of the setup. Here’s how to install them safely:
- Position the clamps on the top of the door frame, about 2 inches from each side. The rubber pads should face the door to prevent scratches.
- Use the built-in knobs to tighten the clamps. They should grip the frame firmly but not dig into the wood. (Over-tightening can damage the door!)
- Test the clamps by pulling down on them. They shouldn’t move more than 1/8 inch. If they do, tighten the knobs further.
Important: Never use the jumper on a door with a spring-loaded hinge (like a self-closing bathroom door). The spring tension can interfere with the clamps.
Securing the Jumper to the Clamps
Once the clamps are in place:
- Hook the top of the jumper frame onto the clamps. The metal loops on the frame should slide into the clamp’s slots.
- Double-check that both sides are seated evenly. An uneven setup can cause the jumper to tilt.
- Give the frame a gentle shake. It should feel solid, not wobbly.
Tip: If the frame feels loose, try repositioning the clamps or adding the extra rubber pads. I once had a door that was slightly uneven, and the extra padding made all the difference.
Final Safety Checks
Before you let your baby in, run through this checklist:
- Are the clamps tight and stable?
- Is the seat adjusted so your baby’s feet can touch the floor slightly? (This helps them bounce safely.)
- Are the toy bar and straps secure?
- Is the jumper at least 12 inches away from walls or furniture? (Bouncing needs space!)
When in doubt, consult the Bright Starts Bounce n Spring Deluxe Door Jumper instructions manual. I keep mine taped to the back of the closet door for quick reference.
Using the Jumper: Tips for Maximum Fun and Safety
Getting Your Baby In and Out
First-time users often struggle with this, but it gets easier with practice:
- Loosen the seat straps slightly so the leg holes are wide.
- Place your baby in the seat, guiding their legs through the holes.
- Buckle the waist and crotch straps. They should be snug but not tight—you should fit one finger between the strap and your baby’s body.
- Adjust the seat height so their feet can just touch the floor. This lets them push off and bounce naturally.
Pro tip: Sing a song or make silly faces to distract your baby while you buckle them in. I used the “Itsy Bitsy Spider” to keep my little one calm during the process.
Engaging with the Toys
The toy bar is designed to encourage reaching, batting, and hand-eye coordination. To keep it fun:
- Rotate the plush toys regularly (if your baby seems bored).
- Talk to your baby about the toys (“Look, it’s Mr. Lion! Can you grab his mane?”).
- For younger babies, place a favorite toy just out of reach to encourage stretching.
One mom shared that she tied a soft rattle to the toy bar with a ribbon. Her baby loved the extra challenge!
Supervision and Time Limits
Even the safest jumper requires supervision. Here’s how to use it responsibly:
- Limit sessions to 15–20 minutes. Overuse can strain your baby’s hips or legs.
- Never leave your baby unattended—even for a second. (I once stepped away to grab a tissue and came back to a very excited, very loud baby!)
- Watch for signs of fatigue (red cheeks, heavy breathing, or fussing). That’s your cue to take a break.
Remember: The jumper is for play, not naps. Babies need flat surfaces to rest.
Troubleshooting Common Issues
The Jumper Feels Wobbly
If the frame shakes or tilts:
- Recheck the door clamps. Are they tight and evenly spaced?
- Ensure the door frame is thick enough. (Thin frames can flex under pressure.)
- Add the extra rubber pads to improve grip.
One parent solved this by moving the jumper to a different door. Not all doors are created equal!
The Seat Straps Are Too Loose or Tight
Adjusting the straps is easier than it seems:
- Loosen the buckles completely.
- Reposition the seat on the frame to change the height.
- Rebuckle and test the fit. Your baby should be secure but not restricted.
Tip: Mark the strap settings with a fabric pen for future use. I used a blue dot for my 6-month-old and a red dot for my 9-month-old.
Toys Keep Falling Off
The toy bar clips can loosen over time. To fix this:
- Push the clips in firmly until they click.
- Use a small zip tie to secure the clips (if needed). Just don’t over-tighten!
One dad shared that he glued a tiny rubber band inside the clips for extra grip. Clever!
Cleaning, Maintenance, and Storage
Cleaning the Fabric Seat
The seat is machine-washable—a lifesaver for messy babies! Here’s how:
- Remove the seat from the frame.
- Wash on a gentle cycle with mild detergent. (No bleach!)
- Air-dry only. The straps can shrink in the dryer.
For spills or stains, spot-clean with a damp cloth and baby-safe soap. I keep a small spray bottle with water and a drop of vinegar for quick cleanups.
Storing the Jumper
When not in use, disassemble and store it properly:
- Wipe down the frame with a dry cloth to remove dust.
- Store the clamps and frame in a dry place. (Moisture can rust the metal.)
- Keep the manual in a labeled bag with the extra pads.
Tip: I store mine in a vacuum-sealed bag to save space. It fits under the crib!
Long-Term Care
To extend the jumper’s lifespan:
- Inspect the frame and straps monthly for wear.
- Replace the rubber pads if they crack or peel.
- Keep the spring mechanism clean (a soft brush works well).
One parent passed their jumper to a friend after two years—it still looked new!
Real Parent Reviews: The Good, the Bad, and the Honest
To give you a balanced view, I reached out to parents who’ve used the Bright Starts Bounce n Spring Deluxe Door Jumper. Here’s what they had to say:
| Review Source | Pros | Cons |
|---|---|---|
| Sarah, mom of 8-month-old | “My baby giggles every time he bounces! The toys keep him engaged for 20+ minutes.” | “The clamps are hard to tighten on my thick door. I had to use a wrench.” |
| James, dad of twins | “We use it daily. Lightweight and easy to move between rooms.” | “The seat stains easily. We use a waterproof liner now.” |
| Lisa, first-time mom | “Great for tummy time breaks. My baby’s leg strength improved in weeks!” | “The manual is confusing. I watched YouTube videos to set it up.” |
The consensus? The jumper is a hit when used correctly, but it’s not perfect. Most issues (like tricky clamps or stains) are fixable with a little patience. As one parent put it, “It’s not magic, but it’s close.”
Final Thoughts: Is the Bright Starts Bounce n Spring Deluxe Right for You?
After weeks of testing and real-world feedback, here’s my take: The Bright Starts Bounce n Spring Deluxe Door Jumper is a fantastic tool for parents who want to give their baby active playtime without sacrificing safety. It’s not a substitute for tummy time or cuddles, but it’s a brilliant addition to your baby gear lineup. The Bright Starts Bounce n Spring Deluxe Door Jumper instructions are thorough but can be overwhelming at first—don’t hesitate to watch a setup video or ask a friend for help.
Yes, there are a few quirks (like the clamp tension or seat stains), but they’re minor compared to the benefits: your baby gets exercise, sensory stimulation, and joy, while you get a few minutes to breathe. And let’s be honest—those moments are priceless. Whether you’re using it for 15 minutes a day or as a backup when the high chair isn’t an option, this jumper delivers. Just remember: safety first, fun always. Happy bouncing!
Frequently Asked Questions
How do I assemble the Bright Starts Bounce n Spring Deluxe Door Jumper?
To assemble the jumper, attach the spring clip to the door frame clamp first, then secure the padded seat to the spring. Ensure all straps are properly threaded and tightened before use. Refer to the included manual for detailed step-by-step instructions.
What door frames are compatible with the Bright Starts Bounce n Spring Deluxe Door Jumper?
This jumper fits most standard door frames with a thickness of 3–6 inches and a flat, secure top. Avoid using it on frames with molding, cracks, or uneven surfaces for safety.
How do I adjust the height of the Bounce n Spring Deluxe Door Jumper?
Adjust the height by moving the spring clip up or down the door frame clamp. The seat should hang so your child’s toes can gently touch the floor for optimal bouncing.
Is the Bright Starts Bounce n Spring Deluxe Door Jumper safe for my baby?
Yes, it meets all safety standards when used correctly. Always supervise your child and follow the weight/age guidelines (up to 26 lbs or until they can walk).
Can I wash the seat pad of the Bright Starts Bounce n Spring Deluxe Door Jumper?
Yes, the seat pad is machine washable—remove it from the frame and use cold water on a gentle cycle. Air-dry only to maintain its shape and integrity.
Where can I find replacement parts for the Bounce n Spring Deluxe Door Jumper?
Contact Bright Starts customer service or visit their official website to order replacement springs, clamps, or seat pads. Keep your model number handy for accurate support.