
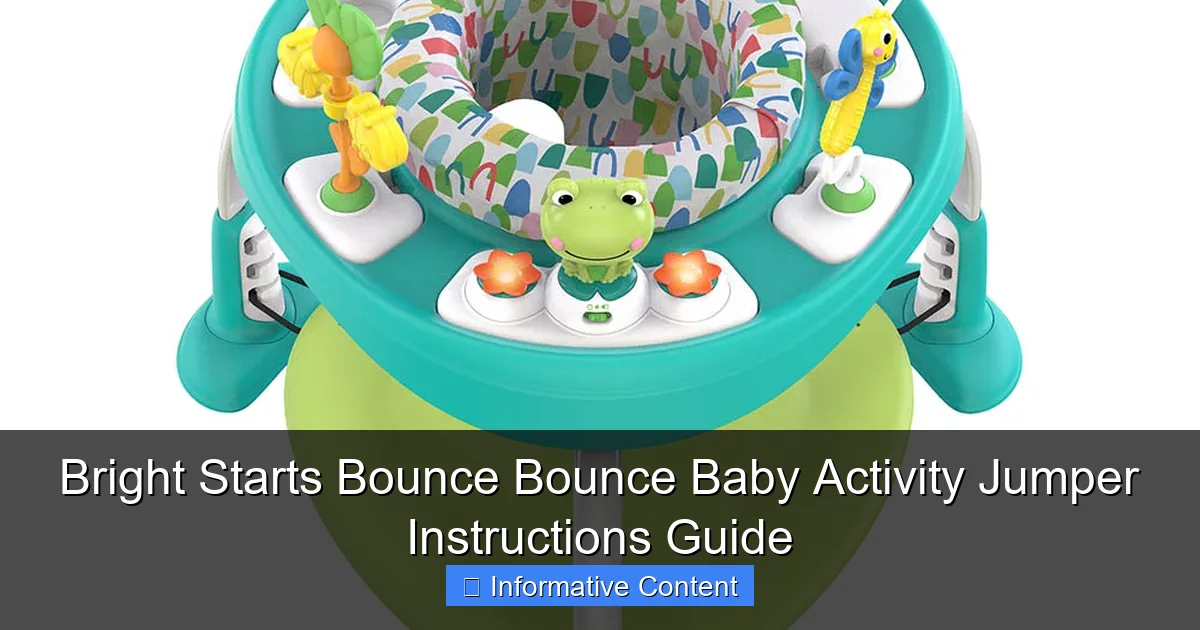
Featured image for bright starts bounce bounce baby activity jumper instructions
Image source: mumzworld.com
The Bright Starts Bounce Bounce Baby Activity Jumper is easy to assemble and designed for safe, engaging fun, featuring a sturdy frame, adjustable height settings, and interactive toys to stimulate your baby’s development. Follow the included instructions carefully to ensure proper setup and maximum safety, including securing the seat, testing stability, and using the bounce function as directed for infants 6 months and up.
Key Takeaways
- Always secure the seat before placing your baby in the jumper.
- Adjust height settings to match your baby’s leg length for safe bouncing.
- Check all toys and straps regularly for wear or loose parts.
- Use on flat surfaces only to prevent tipping or instability during use.
- Follow weight limits strictly to ensure jumper safety and durability.
- Clean with mild soap and avoid submerging electronic components.
📑 Table of Contents
- Why the Bright Starts Bounce Bounce Baby Activity Jumper Is a Game-Changer
- Unboxing and Initial Setup: Getting Started Right
- Safety First: Understanding Weight, Age, and Developmental Guidelines
- Maximizing Fun and Development: How to Use the Activity Tray Effectively
- Maintenance and Cleaning: Keeping It Fresh and Safe
- Troubleshooting Common Issues: Quick Fixes for Frequent Problems
- Final Thoughts: Is the Bright Starts Jumper Worth It?
Why the Bright Starts Bounce Bounce Baby Activity Jumper Is a Game-Changer
When my niece was around four months old, her parents were desperate for a safe, engaging way to keep her entertained while they cooked dinner or answered emails. That’s when they discovered the Bright Starts Bounce Bounce Baby Activity Jumper. At first glance, it looked like just another baby bouncer—but within days, it became a household staple. Watching her giggle as she kicked her legs and spun the activity tray, I realized this wasn’t just a toy; it was a tool for development, exploration, and much-needed parental downtime.
But like any parent, they had questions: How do I set it up? Is it safe for my baby’s hips? What activities are included? And how do I clean it without damaging the fabric? These are the same concerns you’re probably facing. Whether you’re a first-time parent or shopping for a baby shower gift, understanding the ins and outs of this jumper ensures you get the most out of it—safely, effectively, and joyfully. In this guide, I’ll walk you through everything you need to know about the Bright Starts Bounce Bounce Baby Activity Jumper instructions, from unboxing to storage, with real-life tips and practical advice.
Unboxing and Initial Setup: Getting Started Right
Setting up the Bright Starts Bounce Bounce Baby Activity Jumper might seem overwhelming at first, especially if you’re sleep-deprived or juggling a wiggly baby. But trust me, it’s simpler than assembling IKEA furniture. The key is patience, a flat surface, and about 15–20 minutes of uninterrupted time.
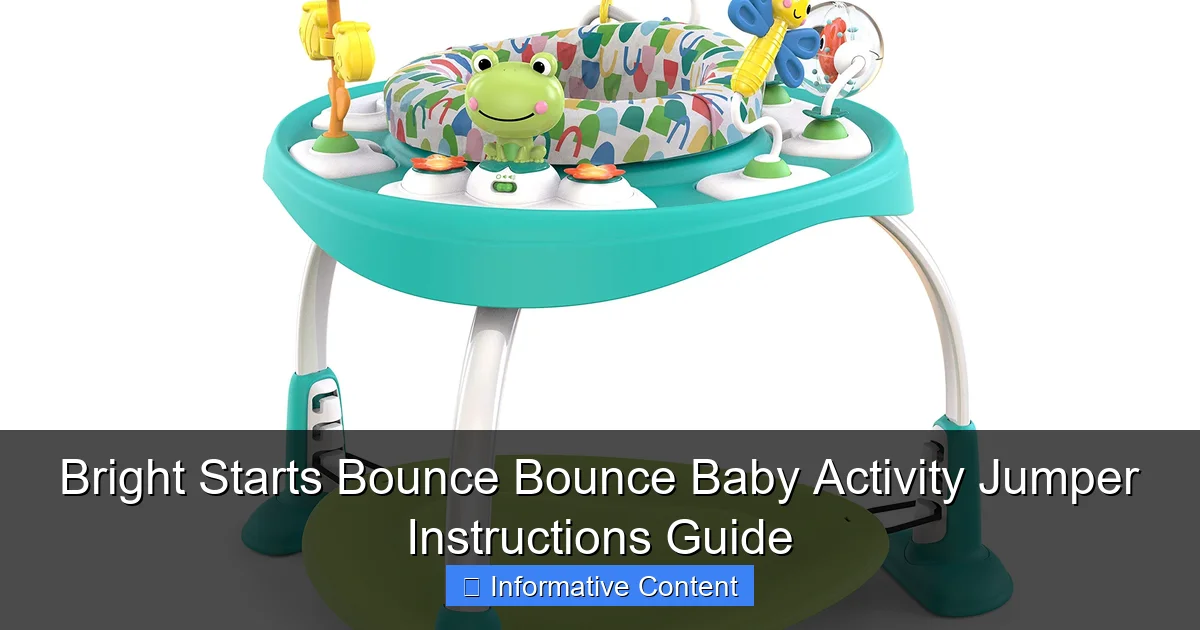
Visual guide about bright starts bounce bounce baby activity jumper instructions
Image source: m.media-amazon.com
What’s in the Box?
When you open the box, you’ll find:
- The main frame (legs and base)
- The seat unit with fabric cover and toy bar
- Activity tray with rotating toys
- Three adjustable straps (for height settings)
- Instruction manual (yes, read it!)
- Two AAA batteries (for the light-up toys)
Pro tip: Lay everything out on a clean floor before starting. It helps you visualize the assembly process and ensures nothing gets lost in the shuffle.
Step-by-Step Assembly Guide
- Attach the legs: The base has three sturdy legs that snap into place. Press down firmly until you hear a *click*. Make sure all three are secure and the jumper sits flat on the floor. If one leg is slightly off, it can wobble—this is a safety issue.
- Connect the seat ring: Slide the circular seat frame over the central column. It should rotate freely. If it’s stiff, check for debris or misalignment.
- Install the activity tray: Align the tray with the notches on the seat ring and twist clockwise to lock. The tray should spin smoothly. My niece loved this feature—she’d reach for toys and accidentally spin herself, which made her laugh.
- Secure the fabric seat: Drape the padded seat over the ring and fasten the snaps at the back. Ensure the leg openings are aligned and the fabric isn’t twisted. A twisted seat can cause discomfort or uneven pressure on your baby’s hips.
- Adjust the height: The jumper has three height settings. Use the straps under the seat to raise or lower it. For babies 4–6 months, start at the middle setting. As your baby grows, adjust accordingly.
- Insert batteries and test toys: Pop in the AAA batteries and press the buttons on the activity tray. The lights and sounds should work. If not, double-check battery orientation and contact points.
One thing to note: The manual suggests tightening the straps by hand only. Over-tightening with pliers or wrenches can damage the plastic clips. I learned this the hard way when I accidentally snapped one during my niece’s setup—thankfully, Bright Starts sells replacement parts online.
First-Time Use Tips
- Let your baby sit in the jumper for 5–10 minutes on the first day. Watch for signs of discomfort (arching back, fussiness).
- Always place the jumper on a flat, hard surface—never on carpet, couches, or uneven flooring.
- Keep it at least 18 inches away from walls, furniture, or cords. Babies can kick or grab nearby objects, which is a hazard.
Safety First: Understanding Weight, Age, and Developmental Guidelines
Let’s address the elephant in the room: Is a baby jumper safe? The answer depends on how you use it. The Bright Starts Bounce Bounce Baby Activity Jumper is designed with safety in mind, but misuse can lead to risks like hip dysplasia or overstimulation. Here’s what you need to know.
Age and Weight Recommendations
Bright Starts recommends the jumper for babies who:
- Are 4–12 months old
- Can hold their head up unassisted
- Weigh less than 25 lbs (11.3 kg)
- Can stand with support (but not walk yet)
Why these limits? Before 4 months, babies lack the neck strength to handle the bouncing motion. After 12 months, they’re usually too heavy for the frame or ready to explore more complex play (e.g., walkers or playpens). My niece’s pediatrician emphasized that jumpers shouldn’t be used for more than 15–20 minutes at a time, 1–2 times per day. Overuse can strain developing joints.
Hip-Healthy Design Features
Many parents worry about jumpers contributing to hip dysplasia. The Bright Starts model addresses this with:
- Wide, padded leg openings: Allow natural hip positioning (frog-leg or “M” shape).
- Adjustable height settings: Prevent babies from tiptoeing or dangling.
- Stable base: The triangular leg design resists tipping.
One mom in my local parenting group shared a story: Her baby had mild hip instability, and her doctor advised against jumpers. But after consulting a pediatric physical therapist, they used the Bright Starts jumper only with the lowest height setting and strict time limits. The therapist noted the wide leg openings helped maintain proper alignment. Always consult your child’s doctor if you have concerns.
Common Safety Mistakes to Avoid
- Using on soft surfaces: Carpets or rugs can cause instability. I once saw a jumper tip over when a baby kicked a toy off a plush rug—luckily, no one was hurt.
- Ignoring wear and tear: Check the straps and fabric weekly for fraying. Replace if damaged.
- Leaving baby unattended: Even for 30 seconds. Babies can wiggle out or get tangled in the straps.
- Overloading the activity tray: Stick to the included toys. Adding heavy items (e.g., books) can throw off balance.
Maximizing Fun and Development: How to Use the Activity Tray Effectively
The activity tray is the star of the show. It’s not just a toy bar—it’s a sensory playground designed to stimulate your baby’s brain, hands, and curiosity. But to get the most out of it, you’ll want to use it strategically.
Exploring the Built-In Toys
The tray includes:
- Light-up piano keys: Pressing them triggers cheerful sounds and flashing lights. My niece loved the “dancing” effect—she’d kick her legs when the music played.
- Spinning rattle: Encourages reaching and grasping. The textured surface helps with sensory development.
- Mirror: Promotes self-recognition. Babies love staring at themselves (and making funny faces).
- Teething toys: Soft, BPA-free rubber shapes for chewing. Great for sore gums.
- Rolling beads: Sliding beads improve fine motor skills.
Tip: Rotate the tray every few days. Changing the toy positions keeps your baby engaged longer. One dad in my neighborhood would “reset” the tray while his baby napped—like a mini surprise for the next session.
DIY Toy Swaps and Customization
Want to keep things fresh? Swap out toys (safely):
- Attach a favorite plush toy: Use a baby-safe clip to hang a small stuffed animal. Ensure it’s lightweight and securely attached.
- Add a crinkly fabric tag: Babies love the sound. Tie it to the tray with a ribbon (knot securely).
- Introduce cause-and-effect toys: For older babies (9+ months), add a pop-up toy or button-pusher. Just make sure it’s within reach but not a choking hazard.
Warning: Never attach toys with strings longer than 6 inches. Long strings pose a strangulation risk.
Encouraging Developmental Milestones
Use the jumper to support key skills:
- 6–8 months: Focus on hand-eye coordination. Point to toys and say their names (“That’s the piano! Can you touch the red key?”).
- 8–10 months: Introduce problem-solving. Hide a toy under the tray and help your baby find it.
- 10–12 months: Practice standing. Hold your baby’s hands and let them bounce while supporting their weight.
A mom in my parenting group used the jumper for “tummy time breaks.” When her baby got fussy during floor play, she’d pop her in the jumper for 10 minutes. The change of scenery helped reset her mood—and the toys kept her busy.
Maintenance and Cleaning: Keeping It Fresh and Safe
Let’s be real: Babies are messy. Between drool, spit-up, and sticky fingers, your jumper will need cleaning. The good news? The Bright Starts model is surprisingly easy to maintain—if you follow the right steps.
Daily Quick Clean
- Wipe the tray, toys, and frame with a damp cloth and mild soap.
- Use a baby-safe disinfectant spray (e.g., diluted vinegar or alcohol-free wipes) on high-touch areas.
- Remove food crumbs or lint with a soft brush.
Pro tip: Keep a “jumper cleaning kit” nearby—a small spray bottle, microfiber cloth, and baby wipes. It makes quick cleanups effortless.
Deep Cleaning the Fabric Seat
The seat cover is machine-washable (yay!), but follow these steps:
- Unsnap the cover from the seat ring.
- Wash in warm water on gentle cycle with a mild detergent.
- Avoid bleach or fabric softener—they can irritate baby’s skin.
- Air-dry flat. Do NOT tumble dry—it can shrink the fabric or damage the snaps.
One mom shared a hack: She washed the cover with a few baby socks to prevent it from twisting in the machine. Smart!
Long-Term Storage Tips
When your baby outgrows the jumper:
- Wipe down all parts and let them dry completely.
- Remove batteries to prevent corrosion.
- Disassemble the frame and store the legs, seat, and tray in separate bags.
- Keep the manual and spare parts in a labeled container.
I stored my niece’s jumper in a closet for her cousin. Two years later, it was still in perfect condition—just needed a quick wipe before use.
Troubleshooting Common Issues: Quick Fixes for Frequent Problems
Even the best products have quirks. Here’s how to handle the most common Bright Starts jumper issues—based on real parent experiences.
Squeaky or Stiff Seat Rotation
If the seat won’t spin smoothly:
- Check for debris in the central column. Use a cotton swab to clean.
- Apply a drop of baby-safe lubricant (e.g., silicone spray) to the pivot point. Never use oil—it can damage plastic.
- Ensure the tray is locked properly. A loose tray can jam the mechanism.
One dad solved this by placing a coin in the tray and spinning it to “loosen up” the mechanism. It worked—but don’t try this with heavy objects!
Toys Not Lighting Up or Playing Sounds
If the piano or rattle isn’t working:
- Check the batteries. Replace if they’re weak.
- Clean the contact points with a dry cloth.
- Press the buttons firmly. Sometimes a light touch doesn’t trigger the sensors.
Note: The lights may dim over time. This is normal for battery-powered toys.
Wobbly Frame
If the jumper rocks or leans:
- Ensure all three legs are fully snapped in.
- Place it on a hard, level surface. Use a spirit level to check.
- Check the floor for cracks or uneven spots. A small piece of cardboard can stabilize a wobbly leg.
Table: Quick Reference Guide for Common Issues
| Issue | Cause | Solution |
|---|---|---|
| Squeaky seat | Dry pivot point | Apply silicone lubricant |
| No lights/sounds | Dead batteries | Replace AAA batteries |
| Wobbly frame | Uneven floor | Use cardboard shim |
| Stiff rotation | Debris in column | Clean with cotton swab |
| Fabric stains | Food/drool buildup | Wash with mild detergent |
Final Thoughts: Is the Bright Starts Jumper Worth It?
After months of using the Bright Starts Bounce Bounce Baby Activity Jumper, I can confidently say it’s a solid investment—for the right family. It’s not perfect (the battery life is short, and the tray can get sticky), but the pros far outweigh the cons. The jumper offers a safe, engaging space for babies to explore, develop motor skills, and burn energy. For parents, it’s a lifeline—a few minutes of hands-free time to cook, clean, or just breathe.
But remember: This jumper is a tool, not a babysitter. Use it in moderation, follow the Bright Starts Bounce Bounce Baby Activity Jumper instructions carefully, and always supervise your baby. Pair it with floor play, tummy time, and cuddles for balanced development. And when your baby outgrows it? Pass it on to a friend or donate it. These jumpers have a long shelf life—and another family will thank you.
At the end of the day, the best baby gear is the kind that brings joy to both parent and child. And if you’re lucky, you’ll get to hear that magical sound—a baby’s laugh—echoing through your kitchen as they bounce, spin, and discover the world, one playful moment at a time.
Frequently Asked Questions
How do I assemble the Bright Starts Bounce Bounce Baby Activity Jumper?
Follow the step-by-step instructions in the manual, starting with attaching the frame legs and securing the seat. Ensure all parts click into place and double-check stability before use.
What is the weight limit for the Bright Starts Bounce Bounce Baby Activity Jumper?
The jumper is designed for babies up to 25 lbs (11.3 kg) who can sit upright unassisted. Always check the manufacturer’s label for specific guidelines.
How do I clean the seat pad on this jumper?
Remove the seat pad and machine wash it on a gentle cycle with mild detergent. Air-dry to prevent shrinkage or damage to the fabric.
Can I adjust the height of the Bright Starts Bounce Bounce Baby Activity Jumper?
Yes, the jumper features three adjustable height settings. Loosen the side knobs, reposition the seat, and tighten securely to fit your baby’s growth.
Are the toys on the jumper removable for cleaning or replacement?
Most activity toys are removable—simply twist or unclip them. Refer to the Bright Starts Bounce Bounce Baby Activity Jumper instructions for toy compatibility and cleaning tips.
Why is my baby not bouncing properly in the jumper?
Ensure the spring clips are fully engaged and the frame is on a flat, stable surface. Test the bounce mechanism by gently pressing down on the seat.