
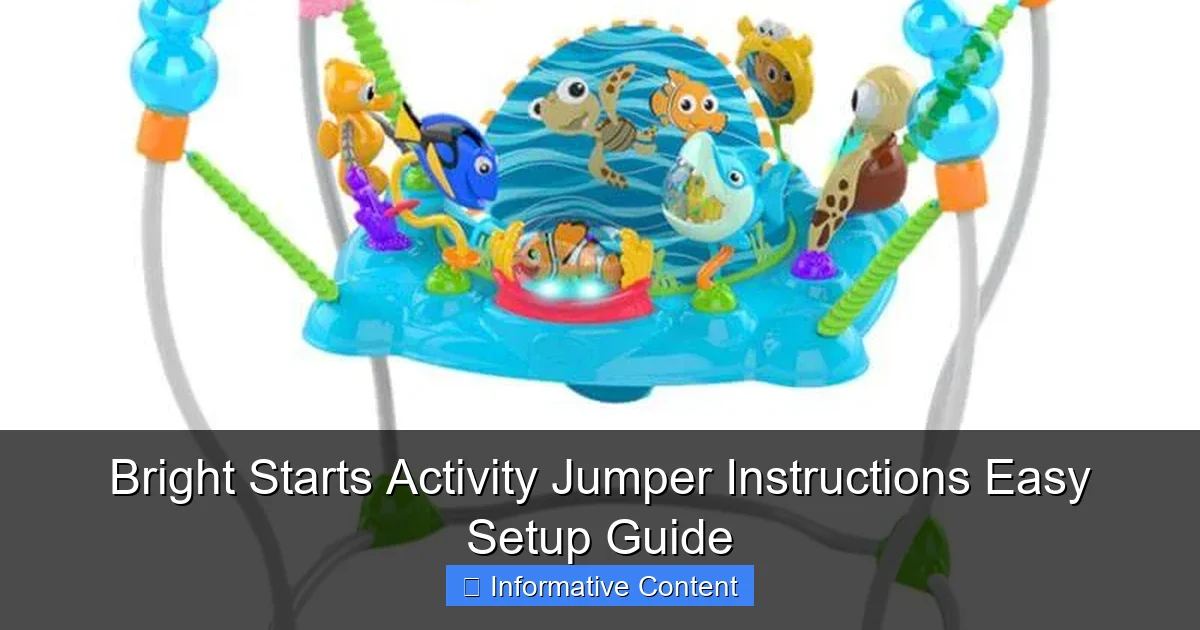
Featured image for bright starts activity jumper instructions
Image source: mamasewa.com
Setting up your Bright Starts Activity Jumper is quick and hassle-free with the included step-by-step instructions, ensuring your baby can start playing safely in minutes. Clear diagrams and minimal tools required make assembly intuitive, while built-in safety features provide peace of mind during active play.
Key Takeaways
- Read instructions first: Always review the manual before assembling your Bright Starts jumper.
- Secure frame assembly: Ensure all parts lock tightly to prevent wobbling during use.
- Adjust height properly: Set seat height so baby’s feet touch the floor comfortably.
- Check toy attachments: Fasten all toys securely to avoid choking hazards.
- Inspect regularly: Examine straps, springs, and toys weekly for wear or damage.
- Supervise at all times: Never leave baby unattended in the activity jumper.
📑 Table of Contents
- Why the Bright Starts Activity Jumper Is a Parent Favorite
- What’s in the Box? Unboxing the Bright Starts Activity Jumper
- Step-by-Step: How to Assemble the Bright Starts Activity Jumper
- Using the Jumper Safely: Best Practices and Tips
- Troubleshooting Common Issues (And How to Fix Them)
- Maximizing Development: How the Jumper Supports Your Baby’s Growth
- Data Table: Bright Starts Activity Jumper Quick Reference
- Final Thoughts: Is the Bright Starts Activity Jumper Worth It?
Why the Bright Starts Activity Jumper Is a Parent Favorite
When my little one hit the 4-month mark, I started hunting for ways to keep her safely entertained while I tackled chores, answered emails, or just took a breath. That’s when I stumbled upon the Bright Starts Activity Jumper. At first, I wasn’t sure—would she love it? Would it be a pain to assemble? But after setting it up and watching her light up like a Christmas tree, I knew I’d made a solid choice. If you’re reading this, chances are you’re in the same boat: excited about a new jumper, but maybe a little nervous about the setup, safety, or long-term use.
The Bright Starts Activity Jumper has become a staple in many households, and for good reason. It’s colorful, interactive, and designed to support your baby’s development while giving you a few moments of peace. But like any baby gear, it comes with a learning curve—especially when it comes to Bright Starts activity jumper instructions. In this guide, I’ll walk you through everything you need to know: from unboxing to daily use, safety tips, troubleshooting, and even how to store it when your little one outgrows it. No fluff, no hype—just real, practical advice from a parent who’s been there.
What’s in the Box? Unboxing the Bright Starts Activity Jumper
First Impressions and Initial Components
When the Bright Starts Activity Jumper arrived at my door, I was pleasantly surprised by how compact the box was. I’d expected something bulky, but the packaging was smart—everything was neatly folded and secured with zip ties. Inside, I found:
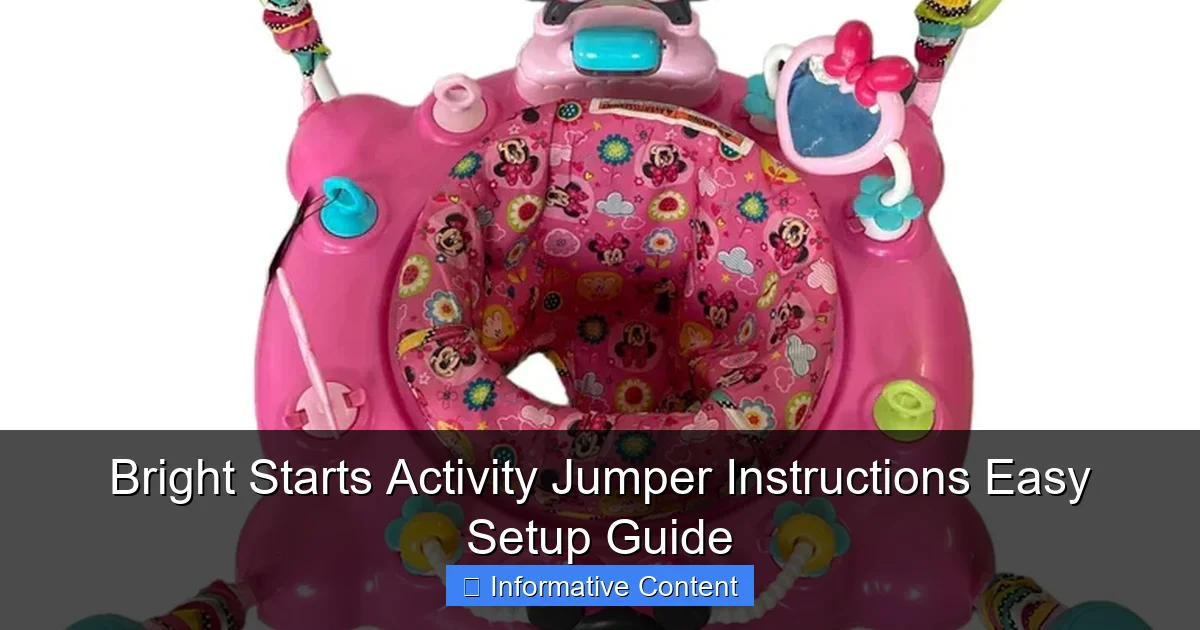
Visual guide about bright starts activity jumper instructions
Image source: goodbuygear.com
- The main activity center (with seat, tray, and toy bar)
- Three adjustable height settings (via leg extensions)
- Two hanging toys (usually a rattle and a crinkle toy)
- Instruction manual (in English and Spanish)
- Seat pad and harness
- Legs with non-slip rubber feet
The first thing I noticed was the quality of the materials. The seat is soft, padded, and easy to wipe down—a must for spills and drool. The toys are made of BPA-free plastic and fabric, which gave me peace of mind. And the tray? It’s detachable, which is great for cleaning or letting your baby play on the floor.
What to Check Before Assembly
Before you start building, take a quick inventory. I once skipped this step with a stroller and ended up missing a critical bolt—don’t make the same mistake. Here’s what to verify:
- All six leg pieces (3 base legs + 3 extenders for height adjustment)
- Seat frame and harness straps (check for fraying or tears)
- Activity tray with built-in toys (spin, rattle, crinkle, etc.)
- No loose screws or damaged plastic parts
Pro tip: Lay everything out on a clean, flat surface. I used my living room floor and labeled each part with sticky notes—it made assembly way less stressful. If anything’s missing or damaged, contact Bright Starts customer support right away. They’re surprisingly responsive, and replacements are usually free.
Step-by-Step: How to Assemble the Bright Starts Activity Jumper
Setting Up the Base and Legs
The base is where the jumper gets its stability. Start by snapping the three base legs into the central hub. You’ll hear a distinct *click*—that’s your cue it’s secure. I recommend doing this on a carpeted floor to avoid scratching hardwood. Once the base is stable, attach the height extenders if needed. The Bright Starts jumper has three height settings, so choose based on your baby’s leg length. My daughter was on the shorter side, so I started with the lowest setting.
Tip: Test the stability by gently shaking the base. If it wobbles, double-check the leg connections. The rubber feet should grip the floor firmly. If you’re on tile or laminate, consider placing a non-slip mat underneath for extra security.
Attaching the Seat and Harness
This is the trickiest part, but don’t panic. The seat connects to the central post with a spring-loaded clamp. Here’s how I did it:
- Align the seat’s clamp with the top of the post.
- Press down until you hear a *snap*.
- Twist the seat slightly to ensure it’s locked in place.
The harness is adjustable and has a 5-point design (two shoulder straps, two waist straps, and a crotch strap). I adjusted the straps to fit snugly but not tightly—about two fingers’ width between the strap and my baby’s chest. The seat rotates 360 degrees, which is awesome for encouraging reaching and turning.
Installing the Activity Tray
The tray attaches to the front of the seat with two side clips. It’s intuitive—just slide the clips into the slots until they click. The tray has a variety of toys: a spinning drum, a mirror, a teether, and buttons that make sounds. My daughter’s favorite was the crinkle elephant, which kept her occupied for ages.
Important: Make sure the tray is level. If it’s tilted, your baby might lean forward or lose balance. Adjust the clips until it sits flat. Also, check that all toy parts are secure—no loose screws or dangling strings.
Final Safety Checks
Before letting your baby in, do a full inspection:
- Are all legs fully inserted and locked?
- Is the seat firmly attached and rotating smoothly?
- Are the harness straps free of twists and properly tightened?
- Is the tray secure and toys intact?
I also tested the bounce by gently pressing down on the seat. It should spring back smoothly—no sticking or grinding noises. If something feels off, recheck the assembly steps or consult the manual.
Using the Jumper Safely: Best Practices and Tips
When to Start and How Long to Use
The Bright Starts Activity Jumper is designed for babies who can support their own head (usually 4–6 months) and up to 25 pounds or 32 inches tall. My daughter started at 5 months and used it until she was about 8 months—just before she started pulling up to stand.
Session length matters: The American Academy of Pediatrics recommends no more than 15–20 minutes at a time, 2–3 times per day. I set a timer on my phone to avoid overuse. Prolonged bouncing can strain developing joints, so moderation is key.
Supervision and Positioning
Never leave your baby unattended in the jumper. Even if they seem stable, a sudden lean or twist can cause a fall. I always stayed within arm’s reach, especially during the first few uses.
Positioning tip: Place the jumper on a flat, clutter-free surface. Avoid placing it near stairs, furniture with sharp edges, or anything your baby could pull down (like a tablecloth or lamp). I kept ours in the living room, away from the coffee table.
Cleaning and Maintenance
Spills and messes are inevitable. Here’s how I kept the jumper fresh:
- Seat pad: Machine washable (cold water, gentle cycle) and air-dried.
- Tray and toys: Wiped with a damp cloth and mild soap. Avoid submerging electronic toys.
- Legs and frame: Used a disinfectant wipe (no bleach) for sticky spots.
I cleaned the seat pad weekly and spot-cleaned the rest as needed. The detachable tray was a lifesaver—I could take it to the sink for a deeper clean without moving the whole jumper.
Adjusting as Your Baby Grows
As your baby grows, you’ll need to adjust the height. The Bright Starts jumper has three settings, so I moved to the middle one around 6 months and the highest at 7 months. To adjust:
- Remove the seat and tray.
- Unsnap the leg extenders and reattach at the desired height.
- Reconnect the seat and tray.
Watch for signs of outgrowing: If your baby’s toes barely touch the floor, or they’re leaning forward to reach toys, it’s time to raise the height. If they can stand flat-footed, consider switching to a walker or activity table.
Troubleshooting Common Issues (And How to Fix Them)
Wobbly or Unstable Base
If the jumper rocks or wobbles, it’s usually due to uneven leg attachment. Here’s what I did:
- Disassemble and reattach each leg, ensuring the clips are fully locked.
- Check the floor surface—carpet vs. hardwood can affect stability.
- Add felt pads under the feet if it’s on hardwood.
One time, I realized one leg wasn’t fully inserted—just a few millimeters off. A quick re-snap fixed it.
Seat Not Rotating Smoothly
If the seat sticks or squeaks, it might need lubrication. I used a tiny bit of silicone spray (not oil-based) on the post. Avoid over-lubricating—it can attract dust.
Also, check that the harness isn’t caught in the rotation mechanism. I once had a strap tucked in the wrong way, which caused resistance.
Toys Not Working Properly
Electronic toys can sometimes stop making sounds. Try:
- Checking the battery (if applicable).
- Pressing the buttons firmly—some need more pressure.
- Wiping the sensor area (for motion-activated toys).
My daughter’s music button stopped working after a juice spill. A quick wipe with a dry cloth fixed it.
Harness Too Tight or Too Loose
The harness adjusts via sliders on the straps. If it’s too tight, loosen the sliders. If it’s too loose, tighten them. I found the sweet spot by adjusting while my baby was in the seat—she should be secure but not squished.
Maximizing Development: How the Jumper Supports Your Baby’s Growth
Motor Skills and Coordination
The Bright Starts jumper isn’t just fun—it’s a developmental tool. The bouncing motion strengthens leg muscles, which helps with crawling and walking. My daughter started bouncing more vigorously around 7 months, and I swear it gave her the confidence to pull up on furniture a month later.
The toys on the tray encourage fine motor skills. Reaching for the spinning drum, pressing buttons, and grabbing the teether all build hand-eye coordination. I rotated the toys weekly to keep things fresh.
Sensory Stimulation
The jumper’s bright colors, crinkly fabrics, and sounds engage your baby’s senses. The mirror is a hit—my daughter loved making faces at herself. The variety of textures (smooth plastic, soft fabric, bumpy teether) also helps with sensory development.
Social and Emotional Benefits
Even though it’s a solo activity, the jumper can be social. I’d sit beside my daughter and talk to her, name the toys, or sing songs. It became our little “playtime ritual.” The jumper also gives babies a sense of independence—they can explore at their own pace.
Tip: Use the jumper during “tummy time” breaks. After 15 minutes on their belly, a few minutes in the jumper gives their muscles a different kind of workout.
Data Table: Bright Starts Activity Jumper Quick Reference
| Feature | Details |
|---|---|
| Weight Limit | 25 lbs (11.3 kg) |
| Height Limit | 32 inches (81 cm) |
| Age Range | 4–12 months (or until outgrown) |
| Height Settings | 3 adjustable levels |
| Seat Rotation | 360 degrees |
| Toys | Spinning drum, mirror, teether, crinkle toy, sound buttons |
| Cleaning | Machine-washable seat pad; wipeable tray and frame |
| Assembly Time | 10–15 minutes (with practice) |
This table summarizes the key specs to keep in mind. I referenced it often during my daughter’s jumper phase—especially the weight and height limits, which helped me know when to transition her to new toys.
Final Thoughts: Is the Bright Starts Activity Jumper Worth It?
After months of use, I can confidently say the Bright Starts Activity Jumper is a solid investment. The setup, while not instant, is straightforward if you follow the instructions carefully. Once assembled, it’s sturdy, engaging, and developmentally beneficial. My daughter adored it, and it gave me the mental space to get things done—without guilt.
That said, it’s not perfect. The electronic toys can be finicky, and the harness takes some trial and error to adjust. But the pros far outweigh the cons. The jumper’s versatility—from motor skill development to sensory play—makes it stand out. And the easy cleanup is a game-changer for busy parents.
If you’re following the Bright Starts activity jumper instructions closely, you’ll avoid most common pitfalls. Take your time with assembly, supervise during use, and clean regularly. When your baby outgrows it, disassemble it and store it in a closet—or pass it on to a friend. It’s one of those baby items that truly earns its keep.
So, if you’re on the fence: go for it. Just keep this guide handy, and you’ll be set. Happy bouncing!
Frequently Asked Questions
How do I assemble the Bright Starts Activity Jumper?
Follow the step-by-step instructions in the manual, starting with attaching the legs to the base and securing the seat frame. Ensure all locking mechanisms click into place for safety. Refer to the “Bright Starts Activity Jumper instructions” for detailed diagrams.
What age or weight limit is the Bright Starts Activity Jumper suitable for?
This jumper is designed for babies aged 4–12 months or up to 25 lbs (11.3 kg), whichever comes first. Always supervise your child and stop use once they can walk or exceed the weight limit.
How do I adjust the height of the Bright Starts Activity Jumper?
The jumper typically features 3–4 height settings. Loosen the knobs on the legs, slide to the desired height, and retighten securely. Check the “Bright Starts Activity Jumper instructions” for model-specific guidance.
Can the seat pad be removed for washing?
Yes, most models have a removable, machine-washable seat pad. Detach it by unhooking the straps, wash in cold water, and air dry to maintain fabric quality.
Why is my baby’s feet not touching the floor in the jumper?
Adjust the height settings to ensure your baby’s toes can lightly touch the floor, allowing proper bouncing. If issues persist, recheck assembly or consult the manual for troubleshooting.
Are the activity toys on the jumper safe for chewing?
Yes, all toys are made from BPA-free, baby-safe materials. However, regularly inspect for wear or damage and clean with a damp cloth to ensure hygiene.