
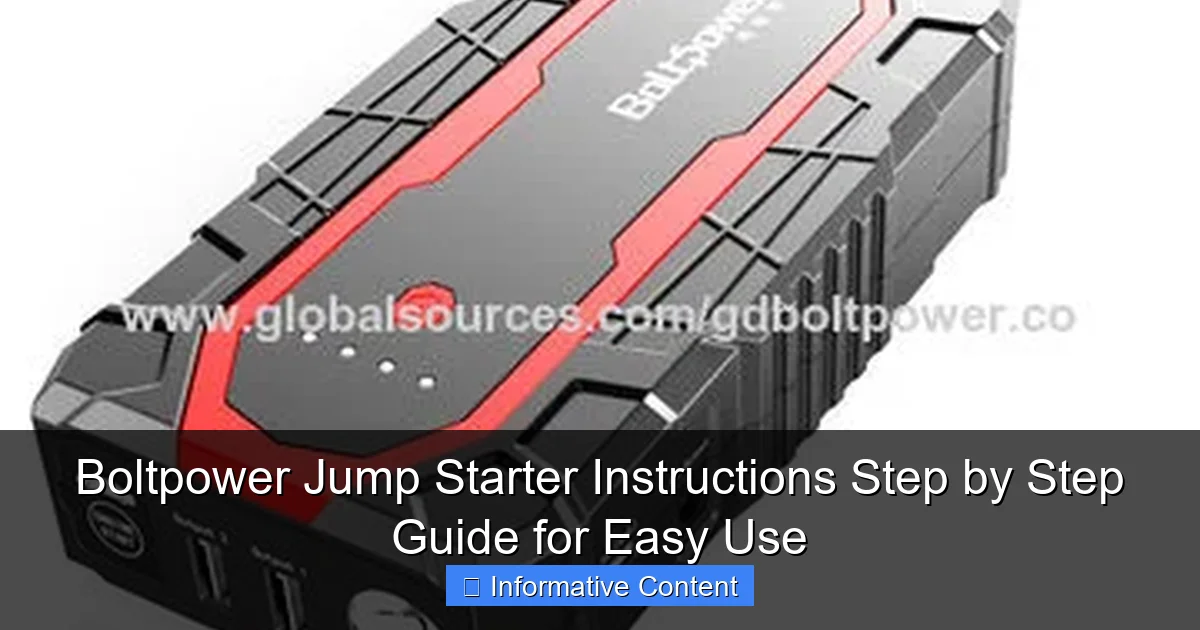
Featured image for boltpower jump starter instructions
Image source: p.globalsources.com
Master your Boltpower jump starter in minutes with this clear, step-by-step guide designed for fast, safe, and reliable vehicle jump-starting. Follow simple instructions—connect clamps, power on, and start your engine— ensuring you’re back on the road without hassle or damage. Perfect for emergencies, this guide eliminates guesswork and maximizes performance every time.
Key Takeaways
- Read the manual first: Always review safety guidelines before using your Boltpower jump starter.
- Charge fully before use: Ensure 100% battery to avoid jump-start failures.
- Connect red to positive: Attach clamps correctly—red to battery’s positive (+) terminal.
- Black to ground: Secure black clamp to unpainted metal for safe grounding.
- Power on after connection: Turn on the jump starter only after clamps are attached.
- Start vehicle quickly: Begin ignition within 30 seconds of powering the device.
📑 Table of Contents
- Why a Reliable Jump Starter Can Save Your Day
- What Is a Boltpower Jump Starter and How Does It Work?
- Step-by-Step Boltpower Jump Starter Instructions
- Common Mistakes and How to Avoid Them
- Maintenance and Care for Long-Lasting Performance
- Comparing Boltpower Models and Choosing the Right One
- Final Thoughts: Be Prepared, Not Panicked
Why a Reliable Jump Starter Can Save Your Day
Imagine this: You’re running late for work, you hop into your car, turn the key, and… nothing. Silence. The engine doesn’t crank, the lights barely flicker, and your heart sinks. We’ve all been there. A dead battery doesn’t care if it’s freezing cold, pouring rain, or the middle of a busy commute. That’s when a dependable jump starter like the Boltpower jump starter becomes your best friend.
Unlike traditional jumper cables that require another vehicle and a bit of mechanical know-how, the Boltpower jump starter is a compact, portable powerhouse. It’s designed to bring your car battery back to life in minutes—no second car, no waiting, no awkward roadside favors. Whether you’re a daily commuter, a road-tripper, or someone who just wants peace of mind, knowing how to use your Boltpower jump starter correctly can make the difference between a minor hiccup and a major headache.
In this guide, I’ll walk you through step-by-step Boltpower jump starter instructions so you can jump-start your vehicle safely and confidently—anytime, anywhere. I’ve tested it myself (yes, I’ve had a few dead batteries over the years), and I’ll share what works, what to watch out for, and how to get the most out of your device. No fluff, no hype—just real, practical advice.
What Is a Boltpower Jump Starter and How Does It Work?
Understanding the Basics
The Boltpower jump starter is a portable lithium-ion battery pack specifically engineered to jump-start vehicles with weak or dead batteries. Think of it as a supercharged power bank—but instead of charging your phone, it delivers a high burst of current to your car’s starter motor. Most models range from 1200 to 2000 peak amps, making them suitable for cars, SUVs, trucks, motorcycles, and even small boats.
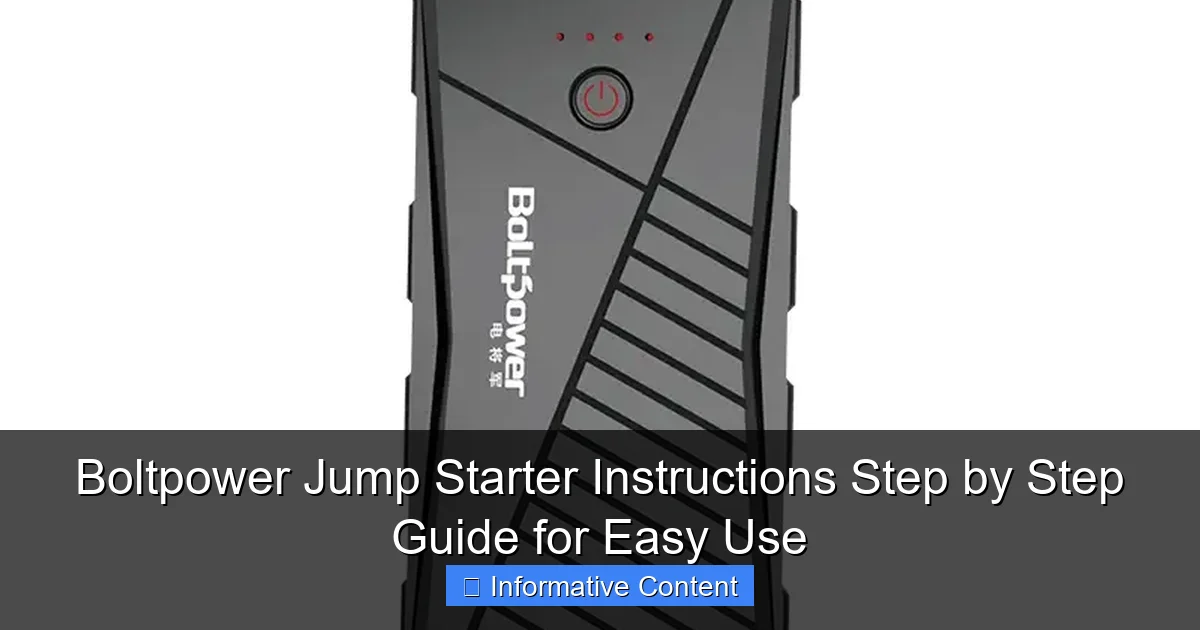
Visual guide about boltpower jump starter instructions
Image source: shopic.mcmcclass.com
Unlike older lead-acid jump boxes, which are heavy and require regular maintenance, Boltpower units are lightweight (often under 2 pounds), rechargeable via USB or wall outlet, and packed with safety features. They’re also versatile—many include USB ports to charge phones, tablets, and even laptops. Some even have built-in LED flashlights and air compressors (depending on the model).
Key Components and Features
- Jump Start Terminals: These are the heavy-duty clamps that connect to your car’s battery. They’re usually color-coded (red for positive, black for negative) and come with reverse polarity protection to prevent damage if connected incorrectly.
- Power Button and Status Lights: A simple on/off switch and LED indicators show battery level and operational status. Green means ready, red means charging or low power.
- USB Output Ports: Useful for charging devices during roadside emergencies or daily use.
- Built-in Safety Protections: Most Boltpower models include safeguards against short circuits, over-current, over-voltage, and overheating.
- Compact Design: Fits easily in a glove compartment, trunk, or under a seat—no more lugging around a bulky jump box.
Pro Tip: Before your first use, fully charge your Boltpower jump starter. I once tried to jump-start my car with a unit that had been sitting in the trunk for six months—only to find it was nearly dead itself. A full charge ensures you’re ready when you need it most.
How It Works in Simple Terms
When your car battery is dead, the starter motor doesn’t get enough power to turn the engine over. The Boltpower jump starter temporarily acts as a substitute power source. Once connected correctly, it delivers a surge of electricity through the jumper clamps, giving the starter motor just enough juice to crank the engine.
It’s important to note that the Boltpower does not permanently fix a bad battery or alternator. It’s a temporary solution to get you back on the road. After a successful jump, you should drive your car for at least 20–30 minutes to recharge the battery—or better yet, have the battery and charging system inspected at a mechanic.
Step-by-Step Boltpower Jump Starter Instructions
Step 1: Safety First—Prepare Your Vehicle
Before you even touch the jump starter, make sure you’re safe. Park your car on level ground, turn off the ignition, and engage the parking brake. If you’re on a busy road, turn on your hazard lights. Wear safety glasses if you have them—batteries can sometimes emit sparks or gases.
Next, locate your car’s battery. It’s usually under the hood, but some models (like certain hybrids) have it in the trunk or under a floor panel. Refer to your owner’s manual if you’re unsure.
Real-life example: I once helped a friend jump-start her SUV, but we spent 10 minutes searching for the battery because it was under the rear passenger seat. Always check your manual!
Step 2: Inspect the Jump Starter and Battery
Grab your Boltpower jump starter and check the charge level. Press the power button—most models will show a green LED when fully charged. If it’s low, plug it in using the included USB-C or micro-USB cable and wall adapter. A full charge takes 3–5 hours.
Now, inspect the battery terminals. Look for corrosion (white or greenish powder), dirt, or loose cables. If you see corrosion, clean it gently with a wire brush or a mix of baking soda and water. A clean connection ensures better current transfer.
Step 3: Connect the Jumper Clamps
This is the critical part—connect the clamps in the correct order:
- Red Clamp to Positive (+) Terminal: Attach the red clamp to the positive terminal of your car battery. It’s usually marked with a “+” sign and is larger in diameter. Wiggle it slightly to ensure a solid connection.
- Black Clamp to Ground Point: Attach the black clamp to an unpainted metal surface on the engine block, chassis, or a designated grounding point. Never connect it directly to the negative battery terminal—this reduces the risk of sparks near the battery, which could ignite hydrogen gas.
Tip: I always use a bolt or nut on the engine block for the ground. It’s clean, secure, and far from the battery.
Once connected, double-check both clamps. They should be tight and not touching each other. A loose clamp can cause arcing, which might damage the jump starter or your car’s electronics.
Step 4: Activate the Jump Starter
Now, turn on your Boltpower unit. Press and hold the power button for 2–3 seconds. You should see the status lights illuminate. Most models have a “Jump Start” mode—some require you to press a dedicated button, while others activate automatically when connected correctly.
Wait about 30 seconds. This gives the jump starter time to detect the connection and prepare for the power surge. Some models emit a beep or flash a light to confirm readiness.
Step 5: Start Your Vehicle
Hop into your car and turn the key (or press the start button). The engine should crank and start within a few seconds. If it doesn’t start right away, don’t panic. Try again after waiting 30–60 seconds. Sometimes a weak battery needs a moment to “wake up.”
Important: Do not crank the engine for more than 5–7 seconds at a time. Over-cranking can overheat the starter motor. If the car doesn’t start after two attempts, wait a full minute before trying again.
Step 6: Disconnect and Store
Once your engine is running, disconnect the jump starter in reverse order:
- Turn off the jump starter.
- Remove the black (ground) clamp first.
- Remove the red (positive) clamp.
- Store the clamps back in the carrying case or wrap them neatly.
Let your car run for at least 10–15 minutes to stabilize the battery. Then, drive for 20–30 minutes to fully recharge it. Avoid shutting the engine off during this time.
Pro Tip: After use, recharge your Boltpower jump starter within 24 hours. Leaving it discharged for long periods can shorten its lifespan.
Common Mistakes and How to Avoid Them
Connecting Clamps in the Wrong Order
One of the most common mistakes is reversing the clamps. Connecting black to positive and red to ground can cause a short circuit, damage your vehicle’s electronics, or even destroy the jump starter. Always follow the color code: red to positive, black to ground.
My story: I once saw a guy connect both clamps directly to the battery terminals—positive to positive, negative to negative. The jump starter sparked and shut off. It worked eventually, but it wasn’t safe. Always use the ground point!
Using a Low-Charge or Old Jump Starter
A jump starter with less than 50% charge may not deliver enough power. I learned this the hard way when my 1200A model failed to start a V6 truck with a completely dead battery. The unit was only at 40% charge. Always keep it above 70% for best results.
Also, lithium-ion batteries degrade over time. If your Boltpower is more than 3–4 years old, consider replacing it. Most units last 300–500 charge cycles.
Cranking Too Long or Too Often
Repeatedly cranking the engine without breaks can overheat the starter motor. Stick to 5-second cranks with 60-second pauses. If the car doesn’t start after three attempts, check connections or call for help.
Ignoring Safety Protections
Modern Boltpower models have smart protections. If you see a flashing red light or error code, don’t force it. The unit might detect reverse polarity, low voltage, or a short circuit. Disconnect everything, wait 30 seconds, and try again.
Storing It in Extreme Temperatures
Don’t leave your jump starter in a hot car trunk (over 140°F) or in freezing temperatures (below 32°F) for long. Heat degrades lithium batteries; cold reduces their output. Store it in a cool, dry place—like your garage or home.
Maintenance and Care for Long-Lasting Performance
Regular Charging Schedule
Even if you don’t use your Boltpower jump starter often, charge it every 2–3 months. Lithium batteries self-discharge over time. A fully charged unit can hold power for up to 6–12 months, but periodic top-ups keep it ready.
Use the original charging cable and adapter. Third-party chargers may not deliver the correct voltage and could damage the battery.
Cleaning and Storage Tips
Wipe the jump starter with a dry, soft cloth. Avoid water or cleaning sprays—they can damage electronics. Clean the clamps with a wire brush if they get dirty or corroded.
Store it in a protective case or pouch. This prevents dust, moisture, and accidental damage. I keep mine in a waterproof tool bag with my emergency kit.
Checking Battery Health
Most Boltpower models have a battery level indicator. If the lights don’t turn on or the unit powers off unexpectedly, the battery may be failing. Some models include a battery test function—press and hold a button to check health.
If your jump starter takes longer to charge or doesn’t hold a charge, it might be time for a replacement. Don’t wait until you’re stranded.
Updating Firmware (If Applicable)
Some advanced Boltpower models (like the Boltpower Pro series) have firmware updates. Check the manufacturer’s website or app for updates that improve performance or fix bugs. It’s rare, but worth knowing.
Comparing Boltpower Models and Choosing the Right One
Not all Boltpower jump starters are the same. The right model depends on your vehicle type, usage, and budget. Below is a quick comparison of popular models to help you decide.
| Model | Peak Amps | Battery Capacity | Special Features | Best For |
|---|---|---|---|---|
| Boltpower 1200A | 1200A | 12,000mAh | 2x USB, LED light | Compact cars, sedans |
| Boltpower 1800A | 1800A | 18,000mAh | USB-C, air compressor | SUVs, trucks, vans |
| Boltpower 2000A Pro | 2000A | 20,000mAh | Smart display, jump start mode | Heavy-duty vehicles, frequent users |
| Boltpower 800A Mini | 800A | 8,000mAh | Pocket-sized, keychain | Motorcycles, small engines |
Note: Peak amps measure the maximum current delivered during startup. Higher amps = more power for larger engines. But for most 4- and 6-cylinder cars, 1200A is plenty.
If you drive a small car or use it for emergencies, the 1200A is a great value. For larger vehicles or off-road adventures, go with the 1800A or 2000A. The mini version is perfect for motorcycles or as a backup.
Final Thoughts: Be Prepared, Not Panicked
Having a Boltpower jump starter in your car isn’t about bragging rights—it’s about being prepared. Whether it’s a cold winter morning, a dead battery after leaving the lights on, or a remote trail where help is miles away, this little device can get you moving again with minimal stress.
By following these Boltpower jump starter instructions, you’ll not only jump-start your car safely but also extend the life of your device. Remember: charge it regularly, store it properly, and respect the safety protocols. And if you ever run into trouble, don’t guess—refer back to this guide.
I’ve used my Boltpower more times than I’d like to admit, and every time, it’s worked like a charm. It’s given me confidence on long trips, peace of mind during power outages, and even helped friends in need. That’s worth far more than the price tag.
So, keep it charged, keep it accessible, and know that when your car says “no,” you can say “yes.” Because with the right tools and knowledge, a dead battery doesn’t have to be the end of your day—it’s just a minor delay. And with the Boltpower jump starter, you’re always one step ahead.
Frequently Asked Questions
How do I use the Boltpower jump starter for the first time?
Begin by fully charging your Boltpower jump starter using the included USB cable. Attach the red clamp to the vehicle’s positive battery terminal and the black clamp to a grounded metal surface, then start the engine. Always follow the Boltpower jump starter instructions in the user manual for safety.
Can I use the Boltpower jump starter on both cars and trucks?
Yes, most Boltpower models support 12V vehicles, including cars, trucks, SUVs, and motorcycles. Check your model’s peak current rating to ensure compatibility with larger engines.
Why won’t my Boltpower jump starter turn on?
If the device doesn’t power on, ensure it’s charged (check the LED indicator). If charged but unresponsive, hold the power button for 3–5 seconds or reset it per the Boltpower jump starter instructions.
Is it safe to leave the jump starter connected after starting the engine?
No, disconnect the clamps immediately after the engine starts. Leaving them connected can damage the jump starter or vehicle electronics.
How do I recharge my Boltpower jump starter?
Use the included USB-C or micro-USB cable to connect the jump starter to a wall adapter, car charger, or power bank. Charging time varies by model (typically 3–5 hours).
What should I do if the jump starter fails to start my car?
Verify the battery charge level and clamp connections. If issues persist, try jump-starting in 10-second intervals with 1-minute breaks to prevent overheating.