
Featured image for avapow jump starter charging instructions
Image source: m.media-amazon.com
Charging your Avapow jump starter correctly ensures peak performance and long-term reliability. Always use the included 12V DC charger or a compatible USB-C cable, and allow 3–4 hours for a full charge—avoid overcharging to protect the battery. For best results, power up your Avapow every 3–6 months when in storage to maintain optimal readiness.
Key Takeaways
- Charge fully before first use: Ensures peak performance and battery longevity.
- Use the correct cable: Only use the provided or manufacturer-recommended charging cable.
- Monitor charging status: Check LED indicators to avoid overcharging.
- Store at 50% charge: Ideal for long-term storage to preserve battery health.
- Avoid extreme temperatures: Charge only in 32°F–113°F (0°C–45°C) range.
- Recharge every 3 months: Maintains battery readiness if unused for long periods.
📑 Table of Contents
- Why Proper Charging Matters for Your Avapow Jump Starter
- Getting to Know Your Avapow Jump Starter
- Step-by-Step Avapow Jump Starter Charging Instructions
- Maximizing Battery Life and Performance
- Common Charging Problems and How to Fix Them
- Real-World Charging Scenarios and Tips
- Avapow Jump Starter Charging Time Reference Table
- Final Thoughts: Keep Your Avapow Ready for Action
Why Proper Charging Matters for Your Avapow Jump Starter
Imagine this: you’re running late for work, the car won’t start, and your trusty Avapow jump starter is your last hope. You press the button, and… nothing. The unit’s battery is dead. Frustrating, right? I’ve been there, and it’s a moment that taught me a valuable lesson: how and when you charge your Avapow jump starter can make or break its performance when you need it most.
This handy little device isn’t just a one-time-use tool. It’s a portable powerhouse designed to jump-start your vehicle, charge your phone, and even power small electronics. But like any rechargeable battery, it needs proper care—especially when it comes to charging. Whether you’re a first-time owner or someone who’s had their Avapow for a while, understanding the ins and outs of charging ensures it’s always ready to save the day. In this guide, I’ll walk you through the Avapow jump starter charging instructions in a way that’s simple, practical, and based on real-world experience.
Getting to Know Your Avapow Jump Starter
What’s Inside the Box?
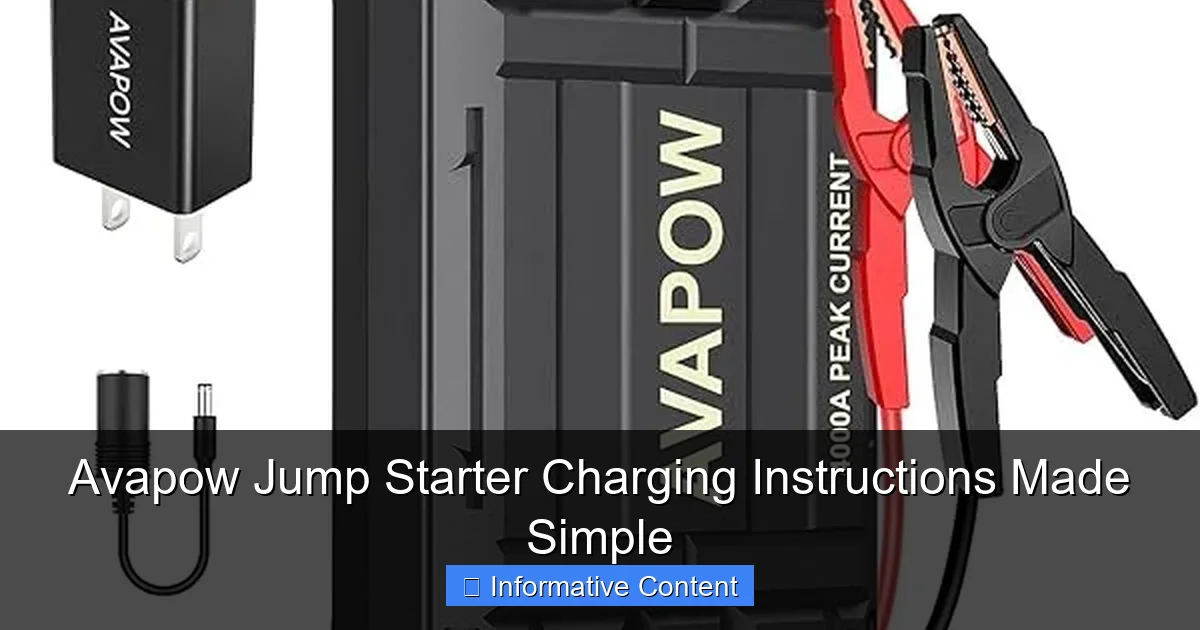
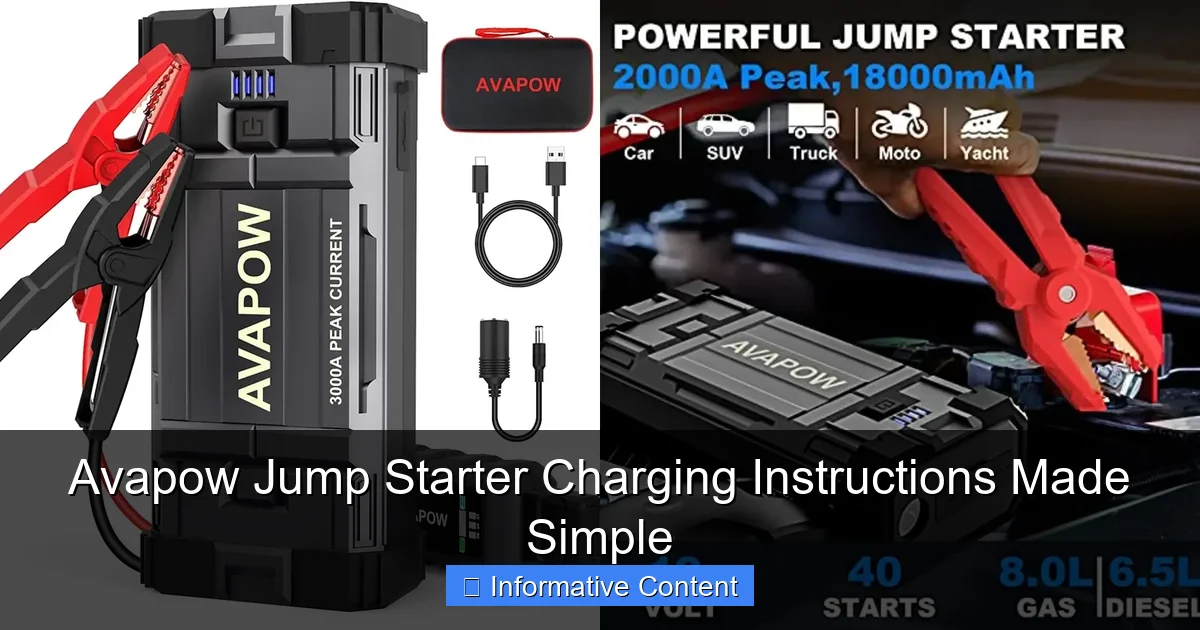
When you first unbox your Avapow jump starter, you’ll typically find the main unit, smart jumper cables, a USB charging cable (often Type-C), a wall adapter, a car charger, and a user manual. Some models may also include a carrying case or a 12V socket adapter. The key thing to note is that not all accessories are created equal—some charging methods work better than others, and we’ll cover that shortly.
Visual guide about avapow jump starter charging instructions
Image source: docerp.s3.amazonaws.com
Take a moment to inspect the unit. Look for the charging port (usually USB-C or Micro-USB, depending on the model), the power button, LED indicators, and the jumper cable connection points. Familiarizing yourself with these components now saves confusion later.
Understanding the Battery Type and Capacity
Most Avapow jump starters use a high-quality lithium-ion battery, known for its energy density, lightweight design, and long cycle life. The capacity is usually listed in milliamp hours (mAh)—common models range from 12,000mAh to 20,000mAh. Higher mAh means more jump-starting power and longer device runtime.
For example, a 15,000mAh Avapow can typically jump-start a 6.0L gas or 4.0L diesel engine up to 20 times on a full charge. But here’s the catch: how you charge it affects how well it holds that capacity over time. Think of it like your smartphone—charging habits matter.
LED Indicators: Your Charging Status Guide
The LED lights on your Avapow are more than just pretty colors—they’re your communication link with the device. Here’s what they usually mean:
- Red flashing: Low battery, needs charging.
- Solid red: Charging in progress.
- Solid green or blue: Fully charged (color varies by model).
- Alternating lights: May indicate an error (e.g., overheating, incorrect connection).
Pro tip: If you’re unsure what the lights mean, refer to your model’s manual. Some Avapow versions have a digital display that shows exact battery percentage—super helpful!
Step-by-Step Avapow Jump Starter Charging Instructions
Method 1: Using the Wall Charger (Recommended)
This is the fastest and most reliable way to charge your Avapow jump starter. Here’s how to do it right:
- Plug the wall adapter into a standard 120V outlet.
- Connect the USB-C or Micro-USB cable to the adapter.
- Insert the other end into your Avapow’s charging port. Make sure it clicks in securely.
- Press the power button (if required) to initiate charging.
Once connected, the LED will turn red and start blinking or stay solid. A full charge typically takes 4 to 6 hours, depending on the model and remaining battery level. For example, my 15,000mAh Avapow A300 took 5 hours to go from 10% to 100% using the included 5V/2A wall charger.
Tip: Use the original charger and cable. Third-party chargers may not deliver the correct voltage, leading to slow charging or even damage over time.
Method 2: Charging in Your Car (On-the-Go Option)
Need to top up while driving? The 12V car charger lets you charge your Avapow from your vehicle’s cigarette lighter socket. This is great for road trips or when you’re away from a wall outlet.
- Start your car’s engine (important—don’t drain the car battery).
- Insert the car charger into the 12V socket.
- Connect the USB cable to the charger and your Avapow.
- Wait for the charging indicator to light up.
Charging via car is slower—usually 6 to 8 hours for a full charge—because the output is lower (often 5V/1A). But it’s perfect for maintaining a charge while traveling. I once used this method during a cross-country drive and kept my Avapow at 80% the whole way.
Caution: Don’t leave the Avapow charging in a hot car. Temperatures above 104°F (40°C) can harm the battery.
Method 3: USB Charging from a Computer or Power Bank
No wall outlet? No problem. You can charge your Avapow via a laptop, desktop, or even another power bank. This method is convenient but slowest—ideal for topping up, not full recharges.
- Use a USB-A to USB-C or Micro-USB cable.
- Connect to a powered USB port (3.0 or higher is best).
- Monitor the charging progress—it may take 8+ hours.
I used this method once while camping. I connected my Avapow to a 10,000mAh power bank via USB-C, and it gained about 30% in 4 hours. Not fast, but better than nothing!
Note: Some computers shut off USB power when in sleep mode. Keep the computer awake or use a dedicated USB charging station.
What to Avoid When Charging
Not all charging methods are safe. Here are a few don’ts:
- Don’t use fast chargers (e.g., 9V/2A or higher): Avapow jump starters aren’t designed for high-voltage input. Stick to 5V/2A max.
- Don’t charge while jump-starting: The unit can’t charge and deliver power simultaneously. Do one at a time.
- Don’t charge in extreme temperatures: Avoid charging below 32°F (0°C) or above 104°F (40°C). Cold slows charging; heat degrades battery life.
- Don’t leave it plugged in 24/7: Once fully charged, disconnect. Overcharging (even with built-in protection) can stress the battery.
Maximizing Battery Life and Performance
Charge Regularly, Even When Not in Use
One of the biggest mistakes people make? Storing their Avapow jump starter for months without charging. Lithium-ion batteries degrade when left at 0% for long periods. I learned this the hard way—my first Avapow lost 40% capacity after sitting in a garage for six months.
The rule of thumb: charge every 3 to 6 months, even if you haven’t used it. Store it at around 50% charge if you know it won’t be used for a while. This “storage charge” helps preserve battery health.
Use the Right Charging Cable and Adapter
Not all USB cables are equal. Cheap or damaged cables can cause slow charging, overheating, or intermittent connections. Always use the original Avapow cable or a high-quality replacement with thick wires and solid connectors.
I once used a flimsy cable from an old phone, and the charging light kept flickering. Switched to the original cable, and it charged smoothly. Lesson learned: invest in quality.
Also, avoid “charging hubs” with multiple ports. Some don’t distribute power evenly, leading to underpowered charging.
Avoid Full Discharges (Most of the Time)
Unlike older battery types, lithium-ion doesn’t need to be fully drained before recharging. In fact, frequent deep discharges (0%) can shorten lifespan. Instead, aim for partial charges between 20% and 80%. This is called the “partial cycle” method and is ideal for daily use.
Example: After using your Avapow to jump-start your car, charge it back to 80–100% when you get home. No need to wait until it’s completely dead.
Exception: Every 2–3 months, do a full discharge and recharge to “recalibrate” the battery meter and ensure accurate percentage readings.
Keep It Clean and Cool
Dust, dirt, and moisture can interfere with charging. Wipe the charging port gently with a dry, soft cloth every few months. Avoid using water or cleaning sprays.
Store your Avapow in a cool, dry place. A glove compartment or center console is fine in mild climates, but in hot summers, consider a shaded spot or insulated bag. Heat is the #1 enemy of lithium-ion batteries.
Common Charging Problems and How to Fix Them
“It’s Not Charging—What Now?”
You plug it in, but the lights don’t turn on. Don’t panic. Try these steps:
- Check the cable: Swap in a different USB cable. Test the original cable with another device.
- Inspect the port: Look for dust or debris. Use a toothpick or compressed air (gently!) to clean it.
- Try a different power source: Test with a different wall outlet, car charger, or computer port.
- Press the power button: Some models need a quick press to wake up the battery before charging starts.
I once thought my Avapow was broken—turned out, the USB port had a tiny piece of lint blocking the connection. A quick clean fixed it.
Slow Charging? Here’s Why
If your Avapow takes much longer than usual to charge, possible causes include:
- Using a low-output charger (e.g., 5V/0.5A instead of 5V/2A).
- Charging in a hot or cold environment.
- Old or degraded battery (after 2–3 years of heavy use).
- Faulty cable or adapter.
Solution: Always use the recommended charger and cable. If the issue persists, contact Avapow support—many models have a 1–2 year warranty.
Overheating During Charging
It’s normal for the unit to get slightly warm during charging. But if it’s hot to the touch, stop charging immediately. Causes may include:
- Charging in direct sunlight or a hot car.
- Using a damaged or incompatible charger.
- Internal battery issue (rare but possible).
Let the unit cool down in a shaded, ventilated area. Then try charging again with a different setup. If overheating continues, discontinue use and reach out to the manufacturer.
Real-World Charging Scenarios and Tips
Charging After a Jump Start
After using your Avapow to jump-start a vehicle, it’s natural to want to recharge it right away. But here’s a pro tip: wait 10–15 minutes. The battery may be warm from the discharge, and charging a hot battery reduces efficiency and lifespan.
Once cooled, plug it in using the wall charger. I keep my Avapow in the car’s center console with the charger coiled up nearby—so it’s always ready.
Traveling with Your Avapow
Flying? Good news: Avapow jump starters are airline-safe (under 100Wh capacity), but check with your airline first. Pack it in your carry-on—never in checked luggage.
On the go, use a portable power bank to top it up. I use a 20,000mAh power bank to keep my Avapow at 70% during week-long trips.
Charging Multiple Devices at Once
Some Avapow models have USB-A and USB-C output ports. Can you charge your phone while the jump starter itself is charging? No. The unit can’t charge and discharge simultaneously. Always charge the Avapow first, then use it to power other devices.
Example: I charged my Avapow overnight, then used it the next day to charge my phone, tablet, and even a portable fan during a power outage. Worked like a charm!
Seasonal Storage Tips
Winter and summer can be tough on batteries. For cold storage:
- Charge to 50% before storing.
- Keep in an insulated container (e.g., a padded case).
- Avoid freezing temperatures.
For summer:
- Never leave in a hot car for more than a few hours.
- Use a UV-protective case if stored in direct sunlight.
Avapow Jump Starter Charging Time Reference Table
| Charging Method | Input Power | Time to Full Charge (15,000mAh Model) | Best For |
|---|---|---|---|
| Wall Charger (Original) | 5V/2A | 4–5 hours | Home, office, fastest charge |
| Car Charger (12V Socket) | 5V/1A | 6–8 hours | On-the-go, road trips |
| Computer USB 3.0 Port | 5V/0.9A | 8–10 hours | Topping up, travel |
| Power Bank (10,000mAh) | 5V/2A (output) | 6–7 hours | Emergency charging, camping |
Note: Times are approximate and vary by model, battery health, and environmental conditions.
Final Thoughts: Keep Your Avapow Ready for Action
Your Avapow jump starter is more than just a car battery saver—it’s a versatile, portable power solution. But like any tool, it works best when you know how to care for it. By following these Avapow jump starter charging instructions, you’re not just keeping it charged—you’re extending its life, ensuring reliability, and avoiding those dreaded “it won’t start” moments.
Remember: charge regularly, use the right gear, avoid extremes, and pay attention to the lights. A few minutes of proper charging today can save you hours of hassle tomorrow. Whether you’re a daily driver, a weekend camper, or a roadside hero, your Avapow will be ready when you need it most.
And hey, if you’ve had a close call with a dead battery—or a charging mishap—you’re not alone. We’ve all been there. The key is to learn, adapt, and keep that little powerhouse in top shape. Now go charge it, and drive with peace of mind.
Frequently Asked Questions
How do I properly charge my Avapow jump starter?
To charge your Avapow jump starter, connect the included USB-C cable to a power source like a wall adapter or car charger. Plug the other end into the jump starter’s input port and ensure the LED indicator shows charging activity.
How long does it take to fully charge the Avapow jump starter?
Charging time typically takes 2.5 to 3 hours for a full charge, depending on the model and power source used. The LED light will turn solid green when charging is complete.
Can I use a solar charger to charge my Avapow jump starter?
While technically possible, it’s not recommended to use a solar charger due to inconsistent power output. For best results, use a stable 5V/2A wall charger or car USB port to ensure safe and efficient charging.
What does the flashing red light mean during charging?
A flashing red light usually indicates the battery is low and charging has begun. If it continues flashing after several hours, check the power source or cable for issues.
Is it safe to leave the Avapow jump starter charging overnight?
Yes, the Avapow jump starter has built-in overcharge protection, so it’s safe to leave it plugged in overnight. Once fully charged, it will automatically stop drawing power.
Can I jump-start a car while the Avapow jump starter is charging?
No, you should never attempt to jump-start a vehicle while the unit is charging. Always disconnect it from the power source before use to avoid damage or safety hazards.