
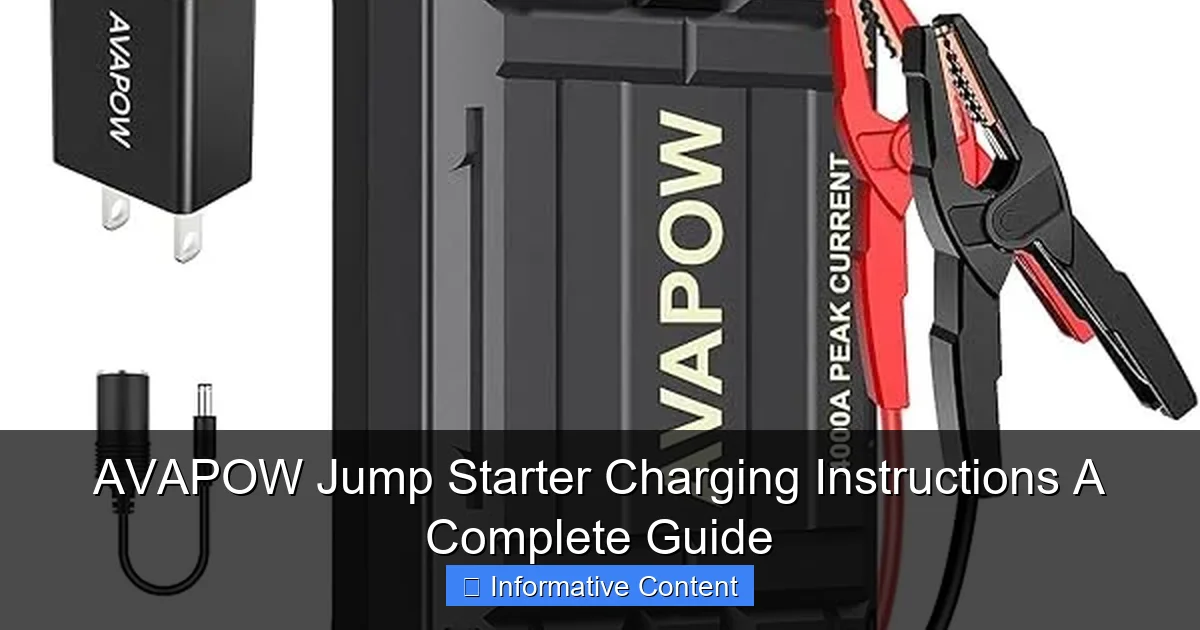
Featured image for avapow jump starter charging instructions
Image source: m.media-amazon.com
Always charge your AVAPOW jump starter before first use to ensure peak performance and long-term reliability. This guide provides step-by-step charging instructions, including using the correct cable, monitoring LED indicators, and avoiding overcharging to maximize battery life. Follow these simple steps to keep your jump starter ready for any emergency.
Key Takeaways
- Charge fully before first use: Ensures optimal performance and battery longevity.
- Use the correct cable: Always use the provided 12V DC cable for safety.
- Monitor charging lights: Solid green means fully charged; red indicates charging.
- Store at 50% charge: Ideal for long-term storage to prevent battery damage.
- Avoid overcharging: Unplug once fully charged to protect battery health.
- Check voltage compatibility: Confirm your vehicle’s voltage matches the jump starter.
📑 Table of Contents
- Why Proper Charging Is Crucial for Your AVAPOW Jump Starter
- Understanding Your AVAPOW Jump Starter and Its Battery
- Step-by-Step Charging Instructions
- Best Practices for Charging and Maintenance
- Common Charging Issues and How to Fix Them
- Data Table: Charging Times and Specifications for Popular AVAPOW Models
- Final Thoughts: Keep Your AVAPOW Jump Starter Ready for Anything
Why Proper Charging Is Crucial for Your AVAPOW Jump Starter
Imagine this: you’re rushing to get to work, your car won’t start, and you reach for your trusty AVAPOW jump starter. But when you press the power button… nothing happens. The battery is dead. Now you’re stranded, late, and frustrated. This scenario is all too common—and it’s entirely avoidable. The key? Understanding how to charge your AVAPOW jump starter the right way.
Jump starters are lifesavers, especially when you’re on the road or dealing with cold weather. But like any battery-powered device, they need regular charging to stay reliable. Whether you’re a first-time owner or a seasoned user, knowing the ins and outs of charging your AVAPOW jump starter ensures it’s always ready when you need it most. In this guide, we’ll walk you through everything you need to know—from charging basics to troubleshooting, safety tips, and even how to extend your device’s lifespan. No fluff, no sales pitch—just practical advice to keep your jump starter in top shape.
Understanding Your AVAPOW Jump Starter and Its Battery
Before we dive into charging instructions, let’s get familiar with what makes your AVAPOW jump starter tick. These compact devices are more than just a battery in a box. They’re engineered to deliver a powerful burst of energy to jump-start your vehicle, but they also double as power banks for phones, tablets, and other gadgets. That versatility makes them incredibly useful, but it also means proper charging habits are essential.
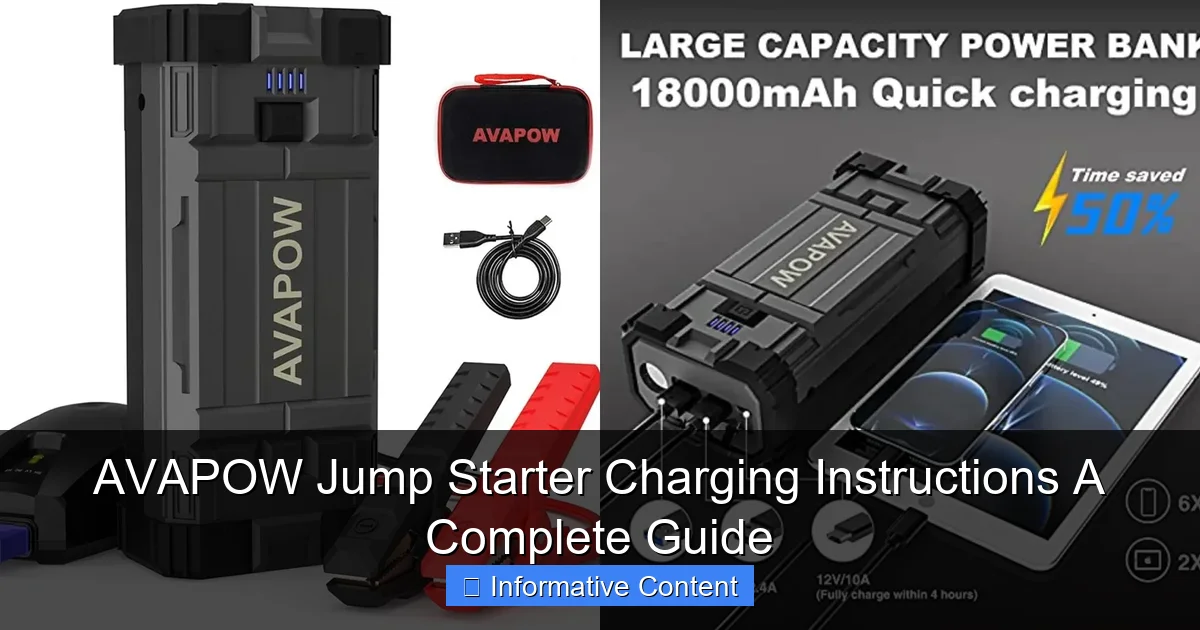
Visual guide about avapow jump starter charging instructions
Image source: docerp.s3.amazonaws.com
How the Battery Works
AVAPOW jump starters typically use high-density lithium-ion or lithium-polymer batteries. These batteries are lightweight, hold a charge well, and can deliver high current output—perfect for jump-starting engines. However, they’re also sensitive to overcharging, deep discharging, and extreme temperatures. Think of them like a high-performance sports car: they need the right fuel and maintenance to perform at their best.
When you charge your jump starter, you’re replenishing the lithium ions inside the battery. A full charge usually takes a few hours, depending on the model and charger. But here’s the catch: not all chargers are created equal. Using the wrong charger or charging too frequently can degrade the battery over time.
Key Features That Affect Charging
- Battery Capacity: Measured in milliamp-hours (mAh), this tells you how much power the jump starter holds. Higher capacity means longer runtime but also longer charging times.
- Charging Ports: Most AVAPOW models have a micro-USB or USB-C input for charging, plus USB outputs for powering devices. Some even support fast charging.
- LED Indicators: These show the battery level and charging status. A blinking light might mean charging is in progress, while a steady light indicates full charge.
- Smart Charging Technology: Many AVAPOW models have built-in protection against overcharging, overheating, and short circuits.
For example, if you have the AVAPOW A07 (a popular 2000A model), it has a 20,000mAh battery, USB-C input, and four LED indicators. Charging it with a standard 5V/2A charger will take about 4-5 hours. But if you use a 5V/3A or 9V/2A fast charger, it could be ready in just 2-3 hours.
Pro Tip: Always check your user manual for the exact battery specs and recommended charging methods. Not all AVAPOW models charge the same way!
Step-by-Step Charging Instructions
Now let’s get to the heart of the matter: how to charge your AVAPOW jump starter properly. Follow these steps to ensure a safe, efficient, and long-lasting charge every time.
Step 1: Gather the Right Equipment
You’ll need:
- Your AVAPOW jump starter
- A compatible charging cable (usually USB-A to micro-USB or USB-C)
- A wall charger, car charger, or USB port with adequate output (ideally 5V/2A or higher)
Using the original charging cable is best. Third-party cables may not deliver the right voltage or current, which can slow charging or damage the battery. If you’re using a wall charger, make sure it’s UL-listed or certified for safety.
Step 2: Connect the Charger
- Plug the USB end of the cable into your wall charger, car charger, or computer USB port.
- Connect the other end (micro-USB or USB-C) to the input port on your jump starter. You should hear a soft click or see the LED indicators light up.
- Double-check that the connection is secure. Loose cables are a common cause of charging issues.
Example: If you’re at home, plug the wall charger into an outlet and connect the cable to your AVAPOW. The LEDs will start blinking—usually in a sequence—to show charging is underway.
Step 3: Monitor the Charging Process
Most AVAPOW models have 4 LED indicators. Here’s what they mean:
- 1 blinking LED: Battery is below 25%
- 1 steady LED: 25% charged
- 2 steady LEDs: 50% charged
- 3 steady LEDs: 75% charged
- 4 steady LEDs: Fully charged
Charging time varies by model:
- AVAPOW A05 (12000mAh): ~3-4 hours with 5V/2A charger
- AVAPOW A07 (20000mAh): ~4-5 hours with 5V/2A, ~2.5 hours with 9V/2A fast charger
- AVAPOW A12 (30000mAh): ~6-7 hours with 5V/2A, ~3-4 hours with fast charger
Tip: Avoid using your jump starter while it’s charging. It’s not only unsafe but can also slow down the charging process.
Step 4: Unplug When Fully Charged
Once all four LEDs are steady, unplug the charger. Leaving your jump starter plugged in for hours (or days) after it’s full can reduce battery lifespan. Modern AVAPOW models have overcharge protection, but it’s still best practice to unplug promptly.
Store the cable in the included pouch or a dedicated spot in your car. A tangled mess of cables is not only frustrating but can lead to damaged connectors over time.
Best Practices for Charging and Maintenance
Charging your AVAPOW jump starter isn’t a one-time task—it’s part of an ongoing maintenance routine. Follow these best practices to keep your device in peak condition.
Charge Regularly, Even When Not in Use
Lithium batteries lose charge over time, even when idle. AVAPOW recommends charging your jump starter every 3-6 months if you’re not using it. A completely drained battery can become unstable or fail to hold a charge.
Real-World Scenario: You used your jump starter in January to start a friend’s car, then tossed it in the trunk. By June, you try to charge it—but the battery won’t take a charge. Why? It was left discharged too long. To avoid this, set a reminder on your phone or calendar to check and top off the charge every few months.
Use the Right Charger and Avoid Cheap Knockoffs
Not all USB chargers are safe. Cheap, uncertified chargers may deliver unstable voltage or current, which can overheat your jump starter or damage the battery. Stick to:
- Original AVAPOW chargers
- UL-listed or CE-certified wall chargers
- Reputable brands like Anker, Belkin, or Aukey
Fast chargers (9V/2A or 12V/1.5A) can speed up charging, but only if your AVAPOW model supports them. Check the manual—some older models don’t have fast charging capability.
Store in a Cool, Dry Place
Extreme temperatures are the enemy of lithium batteries. Store your jump starter:
- Between 32°F and 104°F (0°C to 40°C)
- Away from direct sunlight or heat sources (like a car dashboard in summer)
- In a dry environment to prevent moisture damage
Example: Leaving your jump starter in a hot car during summer can reduce battery capacity by up to 20% over time. In winter, a fully charged jump starter works better than a partially charged one in cold weather.
Clean the Ports and Cables
Dust and debris can block the charging port. Use a soft, dry brush or compressed air to clean the micro-USB or USB-C input. Never use water or cleaning solutions—they can damage the internal circuitry.
Common Charging Issues and How to Fix Them
Even with proper care, you might run into charging problems. Here’s how to troubleshoot the most common issues.
Jump Starter Won’t Charge
Possible Causes:
- Faulty charging cable
- Damaged port
- Dead wall charger
- Battery deeply discharged (below 0%)
Solutions:
- Try a different cable and charger. Borrow one from a friend or use a known-working setup.
- Inspect the charging port for bent pins or debris. Use a flashlight and magnifying glass if needed.
- If the battery is deeply discharged, plug it in and wait 10-15 minutes. Sometimes the LEDs won’t light up immediately.
- Contact AVAPOW support if none of the above works. Many models have a 12-24 month warranty.
Tip: If your jump starter has a “pre-charge” mode (some AVAPOW models do), press and hold the power button for 5-10 seconds to wake up a deeply discharged battery.
Charging is Too Slow
Possible Causes:
- Low-power charger (e.g., 5V/1A instead of 5V/2A)
- Long or low-quality cable
- USB port on a laptop or car charger with insufficient output
Solutions:
- Use a 5V/2A or higher wall charger.
- Replace the cable with a shorter, high-quality one (under 3 feet).
- Charge from a wall outlet instead of a car or computer.
LEDs Blink Erratically
This usually means a connection issue. Check:
- Cable connections at both ends
- Port for dirt or damage
- Charger output with a different device
If the problem persists, the battery or charging circuit may be faulty. Reach out to AVAPOW customer service.
Data Table: Charging Times and Specifications for Popular AVAPOW Models
| Model | Battery Capacity | Input Type | Standard Charging (5V/2A) | Fast Charging (9V/2A) | Max Output (Jump Start) | Notes |
|---|---|---|---|---|---|---|
| AVAPOW A05 | 12,000mAh | Micro-USB | 3-4 hours | Not supported | 1200A | Basic model, no fast charging |
| AVAPOW A07 | 20,000mAh | USB-C | 4-5 hours | 2.5 hours | 2000A | Supports fast charging, includes USB-C cable |
| AVAPOW A12 | 30,000mAh | USB-C | 6-7 hours | 3-4 hours | 3000A | High capacity, ideal for trucks and SUVs |
| AVAPOW A20 | 25,000mAh | USB-C | 5-6 hours | 3 hours | 2500A | Includes built-in flashlight and compass |
Note: Charging times are approximate and may vary based on temperature, cable quality, and charger output. Always refer to your model’s user manual for exact specifications.
Final Thoughts: Keep Your AVAPOW Jump Starter Ready for Anything
Your AVAPOW jump starter is more than a gadget—it’s peace of mind. Whether you’re facing a dead car battery, a drained phone, or an emergency situation, a properly charged jump starter can make all the difference. By following the charging instructions in this guide, you’re not just powering a device; you’re ensuring reliability when it matters most.
Remember: charge regularly, use the right equipment, store it properly, and don’t ignore the warning signs. A few minutes of maintenance every few months can save you hours of frustration down the road. And if you ever run into issues, don’t panic—most problems have simple solutions.
Think of your jump starter like a fire extinguisher: you hope you never need it, but you’ll be glad it’s there when you do. Keep it charged, keep it safe, and keep it ready. Because when your car won’t start at 6 AM in freezing rain, you’ll be the one with the working jump starter—and the smile on your face will say it all.
Frequently Asked Questions
How do I properly charge my AVAPOW jump starter for the first time?
For the first charge, use the included USB-C cable and a 5V/2A power adapter (or higher). Charge until the LED indicator shows full (usually 3-4 hours), ensuring optimal battery performance. Avoid using fast chargers not specified in the manual.
What do the AVAPOW jump starter charging indicator lights mean?
The LED lights display battery level: one blinking light (low), solid lights (charging progress), and all solid (fully charged). Red lights may indicate errors like overheating or connection issues.
Can I charge my AVAPOW jump starter while using it to power devices?
No, simultaneous charging and discharging can damage the battery. Always fully charge the AVAPOW jump starter before using it to charge phones, laptops, or jump-start vehicles.
How long does it take to fully charge an AVAPOW jump starter?
Charging time varies by model but typically takes 3-5 hours using a 5V/2A adapter. Larger capacities (e.g., 20,000mAh) may require up to 8 hours with standard charging.
Why isn’t my AVAPOW jump starter holding a charge?
This may occur due to prolonged inactivity or extreme temperatures. Recharge every 3-6 months for maintenance. If issues persist, contact AVAPOW support for battery diagnostics.
Can I use a solar panel to charge my AVAPOW jump starter?
Yes, but only via the USB-C input with a solar panel that outputs 5V/2A (minimum). Charging will be slower than wall adapters, and efficiency depends on sunlight intensity.