

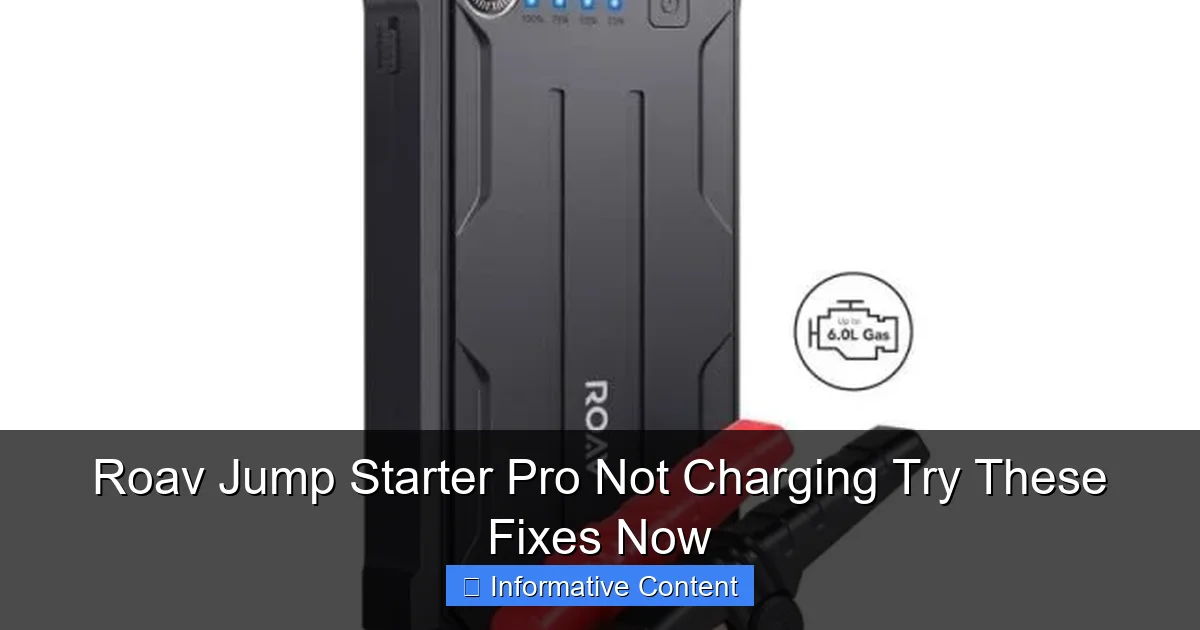
Featured image for roav jump starter pro not charging
Image source: imgv2-1-f.scribdassets.com
If your Roav Jump Starter Pro isn’t charging, the issue is often a faulty power source or dirty charging port—try a different outlet and clean the port carefully. Check the charging cable and adapter for damage, and ensure you’re using the original accessories for optimal performance. Still not working? Reset the device or contact Roav support—don’t risk a dead jump starter when help is just a fix away.
Key Takeaways
- Check the power source: Ensure your outlet or USB port is working before assuming the jump starter is faulty.
- Inspect charging cable: Use a high-quality, undamaged cable to avoid connection issues during charging.
- Clean charging port: Remove dust or debris from the jump starter’s port with a dry brush or compressed air.
- Reset the device: Hold the power button for 10+ seconds to reboot if the unit is unresponsive.
- Monitor LED indicators: Follow the manual to interpret light patterns that signal charging status or errors.
- Avoid extreme temperatures: Charge only in moderate environments to prevent battery damage or failure.
📑 Table of Contents
- Why Is My Roav Jump Starter Pro Not Charging? Let’s Solve It Together
- Understanding How the Roav Jump Starter Pro Charges
- Common Causes of the Roav Jump Starter Pro Not Charging
- Step-by-Step Troubleshooting Guide
- When to Consider Hardware or Internal Issues
- Prevention and Maintenance Tips to Avoid Future Issues
- Data Table: Common Roav Charging Scenarios & Solutions
- Final Thoughts: Don’t Panic—Fix It
Why Is My Roav Jump Starter Pro Not Charging? Let’s Solve It Together
We’ve all been there—staring at a dead car battery, hoping your trusty Roav Jump Starter Pro will save the day. But when you plug it in and nothing happens, panic sets in. You’re left wondering: “Why is my Roav Jump Starter Pro not charging?” It’s a frustrating situation, especially when you’re counting on it for emergencies. I’ve been in that exact spot, and I know how helpless it feels. The good news? Most charging issues are fixable with a little troubleshooting.
Whether you’re a daily commuter, a road tripper, or someone who just likes to be prepared, a non-charging Roav Jump Starter Pro can throw a wrench in your plans. But don’t toss it out just yet. In this guide, we’ll walk through the most common causes behind the Roav Jump Starter Pro not charging issue and show you practical, step-by-step fixes. From simple user errors to more technical glitches, we’ve got you covered. Let’s get that device back to full power—safely and efficiently.
Understanding How the Roav Jump Starter Pro Charges
Before diving into fixes, it helps to understand how your Roav Jump Starter Pro is supposed to charge. This device is designed with a lithium-polymer battery that stores energy for jump-starting your vehicle, charging your phone, or powering small electronics. But like any rechargeable battery, it relies on proper charging habits and compatible equipment.
Visual guide about roav jump starter pro not charging
Image source: unitedstore.pk
Charging Methods: What You Need to Know
The Roav Jump Starter Pro typically charges via a USB-C port using a standard wall adapter, car charger, or even a power bank. Most users plug it into a wall outlet using a USB-C to USB-A (or USB-C to USB-C) cable. The device should display a charging indicator—usually an LED light—when properly connected.
- Wall charger: The most common and reliable method. Use a 5V/2A adapter for optimal charging speed.
- Car charger: Handy on the go, but ensure your car’s USB port provides enough power (at least 2A).
- Power bank: Works in a pinch, but may take longer due to lower output.
Here’s a real-life example: I once tried charging mine from a low-power USB port in my laptop while camping. The device lit up, but after hours, the battery hadn’t increased. Turns out, the laptop port only delivered 0.5A—way below the recommended 2A. Lesson learned: always check your power source.
Battery Indicators and What They Mean
The Roav Jump Starter Pro uses LED indicators to show charging status:
- Red light: Charging in progress
- Green light: Fully charged
- Flashing red: Low battery or error condition
- No light: No power connection or internal issue
If you see no light or a blinking red, it’s a clear sign something’s off. But don’t jump to conclusions—many times, it’s a simple fix. For instance, a friend of mine thought her unit was broken because the light wouldn’t come on. After checking, we realized the cable was frayed near the plug. A new cable solved the problem instantly.
Common Causes of the Roav Jump Starter Pro Not Charging
Now that we understand how it should work, let’s look at the most frequent reasons why your Roav Jump Starter Pro might not be charging. These range from minor user errors to hardware issues. Identifying the root cause is the first step toward a solution.
1. Faulty or Incompatible Charging Cable
This is the #1 culprit I see—and it’s often overlooked. Not all USB cables are created equal. Some are designed only for data transfer and can’t carry enough current for charging. Others get worn out from bending or pulling.
For example, I once used a cheap cable from a discount store. The Roav would flicker on, then go dark after a few seconds. Switching to the original Roav cable (or a high-quality USB-IF certified one) fixed it immediately.
- Tip: Use a cable that’s known to work with high-power devices (like smartphones or tablets).
- Check for damage: Look for fraying, kinks, or bent connectors.
- Test the cable: Try charging your phone with the same cable. If it charges slowly or not at all, the cable is likely the issue.
2. Weak or Inadequate Power Source
Your Roav needs a solid power supply to charge efficiently. A weak wall adapter, a low-output car charger, or a nearly dead power bank won’t cut it.
One user told me they left their Roav plugged into a multi-port hub that was already powering three other devices. The hub couldn’t deliver enough juice, so the jump starter barely charged. The fix? Plug it directly into a wall outlet with a 5V/2A adapter.
- Ideal charger: 5V/2A (10W) minimum. Higher amps (like 2.4A) charge faster.
- Avoid: Low-power USB ports (like those on TVs, monitors, or keyboards).
- Test with a known-good adapter: Borrow a phone charger that works well.
3. Dirty or Damaged USB-C Port
Over time, dust, lint, or debris can build up in the USB-C port. This prevents proper contact between the cable and the device. I’ve seen this happen after a Roav sat in a glove compartment for months.
One reader shared that their Roav wouldn’t charge at all. After using a flashlight, we spotted a tiny piece of paper stuck in the port. A gentle cleaning with a toothpick (not metal!) and a puff of air solved it.
- Clean carefully: Use a soft toothpick or compressed air. Never insert metal objects.
- Inspect for damage: Look for bent pins or corrosion. If you see any, it may need professional repair.
4. Battery Deep Discharge or Over-Discharge
Lithium batteries don’t like being completely drained. If your Roav has been sitting unused for weeks or months, the battery might have entered a “deep discharge” state. In this state, the internal protection circuit cuts off charging to prevent damage.
I experienced this after leaving my Roav in a trunk for three months. It wouldn’t charge at all. The fix? I used a technique called “trickle charging”—plugging it into a low-power source (like a USB hub) for 10–15 minutes to wake up the battery, then switching to a full-power adapter.
- Tip: If the battery is deeply discharged, try charging for 10–15 minutes on a low-power source first.
- Prevent it: Recharge your Roav every 2–3 months, even if you don’t use it.
Step-by-Step Troubleshooting Guide
Now that we know the common causes, let’s walk through a clear, step-by-step process to diagnose and fix your Roav Jump Starter Pro not charging. Follow these steps in order—they’re designed to catch the most likely issues first.
Step 1: Inspect the Cable and Port
Start with the basics. Grab your charging cable and look closely.
- Check for fraying, kinks, or broken connectors.
- Try a different cable—preferably one that works with your phone.
- Inspect the USB-C port on the Roav. Use a flashlight and gently clean out any debris.
Real-world tip: I keep a spare USB-C cable in my car just for the Roav. It’s saved me more than once.
Step 2: Test with a Reliable Power Source
Plug the Roav into a wall outlet using a known-good 5V/2A adapter. Avoid multi-port hubs or low-power sources.
- Wait 2–3 minutes. Do you see a red light?
- If yes, wait 30 minutes. Does it switch to green?
- If no light, try a different outlet or adapter.
One user reported that their apartment’s “smart” outlets were limiting power. Switching to a standard outlet fixed the issue.
Step 3: Check for Deep Discharge
If there’s no light, the battery might be too low to respond.
- Plug it into a low-power USB port (like a laptop or hub) for 10–15 minutes.
- Then switch to a wall adapter. This can “wake up” a deeply discharged battery.
Note: Don’t leave it plugged in for hours. If nothing happens after 24 hours, move to the next step.
Step 4: Reset the Device (If Applicable)
Some Roav models have a reset function. While there’s no physical reset button, you can try a “soft reset”:
- Press and hold the power button for 10 seconds (even if the device appears off).
- Release and plug it in again.
This won’t fix hardware issues, but it can clear minor software glitches in the charging circuit.
Step 5: Test with a Different Device
To rule out device-specific issues, try charging another USB-C device with the same cable and adapter. If it charges fine, the problem is likely with the Roav.
When to Consider Hardware or Internal Issues
If you’ve tried all the above and your Roav Jump Starter Pro still won’t charge, it’s time to consider internal problems. These are less common but can happen due to age, physical damage, or manufacturing defects.
1. Failed Charging Circuit or IC
The Roav has an internal charging management chip (IC) that regulates power. If this fails, the device won’t charge—even with the right cable and power.
Symptoms include:
- No LED light, no response
- Intermittent charging (starts, then stops)
- Overheating during attempted charge
This requires professional repair or replacement. Contact Roav support for warranty service if your device is under 1–2 years old.
2. Damaged Battery Cells
Lithium batteries degrade over time. After 2–3 years of regular use, capacity drops, and charging may become unreliable.
- Signs: Charges very slowly, doesn’t hold a charge, or shuts off unexpectedly.
- Solution: Battery replacement is possible but not cost-effective. Consider upgrading to a newer model.
I had a 3-year-old Roav that started losing charge within hours. Roav offered a discount on a new unit, which I appreciated.
3. Physical Damage or Water Exposure
Did your Roav take a fall or get wet? Drops can dislodge internal connections. Water can cause corrosion.
- If it was dropped, look for cracks or loose parts.
- If it got wet, do NOT plug it in. Let it dry for at least 48 hours in a warm, dry place (not a microwave or oven!).
A friend once left his Roav in a damp garage. After a week, it wouldn’t charge. We opened it (not recommended!) and found greenish corrosion on the circuit board. It was beyond repair.
Prevention and Maintenance Tips to Avoid Future Issues
The best fix is prevention. With a few simple habits, you can keep your Roav Jump Starter Pro in top shape and avoid the dreaded “not charging” scenario.
1. Store It Properly
Keep your Roav in a cool, dry place—not in a hot car trunk or a damp garage. Ideal storage temperature is 50°F to 86°F (10°C to 30°C).
- Use the included case or a padded pouch.
- Avoid direct sunlight or extreme cold.
I keep mine in a kitchen drawer—safe, dry, and easy to grab.
2. Recharge Every 2–3 Months
Even if you don’t use it, lithium batteries self-discharge. Recharge to 50–80% every few months.
- Don’t store it fully charged or fully drained.
- Set a reminder on your phone or calendar.
3. Use Quality Accessories
Invest in a good USB-C cable and a reliable wall adapter. Cheap cables fail more often and can damage your device.
- Look for “USB-IF certified” cables.
- Avoid off-brand adapters—stick to reputable brands like Anker, Belkin, or Apple.
4. Inspect Regularly
Every few months, check the cable, port, and battery level. A quick visual inspection can catch problems early.
- Look for dust in the port.
- Test the cable with your phone.
Data Table: Common Roav Charging Scenarios & Solutions
| Issue | Likely Cause | Quick Fix | Prevention Tip |
|---|---|---|---|
| No LED light | Faulty cable or power source | Try a different cable/adapter | Use certified accessories |
| Red light, no charging | Weak power source | Plug into wall outlet with 2A adapter | Avoid low-power USB ports |
| Flashing red | Low battery or error | Trickle charge for 10 mins first | Recharge every 2–3 months |
| Charges then stops | Overheating or IC issue | Let it cool, try again | Store in cool, dry place |
| No response after cleaning | Internal damage | Contact Roav support | Avoid drops and water |
Final Thoughts: Don’t Panic—Fix It
Finding your Roav Jump Starter Pro not charging can feel like a disaster, especially when you need it most. But in most cases, it’s a solvable problem. From a frayed cable to a deeply discharged battery, the solutions are often simple—and you can fix them yourself.
Remember: start with the basics. Check the cable, test the power source, clean the port, and try a trickle charge. Most users get their Roav working again in under 15 minutes. And if it’s a hardware issue? Don’t hesitate to reach out to Roav’s customer support. They’re known for being helpful and responsive.
Your Roav is a lifeline—don’t let a charging hiccup keep you from relying on it. With a little care and these troubleshooting tips, you’ll be back to peace of mind in no time. Stay prepared, stay powered, and never get stranded again.
Frequently Asked Questions
Why is my Roav Jump Starter Pro not charging?
If your Roav Jump Starter Pro is not charging, it could be due to a faulty power source, damaged charging cable, or a depleted internal battery. Try using a different USB wall adapter and cable, and ensure the power source is functioning properly.
How do I know if the Roav Jump Starter Pro is charging?
The Roav Jump Starter Pro has an LED indicator that lights up when charging—usually red during charging and green when fully charged. If no lights appear, check the connections and try a different power source.
Can a dead battery prevent the Roav Jump Starter Pro from charging?
Yes, if the internal battery is completely drained or damaged, the Roav Jump Starter Pro may not respond when plugged in. Leave it charging for several hours; if it still doesn’t respond, the battery may need replacement.
What type of charger should I use for the Roav Jump Starter Pro?
Use a standard 5V/2A USB wall charger to charge your Roav Jump Starter Pro. Avoid fast chargers or high-voltage adapters, as they can damage the device or cause charging issues.
How long does it take to fully charge the Roav Jump Starter Pro?
The Roav Jump Starter Pro typically takes 3 to 4 hours to fully charge using a compatible 2A charger. Charging time may vary if the battery is deeply discharged or if a lower-output charger is used.
What should I do if my Roav Jump Starter Pro won’t hold a charge?
If your Roav Jump Starter Pro won’t hold a charge, it may indicate a failing battery or internal fault. Try resetting the device by holding the power button for 10 seconds, and if the issue persists, contact customer support for assistance.