
Featured image for jump start cable with battery charger
Image source: img.kwcdn.com
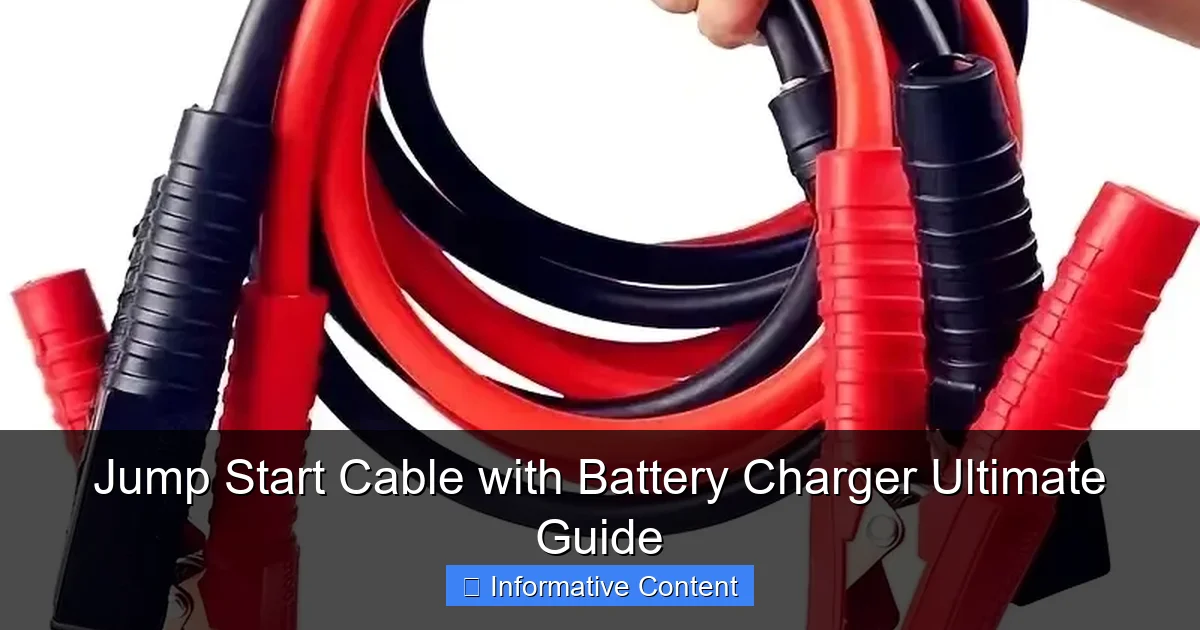
Jump start cables with battery chargers are essential tools for reviving dead car batteries quickly and safely, combining portable power with smart charging technology. Designed for reliability and ease of use, these systems often include surge protection, reverse polarity alerts, and multi-stage charging to extend battery life—making them a must-have for emergencies and routine maintenance.
Key Takeaways
- Choose quality cables: Opt for thick, durable cables to ensure reliable performance and safety.
- Check compatibility: Verify voltage and connector types match your vehicle and charger to avoid damage.
- Prioritize safety: Always follow proper connection sequences to prevent sparks or battery explosions.
- Maintain regularly: Inspect cables and clamps for wear, corrosion, or damage before each use.
- Use smart chargers: Select chargers with auto-shutoff to prevent overcharging and extend battery life.
- Store properly: Keep cables tangle-free and in dry, cool places to prolong their lifespan.
📑 Table of Contents
- Why Every Driver Needs a Jump Start Cable with Battery Charger
- What Is a Jump Start Cable with Battery Charger?
- How to Choose the Right Jump Start Cable with Battery Charger
- How to Use a Jump Start Cable with Battery Charger Safely
- Top Use Cases and Real-Life Scenarios
- Maintenance and Long-Term Care
- Comparison Table: Popular Models at a Glance
- Final Thoughts: Be Prepared, Not Panicked
Why Every Driver Needs a Jump Start Cable with Battery Charger
We’ve all been there—rushing out the door for an early meeting, a road trip, or just a quick grocery run—only to find your car won’t start. That dreaded silence when you turn the key, the dim dashboard lights, and the sinking realization that your battery is dead. It’s frustrating, stressful, and often happens at the worst possible moment. But here’s the good news: you don’t have to wait for a roadside assistance call or rely on a stranger’s help. A jump start cable with battery charger can be your personal lifeline, turning a potential disaster into a minor hiccup.
Think of this tool as your car’s best friend. It combines the power of traditional jumper cables with the convenience of a built-in battery charger, giving you the flexibility to jump-start a vehicle or recharge a weak battery over time. Whether you’re stuck in a parking lot, at home, or on a remote trail, having this device in your trunk means peace of mind. No more frantic calls to friends or expensive towing fees. It’s like carrying a portable mechanic in your glove box. In this guide, I’ll walk you through everything you need to know about choosing, using, and maintaining a jump start cable with battery charger—so you’re never left stranded again.
What Is a Jump Start Cable with Battery Charger?
Understanding the Basics
At first glance, a jump start cable with battery charger might sound like two separate tools mashed together. But it’s actually a smart, all-in-one solution. Unlike traditional jumper cables that require another vehicle to provide power, this device includes a built-in battery pack (often lithium-ion) that stores energy. You can use it to jump-start your car directly—no second vehicle needed—or plug it into a wall outlet to slowly recharge your car battery over time.

Visual guide about jump start cable with battery charger
Image source: i.pinimg.com
Here’s how it works: The jump starter portion acts like a portable power bank for your car. When your battery is dead, you connect the clamps to your car’s battery terminals (just like with regular jumper cables), and the internal battery delivers a surge of power to start the engine. Meanwhile, the charger function allows you to plug the unit into a standard outlet and use it to top up your car battery, especially useful for older batteries or vehicles that sit unused for long periods.
Key Components and Features
Not all jump start cables with battery chargers are created equal. Here are the main parts and features to look for:
- Internal Battery: Usually lithium-ion for lightweight, high-capacity performance. Look for units with at least 10,000mAh for reliable starts.
- Clamps and Cables: Heavy-duty copper cables with thick insulation for safety and efficiency. Some models feature reverse polarity protection to prevent damage if you connect the clamps incorrectly.
- Charging Ports: Most include USB ports (A and C) so you can charge phones, tablets, or GPS devices in a pinch.
- LCD Display: Shows battery level, charging status, and error messages—super helpful for troubleshooting.
- Built-in Safety Features: Overcharge protection, short-circuit prevention, and spark-proof technology make these devices much safer than old-school cables.
- Carry Case: A compact, organized case keeps everything together and protects the unit from dust and moisture.
I remember my first experience with one of these—I was camping in a remote area, and my SUV wouldn’t start after leaving the lights on overnight. I had a basic jump starter, but it was dead too. That’s when I learned the value of a jump start cable with battery charger: I could plug it into my campsite’s outlet and charge it up, then use it to start my car the next morning. It saved my trip—and my sanity.
How to Choose the Right Jump Start Cable with Battery Charger
Match the Power to Your Vehicle
One of the biggest mistakes people make is buying a jump starter that’s underpowered for their vehicle. A compact car with a 1.5L engine needs less power than a pickup truck with a 5.7L V8. Here’s a simple rule of thumb:
- Small to Midsize Cars (1.0L–2.5L): 10,000–15,000mAh, 600–1000 peak amps
- Large Cars, SUVs, Vans (2.5L–5.0L): 15,000–20,000mAh, 1000–1500 peak amps
- Trucks, RVs, Diesel Engines: 20,000mAh+, 1500–2000+ peak amps
For example, my neighbor has a diesel pickup. He bought a 12,000mAh jump starter and couldn’t start his truck even after multiple attempts. He upgraded to a 20,000mAh model with 1800 peak amps—and it worked on the first try. Always check your vehicle’s manual or consult the manufacturer’s recommendations.
Portability vs. Power Trade-Off
Higher capacity means more power, but also more weight and bulk. If you’re a city driver with a small car, a 12,000mAh unit that fits in your glove box might be perfect. But if you’re a weekend warrior who hikes, camps, or drives a large vehicle, go for something with more juice—even if it’s a bit heavier.
Pro tip: Look for models with a compact design and ergonomic handle. I once carried a bulky 25,000mAh unit on a road trip—it worked great, but it felt like lugging a brick. Now I use a 18,000mAh model with a built-in handle and a slim profile. It’s the sweet spot for me.
Smart Features That Matter
Not all features are equally useful. Here’s what I recommend prioritizing:
- Reverse Polarity Protection: Prevents sparks or damage if you connect the clamps backward. A lifesaver for beginners.
- Spark-Proof Technology: Eliminates the risk of sparks when connecting, making it safer in tight spaces or flammable environments.
- LED Flashlight: Many units include a flashlight—great for nighttime emergencies. Some even have SOS and strobe modes.
- Jump Start Attempt Counter: Some advanced models track how many times you’ve used the jump function, helping you know when to recharge.
- Low-Temperature Performance: If you live in a cold climate, look for models rated for -20°C (-4°F) or lower. Cold kills battery power fast.
I once used a jump starter in a blizzard. The temperature was -10°C, and the unit had a low-temp rating. It worked flawlessly. My friend tried his older model—same brand but no low-temp tech—and it failed. That’s when I learned: always check the operating temperature range.
How to Use a Jump Start Cable with Battery Charger Safely
Step-by-Step Jump Starting
Using a jump start cable with battery charger is easier than you think. Here’s my tried-and-true method:
- Charge the Unit: Before you need it, make sure your jump starter is fully charged. Most take 3–5 hours via wall outlet.
- Park Safely: Turn off the car, put it in park (or neutral for manual), and engage the parking brake.
- Open the Hood: Locate the battery. If it’s covered, remove the cover carefully.
- Connect the Clamps: Attach the red (positive) clamp to the positive terminal (+) on your car battery. Attach the black (negative) clamp to an unpainted metal surface (like a bolt or bracket), not the negative terminal. This reduces sparking risk.
- Turn On the Jump Starter: Power on the unit. You should see a light or hear a beep indicating it’s ready.
- Start the Car: Try to start your engine. If it doesn’t start on the first try, wait 30 seconds and try again. Most units allow 3–5 attempts before needing a recharge.
- Disconnect in Reverse Order: Once the car is running, disconnect the black clamp first, then the red. Turn off the jump starter and pack it away.
One time, I forgot to wait between attempts and tried to start the car five times in a row. The jump starter shut off automatically—a safety feature that prevented overheating. Lesson learned: patience is key.
Charging Your Car Battery with the Built-In Charger
Some models let you plug the unit into your car’s battery and use it as a slow charger. This is great for batteries that are weak but not completely dead. Here’s how:
- Connect the clamps to the battery terminals (red to +, black to -).
- Plug the jump starter into a wall outlet using the included AC adapter.
- Set the mode to “Battery Charge” (if available).
- Let it charge for 4–8 hours, depending on the battery size.
- Disconnect and try starting the car.
I used this method once when my car battery was only at 40%. Instead of risking a jump start (which can stress an old battery), I charged it slowly overnight. The next morning, it started like new.
Safety Tips You Can’t Ignore
Even with smart features, safety matters:
- Never touch both clamps together. It can cause a short circuit.
- Keep the unit away from water. Most are water-resistant, not waterproof.
- Don’t use on damaged batteries. If the battery is cracked or leaking, replace it first.
- Store in a cool, dry place. Extreme heat or cold can damage the internal battery.
- Recharge every 3–6 months. Even if you don’t use it, the battery loses charge over time.
My cousin once stored his jump starter in the trunk during a heatwave. The temperature hit 110°F, and the unit swelled up. It never worked again. Now I keep mine in the cabin, under the seat.
Top Use Cases and Real-Life Scenarios
Roadside Emergencies
This is the obvious one. Dead battery in a parking lot? No problem. Jump start cable with battery charger to the rescue. I’ve used mine in grocery store parking lots, gas stations, and even on the highway during a rest stop. It’s fast, quiet, and doesn’t require another car.
One winter, I helped a stranger whose car wouldn’t start in a mall parking lot. I pulled out my jump starter, connected it in under two minutes, and got her going. She was so grateful—and I felt like a hero.
Off-Road and Remote Adventures
When you’re miles from civilization, help isn’t just a call away. A jump start cable with battery charger is a must-have for campers, hikers, and overlanders. It can also power your phone, GPS, or even a small cooler in a pinch.
I took mine on a week-long camping trip in the Rockies. We used it to jump-start a friend’s ATV, charge our phones, and even power a portable fan during a heatwave. It paid for itself in one trip.
Everyday Convenience
Beyond emergencies, these tools are handy for daily life:
- Jump-starting other vehicles: Help out family, friends, or neighbors.
- Charging devices on the go: USB ports are perfect for long drives.
- Maintaining classic cars: If you have a vintage car that sits for months, use the charger function to keep the battery healthy.
- Boat and motorcycle batteries: Many units work with 12V marine and bike batteries.
My dad has a 1972 Mustang that he drives only in summer. He uses his jump starter to trickle-charge the battery all winter. It’s still going strong after five years.
Maintenance and Long-Term Care
Charging and Storage
To keep your jump start cable with battery charger ready when you need it:
- Charge it fully before first use.
- Recharge every 3–6 months. Even unused, lithium batteries degrade.
- Store at 40–60% charge if not using for months. This prolongs battery life.
- Keep it in a moderate temperature environment. Avoid trunks in summer or garages in winter.
I set a phone reminder every four months to check and recharge mine. It takes 10 minutes and saves me from a dead unit when I need it most.
Cleaning and Inspection
Over time, dust and grime can build up on clamps and ports. Here’s how to care for it:
- Wipe down the case with a dry cloth. Avoid water or solvents.
- Inspect clamps for corrosion or damage. Clean with a wire brush if needed.
- Check cables for cracks or fraying. Replace if damaged.
- Test the unit every 6 months. Try a quick jump start on a working car to ensure it’s functional.
One winter, I neglected to clean my clamps. They got corroded, and the connection was weak. It barely started my car. A quick scrub with a wire brush fixed it—but I learned my lesson.
When to Replace It
Even the best units don’t last forever. Replace your jump starter if:
- It won’t hold a charge for more than a week.
- The battery swells or leaks.
- It fails to jump-start a car multiple times.
- It’s over 3–5 years old (battery lifespan).
I replaced my first unit after four years. It still worked, but the battery capacity dropped by 30%. My new one has more features and better performance.
Comparison Table: Popular Models at a Glance
| Model | Battery Capacity | Peak Amps | USB Ports | Flashlight | Price Range | Best For |
|---|---|---|---|---|---|---|
| NOCO Boost Plus GB40 | 12,000mAh | 1000 | 1x USB-A, 1x USB-C | Yes (SOS) | $100–$130 | Compact cars, everyday use |
| DBPOWER 2000A | 20,000mAh | 2000 | 2x USB-A, 1x USB-C | Yes (3 modes) | $120–$160 | SUVs, trucks, cold climates |
| GOOLOO GP4000 | 18,000mAh | 1500 | 1x USB-A, 1x USB-C | Yes | $90–$120 | Balanced power and portability |
| Tacklife T8 | 18,000mAh | 1500 | 1x USB-A, 1x USB-C | Yes | $80–$110 | Budget-friendly, reliable |
| Schumacher DSR115 | 22,000mAh | 1800 | 2x USB-A | Yes | $130–$170 | Large vehicles, frequent use |
This table helps you compare key specs. Remember, higher capacity and amps mean more power—but also more weight. Choose based on your vehicle and needs.
Final Thoughts: Be Prepared, Not Panicked
A jump start cable with battery charger isn’t just a gadget—it’s peace of mind. It turns a stressful situation into a manageable one. Whether you’re a daily commuter, a weekend adventurer, or someone who just wants to be ready for the unexpected, this tool belongs in your car.
I’ve used mine in rain, snow, heat, and even on rocky trails. It’s never failed me when I needed it most. And the best part? I don’t have to rely on others. I’m in control. That’s the real power of having a reliable jump starter.
So take the time to choose the right one for your vehicle, learn how to use it safely, and keep it maintained. It’s a small investment for a lifetime of confidence on the road. After all, the best time to prepare for a dead battery is before it happens. Stay safe, stay charged, and never get stranded again.
Frequently Asked Questions
What is a jump start cable with battery charger?
A jump start cable with battery charger is a portable device that combines jumper cables with a built-in rechargeable battery, allowing you to jump-start a dead car battery without needing another vehicle. It often includes USB ports and LED lights for added functionality and emergency use.
How does a jump start cable with battery charger work?
The device stores electrical power in its internal battery, which you can use to deliver a surge of energy to your car’s dead battery via the attached cables. Simply connect the clamps to your battery terminals, turn on the charger, and start your engine—no second car required.
Can I use a jump start cable with battery charger on any vehicle?
Most jump start cables with battery chargers are compatible with cars, trucks, motorcycles, and SUVs with 12-volt batteries. Always check the device’s peak amperage rating to ensure it’s suitable for your vehicle’s engine size.
How long does it take to charge a jump start cable with battery charger?
Charging time varies by model, but most devices take between 3 to 5 hours to fully recharge using a standard wall outlet or USB port. Some advanced models support fast charging for quicker turnaround.
Is it safe to leave a jump start cable with battery charger connected?
It’s generally safe to leave it connected while jump-starting, but avoid prolonged connection after the engine starts. Always follow the manufacturer’s instructions to prevent overheating or battery damage.
What features should I look for in a jump start cable with battery charger?
Look for safety features like reverse polarity protection, spark-proof clamps, and built-in LED flashlights. Additional perks include USB charging ports, compact design, and LCD screens for battery status monitoring.