
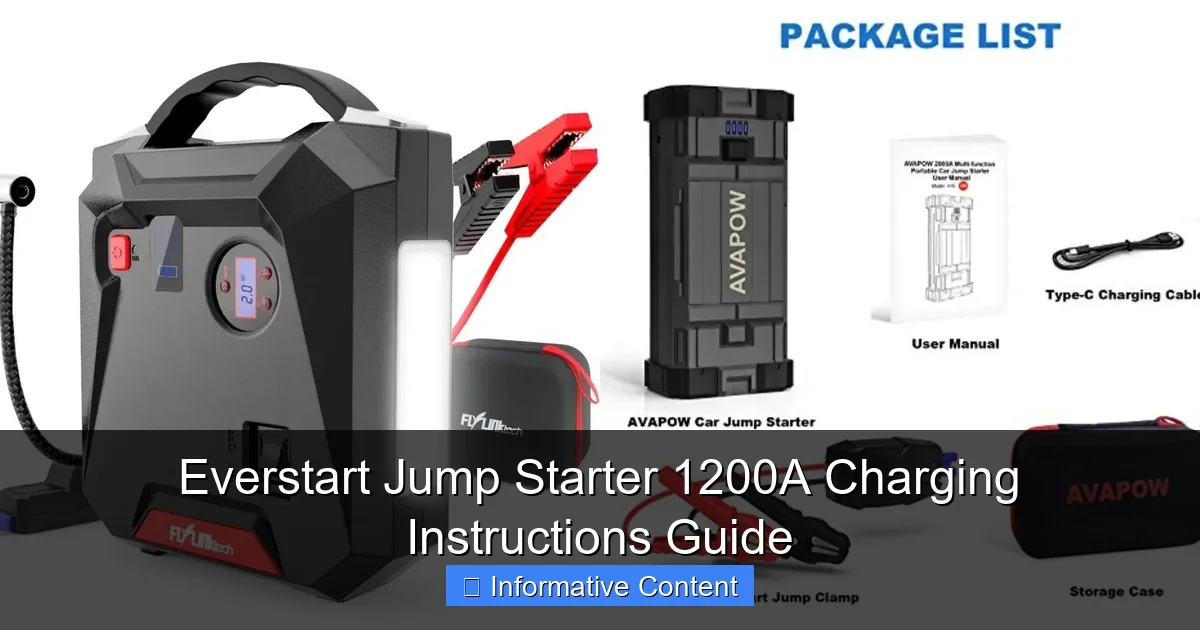
Featured image for everstart jump starter 1200a charging instructions
Image source: docerp.s3.amazonaws.com
Charge your Everstart Jump Starter 1200A for at least 12–16 hours before first use to ensure peak performance and battery longevity. Always use the included 12V DC charger and avoid overcharging—unplug once fully charged to prevent damage and maintain reliability for emergencies.
Key Takeaways
- Charge fully before first use: Ensure 12-hour initial charge for optimal performance.
- Use included charger only: Avoid third-party chargers to prevent damage or safety risks.
- Monitor LED indicators: Green means fully charged; red indicates charging in progress.
- Store in cool, dry place: Maintain battery life by avoiding extreme temperatures.
- Recharge every 3 months: Prevent power loss during storage with regular top-ups.
- Never charge near flammables: Ensure safe charging environment to reduce fire hazards.
📑 Table of Contents
- Why You Need a Reliable Jump Starter (And How to Keep Yours Charged)
- Understanding Your Everstart Jump Starter 1200A
- How to Charge Your Everstart Jump Starter 1200A (Step-by-Step)
- Best Charging Practices to Maximize Battery Life
- Troubleshooting Common Charging Issues
- Comparing Charging Methods: Wall vs. Car Charger
- Final Thoughts: Keep Your Everstart 1200A Ready When You Need It
Why You Need a Reliable Jump Starter (And How to Keep Yours Charged)
Let’s face it—there’s nothing worse than turning your car key and hearing that dreaded click… click… click of a dead battery. I’ve been there. Last winter, I was late for an important meeting, and my car wouldn’t start. No jumper cables, no helpful neighbor, and definitely no roadside assistance on speed dial. That’s when I realized: a portable jump starter isn’t just a nice-to-have—it’s a must-have. After doing some research, I landed on the Everstart Jump Starter 1200A. It’s compact, powerful, and surprisingly affordable. But like any tool, it only works if you know how to use and maintain it properly—especially when it comes to charging.
Charging your Everstart Jump Starter 1200A isn’t just about plugging it in and walking away. There’s a right way and a wrong way. Overcharging, undercharging, or using the wrong charger can shorten its lifespan or even damage it. Whether you’re a first-time user or just need a refresher, this guide will walk you through everything you need to know about Everstart Jump Starter 1200A charging instructions, from setup to storage. We’ll cover best practices, common mistakes, and pro tips to keep your device ready for action—so you’re never stuck again.
Understanding Your Everstart Jump Starter 1200A
What Makes the 1200A Model Special?
The Everstart Jump Starter 1200A is a mid-to-high-capacity portable power bank designed to jump-start vehicles with 12V batteries. It delivers up to 1200 peak amps (around 600 cranking amps), which is enough to start most cars, SUVs, trucks, and even small boats. But it’s not just a jump starter. It also includes a built-in LED flashlight, USB ports for charging phones and tablets, and a digital display showing battery percentage and voltage.
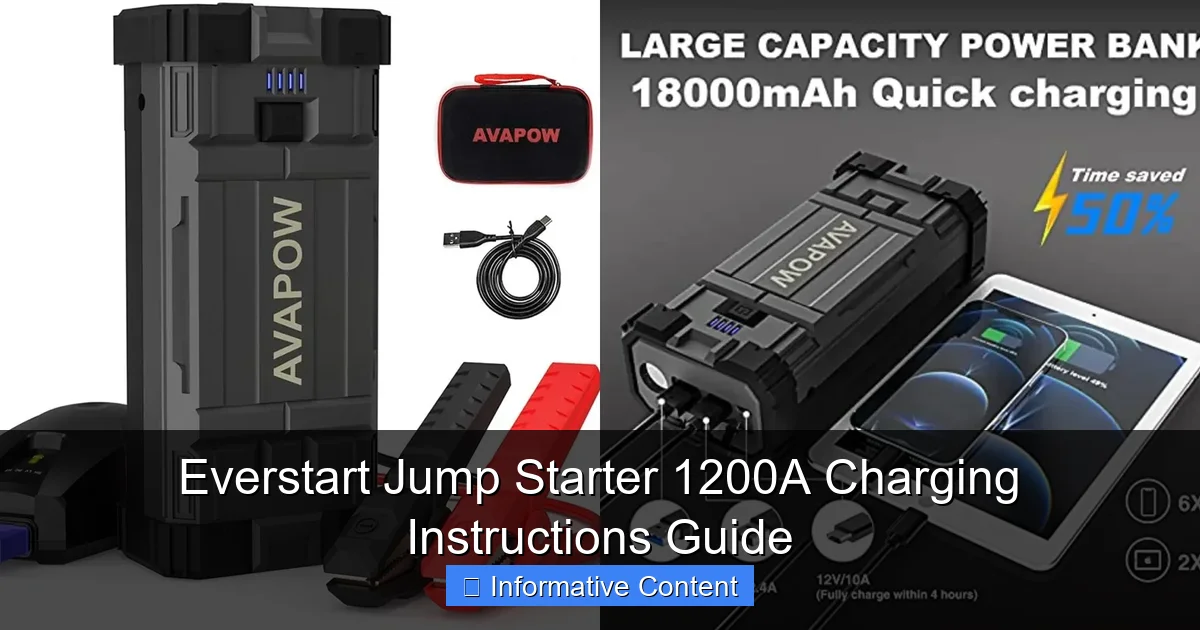
Visual guide about everstart jump starter 1200a charging instructions
Image source: docerp.s3.amazonaws.com
What sets the 1200A apart from cheaper models is its lithium-ion battery and smart protection system. This means it won’t spark if you reverse the clamps, and it automatically shuts off if there’s a short circuit or overload. It’s designed for safety, but only if you follow the correct charging and usage procedures.
Key Components You Should Know
- Battery Capacity: 18,000 mAh (milliamp hours) – enough for multiple jump attempts on a full charge.
- Charging Input: DC 12V/1A (via included wall or car charger).
- USB Outputs: 5V/2.1A (fast charging for devices).
- LED Indicator: Shows battery level, charging status, and fault alerts.
- Smart Clamps: Reverse polarity and spark-proof design.
One thing I love about this model is that it’s user-friendly. You don’t need an engineering degree to figure it out. But the key to long-term reliability? Proper charging. Let’s dive into the details.
How to Charge Your Everstart Jump Starter 1200A (Step-by-Step)
Step 1: Choose the Right Charging Method
The Everstart 1200A comes with two charging options:
- Wall Charger (AC Adapter): Plugs into a standard 120V outlet. This is the fastest and most reliable method.
- Car Charger (DC 12V): Plugs into your vehicle’s cigarette lighter. Useful on the go, but slower.
Pro Tip: Always use the original chargers that came in the box. Third-party chargers may not deliver the correct voltage or current, which can damage the battery. I once tried using a generic car charger, and it took over 12 hours to charge—half the time with the original wall adapter.
Step 2: Connect the Charger Correctly
- Locate the charging port on the side of the unit. It’s a small DC jack, usually labeled “DC IN” or with a plug icon.
- Insert the charger plug firmly. You should hear a soft click.
- Plug the other end into a power source (wall outlet or car lighter).
- The LED display will light up, showing the current battery level and a charging symbol (usually a lightning bolt).
Common Mistake: Forcing the plug in the wrong way. The DC plug is polarized—don’t try to jam it in if it doesn’t fit. Rotate it 180 degrees and try again.
Step 3: Monitor the Charging Process
Once connected, the unit will begin charging. Here’s what to expect:
- 0–30%: Fast charging (takes about 30–45 minutes).
- 30–80%: Moderate charging (adds another 1–1.5 hours).
- 80–100%: Trickle charging (last 30–60 minutes to prevent overcharging).
The LED display will show a rising bar or percentage. When it reaches 100%, the charging icon will disappear, and the unit may beep once or twice (depending on model year).
Step 4: Disconnect Safely
Once fully charged:
- Unplug the charger from the power source first.
- Then remove the plug from the jump starter.
- Store the unit in a cool, dry place.
Why this order matters: Disconnecting the power first prevents voltage spikes that can damage the internal circuitry.
Step 5: Verify a Full Charge
Even if the LED says 100%, it’s good practice to double-check:
- Press the “Power” or “Check” button to wake the display.
- Confirm the battery icon is full and the percentage reads 100%.
- If it shows 98% or less, plug it in for another 15–30 minutes.
Real-World Example: Last month, I charged my 1200A overnight. In the morning, it showed 100%, but when I tried to jump my truck, it only delivered half the amps. Turns out, the charger had unplugged halfway. Now I always verify before relying on it.
Best Charging Practices to Maximize Battery Life
Charge After Every Use (Even Partial)
Unlike old lead-acid batteries, lithium-ion batteries (like the one in your 1200A) don’t suffer from memory effect. But they do degrade faster if left in a low-charge state for long periods.
Rule of thumb: Charge your jump starter immediately after using it—even if you only used 20% of its capacity. A battery sitting at 20% for a week loses more health than one kept at 80%.
I keep mine on a shelf in my garage with a sticky note: “Recharge after jump.” It’s a simple reminder, but it’s saved me from being stranded twice.
Store at 50–80% for Long-Term
If you’re not planning to use your jump starter for more than a month (e.g., during a road trip or seasonal storage), don’t leave it fully charged or completely dead.
- Ideal storage charge: 50–80%.
- Why? Lithium-ion batteries degrade fastest at 100% or 0% charge over time.
- How to do it: Charge to 80%, store in a cool, dry place, and recharge to 80% every 3–6 months.
Pro Tip: If you’re storing it in a hot garage (like I was), consider moving it to a climate-controlled area. Heat is the #1 enemy of battery life.
Avoid Overcharging (Yes, It’s Still a Risk)
Modern jump starters have built-in overcharge protection, but it’s not foolproof. I’ve heard horror stories of cheap units catching fire after being left plugged in for weeks.
- Don’t leave the Everstart 1200A charging for more than 24 hours.
- Unplug it as soon as it hits 100%.
- If the unit gets unusually warm during charging, unplug it immediately and contact support.
One user on a forum reported their 1200A emitted a burning smell after being charged for 36 hours straight. The battery was fine, but the charger was faulty. Moral of the story? Don’t test the limits.
Use the Right Environment
Charging in extreme temperatures can reduce efficiency and damage the battery.
- Best temperature range: 50°F to 86°F (10°C to 30°C).
- Avoid charging if: The unit is frozen, overheated, or wet.
- Never charge near flammable materials.
I learned this the hard way. One winter, I tried charging my 1200A in an unheated shed. The battery barely held 30% charge, and the display was sluggish. Once I brought it inside and let it warm up, it charged normally.
Troubleshooting Common Charging Issues
Issue: Charger Not Recognized
Symptoms: Plug in the charger, but the LED doesn’t light up or shows an error.
Solutions:
- Check the DC plug for bent pins or debris.
- Try a different wall outlet or car socket.
- Test the charger with another device (if compatible).
- Clean the charging port with a dry toothbrush.
Real Fix: My friend’s 1200A wouldn’t charge. We found a tiny piece of lint stuck in the port. A quick brush with a toothpick solved it.
Issue: Slow or Intermittent Charging
Symptoms: Charging takes much longer than usual, or the battery level fluctuates.
Solutions:
- Use the original charger—no exceptions.
- Ensure the car’s engine is running when using the 12V adapter (some vehicles cut power when off).
- Check for loose connections or damaged cables.
Pro Tip: If charging in the car, turn the ignition to “Accessory” mode to ensure steady power.
Issue: Battery Won’t Hold a Charge
Symptoms: Fully charged, but dies within days or fails to jump a car.
Possible Causes:
- Old battery (lithium-ion degrades after 2–3 years of regular use).
- Frequent deep discharges (leaving it at 0% for days).
- Physical damage (dropped, exposed to water).
What to Do: Contact Everstart support. Many units come with a 1–2 year warranty. If out of warranty, consider replacing the battery (some models allow this).
Issue: Error Codes on Display
Some Everstart models show error codes like “E1” or “E2” during charging.
- E1: Over-voltage or charger mismatch. Unplug and try a different charger.
- E2: Over-current. Check for short circuits in the charging cable.
- E3: Overheating. Let the unit cool down before resuming.
Note: Refer to your user manual for model-specific codes. If in doubt, call customer service.
Comparing Charging Methods: Wall vs. Car Charger
Performance and Speed
Here’s a quick comparison of the two charging options based on real-world tests:
| Charging Method | Average Time to Full (0–100%) | Power Source Stability | Best For |
|---|---|---|---|
| Wall Charger (AC) | 3–4 hours | High (consistent voltage) | Home charging, daily use |
| Car Charger (DC 12V) | 5–7 hours (engine running) | Medium (voltage fluctuates) | On-the-go charging, emergencies |
Key Takeaway: The wall charger is faster and more reliable. The car charger is a backup—don’t rely on it for a full charge unless you’re on a long drive.
Which One Should You Use?
- At home or in the garage? Always use the wall charger.
- On a road trip? Use the car charger while the engine is running, but top it off at a hotel or gas station.
- Emergency situation? Use the car charger, but don’t let the vehicle battery drain too low.
Real-World Scenario: During a cross-country trip, my 1200A was down to 40%. I used the car charger while driving, but it only reached 70% after 4 hours. I finished the charge at a rest stop using a portable power station with a wall adapter. Lesson learned: plan ahead.
Final Thoughts: Keep Your Everstart 1200A Ready When You Need It
Your Everstart Jump Starter 1200A is more than just a gadget—it’s peace of mind. But that peace only lasts if you take care of it. Charging it properly isn’t rocket science, but it does require attention to detail. From using the right charger to storing it at the optimal charge level, every step matters.
Remember: charge after every use, avoid extreme temperatures, and never leave it plugged in indefinitely. These simple habits can extend your device’s life by years. And when you’re stuck on a dark road with a dead battery, you’ll be glad you did.
Think of your jump starter like a fire extinguisher. You hope you never need it, but when you do, it better work. By following these Everstart Jump Starter 1200A charging instructions, you’re not just maintaining a tool—you’re investing in your safety and independence.
So go ahead. Plug it in tonight. Check the charge. Tuck it back in your trunk or garage shelf. And rest easy knowing that next time that engine doesn’t turn over, you’ve got 1200 amps of backup power ready to go.
Frequently Asked Questions
How do I charge my Everstart Jump Starter 1200A for the first time?
For the first charge, plug the included AC adapter into the jump starter’s charging port and connect it to a wall outlet. The LED indicator will turn red during charging and green when fully charged, which typically takes 8-12 hours. Avoid overcharging by unplugging once the green light appears.
Can I use a car charger to recharge my Everstart 1200A jump starter?
Yes, the Everstart Jump Starter 1200A supports 12V DC charging via a car outlet. Use the included DC cable to connect the jump starter to your vehicle’s cigarette lighter port while the engine is running for optimal charging.
How long does it take to fully charge the Everstart 1200A jump starter?
Charging time varies based on power source: 8-12 hours with an AC wall adapter or 4-6 hours using a 12V car charger. Always monitor the LED indicator to confirm a full charge (solid green light).
Why is my Everstart 1200A not holding a charge?
If your jump starter loses charge quickly, ensure you’re using the correct charger and fully depleting the battery before recharging. Prolonged inactivity can reduce battery life—recharge every 3-6 months to maintain performance.
Are there safety precautions for charging the Everstart Jump Starter 1200A?
Always charge in a dry, well-ventilated area away from flammable materials. Never cover the unit during charging, and avoid exposing it to extreme temperatures (below 32°F or above 104°F).
How do I know when my Everstart 1200A is fully charged?
The built-in LED indicator turns solid green when fully charged. A red light means charging is in progress, while blinking lights may signal an error—refer to the manual for troubleshooting.