
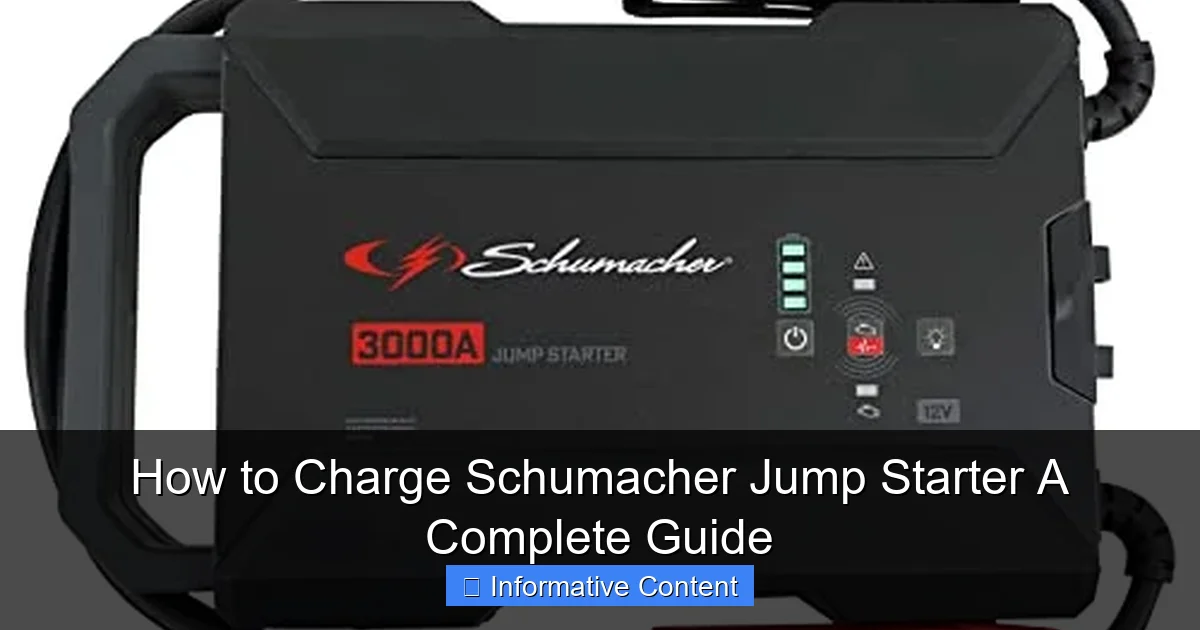
Featured image for how to charge schumacher jump starter
Image source: m.media-amazon.com
Always use the original Schumacher charger or a compatible 12V DC/USB-C input to safely charge your jump starter and avoid damaging the battery. Connect the charger to the unit’s input port, plug it into a wall outlet, and monitor the LED indicators—solid green means fully charged, while flashing lights show charging in progress. For optimal performance, recharge after every use and store in a cool, dry place.
Key Takeaways
- Use the correct charger: Always use Schumacher-approved chargers for safety and longevity.
- Check power source: Plug into a stable 120V outlet for optimal charging performance.
- Monitor charging time: Avoid overcharging—follow the manual’s recommended duration.
- Inspect connections: Clean clamps and ports regularly to ensure efficient power transfer.
- Store properly: Keep at 50% charge in a cool, dry place when not in use.
- Charge before first use: Fully charge new units to activate battery capacity.
📑 Table of Contents
- How to Charge Schumacher Jump Starter: A Complete Guide
- Why Proper Charging Matters for Your Schumacher Jump Starter
- Understanding Your Schumacher Jump Starter Model
- Step-by-Step Guide: How to Charge Your Schumacher Jump Starter
- Charging Tips and Best Practices
- Common Charging Problems and How to Fix Them
- Charging Time Comparison: Schumacher Jump Starter Models
- Final Thoughts: Keep Your Schumacher Jump Starter Ready
How to Charge Schumacher Jump Starter: A Complete Guide
Picture this: It’s a cold winter morning, you’re running late for work, and you turn the key in your car—only to hear that dreaded clicking sound. Your battery’s dead. Again. Frustrating, right? That’s when a reliable jump starter becomes your best friend. And if you’ve invested in a Schumacher jump starter, you’ve made a smart choice. Known for their durability, power, and user-friendly design, Schumacher jump starters are trusted by drivers across the country.
But here’s the catch: even the most powerful jump starter won’t help if it’s not charged. That’s why knowing how to charge Schumacher jump starter properly is essential. Whether you’re a first-time owner or you’ve had your unit for years, understanding the charging process ensures your device is always ready when you need it most. In this guide, we’ll walk you through everything you need to know—step by step, with real-world tips and practical advice—so you never get stranded again.
Why Proper Charging Matters for Your Schumacher Jump Starter
Let’s be honest: most of us treat our jump starters like fire extinguishers—we hope we never need them, but we want them ready just in case. But unlike a fire extinguisher, a jump starter relies on stored electrical energy, and that energy fades over time. If you don’t charge it regularly, you might find yourself with a dead jump starter when your car battery gives out.
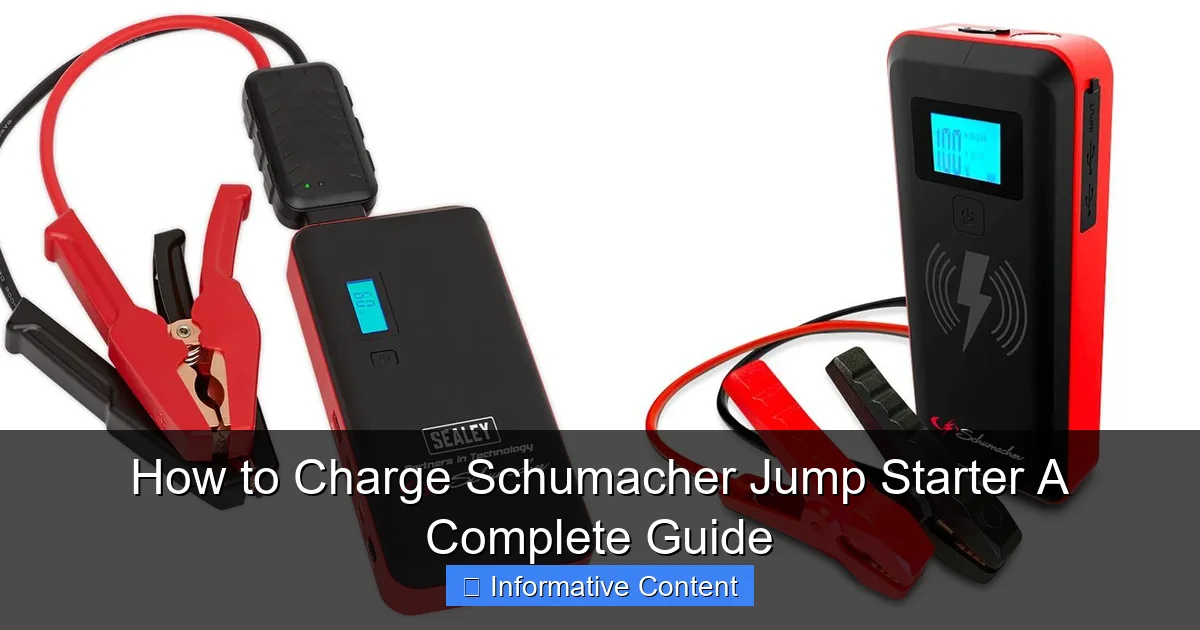
Visual guide about how to charge schumacher jump starter
Image source: docerp.s3.amazonaws.com
Proper charging isn’t just about convenience—it’s about safety and performance. A fully charged Schumacher jump starter delivers peak power, which means faster engine cranks and fewer failed jump attempts. Plus, consistent charging helps maintain the health of the internal battery, extending the lifespan of your device. Think of it like watering a plant: neglect it, and it wilts. Care for it, and it thrives.
The Risks of Undercharging or Overcharging
Undercharging is the more common issue. Many people assume that because their jump starter worked last time, it’s still good to go. But lithium-ion and AGM (Absorbent Glass Mat) batteries—common in Schumacher models—lose charge over time, even when not in use. If you only charge it after using it, you might be starting from a low baseline each time.
Overcharging, while less common with modern Schumacher units (thanks to built-in protection circuits), can still be a concern if you leave the charger plugged in indefinitely. Most Schumacher jump starters have automatic shut-off features, but it’s still wise to unplug once charging is complete. Overcharging can degrade battery cells over time, reducing overall capacity and performance.
How Often Should You Charge?
Schumacher recommends charging your jump starter every 30 to 60 days, even if you haven’t used it. This is especially important during extreme temperatures—both hot and cold can accelerate battery discharge. If you live in a region with harsh winters or scorching summers, consider checking the charge level monthly.
Here’s a simple rule of thumb: if you haven’t used your jump starter in the past two months, plug it in for a full charge. It takes just a few hours and could save you hours of frustration down the road.
Understanding Your Schumacher Jump Starter Model
Not all Schumacher jump starters are created equal. The charging process can vary slightly depending on the model, battery type, and included accessories. That’s why it’s important to know what you’re working with before you plug anything in.
Schumacher offers a wide range of jump starters, from compact 600-amp units perfect for small cars to heavy-duty 3000-amp models capable of jump-starting trucks and SUVs. Some come with built-in USB ports for charging phones, LED work lights, and even air compressors. But the core charging mechanism remains consistent across most models.
Common Battery Types in Schumacher Jump Starters
Most Schumacher jump starters use one of two battery technologies: lithium-ion (Li-ion) or AGM (Absorbent Glass Mat). Each has its own charging characteristics.
- Lithium-ion (Li-ion): Lightweight, high energy density, and holds a charge well. These are common in portable, compact models. They typically charge faster and are more sensitive to overcharging, though modern units have safeguards.
- AGM (Absorbent Glass Mat): More durable and better suited for high-current applications. Found in larger, more powerful units. These batteries are more tolerant of deep discharges but may take longer to charge fully.
Check your user manual or the label on the unit to confirm which type your Schumacher jump starter uses. This will help you understand charging times and best practices.
Identifying Charging Ports and Indicators
Most Schumacher jump starters have a dedicated charging port, usually a DC input (like a car cigarette lighter-style port) or a standard AC wall adapter input. Some newer models also support USB-C charging for added convenience.
Look for LED indicator lights on the unit. These typically show:
- Red light: Charging in progress
- Green light: Fully charged
- Flashing red or amber: Error or fault (e.g., overheating, incorrect voltage)
For example, the Schumacher DSR115 (a popular 1200-amp model) has a clear LED display that shows charging status and battery level. If you’re unsure, refer to the manual—Schumacher provides detailed diagrams for each model.
Step-by-Step Guide: How to Charge Your Schumacher Jump Starter
Now that you understand the basics, let’s get into the nitty-gritty: how to actually charge your Schumacher jump starter. The process is straightforward, but following the right steps ensures safety and efficiency.
Step 1: Gather Your Charging Equipment
You’ll need the original charging cable and adapter that came with your unit. Schumacher jump starters typically include a wall charger (AC adapter) and sometimes a car charger (DC adapter). Using third-party chargers can damage the battery or void your warranty, so stick with the official gear.
If you’ve lost the charger, check Schumacher’s website or contact customer support. They often sell replacement chargers specific to your model.
Step 2: Locate the Charging Port
Find the charging input on your jump starter. It’s usually on the side or back of the unit, labeled “DC IN” or “CHARGE.” Make sure the port is clean and free of dust or debris. A dirty port can cause poor connections and slow charging.
For models with multiple ports (like those with USB outputs), double-check you’re using the correct one. The charging input is typically larger and may have a different shape than the output ports.
Step 3: Plug In the Charger
Connect the charger to the jump starter first, then plug the other end into a wall outlet. Always plug into a grounded (three-prong) outlet if possible. Avoid using extension cords or power strips, as they can reduce voltage and slow charging.
Once connected, the LED indicator should light up—usually red—to show charging has begun. If nothing happens, check the connections and try a different outlet.
Step 4: Monitor the Charging Process
Most Schumacher jump starters take between 3 to 6 hours to fully charge, depending on the model and battery capacity. Smaller units (like the 600-amp Schumacher SJ1200) may charge in under 3 hours, while larger models (like the 3000-amp DSR125) can take up to 6 hours or more.
Don’t worry if the unit feels slightly warm during charging—that’s normal. But if it becomes hot to the touch, unplug it immediately and let it cool down. Overheating can indicate a faulty battery or charger.
Step 5: Confirm Full Charge
When the LED turns green (or stops flashing), your jump starter is fully charged. Some models have a digital display that shows battery percentage—look for 100% or “FULL.”
Once charged, unplug the charger from the wall first, then disconnect it from the jump starter. This prevents power surges and protects the internal circuitry.
Step 6: Store Properly
Store your charged jump starter in a cool, dry place—away from direct sunlight or extreme temperatures. A garage shelf or trunk storage bag works well. Avoid leaving it in a hot car, as high heat can degrade the battery over time.
Pro tip: Keep it in a visible spot so you don’t forget to recharge it periodically. Some people tape a sticky note to their fridge as a reminder.
Charging Tips and Best Practices
Charging your Schumacher jump starter isn’t rocket science, but a few smart habits can make a big difference in performance and longevity.
Use the Right Charger
Always use the charger designed for your specific model. Schumacher units are engineered to work with precise voltage and current levels. Using a generic or incompatible charger can lead to undercharging, overcharging, or even battery damage.
For example, the Schumacher DSR105 requires a 12V/2A charger. Using a 5V/1A USB charger (even if it fits) won’t provide enough power and could take days to charge—or not work at all.
Avoid Extreme Temperatures
Battery chemistry is sensitive to temperature. Charging in freezing conditions (below 32°F/0°C) or extreme heat (above 113°F/45°C) can reduce efficiency and damage cells.
If your jump starter has been in a cold car, let it warm up to room temperature before charging. Similarly, if it’s been sitting in a hot garage, bring it inside and let it cool down first.
Don’t Wait Until It’s Dead
It’s tempting to only charge your jump starter after using it, but this habit can shorten its lifespan. Lithium-ion batteries prefer partial discharges over deep ones. Try to recharge when the battery drops to 50% or higher.
Think of it like your phone: you don’t wait until it’s at 2% to plug it in. The same logic applies here.
Check for Firmware Updates (If Applicable)
Some newer Schumacher models with digital displays or smart features may support firmware updates. These updates can improve charging efficiency, fix bugs, or add new features.
Visit the Schumacher website and enter your model number to see if updates are available. Follow the instructions carefully—usually involving a USB connection to a computer.
Test the Charge Level Regularly
Many Schumacher jump starters have a “test” or “check” button that shows the current charge level. Press it every few weeks to ensure your unit is ready.
If the charge is low, plug it in right away. Don’t assume it’s fine just because it worked last time.
Common Charging Problems and How to Fix Them
Even with proper care, issues can arise. Here are some common problems and how to troubleshoot them.
Jump Starter Won’t Charge
If your Schumacher jump starter isn’t charging, start with these steps:
- Check the power outlet—try a different one or plug in another device to confirm it’s working.
- Inspect the charging cable for damage (frayed wires, bent pins).
- Ensure the charging port on the unit is clean and undamaged.
- Try a different charger if you have a spare.
If none of these work, the internal battery may be faulty. Contact Schumacher support—many units come with a 1- to 3-year warranty.
LED Light Not Turning On
A dead LED could mean:
- The battery is completely drained and needs time to “wake up.” Leave it plugged in for 30 minutes and check again.
- The charger isn’t delivering power. Test with a multimeter if you have one.
- The LED itself is damaged. This is rare but possible.
If the unit still doesn’t respond, it may need professional servicing.
Charging Takes Too Long
If your jump starter is taking much longer than usual to charge, consider:
- The battery is aging and losing capacity. This is normal after 2–3 years of use.
- The charger is underpowered or faulty.
- The unit is in a cold environment, slowing the chemical reaction.
Try charging in a warm room with the original charger. If it still takes over 8 hours, the battery may need replacement.
Unit Gets Hot During Charging
Some warmth is normal, but excessive heat is a red flag. Unplug immediately and let it cool. Possible causes:
- Faulty charger delivering too much current.
- Internal short circuit or damaged battery.
- Charging in a hot environment.
Do not attempt to charge again until the issue is resolved. Contact Schumacher for support.
Charging Time Comparison: Schumacher Jump Starter Models
Charging times vary by model and battery capacity. Below is a comparison of popular Schumacher jump starters and their typical charging durations.
| Model | Battery Type | Peak Amps | Charging Time (Approx.) | Charger Included |
|---|---|---|---|---|
| Schumacher SJ1200 | Lithium-ion | 600A | 2.5–3 hours | AC wall charger |
| Schumacher DSR105 | AGM | 1200A | 4–5 hours | AC wall charger |
| Schumacher DSR115 | Lithium-ion | 1200A | 3–4 hours | AC wall charger |
| Schumacher DSR125 | AGM | 3000A | 5–6 hours | AC wall charger |
| Schumacher PSJ-2212 | Lithium-ion | 2200A | 4–5 hours | AC wall charger + USB-C |
Note: Charging times are estimates based on a fully discharged battery and optimal conditions. Actual times may vary.
Final Thoughts: Keep Your Schumacher Jump Starter Ready
Knowing how to charge Schumacher jump starter properly is one of the simplest yet most important steps you can take to ensure roadside reliability. It’s not just about plugging in a cable—it’s about understanding your device, following best practices, and staying proactive.
A well-maintained jump starter is more than a tool; it’s peace of mind. Whether you’re commuting daily, taking road trips, or just want to be prepared for the unexpected, your Schumacher unit should always be charged and ready. By charging it regularly, using the right equipment, and storing it properly, you’ll get the most out of your investment—and avoid those frustrating moments when your car won’t start.
So the next time you see that little red light glowing, don’t ignore it. Plug it in, let it charge, and rest easy knowing you’re ready for whatever the road throws your way.
Frequently Asked Questions
How do I charge a Schumacher jump starter for the first time?
Before using your Schumacher jump starter, charge it fully using the included AC adapter or 12V DC cable (varies by model). Refer to the manual for specific instructions, as some models may require up to 24-48 hours for the initial charge.
How long does it take to charge a Schumacher jump starter?
Charging time depends on the model and battery capacity, typically ranging from 3 to 48 hours. Most Schumacher jump starters feature an LED indicator that turns green or solid when the charging process is complete.
Can I use a car outlet to charge my Schumacher jump starter?
Yes, many Schumacher jump starters include a 12V DC charging cable for use in a vehicle’s cigarette lighter socket. Ensure your vehicle is running to avoid draining the car battery during the charging process.
Why isn’t my Schumacher jump starter charging?
If your Schumacher jump starter isn’t charging, check the power source, cable connections, and adapter for damage. Try resetting the unit or charging it with an alternative method (AC/DC) to troubleshoot the issue.
How often should I recharge my Schumacher jump starter?
Recharge your Schumacher jump starter every 3-6 months if unused to maintain battery health. Frequent use may require recharging after each jump-start or every 1-2 months, depending on usage patterns.
Is it safe to leave a Schumacher jump starter charging overnight?
Yes, most modern Schumacher jump starters have overcharge protection, making overnight charging safe. However, always follow the manufacturer’s guidelines to avoid potential risks and prolong battery life.