
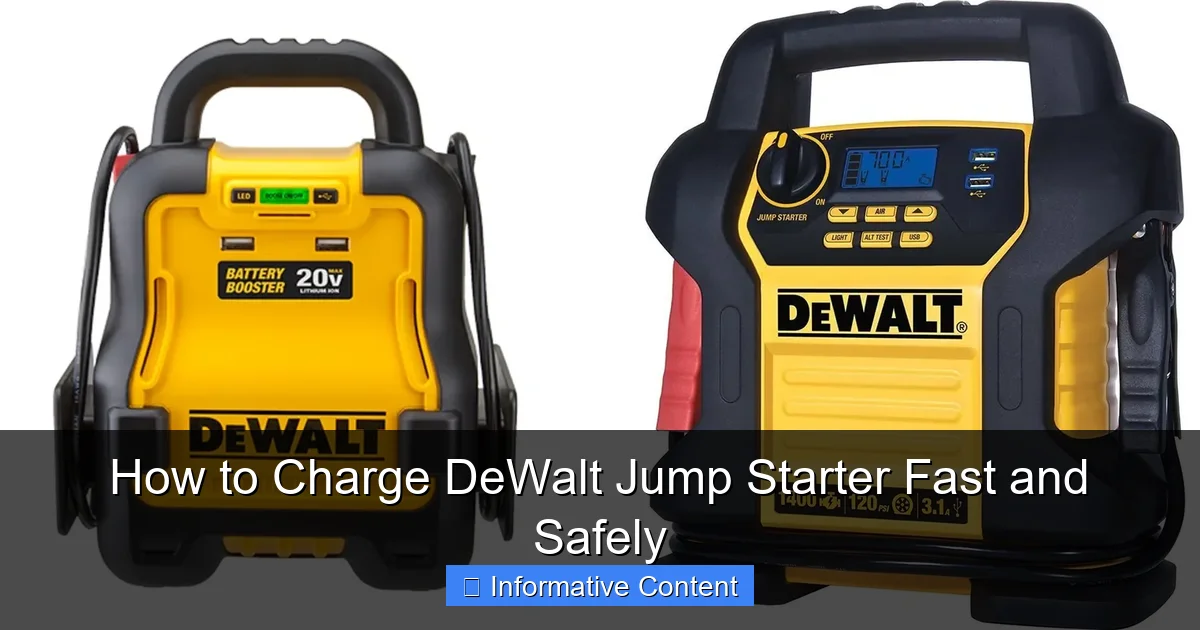
Featured image for how to charge dewalt jump starter
Image source: docerp.s3.amazonaws.com
Always use the original DeWalt charger and a stable power source to charge your jump starter safely and efficiently. Plug the charger into a 120V AC outlet and connect it to the jump starter’s input port—avoid overcharging by unplugging once the LED indicator shows a full charge. For fastest results, charge in a cool, dry environment and never leave unattended for extended periods.
Key Takeaways
- Use the original charger: Always use the DeWalt-provided charger for optimal performance and safety.
- Charge in a cool, dry place: Avoid extreme temperatures to prevent battery damage and ensure efficient charging.
- Fully charge before first use: New jump starters need a complete charge to maximize battery life and power.
- Check indicator lights regularly: Monitor charging status to know when the unit is fully charged and ready.
- Recharge after each use: Maintain battery health by recharging promptly, even after small jumps.
- Avoid overcharging: Unplug once fully charged to extend battery lifespan and prevent overheating.
📑 Table of Contents
- Why Your DeWalt Jump Starter Needs Proper Charging
- Understanding Your DeWalt Jump Starter: The Basics
- How to Charge Your DeWalt Jump Starter: Step-by-Step Guide
- Common Charging Mistakes (And How to Avoid Them)
- How to Charge Faster (Without Sacrificing Safety)
- Long-Term Care: Keeping Your DeWalt Jump Starter Ready
- Charging Time Comparison: AC vs. DC
- Final Thoughts: Be Ready, Not Regretful
Why Your DeWalt Jump Starter Needs Proper Charging
Picture this: You’re on a road trip, miles from the nearest gas station, and your car won’t start. The headlights are dim, the engine cranks weakly, and you’re stuck. That’s when you remember—you’ve got your DeWalt jump starter in the trunk. You pull it out, press the power button, and… nothing. The battery is dead. Now what?
It’s a frustrating situation, but one that could have been avoided with proper charging habits. Whether you’re a weekend warrior, a professional mechanic, or just someone who wants to be prepared, knowing how to charge your DeWalt jump starter fast and safely is essential. These powerful tools are designed for reliability, but they won’t help you if they’re not ready when you need them. Think of your jump starter like a fire extinguisher—it’s useless if it’s not charged and accessible when disaster strikes.
Understanding Your DeWalt Jump Starter: The Basics
What Makes DeWalt Jump Starters Unique
DeWalt jump starters are built with the same rugged durability as their power tools. They’re not just glorified battery packs—they’re engineered to deliver high cranking amps, often with added features like USB ports, LED lights, and even air compressors. Most models use lithium-ion (Li-ion) or lithium polymer (LiPo) batteries, which are lightweight, hold a charge well, and have a long lifespan when maintained correctly.

Visual guide about how to charge dewalt jump starter
Image source: docerp.s3.amazonaws.com
For example, the DeWalt DXAEJ14 offers 1400 peak amps, a built-in 2.1A USB port, and a 120 PSI air compressor—all in one compact unit. But like any lithium-based battery, it needs careful charging to maintain performance. Overcharging, undercharging, or using the wrong charger can shorten its life or even create safety hazards.
How Lithium Batteries Work (And Why Charging Matters)
Lithium-ion batteries store energy through electrochemical reactions. When you charge, lithium ions move from the positive to the negative electrode. When you discharge (use the battery), the process reverses. Unlike older battery types (like lead-acid), Li-ion batteries don’t have a “memory effect,” so you don’t need to fully discharge before recharging. In fact, partial charging is better for longevity.
However, Li-ion batteries are sensitive to voltage and temperature. Charging too fast, using a non-certified charger, or storing them fully charged for long periods can degrade capacity over time. That’s why understanding your DeWalt jump starter’s charging needs is so important.
Common DeWalt Jump Starter Models and Their Charging Specs
Here’s a quick look at popular models and what they need:
- DeWalt DXAEJ14: 1400A peak, Li-ion, charges via 12V DC car adapter or 120V AC wall charger (included). Full charge: ~4–6 hours.
- DeWalt DXAEJ17: 1700A peak, Li-ion, same charging options. Full charge: ~5–7 hours.
- DeWalt DXAEJ12: 1200A peak, Li-ion, compact size. Full charge: ~3–5 hours.
Note: All models come with a dual-input charging system—meaning you can charge from a wall outlet or your car’s cigarette lighter. But not all chargers are created equal. Always use the original or a DeWalt-certified replacement.
How to Charge Your DeWalt Jump Starter: Step-by-Step Guide
Step 1: Check the Battery Level
Before plugging in, press the power or battery check button on your DeWalt jump starter. Most models have an LED indicator showing charge level: green (75–100%), yellow (25–75%), red (below 25%). If it’s red, charge immediately. If it’s yellow, charge within a few days. Green means you’re good to go—but don’t let it sit at 100% for weeks.
Pro tip: I once stored my jump starter fully charged for three months. When I needed it, the battery had dropped to 60% and took longer to charge. Now I keep it at around 80% when not in use. It’s a small habit that pays off.
Step 2: Choose the Right Charging Method
You have two main options: AC (wall) charging and DC (car) charging. Let’s break them down:
- AC Charging (Recommended for Full Charges): Use the included wall adapter. Plug it into a standard 120V outlet. This method is slower but gentler on the battery. Ideal for home charging or after use.
- DC Charging (Great for On-the-Go): Use the 12V car adapter. Plug it into your car’s cigarette lighter. Only use this when your engine is running—otherwise, you’ll drain your car battery. This method is faster but can generate more heat.
Example: I use AC charging at home after every jump. When camping, I charge via DC while driving. It’s convenient, but I always monitor the jump starter for warmth.
Step 3: Connect the Charger Properly
Align the charger plug with the input port on the jump starter. Push it in until it clicks. Don’t force it—misalignment can damage the pins. Once connected, the LED indicators will flash or show a charging pattern (usually blinking green).
Safety note: Never charge on a flammable surface (like a couch or bed). Place the unit on a hard, non-conductive surface (e.g., tile, wood, or a metal tray). I keep mine on the garage floor—it’s cool and safe.
Step 4: Monitor the Charging Process
Here’s what to watch for:
- LED Indicators: Most DeWalt models show charging progress. Solid green = full. Blinking green = charging. Red = low or error.
- Temperature: The unit should stay cool. If it’s hot to the touch, unplug immediately. Overheating can damage the battery or cause a fire.
- Charging Time: Don’t leave it plugged in overnight. Once fully charged, unplug it. Overcharging stresses the battery.
I set a timer on my phone. For my DXAEJ14, that’s 5 hours max. It’s overkill, but I’d rather be safe than sorry.
Step 5: Unplug and Store Correctly
When charging is complete, unplug the charger first, then the jump starter. Store it in a dry, temperature-controlled place. Avoid extreme heat (like a hot garage in summer) or cold (like a frozen shed in winter). Ideal storage temp: 50–77°F (10–25°C).
Common Charging Mistakes (And How to Avoid Them)
Using Non-DeWalt Chargers
It’s tempting to use a generic charger from Amazon or the dollar store. But these often deliver inconsistent voltage or lack safety cutoffs. I once used a third-party charger that overheated my jump starter. The LED turned red, and the unit shut down. After that, I only use the original or DeWalt-certified replacements.
Rule of thumb: If it doesn’t have the DeWalt logo or isn’t sold by DeWalt, skip it. The risk isn’t worth the $10 saved.
Charging in Extreme Temperatures
Lithium batteries don’t like heat or cold. Charging in a hot car (100°F+) can cause thermal runaway—a dangerous chain reaction. Similarly, charging below 32°F (0°C) can damage internal cells.
Real-life example: A friend left his jump starter in his truck on a 95°F day. When he tried to charge it, it wouldn’t power on. The battery had degraded from heat exposure. Now he keeps it in his air-conditioned garage.
Leaving It Fully Charged for Months
Storing a lithium battery at 100% charge for long periods accelerates aging. The electrolyte breaks down, and capacity drops. Studies show that storing at 40–60% charge extends lifespan by up to 2x.
My fix: I charge to 80% after use, then top it off a day before a trip. It’s a simple routine that keeps the battery healthy.
Ignoring Warning Signs
If your jump starter:
- Smells like burning plastic
- Swells or bulges
- Won’t hold a charge
- Gets extremely hot during charging
…stop using it immediately. These are signs of battery failure. Dispose of it safely at an electronic recycling center. Never throw it in the trash.
How to Charge Faster (Without Sacrificing Safety)
Use the DC Charger While Driving
The fastest way to charge? Use the 12V car adapter while your engine is running. The alternator provides stable power, and the jump starter charges at full speed. Just make sure:
- Your car battery is healthy (no weak cranking).
- The jump starter isn’t blocking airflow (don’t cover it with bags).
- You check the temperature every 30 minutes.
I’ve charged my DXAEJ14 from 40% to 90% in 90 minutes this way. It’s perfect for road trips.
Optimize Charging Environment
Cooler environments charge faster. Why? Heat slows down the electrochemical process. Charge near an open window, in an air-conditioned room, or with a small fan nearby. I place my jump starter on a metal baking sheet—it acts as a heat sink.
Partial Charging: The Smart Way
You don’t need to charge to 100% every time. For a quick boost, charge to 80%. This reduces stress on the battery and saves time. For example, if you’re at 30% and need a jump, charging to 80% takes ~2 hours instead of 4+ hours for a full charge.
Bonus tip: Use a smart power strip. It cuts power when the jump starter is fully charged, so you don’t have to babysit it.
Long-Term Care: Keeping Your DeWalt Jump Starter Ready
Monthly Maintenance Routine
Even if you don’t use your jump starter, it needs attention:
- Charge to 50–80% once a month.
- Inspect cables and clamps for fraying or corrosion.
- Test the jump starter by powering on the LED light or USB port.
- Wipe with a dry cloth to remove dust and moisture.
I do this on the first weekend of every month. It takes 10 minutes and gives me peace of mind.
When to Replace the Battery
Lithium batteries last 2–5 years with proper care. Signs it’s time to replace:
- Holds less than 70% of original capacity.
- Takes longer than 2x the usual time to charge.
- Fails to jump-start a car after a full charge.
Contact DeWalt customer service. Some models have replaceable batteries; others need professional service.
Storing for the Off-Season
If you store your jump starter for months (e.g., winter in a cold climate):
- Charge to 60%.
- Store in a climate-controlled space.
- Check charge every 3 months.
One winter, I forgot to check mine. After 4 months, the battery was at 20%. I had to trickle-charge it for hours. Now I set calendar reminders.
Charging Time Comparison: AC vs. DC
Here’s how different DeWalt models charge under ideal conditions:
| Model | AC Charging Time (0–100%) | DC Charging Time (0–100%) | Fast Charge (30–80%) |
|---|---|---|---|
| DeWalt DXAEJ12 | 3–5 hours | 2–3.5 hours | 1–1.5 hours |
| DeWalt DXAEJ14 | 4–6 hours | 3–4.5 hours | 1.5–2 hours |
| DeWalt DXAEJ17 | 5–7 hours | 4–6 hours | 2–2.5 hours |
Note: Times vary based on battery health, temperature, and charger quality. DC charging is faster but less consistent.
Final Thoughts: Be Ready, Not Regretful
Your DeWalt jump starter is a lifeline—but only if it’s charged and ready. Charging it fast and safely isn’t rocket science. It’s about habits: using the right charger, monitoring temperature, avoiding extremes, and storing it properly.
I’ve learned the hard way that shortcuts backfire. A $20 generic charger once cost me a $150 jump starter. Now, I charge with care. I keep it at 80% when idle. I test it monthly. And I always have a backup plan (like a portable power bank for the USB ports).
Remember: A jump starter is an emergency tool. Treat it like one. Charge it with the same diligence you’d give a fire extinguisher or first-aid kit. Because when you’re stranded on a dark road, you won’t regret the extra 10 minutes you spent charging—you’ll be glad you did.
So, grab your DeWalt jump starter today. Check the battery. Plug it in. And rest easy knowing it’s ready to save the day. Because the best time to charge it was yesterday. The second-best time is right now.
Frequently Asked Questions
How do I charge a DeWalt jump starter for the first time?
For the first charge, plug the included AC adapter into the jump starter’s input port and a wall outlet. Charge it fully (usually 12–24 hours) before use to maximize battery lifespan. The LED indicator will show when charging is complete.
Can I charge my DeWalt jump starter with a car charger?
Yes, most DeWalt jump starters support 12V DC car charging. Use the included car charger cable and ensure your vehicle is running to avoid draining the car battery. This is a convenient option for recharging on the go.
How long does it take to fully charge a DeWalt jump starter?
Charging time varies by model but typically takes 3–8 hours with the AC adapter or 4–6 hours with a 12V car charger. Larger capacity models may take longer. Always check the LED status to confirm a full charge.
Why is my DeWalt jump starter not holding a charge?
This could be due to prolonged inactivity, extreme temperatures, or a degraded battery. Try recharging it fully and storing it in a cool, dry place. If issues persist, contact DeWalt support for potential battery replacement.
Is it safe to leave my DeWalt jump starter plugged in overnight?
Yes, DeWalt jump starters feature overcharge protection to prevent damage. Once fully charged, the unit automatically stops charging. However, unplugging it once charged helps prolong battery health over time.
How do I know when my DeWalt jump starter is fully charged?
Most models have an LED indicator that turns solid green or stops blinking when charging is complete. Refer to your user manual for specific details—some models also include a digital battery percentage display.