

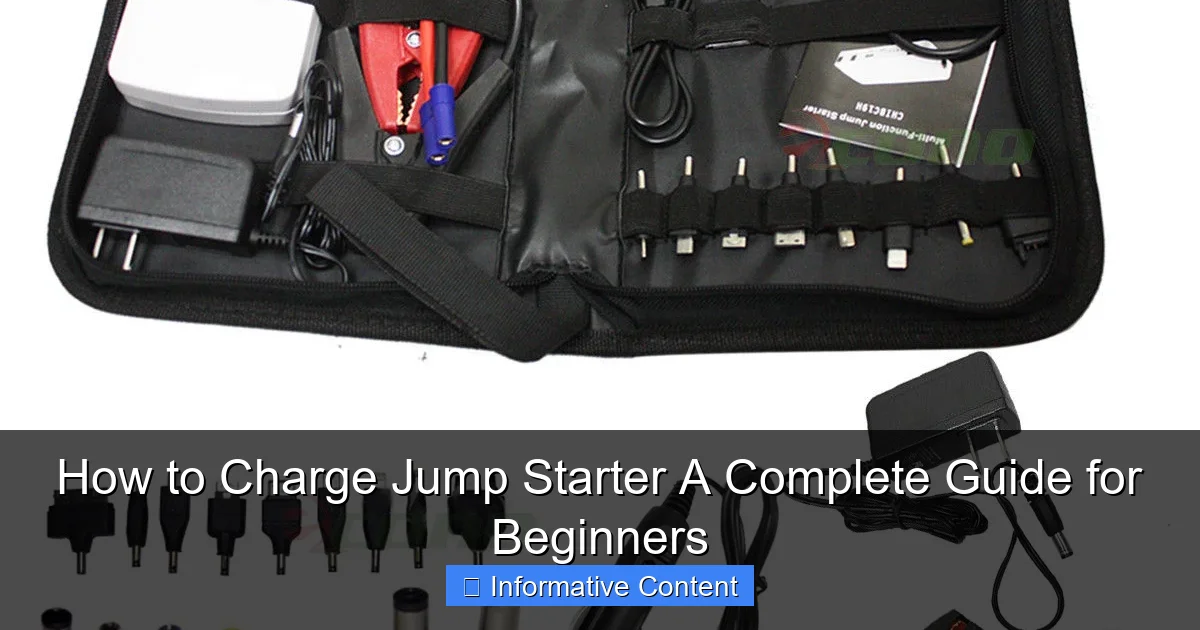
Featured image for how to charge jump starter
Image source: docerp.s3.amazonaws.com
Always use the correct voltage and charging cable to safely charge your jump starter and avoid damaging the battery. Plug the charger into a stable power source, connect it properly to the jump starter’s input port, and monitor the indicator lights to confirm a full charge. Never leave it charging unattended for long periods to prevent overheating and extend battery life.
Key Takeaways
- Always use the correct charger to avoid damaging your jump starter’s battery.
- Charge fully before first use to maximize performance and battery lifespan.
- Monitor charging progress—unplug once complete to prevent overcharging.
- Store at 50% charge if unused for long periods to preserve battery health.
- Charge in a cool, dry place to avoid overheating and safety hazards.
- Check compatibility with your vehicle’s battery before charging or using.
📑 Table of Contents
- Why Charging Your Jump Starter Is More Important Than You Think
- Understanding Your Jump Starter: Types and Charging Needs
- Step-by-Step Guide to Charging Your Jump Starter
- How Often Should You Charge Your Jump Starter?
- Troubleshooting Common Charging Issues
- Jump Starter Charging: A Quick Reference Table
- Final Tips to Maximize Your Jump Starter’s Lifespan
Why Charging Your Jump Starter Is More Important Than You Think
Imagine this: you’re running late for work, the kids are screaming in the backseat, and as you turn the key, your car makes a weak, clicking sound. Dead battery. Panic sets in. You reach for your trusty jump starter—only to find it’s as dead as the car battery. Sound familiar? It’s a scenario many of us have faced, and it’s one that could’ve been avoided with a simple, often overlooked task: how to charge jump starter properly.
Jump starters, also known as portable battery boosters or power banks for cars, are lifesavers in emergencies. But they’re only as good as their charge. Unlike your phone, which you plug in nightly, jump starters often sit idle for weeks or months. This inactivity can lead to a slow drain, leaving you high and dry when you need it most. The good news? Charging your jump starter isn’t rocket science. With the right knowledge and habits, you can keep it ready to go at a moment’s notice. In this guide, I’ll walk you through everything you need to know—from understanding different types of jump starters to troubleshooting common charging issues. Think of it as your go-to manual for keeping your jump starter in tip-top shape.
Understanding Your Jump Starter: Types and Charging Needs
Different Types of Jump Starters and Their Power Sources
Before we dive into charging methods, it’s crucial to know what kind of jump starter you have. Not all are created equal, and their charging needs vary.
Visual guide about how to charge jump starter
Image source: econosuperstore.com
- Lithium-Ion (Li-ion) Jump Starters: The most common type today. Lightweight, compact, and powerful, they’re ideal for everyday use. They charge via USB or wall adapters and usually take 3–5 hours for a full charge.
- Lead-Acid Jump Starters: Older, heavier models often found in larger units. They’re bulkier but can deliver high cranking amps. Charging requires a dedicated AC/DC adapter or a trickle charger, taking 8–12 hours.
- Capacitor-Based Jump Starters: These use supercapacitors instead of batteries. They charge in minutes (yes, minutes!) from a running car’s battery but are less common and often pricier.
Pro Tip: Check your user manual or the label on the device to confirm its type. For example, my NOCO Boost Plus GB40 is Li-ion, so I charge it via USB-C. A friend’s Schumacher DSR114, on the other hand, uses lead-acid and needs a wall adapter.
Why the Charging Method Matters
Using the wrong charger or method can shorten your jump starter’s lifespan. For instance:
- Lithium-ion models should never be overcharged. Most have built-in protection, but cheap knockoffs might not.
- Lead-acid jump starters can tolerate trickle charging but degrade faster if charged with high-voltage adapters.
- Capacitor-based units require a specific voltage range (usually 12V–24V) from a running vehicle.
Real-world example: I once borrowed a friend’s Li-ion jump starter that had been left plugged in for a month. The battery swelled, and the device became unusable. Lesson learned: always follow the manufacturer’s charging guidelines!
Step-by-Step Guide to Charging Your Jump Starter
Step 1: Locate the Charging Port and Accessories
Most jump starters have a charging port on the side or front. Look for labels like “DC IN,” “CHARGE,” or a USB icon. Here’s what to check:
- Included Charger: Use the original adapter or cable. If lost, replace it with one matching the voltage (e.g., 5V for USB, 12V for AC/DC).
- USB-C vs. Micro-USB: Newer models (2020+) often use USB-C, which charges faster. Older ones might need a Micro-USB.
- Power Bank Feature: Some jump starters let you charge phones via USB OUT. This doesn’t affect their own charging process.
Tip: If you can’t find the port, check the manual. My first jump starter had a tiny, recessed port hidden under a rubber flap—easy to miss!
Step 2: Choose the Right Power Source
Your options depend on the jump starter type:
- Lithium-Ion:
- Wall outlet (fastest, 3–5 hours).
- USB port on a laptop or power bank (slower, 8–12 hours).
- Car charger (12V cigarette lighter, 4–6 hours).
- Lead-Acid:
- AC/DC adapter (8–12 hours).
- Trickle charger (12+ hours, but safer for long-term storage).
- Capacitor-Based:
- 12V car outlet (5–15 minutes).
Personal experience: I keep my Li-ion jump starter in my garage, where I charge it via a wall outlet. For camping trips, I use a 12V car charger. Both work, but the wall outlet is 30% faster.
Step 3: Plug In and Monitor the Charging Process
Now, the actual charging:
- Connect the charger to the jump starter and power source.
- Check the LED indicators. Most models show:
- Blinking lights: Charging in progress.
- Solid light: Fully charged.
- Red light: Low battery (needs charging).
- Wait! Don’t unplug until fully charged. Most Li-ion models take 3–5 hours; lead-acid takes 8–12.
Warning: Never leave a charging jump starter in direct sunlight or a hot car. Heat damages batteries. I once left mine in a 90°F trunk, and the battery life dropped by 20% in a year.
How Often Should You Charge Your Jump Starter?
The “Use It or Lose It” Rule
Jump starters lose charge over time, even when unused. Here’s the breakdown:
- Lithium-Ion: Self-discharge rate of 1–3% per month. Charge every 3–6 months.
- Lead-Acid: Self-discharge rate of 5–15% per month. Charge every 1–2 months.
- Capacitor-Based: Holds charge for years but degrades if unused. “Top off” every 6–12 months.
Example: My NOCO GB40 loses ~2% per month. I charge it every 4 months, even if I haven’t used it. My friend’s lead-acid unit? He charges it monthly during winter.
Signs Your Jump Starter Needs Charging
Don’t wait for a dead battery to realize your jump starter’s low. Watch for:
- LEDs flashing red or dimming.
- Slow cranking when testing (if your model has a test feature).
- Device turning off during use.
Pro Tip: Create a reminder on your phone or calendar. I set mine for every 12 weeks. No more guessing!
Seasonal Charging Tips
Temperature affects charging efficiency:
- Winter: Cold reduces battery capacity. Charge indoors at room temperature (68°F–77°F). Never charge below 32°F.
- Summer: Heat accelerates degradation. Store in a cool, dry place. Avoid charging in direct sunlight.
Data point: A 2022 study by Battery University found Li-ion batteries lose 20% capacity at 104°F vs. 77°F. Keep your jump starter cool!
Troubleshooting Common Charging Issues
“My Jump Starter Won’t Charge!”
Don’t panic. Try these fixes:
- Check the power source: Test the outlet or USB port with another device. My laptop’s USB port died once, making my jump starter appear faulty.
- Inspect the cable/adapter: Look for frayed wires or bent pins. Swap with a known-working cable.
- Clean the charging port: Use a toothpick or compressed air to remove dust. A friend’s jump starter had lint clogging the port—cleaned it, and it worked again!
- Reset the device: Unplug, wait 5 minutes, then reconnect. Some models have a reset button (check the manual).
Slow Charging or Inconsistent LEDs
Possible causes:
- Low-quality charger: Use the original or a reputable brand (e.g., Anker, NOCO).
- Old battery: After 2–3 years, battery capacity drops. If charging takes 2x longer than usual, consider replacement.
- Software glitch: Some smart jump starters need firmware updates. Check the manufacturer’s website.
Example: My NOCO GB40 once took 8 hours to charge (normally 4). A firmware update fixed it—now it’s back to 4 hours.
Overheating During Charging
Stop charging and:
- Move the device to a cooler area.
- Unplug and let it rest for 30 minutes.
- Contact the manufacturer. Overheating can be a fire hazard.
Warning: Never cover a charging jump starter. My cousin’s device overheated under a blanket—luckily, no fire, but the battery was ruined.
Jump Starter Charging: A Quick Reference Table
| Jump Starter Type | Charging Time | Power Sources | Self-Discharge Rate | Maintenance Tips |
|---|---|---|---|---|
| Lithium-Ion | 3–5 hours | Wall outlet, USB, 12V car charger | 1–3% per month | Charge every 3–6 months; avoid overcharging |
| Lead-Acid | 8–12 hours | AC/DC adapter, trickle charger | 5–15% per month | Charge monthly; store upright |
| Capacitor-Based | 5–15 minutes | 12V car outlet | Negligible (holds charge for years) | “Top off” every 6–12 months; avoid extreme temps |
Final Tips to Maximize Your Jump Starter’s Lifespan
Charging your jump starter is just one part of the puzzle. To keep it reliable for years:
- Store it properly: Keep in a dry, temperature-controlled space (e.g., a closet, not a garage). I keep mine in an anti-static bag.
- Test it quarterly: Turn it on, check the LEDs, and run the built-in light or USB ports. This confirms it’s functional.
- Avoid full discharges: Never drain the battery to 0%. Charge at 20–30% for Li-ion models.
- Update firmware: Smart jump starters (e.g., NOCO, DBPOWER) often have app-based updates.
Personal story: My first jump starter died after 18 months because I stored it in a humid basement. The second one (same model) is 4 years old and works perfectly—stored in my bedroom, charged every 4 months.
Remember, a jump starter is only as good as its charge. By understanding how to charge jump starter correctly, you’re not just saving yourself from a dead battery—you’re investing in peace of mind. Whether it’s a winter morning or a road trip detour, you’ll be ready. So set those reminders, check your cables, and keep that power bank ready. Because when life throws a dead battery your way, you’ll be the one with the solution—not the one waiting for help.
Frequently Asked Questions
How do I charge a jump starter for the first time?
For the first charge, plug your jump starter into a wall outlet using the provided charger and let it charge fully—usually 8–12 hours. Avoid using it until fully charged to maximize battery lifespan. Always follow the manufacturer’s instructions for optimal results.
Can I charge my jump starter in a car?
Yes, many jump starters include a 12V car charger for on-the-go charging. Just plug it into your vehicle’s cigarette lighter socket and ensure the engine is running to avoid draining the car battery.
How long does it take to charge a jump starter?
Charging time varies by model but typically takes 3–8 hours via wall outlet. High-capacity jump starters may take longer. Check the LED indicators or manual to confirm when the charge is complete.
Why is my jump starter not holding a charge?
This could be due to a depleted battery, faulty charger, or leaving it unused for too long. Try a full recharge cycle or replace the battery if it’s a removable type. Storing it in extreme temperatures can also reduce performance.
How often should I recharge my jump starter?
Recharge your jump starter every 3–6 months, even if unused, to prevent deep discharge. Regularly charging it helps maintain battery health and ensures it’s ready when needed.
Can I overcharge my jump starter?
Most modern jump starters have overcharge protection, so leaving them plugged in after full charge is safe. However, unplug it once charged to prolong battery life and reduce risks, especially with older models.